turn signal CHEVROLET ASTRO 1996 Owners Manual
[x] Cancel search | Manufacturer: CHEVROLET, Model Year: 1996, Model line: ASTRO, Model: CHEVROLET ASTRO 1996Pages: 372, PDF Size: 21.51 MB
Page 7 of 372
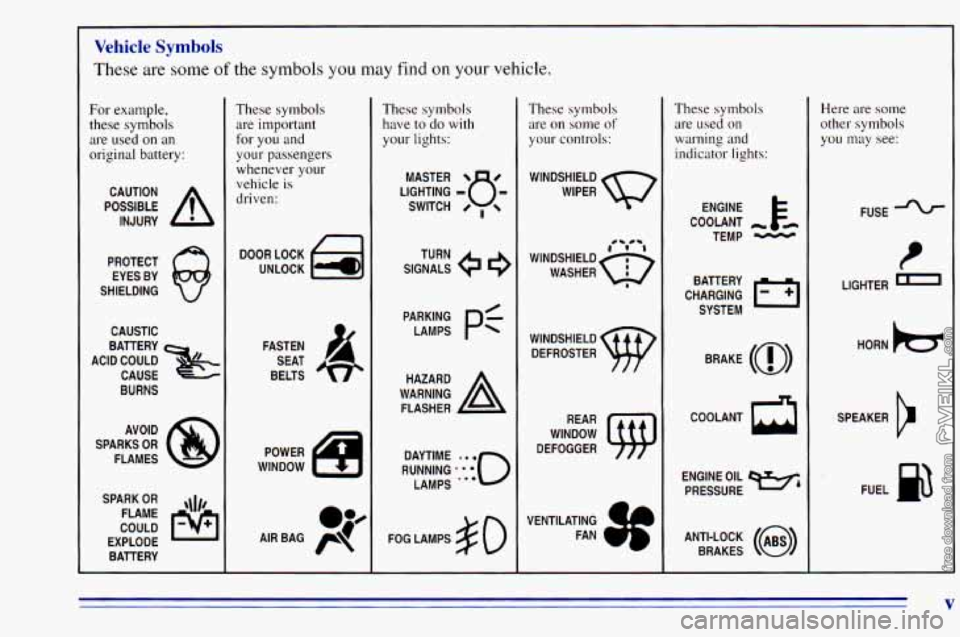
Vehicle Symbols
These are some of the symbols you may find on your vehicle.
For example,
these symbols
are used on an
original battery:
POSSIBLE A
CAUTION
INJURY
PROTECT EYES BY
SHIELDING
CAUSTIC
ACID COULD BATTERY
CAUSE
BURNS
SPARK
OR ,111,
COULD FLAME
EXPLODE BATTERY
These symbols are important
for you and
your passengers
whenever your
vehicle
is
driven:
DOOR LOCK
FASTEN SEAT
BELTS
These symbols have
to do with
your lights:
SIGNALS e
TURN
WARNING
A
HAZARD
FLASHER
FOG LAMPS
$0
These symbols are on
some of
your controls:
WIPER w
WINDSHIELD
DEFROSTER
VENTILATING FAN
(
-b
-J
These symbols are used on
warning and
indicator lights:
COOLANT -
TEMP -
CHARGING I-1
BATTERY
SYSTEM
BRAKE
(0)
COOLANT a
ENGINE OIL w,
PRESSURE
ANTI-LOCK
(@)
BRAKES
Here are some
other symbols
you may see:
FUSE
I
LIGHTER n
HORN )a(
SPEAKER
b
FUEL p3
V
Page 89 of 372
Horn
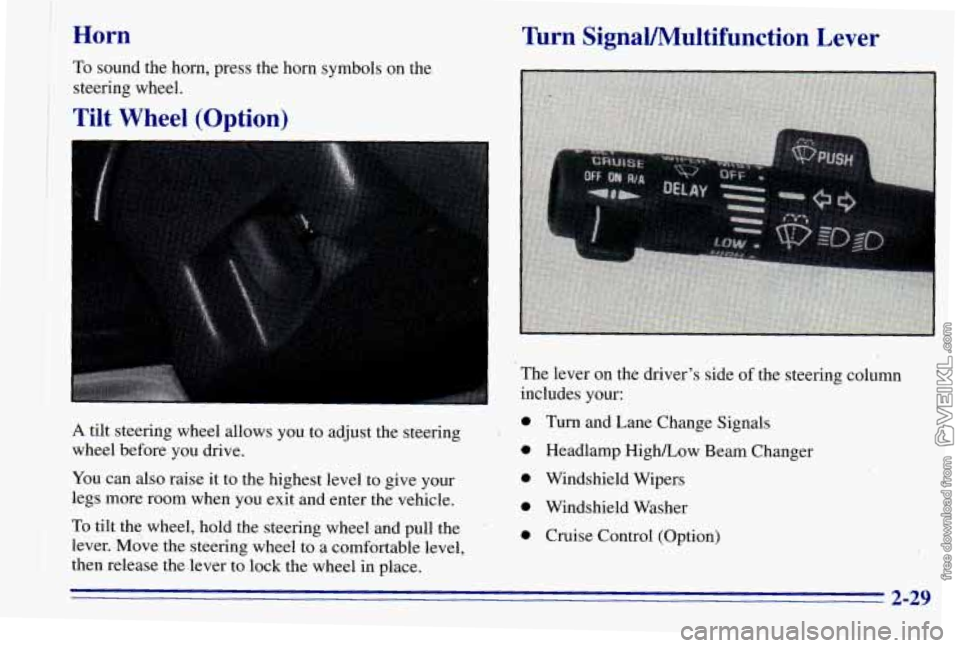
To sound the horn, press the horn symbols on the
steering wheel.
Tilt Wheel (Option)
Turn' SignaVMultifunction Lever
A tilt steering wheel allows you to adjust the steering
wheel before you drive.
You can also raise it to the highest level to give your
legs more room when you exit and enter the vehicle.
I ' The lever on the driver's side of the steering column
includes your:
0 Turn and Lane Change Signals
0 Headlamp High/Low Beam Changer
0 Windshield Wipers
0 Windshield Washer
To tilt t& wheel, hold the steering wheel and pull the ' 0 Cruise Control (Option)
j lever. Move the steering wheel to a comfortable level,
I then release the lever to lock the wheel in place. I
2-29
Page 90 of 372
Turn and Lane Change Signals
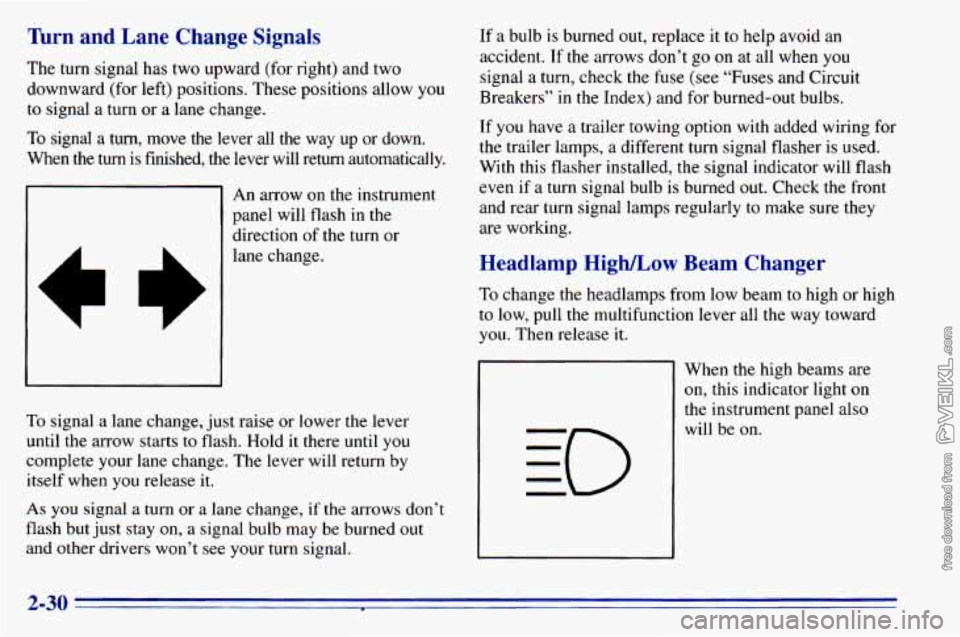
The turn signal has two upward (for right) and two
downward (for left) positions. These positions allow you
to signal a turn or a lane change.
To signal
a turn, move the lever all the way up or down.
When the
turn is finished, the lever will return automatically.
A
An arrow on the instrument
panel will flash in
the
direction of the turn or
lane change.
To signal a lane change, just raise or lower the lever
until the arrow starts to flash. Hold it there until
you
complete your lane change. The lever will return by
itself when you release
it.
As you signal a turn or a lane change, if the arrows don’t
flash
but just stay on, a signal bulb may be burned out
and other drivers won’t see your turn signal.
If a bulb is burned out, replace it to help avoid an
accident. If the arrows don’t go on at all when you
signal a turn, check the fuse (see “Fuses and Circuit
Breakers” in the Index) and for burned-out bulbs.
If you have a trailer towing option with added wiring for
the trailer lamps,
a different turn signal flasher is used.
With this flasher installed, the signal indicator will flash
even if a turn signal bulb is burned out. Check the front
and rear turn signal lamps regularly to make sure they
are working.
Headlamp High/Low Beam Changer
To change the headlamps from low beam to high or high
to low, pull the multifunction lever all the way toward
you. Then release it.
When the high beams are
on, this indicator light on
the instrument panel also
will be on.
2-30
Page 113 of 372
Speedometer and Odom. er
Your
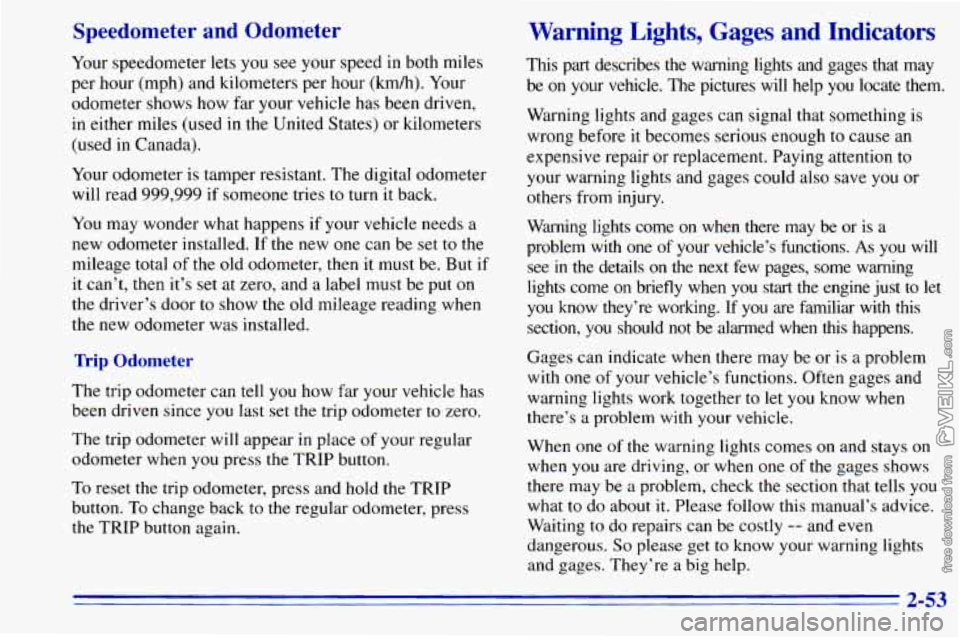
speedometer lets you see your speed in both miles
per hour (mph) and kilometers per hour (km/h). Your
odometer shows how far your vehicle has been driven,
in either miles (used in the United States) or kilometers
(used in Canada).
A
Your odometer is tamper resistant. The digital odometer
will read
999,999 if someone tries to turn it back.
You may wonder what happens if your vehicle needs a
new odometer installed.
If the new one can be set to the
mileage total
of the old odometer, then it must be. But if
it can’t, then it’s set at zero, and a label must be put on
the driver’s door to show the old mileage reading when
the new odometer was installed.
Trip Odometer
The trip odometer can tell you how far your vehicle has
been driven since you last set
the trip odometer to zero.
The trip odometer will appear in place
of your regular
odometer when you press the TRIP button.
To reset the trip odometer, press and hold the TRIP
button.
To change back to the regular odometer, press
the TRIP button again.
Warning Lights, Gages and Indicators
This part describes the warning lights and gages that may
be
on your vehicle. The pictures will help you locate them.
Warning lights and gages can signal that something is
wrong before it becomes serious enough to cause
an
expensive repair or replacement. Paying attention to
your warning lights and gages could also save
you or
others from injury.
Warning lights come
on when there may be or is a
problem with one of your vehicle’s functions. As you will
see in the details on the next few pages, some warning
lights come on briefly when
you start the engine just to let
you know they’re working. If you are familiar with this
section, you should not be alarmed when this happens.
Gages can indicate when there may be or is a problem
with
one of your vehicle’s functions. Often gages and
warning lights work together
to let you know when
there’s a problem with your vehicle.
When one of the warning lights comes
on and stays on
when
you are driving, or when one of the gages shows
there may be a problem, check the section that tells you
what to do about
it. Please follow this manual’s advice.
Waiting to do repairs can be costly
-- and even
dangerous.
So please get to know your warning lights
and gages. They’re a big help.
2-53
Page 165 of 372
0 Do not get too close to the vehicle you want to
pass while you’re awaiting an opportunity. For one
thing, following
too closely reduces your area of
vision, especially if you’re following a larger
vehicle. Also,
you won’t have adequate space if
the vehicle ahead suddenly slows or stops. Keep
back a reasonable distance.
0 When it looks like a chance to pass is coming up,
start to accelerate but stay
in the right lane and don’t
get too close. Time your move
so you will be
increasing speed as
the time comes to move into the
other lane. If the way is clear to pass, you will have a
“running start” that more than makes up for
the
distance you would lose by dropping back. And if
something happens
to cause you to cancel your pass,
you need
only slow down and drop back again and
wait for another opportunity.
If other cars are lined up to pass a slow vehicle, wait
your turn. But take care that someone
isn’t trying to
pass you as you pull out to pass the slow vehicle.
Remember
to glance over your shoulder and check
the blind spot.
Check your mirrors, glance over your shoulder and
start your left lane change signal before moving out
of the right lane to pass. When you are far enough
ahead
of the passed vehicle to see its front in your
inside mirror, activate your right lane change signal
and move back
into,the right lane. (Remember that
your right outside mirror is convex. The vehicle you
just passed may seem to be farther away from
you
than it really is.)
0 Try not to pass more than one vehicle at a time
on two-lane roads. Reconsider before passing the
next vehicle.
0 Don’t overtake a slowly moving vehicle too rapidly.
Even though
the brake lamps are not flashing, it may
be slowing down or starting to turn.
0 If you’re being passed, make it easy for the
following driver to get ahead of you. Perhaps you
can ease a little to the right.
4-11
Page 171 of 372
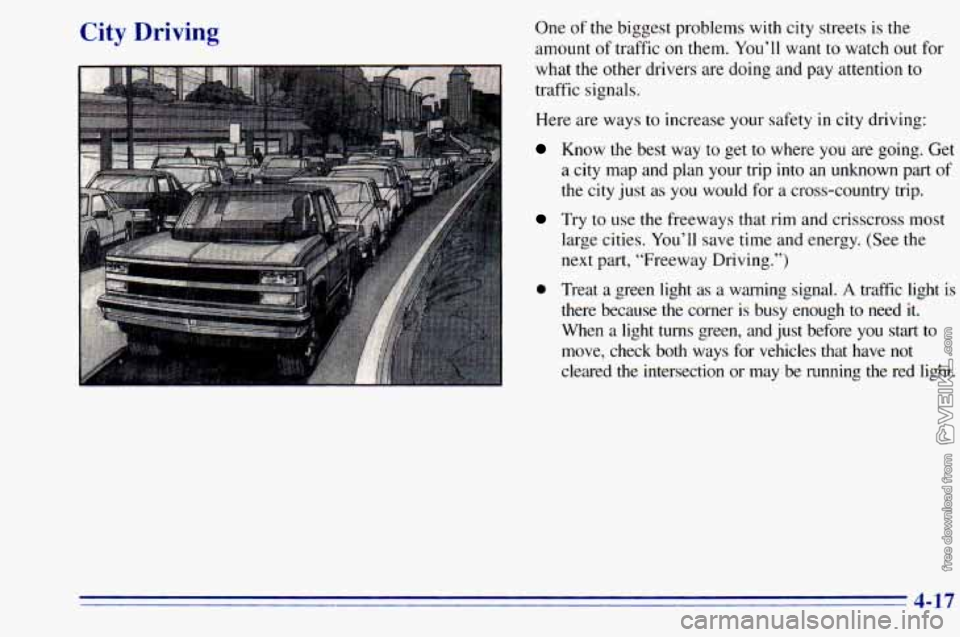
City Driving One of the biggest problems with city streets is the
amount of traffic on them.
You’ll want to watch out for
what the other drivers are doing and pay attention to
traffic signals.
Here are ways to increase your safety
in city driving:
Know the best way to get to where you are going. Get
a city map and plan your trip into an unknown part of
the city just as you would for a cross-country trip.
Try to use the freeways that rim and crisscross most
large cities. You’ll save time and energy. (See
the
next part, “Freeway Driving.”)
0 Treat a green light as a warning signal. A traffic light is
there because the corner is busy enough
to need it.
When a light turns green, and just before you
start to
move, check both ways for vehicles that have not
cleared the intersection or may be running the red light.
4-17
Page 172 of 372
Freeway Driving
Mile for mile, freeways (also called thruways, parkways,
expressways, turnpikes or superhighways) are the safest
of all roads.
But they have their own special rules. The
most important advice on freeway driving is: Keep
up with traffic and keep to
the right. Drive at the same
speed most of the other drivers are driving. Too-fast or
too-slow driving breaks
a smooth traffic flow. Treat the
left lane
on a freeway as a passing lane.
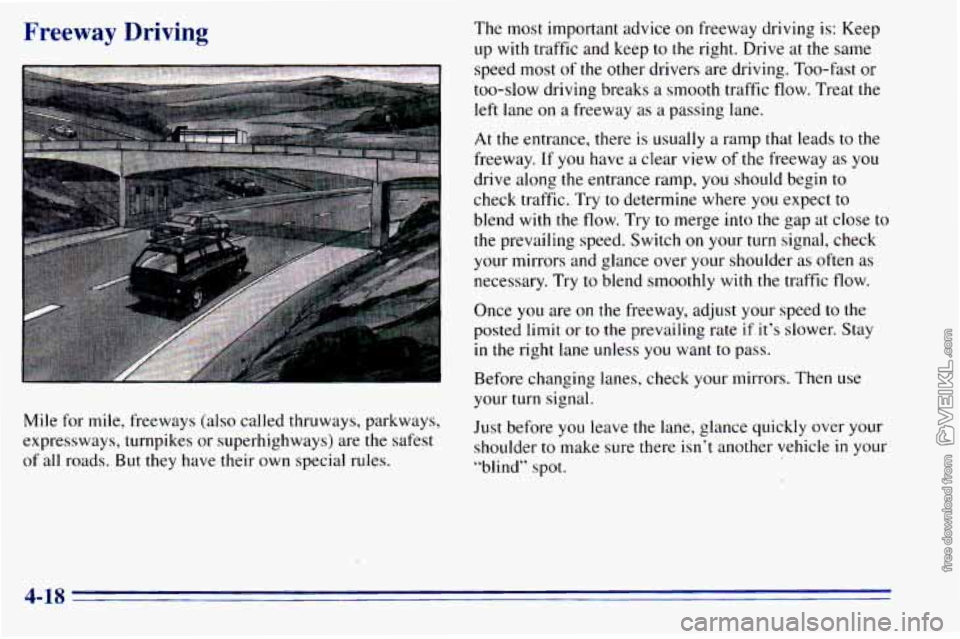
At the entrance, there
is usually a ramp that leads to the
freeway.
If you have a clear view of the freeway as you
drive along the entrance ramp, you should begin to
check traffic. Try to determine where
you expect to
blend with
the flow. Try to merge into the gap at close to
the prevailing speed. Switch on your turn signal, check
your mirrors and glance over your shoulder
as often as
necessary. Try to blend smoothly with the traffic flow.
Once you are on the freeway, adjust your speed to the
posted
limit or to the prevailing rate if it's slower. Stay
in the right lane unless you want to pass.
Before changing lanes, check your mirrors. Then use your turn signal.
Just before you leave the lane, glance quickly over your
shoulder to make sure there isn't another vehicle
in your
"blind" spot.
4-18
Page 189 of 372
Making Turns
NOTICE:
Making very sharp turns while trailering could
cause the trailer to come in contact with the
vehicle. Your vehicle could
be damaged. Avoid
making very sharp turns while trailering.
When you’re turning with a trailer, make wider turns than
normal.
Do this so your trailer won’t strike soft shoulders,
curbs, road signs, trees or other objects. Avoid jerky or
sudden maneuvers. Signal well in advance.
Tbrn Signals When Towing a Trailer
When you tow a trailer, your vehicle has to have extra
wiring and a heavy-duty turn signal flasher (included
in
the optional trailering package).
The green arrows on your instrument panel will flash
whenever you signal a turn or lane change. Properly
hooked up, the trailer lamps will also flash, telling other
drivers you’re about to turn, change lanes or stop. When
towing
a trailer, the green arrows on your
instrument panel will flash for turns even if the bulbs
on
the trailer are burned out. Thus, you may think drivers
behind you are seeing your signal when they are not. It’s
important
to check occasionally to be sure the trailer
bulbs are still working.
Driving On Grades
Reduce speed and shift to a lower gear before you start
down a long or steep downgrade. If
you don’t shift
down, you might have to use your brakes
so much that
they would get hot and
no longer work well.
On a long uphill grade, shift down and reduce your
speed to around
45 mph (70 km/h) to reduce the
possibility
of engine and transmission overheating.
When towing at high altitude on steep uphill grades,
consider the following: Engine coolant will boil at a
lower temperature than at normal altitudes. If you turn
your engine off immediately after towing at high altitude
on steep uphill grades, your vehicle may show signs
similar to engine overheating.
To avoid this, let the
engine run while parked (preferably on level ground)
with the automatic transmission in
PARK (P) for a few
minutes before turning
the engine off. If you do get the
overheat warning, see “Engine Overheating” in
the Index.
4-35
Page 191 of 372
Trailer Wiring Harness
If you have the optional trailering package, your vehicle
will have an eight-wire harness, including the center
high-mounted stoplamp battery feed wire. The harness
is stored on the passenger side
of the vehicle near the
rear wheel well. This harness
has a 30 amp battery feed
wire and no connector, and should be wired by a
qualified electrical technician. After choosing an
aftermarket trailer mating connector pair, have the
technician attach one connector to the eight-wire trailer
harness and the other connector to the wiring harness on
the trailer, Be sure the wiring harness on the trailer is
taped or strapped
to the trailer’s frame rail and leave it
loose enough
so the wiring doesn’t bend or break, but
not
so loose that it drags on the ground. The eight-wire
harness must be routed out
of your vehicle between the
rear door and the floor, with enough of the harness left
on both sides
so that the trailer or the body won’t pull it.
If you do not have the optional trailering package, your
vehicle will still have a trailering harness.
The harness is
located near the passenger’s side rear wheel well. It
consists of six wires that may be used
by after-market
trailer hitch installers. The technician can use the
following color code chart when connecting the wiring
harness to your trailer.
0 BROWN: Rear lamps.
YELLOW Left stoplamp and turn signal.
0 DARK GREEN: Right stoplamp and turn signal.
WHITE (Heavy Gage): Ground.
LIGHT GREEN: Back-up lamps.
0 WHITE (Light Gage): Center High-Mounted
0 BLUE: Auxiliary circuit (eight-wire harness only).
0 ORANGE: Fused auxiliary (eight-wire harness only).
xore the harness in its original place. Wrap the harness
together and
tie it neatly so it won’t be damaged.
Stoplamp.
4-37
Page 193 of 372
Section 5 Problems on the Road
I
Here you’ll find what to do about some problems that
can occur
on the road.
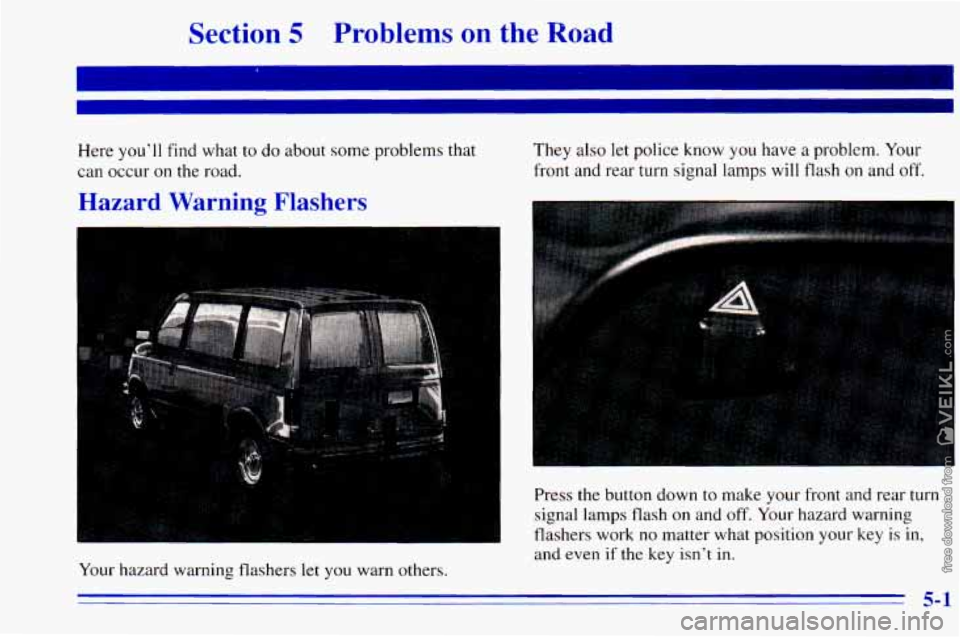
Hazard Warning Flashers
They also let police know you have a problem. Your
front and rear turn signal lamps will flash on and
off.
Your hazard warning flashers let you warn others. Press the button
down to make your front and rear turn
signal lamps flash
on and off. Your hazard warning
flashers work
no matter what position your key is in,
and even
if the key isn’t in.
5-1