brake CHEVROLET ASTRO 1997 2.G Service Manual
[x] Cancel search | Manufacturer: CHEVROLET, Model Year: 1997, Model line: ASTRO, Model: CHEVROLET ASTRO 1997 2.GPages: 404, PDF Size: 20.63 MB
Page 257 of 404
Downloaded from www.Manualslib.com manuals search engine Section 6 Service and Appearance Care
Here you will find information about the care of your vehicle. This section begins with service and fuel information,
and
then it shows how to check important fluid and lubricant levels. There is also technical information about your
vehicle, and
a part devoted to its appearance care.
6- 2
6-3
6-4
6-5
6-7
6-1 1
6- 15
6- 19
6-20
6-23
6-25
6-25
6-29
6-30
6-30
6-3
1
6-32
6-36
6-36
6-36 Service
Fuel Fuels
in Foreign Countries
Filling Your Tank
Checking Things Under the Hood
Engine Oil
Engine Cover
Air Cleaner
Automatic Transmission Fluid
All-Wheel Drive Rear Axle
Engine Coolant
Radiator Pressure Cap
Thermostat Power Steering Fluid
Windshield Washer Fluid
Brakes Battery
Bulb Replacement Halogen Bulbs 6-42
6-43
6-50
6-5
1
6-54
6-55
6-55
6-57
6-5
8
6-5 8
6-5
8
6-59
6-60
6-60
6-60
6-66
6-66
6-67
6-68 Windshield Wiper Blade Replacement
Tires Appearance Care
Cleaning
the Inside of Your Vehicle
Cleaning Glass Surfaces
Cleaning the Outside
of the Windshield,
Backglass and Wiper Blades
Cleaning the Outside
of Your Vehicle
Cleaning Tires Finish Damage Underbody Maintenance
Chemical Paint Spotting
Appearance Care Materials Chart
Vehicle Identification Number
(VIN)
Service Parts Identification Label
Electrical System Replacement Bulbs
Capacities and Specifications
Air Conditioning Refrigerants
Normal Maintenance Replacement Parts
6-1
Page 263 of 404
Downloaded from www.Manualslib.com manuals search engine When you put the cap back on, turn it to the right
(clockwise) until
you hear a clicking sound. Make sure
you fully install the cap. The diagnostic system can
determine if the fuel cap has been left off or improperly
installed. This would allow fuel to evaporate into the
atmosphere. See “Malfunction Indicator Lamp” in
the Index.
NOTICE:
If you need a new cap, be sure to get the right
type. Your dealer can get one for you.
If you get
the wrong type,
it may not fit properly. This may
cause your malfunction indicator lamp to light
and your fuel tank and emissions system may be
damaged. See “Malfunction Indicator Lamp” in
the Index.
Checking Things Under the Hoc4
m-
Things that burn can get on hot engine parts and
start a fire. These include liquids like gasoline,
oil, coolant, brake fluid, windshield washer and
other fluids, and plastic or rubber. You
or others
could be burned. Be careful not to drop or spill
things that will burn onto a hot engine.
6-7
Page 265 of 404
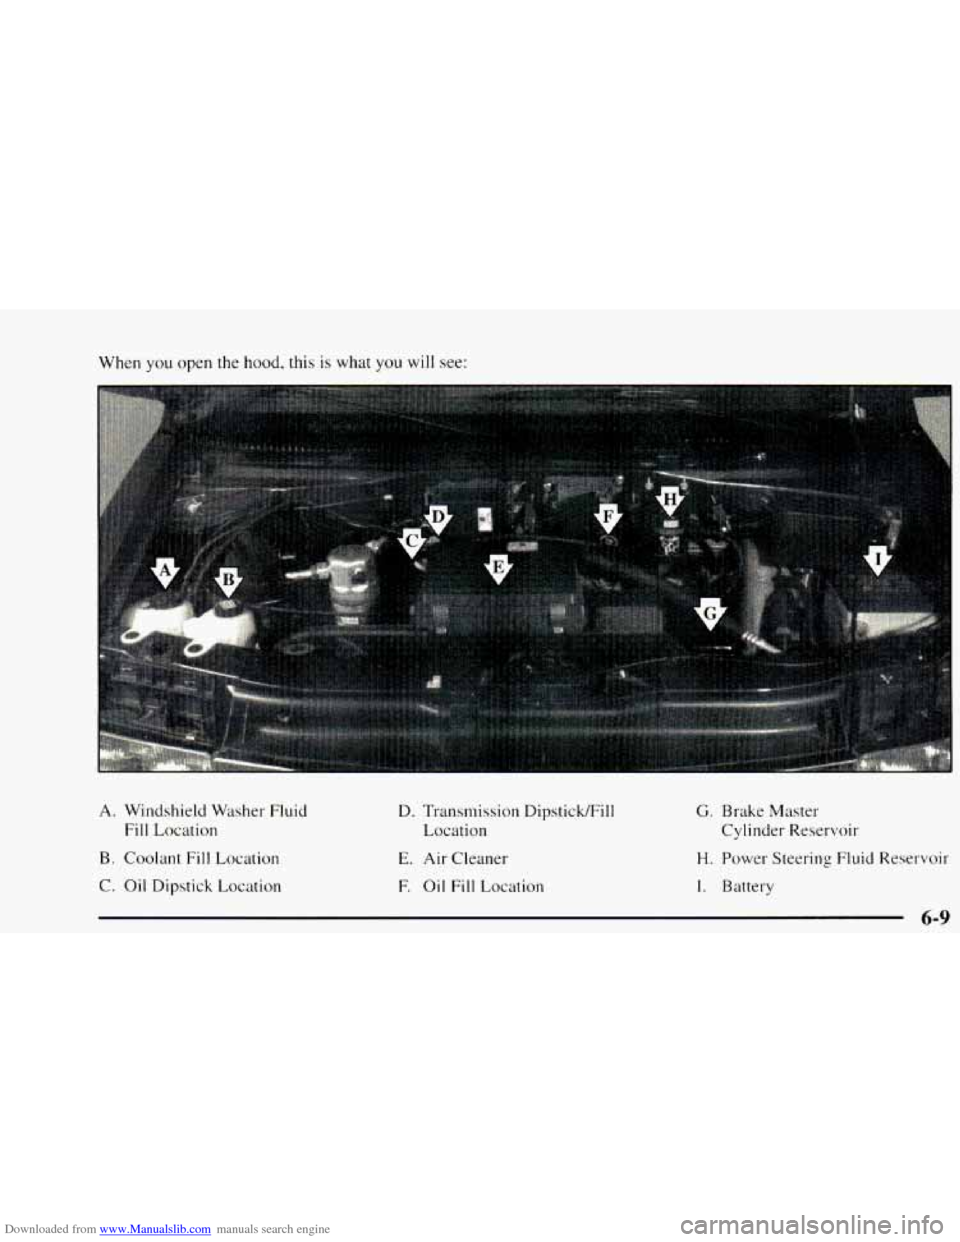
Downloaded from www.Manualslib.com manuals search engine When you open the hood, this is what you will see:
A. Windshield Washer Fluid
Fill Location
B. Coolant Fill Location
C. Oil Dipstick Location D. Transmission Dipstick/Fill
Location
E. Air Cleaner
F.
Oil Fill Location
G. Brake Master
Cylinder Reservoir
H. Power Steering Fluid Reservoir
I. Battery
6-9
Page 277 of 404
Downloaded from www.Manualslib.com manuals search engine Checking Transmission Fluid Hot
Get the vehicle warmed up by driving about 15 miles
(24 km) when outside temperatures are above 50°F
(10°C). If it's colder than 50°F ( 10°C)' drive the
vehicle in
DRIVE (D) until the engine temperature gage
moves and then remains steady for
10 minutes. Then
follow the
hot check procedures.
Checking Transmission Fluid Cold
A cold check is made after the vehicle has been sitting
for eight hours or more with
the engine off and is used
only as a reference. Let
the engine run at idle for five
minutes
if outside temperatures are 50°F (10°C) or
more. If it's colder than
50°F (lO°C), you may have
to idle the engine longer. Should the fluid level be low
during a cold check,
you must perform a hot check
before adding fluid. This will give you a more accurate
reading
of the fluid level.
Checking the Fluid Hot or Cold
Park your vehicle on a level place. Keep the
With the parking brake applied, place the shift lever
engine
running.
in
PARK (P).
With your foot on the brake pedal, move the shift
lever through each gear range, pausing for about
three seconds in each range. Then, position the shift
lever in
PARK (P).
Let the engine run at idle for three minutes or more.
6-21
Page 288 of 404
Downloaded from www.Manualslib.com manuals search engine Brakes
Brake Fluid
have your brake system fixed, since a leak means that
sooner or later your brakes won’t work well, or won’t
work at all.
So, it isn’t a good idea to “top off’ your brake fluid.
Adding brake fluid won’t correct a leak.
If you add fluid
when your linings are worn,
then you’ll have too much
fluid when
you get new brake linings. You should add
(or remove) brake fluid, as necessary, only when work is
done
on the brake hydraulic system.
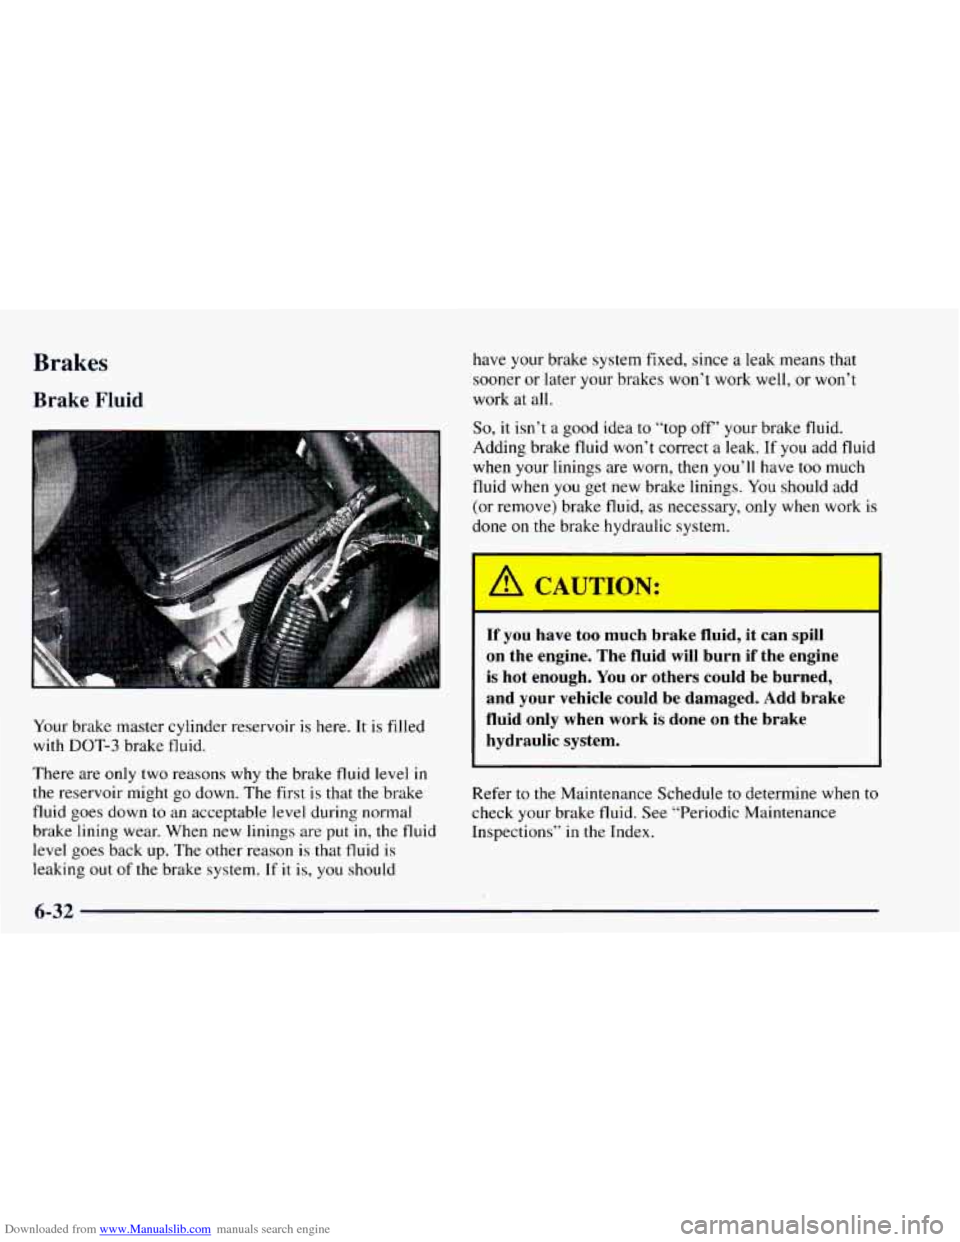
Your brake master cylinder reservoir
is here. It is filled
with DOT-3 brake fluid.
There are only two reasons why
the brake fluid level in
the reservoir might go down. The first is that the brake
fluid goes down
to an acceptable level during normal
brake lining wear. When new linings are put
in, the fluid
level goes back up. The other reason is that fluid is
leaking out of the brake system.
If it is, you should
If you have too much brake fluid, it can spill
on the engine. The fluid
will burn if the engine
is hot enough. You or others could be burned,
and your vehicle could be damaged. Add brake
fluid only when work is done
on the brake
hydraulic system.
Refer to the Maintenance Schedule to determine when to
check your brake
fluid. See “Periodic Maintenance
Inspections”
in the Index.
Page 289 of 404
Downloaded from www.Manualslib.com manuals search engine What to Add
Checking Brake Fluid
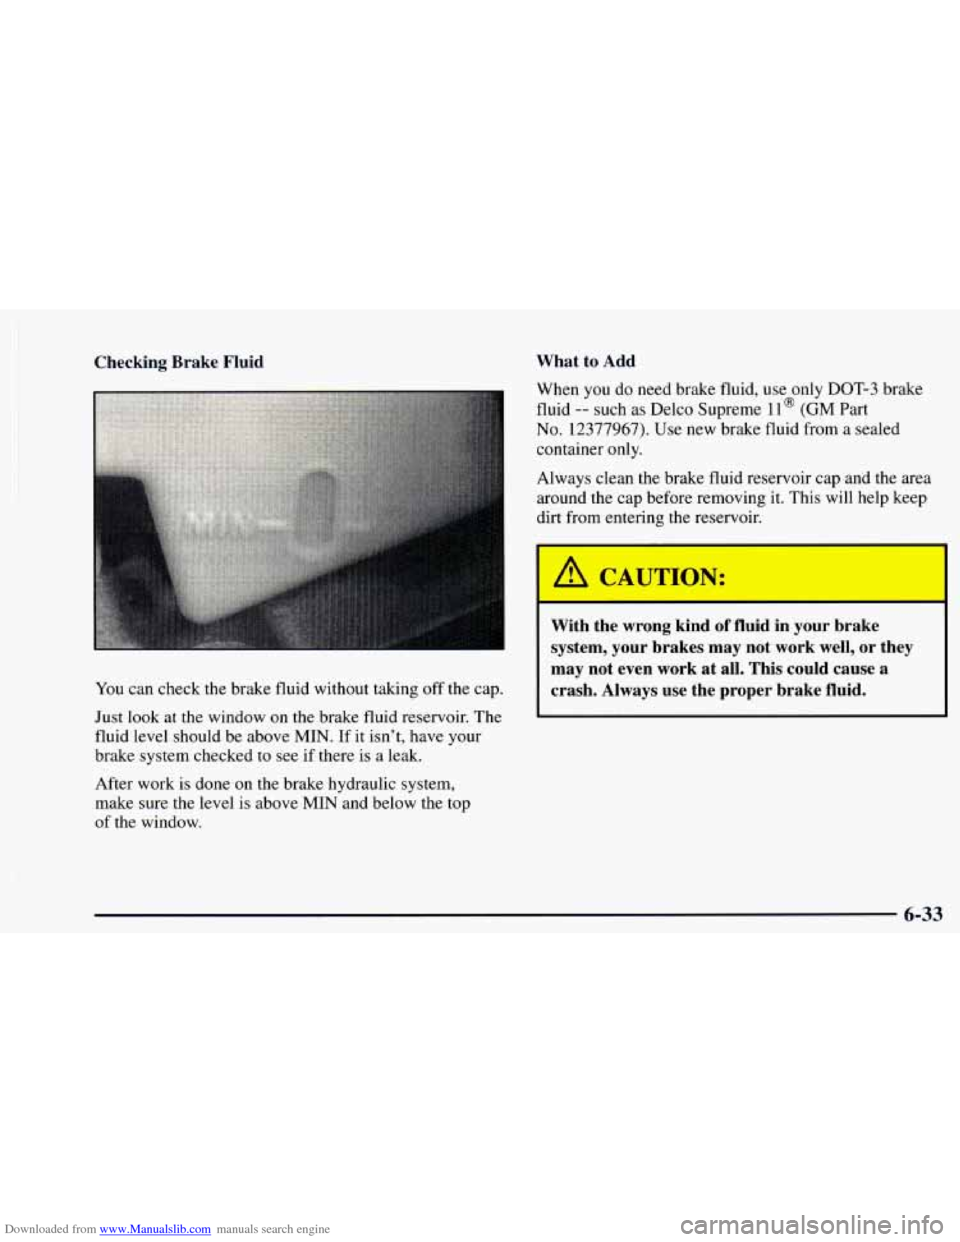
You can check the brake fluid without taking off the cap.
Just look at the window on the brake fluid reservoir. The
fluid level should be above MIN. If
it isn’t, have your
brake system checked to see
if there is a leak.
After work is done on the brake hydraulic system,
make sure the level
is above MIN and below the top
of the window. When
you do
need brake fluid, use only DOT-3 brake
fluid
-- such as Delco Supreme 11 @ (GM Part
No. 12377967). Use new brake fluid from a sealed
container only.
Always clean the brake fluid reservoir cap and the area
around the cap before removing it. This will help keep
dirt from entering the reservoir.
With the wrong kind of fluid in your brake
system, your brakes may not work well, or they
may not even work at all. This could cause a
crash. Always use the proper brake fluid.
6-33
Page 290 of 404
Downloaded from www.Manualslib.com manuals search engine go or be heard all the time your vehicle is moving (except
when
you are pushing on the brake pedal firmly). NOTICE:
0
0
Using the wrong fluid can badly damage
brake system parts. For example, just
a few
drops
of mineral-based oil, such as engine
oil, in your brake system can damage brake
system parts
so badly that they’ll have to be
replaced. Don’t let someone put in the
wrong kind of fluid.
If you spill brake fluid on your vehicle’s
painted surfaces, the paint finish can be
damaged. Be careful not to spill brake fluid
on your vehicle.
If you do, wash it off
immediately. See “Appearance Care” in
the Index.
Brake Wear
Your vehicle has front disc brakes and rear drum brakes.
Disc brake pads have built-in wear indicators that make a
high-pitched warning sound when the brake
pads are
worn and new pads are needed. The sound may come and
A CAUThN:
The brake wear warning sound means that soon
your brakes won’t work well. That could lead to
an accident. When you hear the brake wear
warning sound, have your vehicle serviced.
I NOTICE:
Continuing to drive with worn-out brake pads
could result in costly brake repair.
Some driving conditions
or climates may cause a brake
squeal when
the brakes are first applied or lightly
applied. This does not mean somethim
is wrong with
your brakes.
6-34
Page 291 of 404
Downloaded from www.Manualslib.com manuals search engine Properly torqued wheel nuts are necessary to help
prevent brake pulsation. When tires are rotated, inspect
brake pads for wear and
evenly torque wheel nuts in the
proper sequence
to GM specifications.
Your rear drum brakes don’t have wear indicators, but
if
you ever hear a rear brake rubbing noise, have the rear
brake linings inspected. Also,
the rear brake drums
should be removed and inspected each time the tires are
removed for rotation or changing. When
you have the
front brakes replaced, have the rear brakes inspected, too.
Brake linings should always be replaced as complete
axle sets.
See “Brake System Inspection’’ in Section
7 of this
manual under Part
C “Periodic Maintenance
Inspections.”
Brake Pedal Travel
See your dealer if the brake pedal does not return to
normal height, or if there is a rapid increase
in pedal
travel. This could be a sign of brake trouble.
Brake Adjustment
Every time you make a brake stop, your disc brakes
adjust for wear.
If your brake pedal goes down farther than normal, your
rear drum brakes may need adjustment. Adjust them by
backing up and firmly applying the brakes a few times.
Replacing Brake System Parts
The braking system on a modern vehicle is complex.
Its many parts have to be
of top quality and work well
together if the vehicle is to have really good braking.
Your vehicle was designed and tested with top-quality
GM brake parts. When
you replace parts of your braking
system
-- for example, when your brake linings wear
down and you have to have new ones put
in -- be sure
you get new approved GM replacement parts. If you
don’t, your brakes may
no longer work properly. For
example,
if someone puts in brake linings that are wrong
for your vehicle,
the balance between your front and
rear brakes can change
-- for the worse. The braking
performance you’ve come to expect can change
in many
other ways
if someone puts in the wrong replacement
brake parts.
6-35
Page 305 of 404
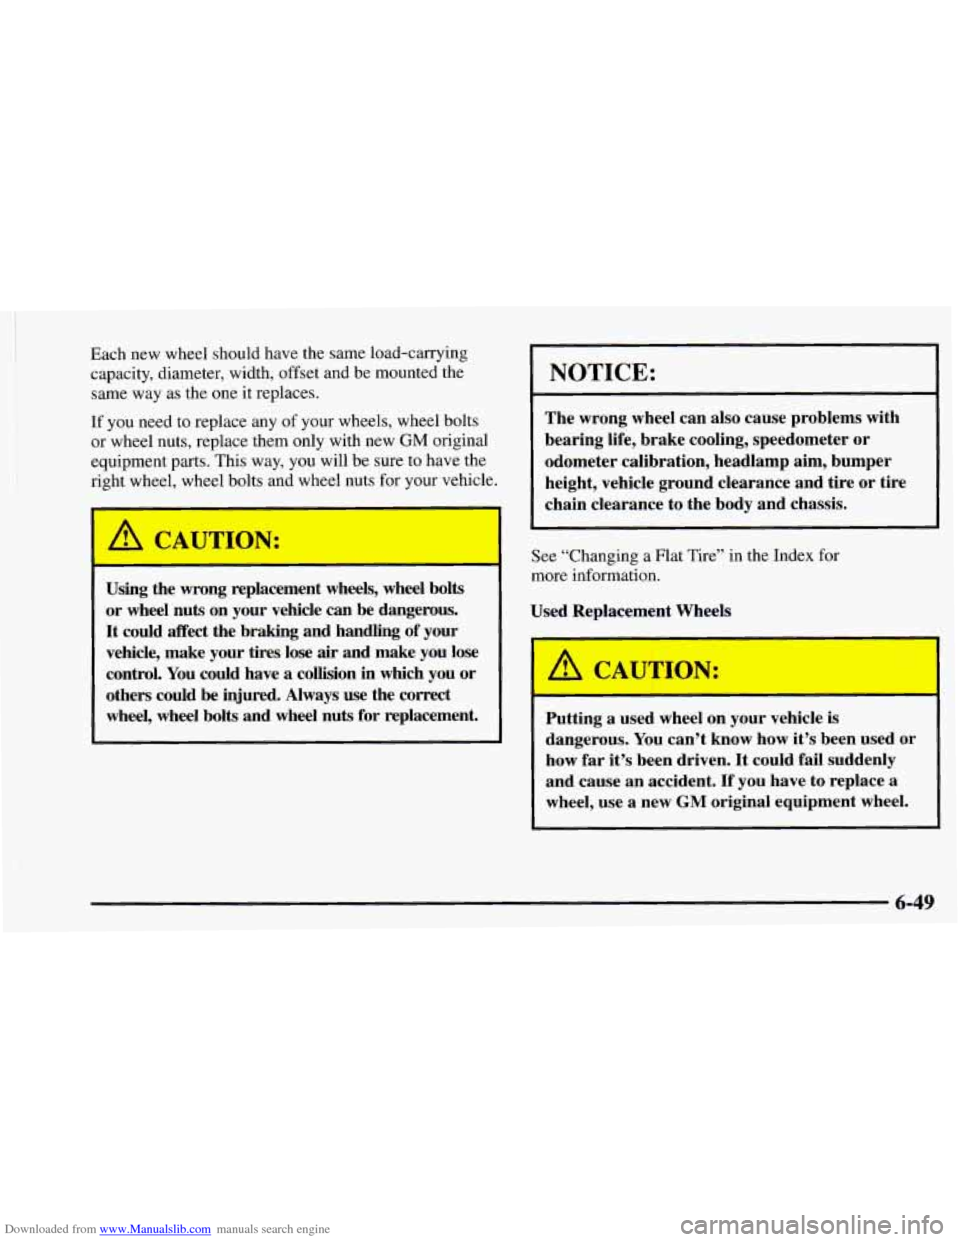
Downloaded from www.Manualslib.com manuals search engine Each new wheel should have the same load-carrying
capacity, diameter, width, offset and be mounted the
same way as the one it replaces.
If you need to replace any of your wheels, wheel bolts
or wheel nuts, replace them only with new
GM original
equipment
parts. This way, you will be sure to have the
right wheel, wheel bolts and wheel nuts for your vehicle.
A CAUTIO, .:
-
Using the wrong replacement wheels, wheel bolts
or wheel nuts on your vehicle can be dangerous.
It could affect the braking and handling of your
vehicle, make your tires lose air and make you lose
control.
You could have a collision in which you or
others could be injured. Always use the correct
wheel,
wheel bolts and wheel nuts for replacement.
NOTICE:
The wrong wheel can also cause problems with
bearing life, brake cooling, speedometer or
odometer calibration, headlamp aim, bumper
height, vehicle ground clearance and tire or tire
chain clearance to the body and chassis.
See “Changing a Flat Tire” in the Index for
more information.
Used Replacement Wheels
1
A CAU JON:
I
Putting a used wheel on your vehicle is
dangerous. You can’t know how it’s been used
or
how far it’s been driven. It could fail suddenly
and cause
an accident. If you have to replace a
wheel, use a new
GM original equipment wheel.
6-49
Page 319 of 404
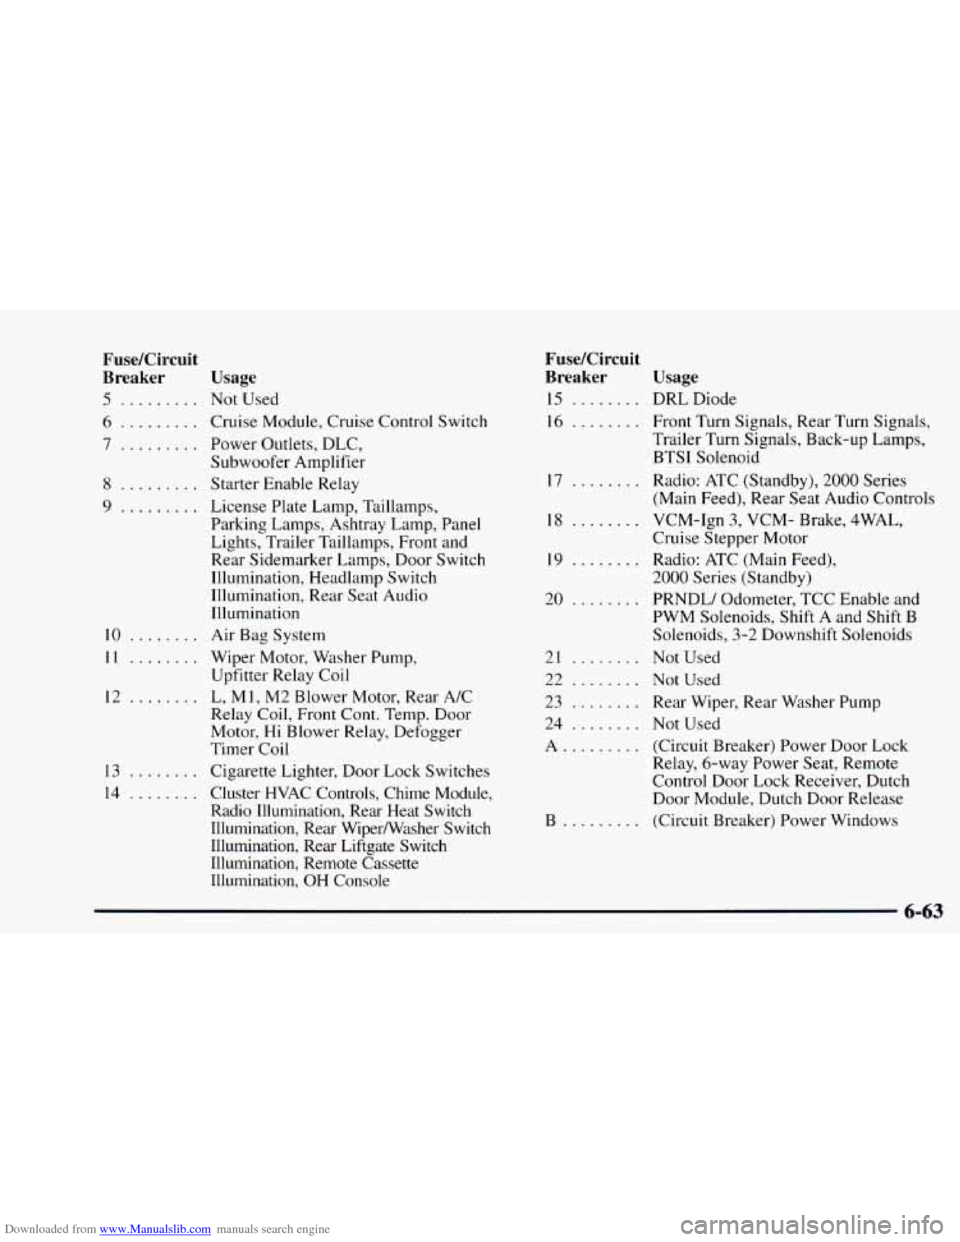
Downloaded from www.Manualslib.com manuals search engine FuseKircuit
Breaker
5 .........
6 .........
7 .........
8 .........
9 .........
10 ........
11 e. * e, e e.
12 ........
13 ........
14 ........
Usage
Not Used
Cruise Module, Cruise Control Switch
Power Outlets, DLC,
Subwoofer Amplifier
Starter Enable Relay
License Plate Lamp, Taillamps,
Parking Lamps, Ashtray Lamp, Panel
Lights, Trailer Taillamps, Front and
Rear Sidemarker Lamps, Door Switch
Illumination, Headlamp Switch
Illumination, Rear Seat Audio
Illumination
Air Bag System
Wiper Motor, Washer Pump,
Upfitter Relay Coil
L, MI,
M2 Blower Motor, Rear A/C
Relay Coil, Front Cont. Temp. Door
Motor, Hi Blower Relay, Defogger
Timer Coil
Cigarette Lighter, Door Lock Switches
Cluster HVAC Controls, Chime Module,
Radio Illumination, Rear Heat Switch
Illumination, Rear Wipermasher Switch
Illumination, Rear Liftgate Switch
Illumination, Remote Cassette Illumination,
OH Console
Fuse/Circuit
Breaker
15 ........
16 ........
17 ........
18 ........
19 ........
20 ........
21 ........
22 ........
23 ........
24 ........
A.........
B .........
Usage
DRL Diode
Front Turn Signals, Rear Turn Signals,
Trailer Turn Signals, Back-up Lamps,
BTSI Solenoid
Radio: ATC (Standby),
2000 Series
(Main Feed), Rear Seat Audio Controls
VCM-Ign
3, VCM- Brake, 4WAL,
Cruise Stepper Motol
Radio: ATC (Main Feed),
2000 Series (Standby)
PRNDLI Odometer, TCC Enable and
PWM Solenoids, Shift A and Shift B
Solenoids, 3-2 Downshift Solenoids
Not Used
Not Used
Rear Wiper, Rear Washer Pump
Not Used
(Circuit Breaker) Power Door Lock
Relay, 6-way Power Seat, Remote
Control Door Lock Receiver, Dutch
Door Module, Dutch Door Release
(Circuit Breaker) Power Windows
6-63