check engine CHEVROLET ASTRO 1997 2.G Owners Manual
[x] Cancel search | Manufacturer: CHEVROLET, Model Year: 1997, Model line: ASTRO, Model: CHEVROLET ASTRO 1997 2.GPages: 404, PDF Size: 20.63 MB
Page 9 of 404
Downloaded from www.Manualslib.com manuals search engine Section 1 Seats and Restraint Systems
Here you’ll find information about the seats in your vehicle and how to use your safety belts properly. You can also
learn about some things
you should not do with air bags and safety belts.
1-2
1-12
1-17
1-18
1-18
1-26 1-27
1-27
1-34
Seats and Seat Controls
Safety Belts: They’re for Everyone
Here Are Questions Many People
Ask
About Safety Belts -- and the Answers
How to Wear Safety Belts Properly
Driver Position Safety Belt Use During Pregnancy
Right Front Passenger Position
Supplemental Inflatable Restraint (SIR)
System
Rear Seat Passengers
1-37
1-39
1-41
1-44
1-53
1-62
1-65
1-65
1-66 Rear Safety
Belt Comfort Guides
for
Children and Small Adults
Center Passenger Position
(Bench Seat)
Children
Built-in Child Restraint (Option)
Child Restraints
Larger Children
Safety Belt Extender
Checking Your Restraint Systems
Replacing Restraint System Parts After a
Crash
Page 14 of 404
Downloaded from www.Manualslib.com manuals search engine After the latch has been released, push the seatback
toward the front
of the vehicle until it locks in place. To
raise the seatback, unlock the seatback latch by pushing
up on the lever while pushing down on the upper edge
of the seatback. Move the seatback into the upright
position. Make sure
the seatback is locked when it is
bacl 1 th lpright position.
A CAUTION:
If the seatback isn’t locked, it could move
forward in
a sudden stop or crash. That could
cause injury to the person sitting there. Always
press rearward
on the seatback to be sure it
is locked.
Rear Seats
A CAUTION:
A seat that isn’t locked into place properly can
move around
in a collision or sudden stop. People
in the vehicle could be injured. Be sure to lock
the seat into place properly when installing it.
A CAUTION:
- I
A safety belt that is twisted or not properly
attached won’t provide the protection needed in
a
crash. The person wearing the belt could be
seriously injured. After installing the seat, always
check to be sure that the safety belts are not
twisted and are properly attached.
1-6
Page 20 of 404
Downloaded from www.Manualslib.com manuals search engine 4. If you are replacing the center seat, connect the right
lap-shoulder belt to
the attachment on the seat
cushion. If
you have a safety belt guide on your seat,
pull the belt through
the guide before reattaching the
lap-shoulder belt to the side
of the seat. The release
hole should be facing outward.
If you installed the safety belt with the release hole
facing inward (toward the seat), slide the plastic
cover up
so you can see the buckle. Disconnect the
seat belt. Slide the cover back down and reinstall the
belt correctly.
NOTICE:
Be sure to put the correct seats back in the proper
positions
so the safety belts will work properly.
Safety Belts: They’re for Everyone
This part of the manual tells you how to use safety belts
properly. It also tells
you some things you should not do
with safety belts.
And it explains the Supplemental Inflatable Restraint
(SIR), or air bag system.
Don’t let anyone ride whel he or she can’t wear
a safety belt properly. If you are in a crash and
you’re not wearing
a safety belt, your injuries
can be much worse.
You can hit things inside the
vehicle or be ejected from it.
You can be seriously
injured or killed. In the same crash, you might
not be if you are buckled up. Always fasten your
safety belt, and check that your passengers’ belts
are fastened properly too.
1-12
Page 36 of 404
Downloaded from www.Manualslib.com manuals search engine A CAUTION:
Air bags inflate with great force, faster than the
blink of
an eye. If you’re too close to an inflating
air bag, it could seriously injure you. Safety belts
help keep you in position before and during a
crash. Always wear your safety belt, even with air
bags. The driver should sit
as far back as possible
while still maintaining control of the vehicle.
’ A CAUTION:
An inflating air bag can seriously injure small
children. Always secure children properly in your
vehicle. To read
how, see the part of this manual
called “Children” and the caution label on the
right front passenger’s safety belt.
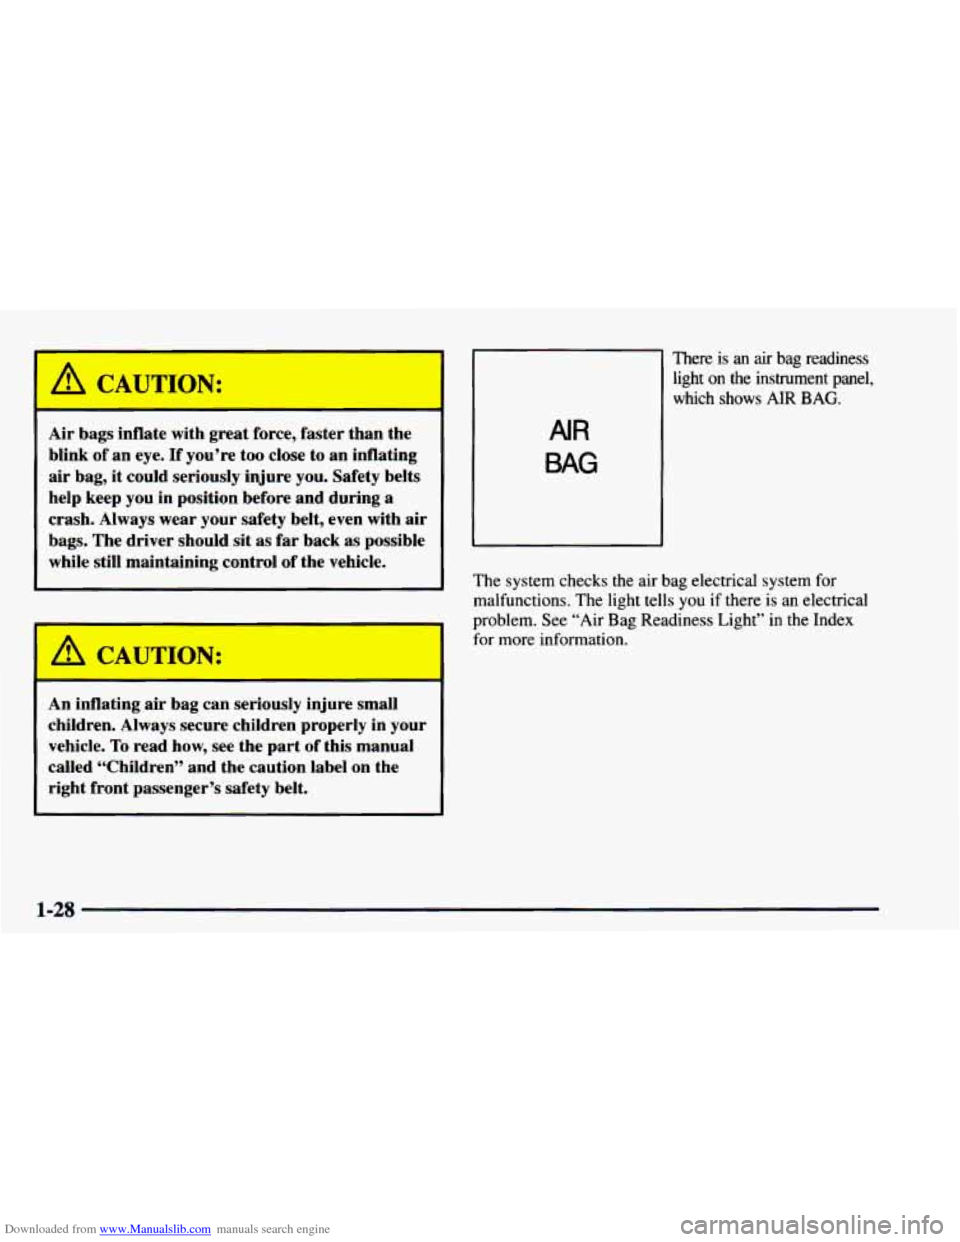
There is an air bag readiness
light on the instrument panel,
AIR
BAG
which shows AIR BAG.
The system checks the air bag electrical system for
malfunctions. The light tells
you if there is an electrical
problem. See “Air Bag Readiness Light” in
the Index
for more information.
1-28
Page 60 of 404
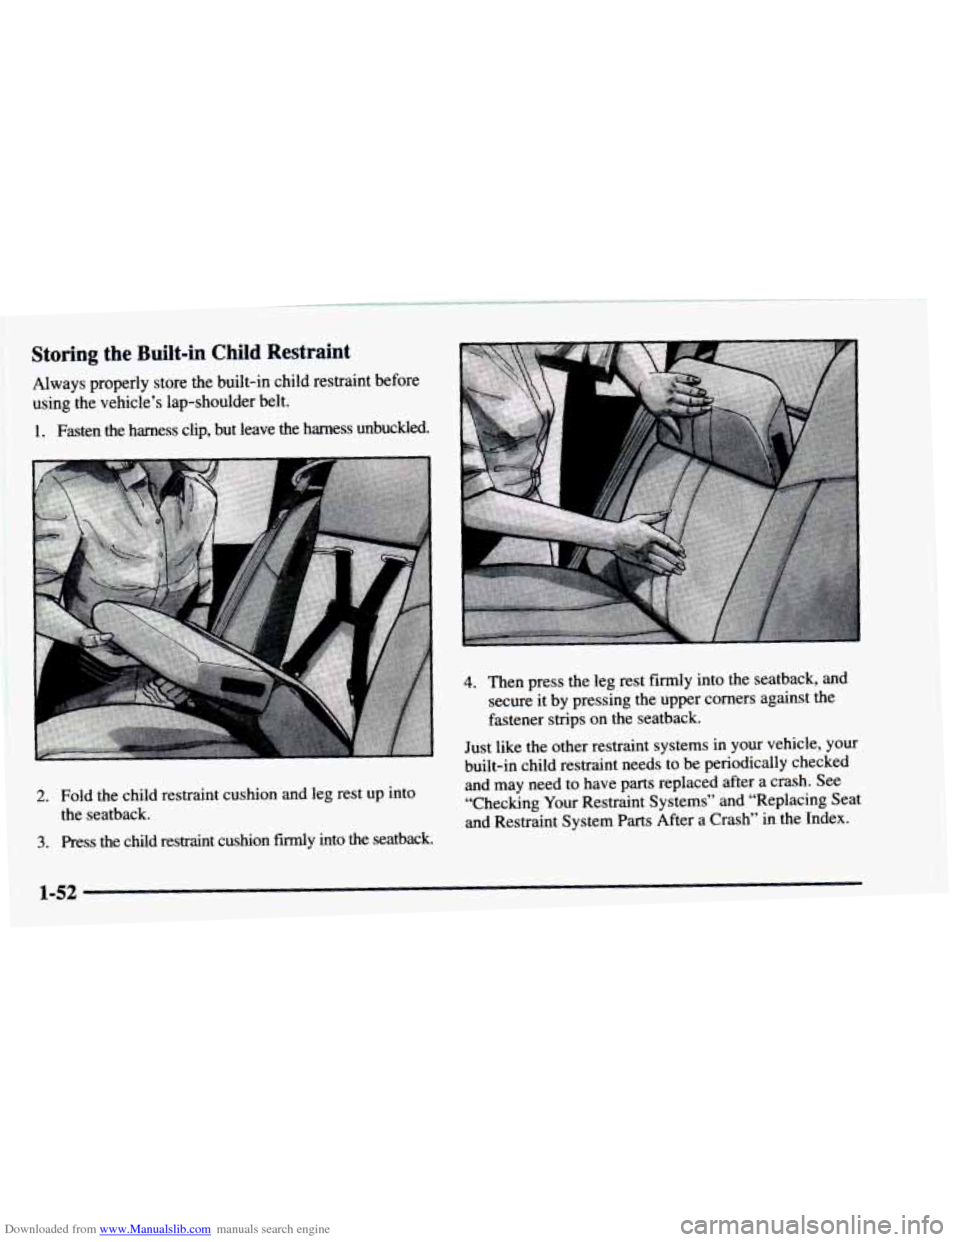
Downloaded from www.Manualslib.com manuals search engine Storing the Built-in Child Restraint
Always properly store the built-in child restraint before
using the vehicle’s lap-shoulder belt.
1. Fasten the harness clip, but leave the harness unbuckled.
..
2. Fold the child restraint cushion and leg rest up into
the seatback.
3. Press the child restraint cushion firmly into the seatback.
4. Then press the leg rest firmly into the seatback, and
secure it by pressing the upper corners against the
fastener strips on the seatback.
Just like the other restraint systems in your vehicle, your
built-in child restraint needs to be periodically checked
and may need to have parts replaced after
a crash. See
“Checking Your Restraint Systems” and “Replacing Seat
and Restraint System
Parts After a Crash” in the Index.
1-52
Page 73 of 404
Downloaded from www.Manualslib.com manuals search engine Safety Belt Extender
If the vehicle’s safety belt will fasten around you, you
should use it.
But if a safety belt isn’t long enough to fasten, your
dealer will order you an extender. It’s free. When
you go
in to order it, take the heaviest coat you will wear, so the
extender will be long enough for
you. The extender will
be just for
you, and just for the seat in your vehicle that
you choose. Don’t let someone else use it, and use it
only for
the seat it is made to fit. To wear it, just attach it
to the regular safety belt.
Checking Your Restraint Systems
Now and then, make sure the safety belt reminder light
and all your belts, buckles, latch plates, retractors and
anchorages are working properly. If your vehicle has a
built-in child restraint, also periodically make sure the
harness straps, latch plates, buckle, clip, retractors and
anchorages are working properly.
Look for any other
loose or damaged safety belt and built-in child restraint
system parts. If
you see anything that might keep a
safety belt or built-in child restraint system from doing
its job, have it repaired. Torn
or frayed safety belts may not protect
you in a
crash. They can rip apart under impact forces. If a belt
is
torn or frayed, get a new one right away.
If your vehicle has the built-in child restraint, torn or
frayed harness straps can rip apart under impact forces
just like torn or frayed safety belts can. They may
not
protect a child in a crash. If a harness strap is torn or
frayed, get a new harness right away.
Also look for any opened or broken air bag covers, and
have them repaired or replaced. (The air bag system
does not need regular maintenance.)
1-65
Page 79 of 404
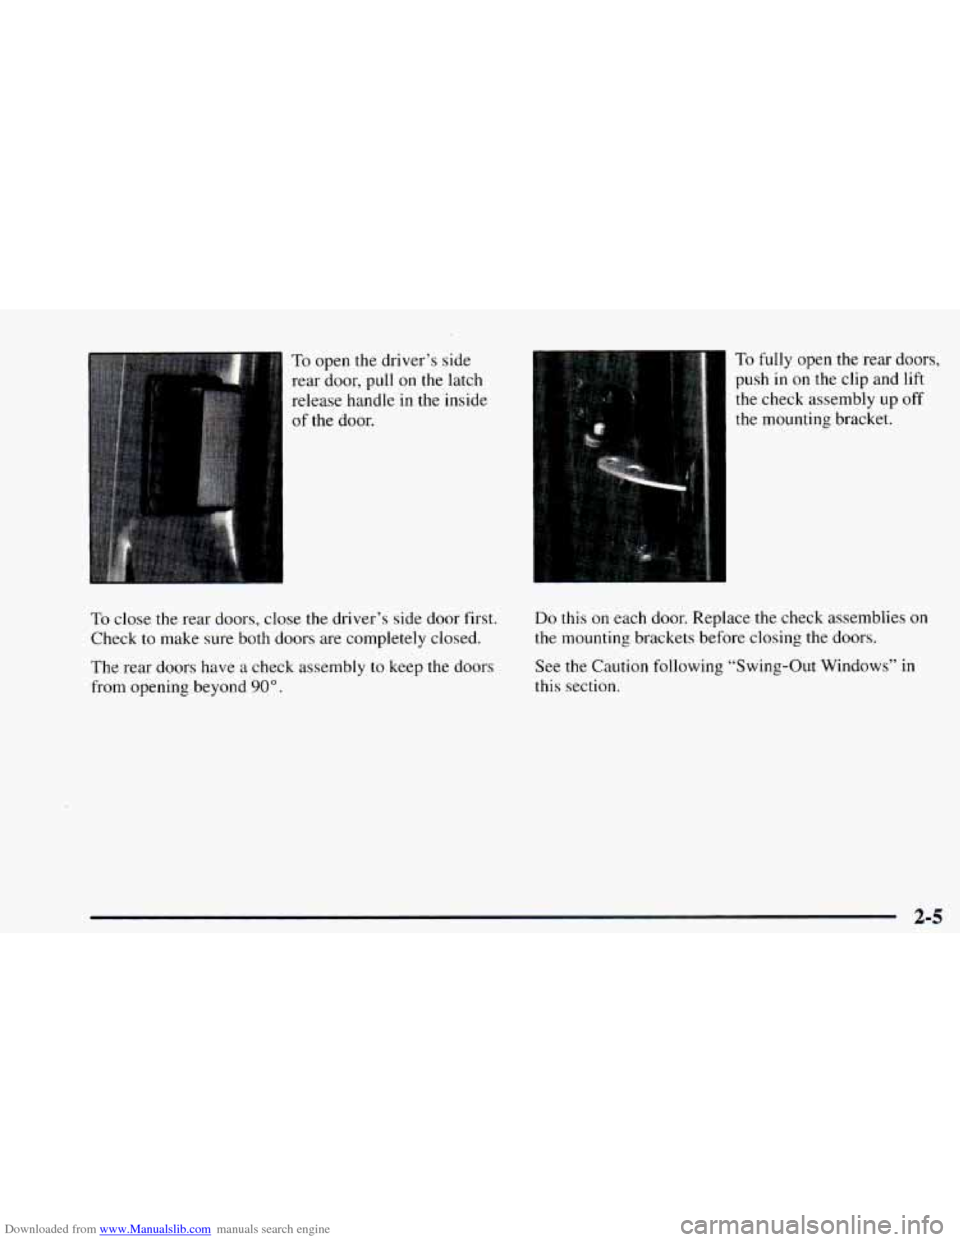
Downloaded from www.Manualslib.com manuals search engine To open the driver’s side
rear door, pull
on the latch
release handle
in the inside
of the door.
To fully open the rear doors,
push in on the clip and lift
the check assembly up
off
the mounting bracket.
To close the rear doors, close the driver’s side door first.
Check
to make sure both doors are completely closed.
The rear doors have a check assembly
to keep the doors
from opening beyond
90”.
Do this on each door. Replace the check assemblies on
the mounting brackets before closing the doors.
See the Caution following “Swing-Out Windows”
in
this section.
2-5
Page 82 of 404
Downloaded from www.Manualslib.com manuals search engine This device complies with RSS-210 of Industry and
Science Canada. Operation is subject
to the following
two conditions:
(1) this device may not cause
interference, and
(2) this device must accept any
interference received, including interference that
may cause undesired operation of
the device.
Changes or modifications
to this system by other than
an authorized service facility could void authorization to
use this equipment.
This system has a range of about
3 feet (1 m) up to
30 feet (9 m). At times you may notice a decrease in
range. This is normal for any remote lock control
system. If the transmitter does not work or if you have
to stand closer
to your vehicle for the transmitter to
work, try this:
Check to determine if battery replacement or
transmitter resynchronization is necessary. See
the instructions that follow.
Check the distance. You may be too far from your
vehicle. You may need to stand closer during rainy
or snowy weather.
Check the location. Other vehicles or objects may be
blocking
the signal. Take a few steps to the left or
right, hold the transmitter higher, and try again.
If you’re still having trouble, see your GM dealer or
a qualified technician for service. Changes
or modifications
to this system by other than an
authorized service facility could void authorization to
use this equipment.
Operation
When you press UNLOCK, the driver’s door will
unlock automatically. If
you press UNLOCK again
within five seconds, all doors will unlock. All doors
will lock when LOCK is pressed. The interior lamps
will come on whenever you lock or unlock
the doors.
See “Keyless Illumination’’
in the Index. Pressing
REAR 2X twice within three seconds, will unlock the
hatch or rear cargo doors.
Matching Transmitter(s) To Your Vehicle
Each remote keyless entry transmitter is coded to
prevent another transmitter from unlocking your vehicle.
If a transmitter
is lost or stolen, a replacement can be
purchased through your dealer. Remember to bring any
remaining transmitters with
you when you go to your
dealer. When
the dealer matches the replacement
transmitter
to your vehicle, any remaining transmitters
’ must also be matched. Once your dealer has coded the
new transmitter, the lost transmitter will not unlock your
vehicle. Each vehicle can have
only two transmitters
matched to it.
2-8
Page 92 of 404
Downloaded from www.Manualslib.com manuals search engine 3. If your engine still won’t start (or starts but then
stops), wait
15 seconds and start over.
When the engine starts, let go
of the key and the
accelerator pedal.
NOTICE:
Your engine is designed to work with the
electronics in your vehicle.
If you add electrical
parts or accessories, you could change the way
the engine operates. Before adding electrical
equipment, check with your dealer.
If you don’t,
your engine might not perform properly.
If you ever have to have your vehicle towed, see
the part of this manual that tells how to do it
without damaging your vehicle. See “Towing
Your Vehicle” in the Index.
Fuel Regulator
You have a fuel regulator that shuts the fuel off when
the engine reaches 5,600 rpm.
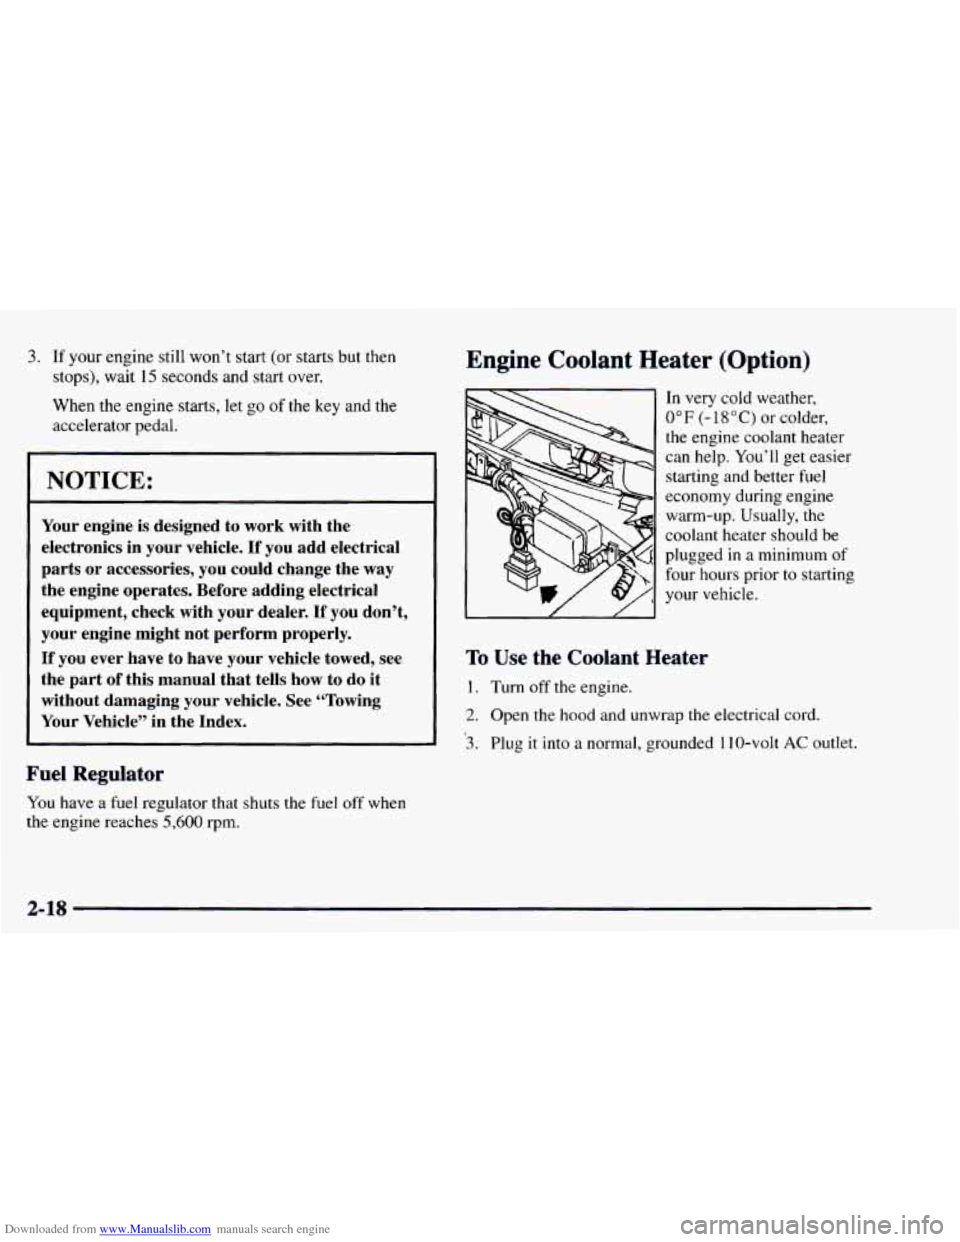
Engine Coolant Heater (Option)
In very cold weather,
0°F (-18°C) or colder,
the engine coolant heater
can help. You’ll get easier
starting and better fuel
economy during engine
warm-up. Usually, the
coolant heater should be
plugged in a minimum
of
four hours prior to starting
your vehicle.
To Use the Coolant Heater
1. Turn off the engine.
2. Open the hood and unwrap the electrical cord.
3. Plug it into a normal, grounded 1 10-volt AC outlet.
2-18
Page 106 of 404
Downloaded from www.Manualslib.com manuals search engine mrn and Lane Change Signals
The turn signal has two upward (for right) and two
downward (for left) positions. These positions allow
you to signal a turn or a lane change.
To signal a turn, move the lever all the way up or
down. When the turn is finished, the lever will
return automatically.
An arrow on the instrument
panel will flash
in the
direction of the turn or
lane change.
To signal a lane change, just raise or lower the lever
until the arrow starts to flash. Hold it there until you
complete your lane change. The lever will return by
itself when
you release it.
As you signal a turn or a lane change, if the arrows
don’t flash but just stay on, a signal bulb may be
burned
out and other drivers won’t see your turn signal. If
a bulb is burned out, replace it to help avoid an
accident.
If the arrows don’t go on at all when you
signal a turn, check the fuse (see “Fuses and Circuit
Breakers”
in the Index) and for burned-out bulbs.
If
you have a trailer towing option with added wiring
for the trailer lamps, a different turn signal flasher is
used. With this flasher installed, the signal indicator
will flash even if a turn signal bulb is burned out. Check
the front and rear turn signal lamps regularly to make
sure
they are working.
Headlamp High/Low Beam Changer
To change the headlamps from low beam to high or high
to low, pull the multifunction lever all the way toward
you. Then release
it.
When the high beams are
on, this indicator light on
the instrument panel also
will be on.
2-32