CHEVROLET ASTRO 2003 Owners Manual
ASTRO 2003
CHEVROLET
CHEVROLET
https://www.carmanualsonline.info/img/24/55882/w960_55882-0.png
CHEVROLET ASTRO 2003 Owners Manual
Trending: warning light, adding oil, fuse chart, hood release, center console, oil dipstick, turn signal
Page 271 of 386
Front Axle
When to Check and Change Lubricant
Refer to the Maintenance Schedule to determine how
often to check the lubricant and when to change it.
See
Part A: Scheduled Maintenance Services on
page 6-4.
How to Check Lubricant
To get an accurate reading, the vehicle should be on a
level surface.
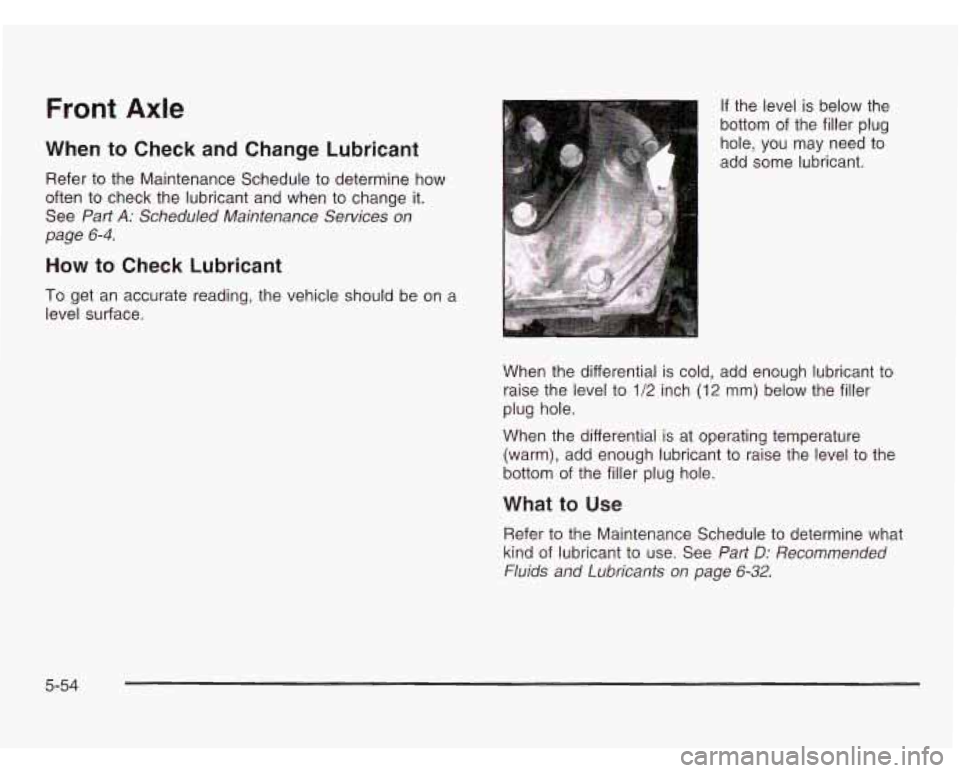
If the level is below the
bottom of the filler plug
hole, you may need to
add some lubricant.
When the differential is cold, add enough lubricant to
raise the level to
1/2 inch (12 mm) below the filler
plug hole.
When the differential is at operating temperature
(warm), add enough lubricant
to raise the level to the
bottom of the filler plug hole.
What to Use
Refer to the Maintenance Schedule to determine what
kind of lubricant
to use. See Part D: Recommended
Fluids and lubricants on page
6-32.
5-54
Page 272 of 386
Bulb Replacement
For any bulb changing procedure not listed in this
section, contact your dealer.
For the type of bulbs, see Replacement Bulbs OIJ
page 5-6 1.
Halogen Bulbs Headlamps
Sealed
Beam Headlamp
Haloc_ I bulbs have pressurized gas inside and
can burst
if you drop or scratch the bulb. You or
others could be injured. Be sure
to read and
follow the instructions on the bulb package.
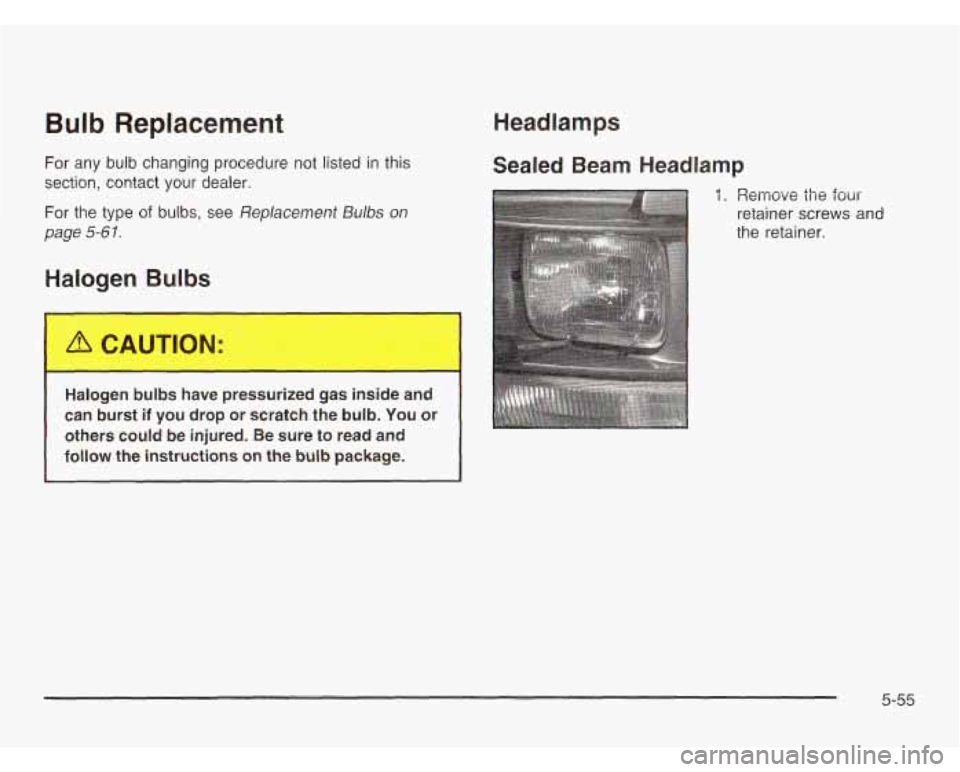
1. Remove the four
retainer screws and
the retainer.
5-55
Page 273 of 386
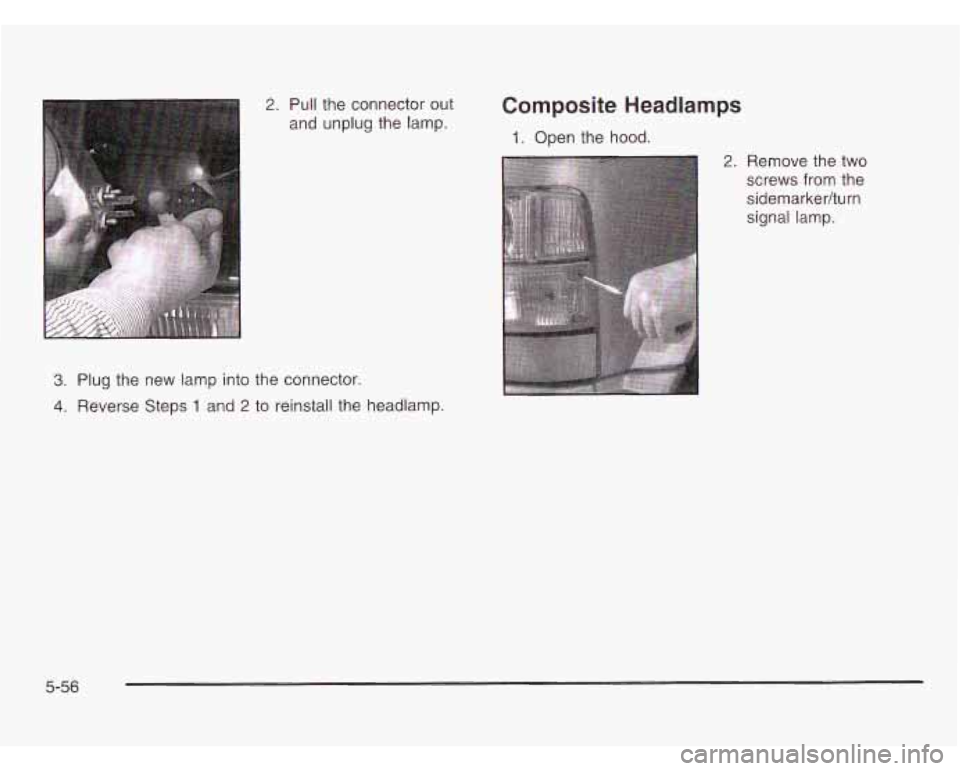
2. Pull the connector out
and unplug the lamp.
3. Plug the new lamp into the connector.
4. Reverse Steps 1 and 2 to reinstall the headlamp.
Composite Headlamps
1. Open the hood.
2. Remove the two
screws from the
sidemarkedturn
signal lamp.
5-56
Page 274 of 386
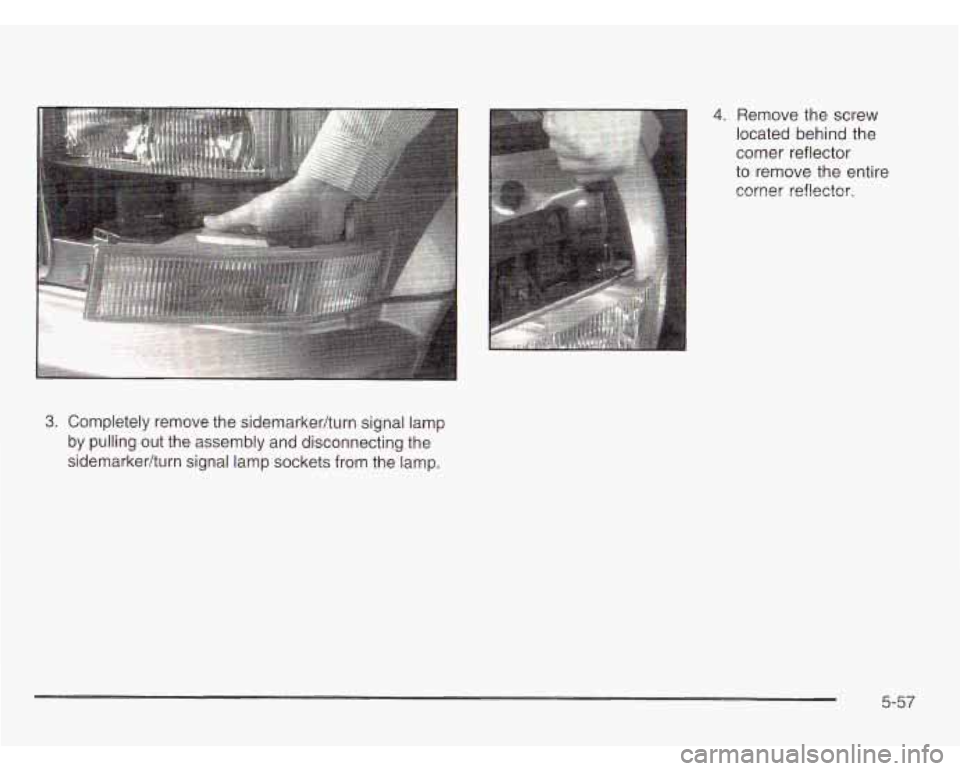
3. Completely remove the sidemarkedturn signal lamp
by pulling out the assembly and disconnecting the
sidemarkedturn signal lamp sockets from the lamp.
4. Remove the screw
located behind the
corner reflector
to remove the entire
corner reflector.
5-57
Page 275 of 386
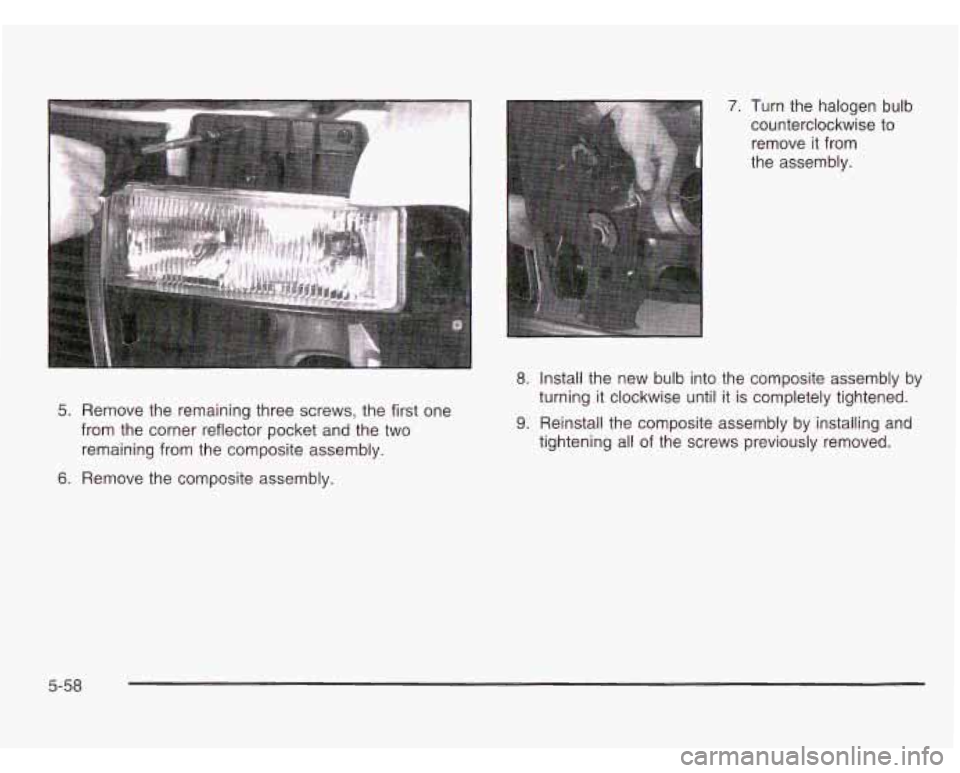
5. Remove the remaining three screws, the first one
from the corner reflector pocket and the two
remaining from the composite assembly.
6. Remove the composite assembly.
7. Turn the halogen bulb
counterclockwise to
remove it from
the assem bly.
8. Install the new bulb into the composite assembly by
turning it clockwise until it is completely tightened.
9. Reinstall the composite assembly by installing and
tightening all of the screws previously removed.
5-58
Page 276 of 386
Front Turn Signal Lamps
1. Remove the two screws at the inside edge of the
2. Remove the lamp assembiy.
parkinghurn signal
lamp assembly.
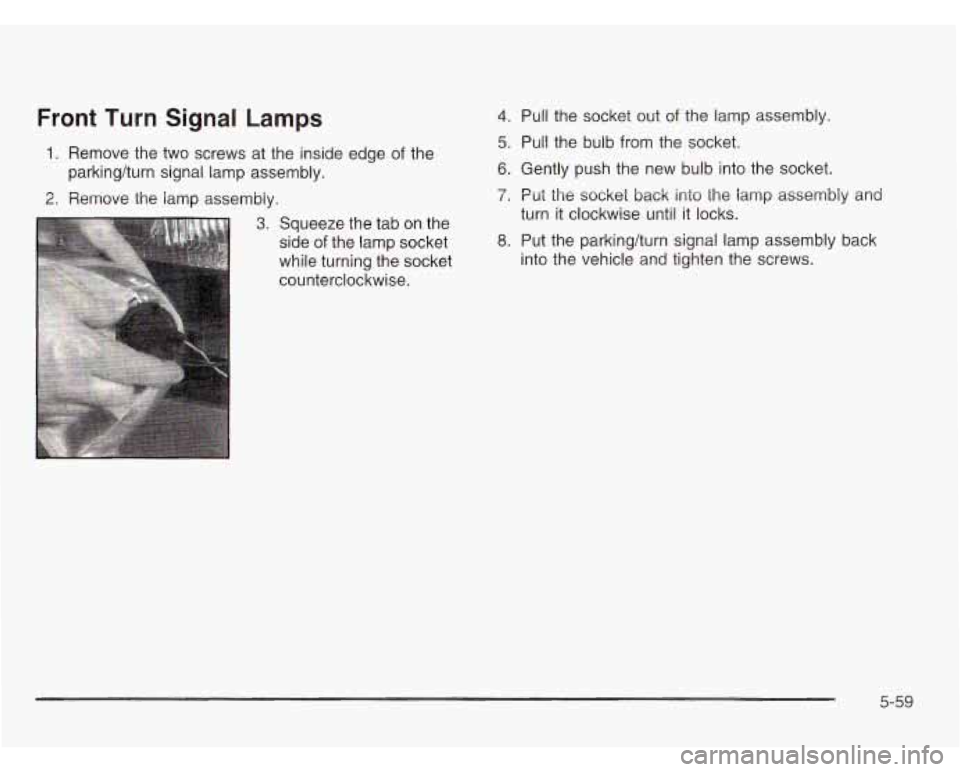
3. Squeeze the tab on the
side
of the lamp socket
while turning the socket
counterclockwise.
4. Pull the socket out of the lamp assembly.
5. Pull the bulb from the socket.
6. Gently push the new bulb into the socket.
7. Put the socket back into the lamp assembiy and
turn it clockwise until it locks.
8. Put the parkinghurn signal lamp assembly back
into the vehicle and tighten the screws.
5-59
Page 277 of 386
Taillamps
1. Open the rear door.
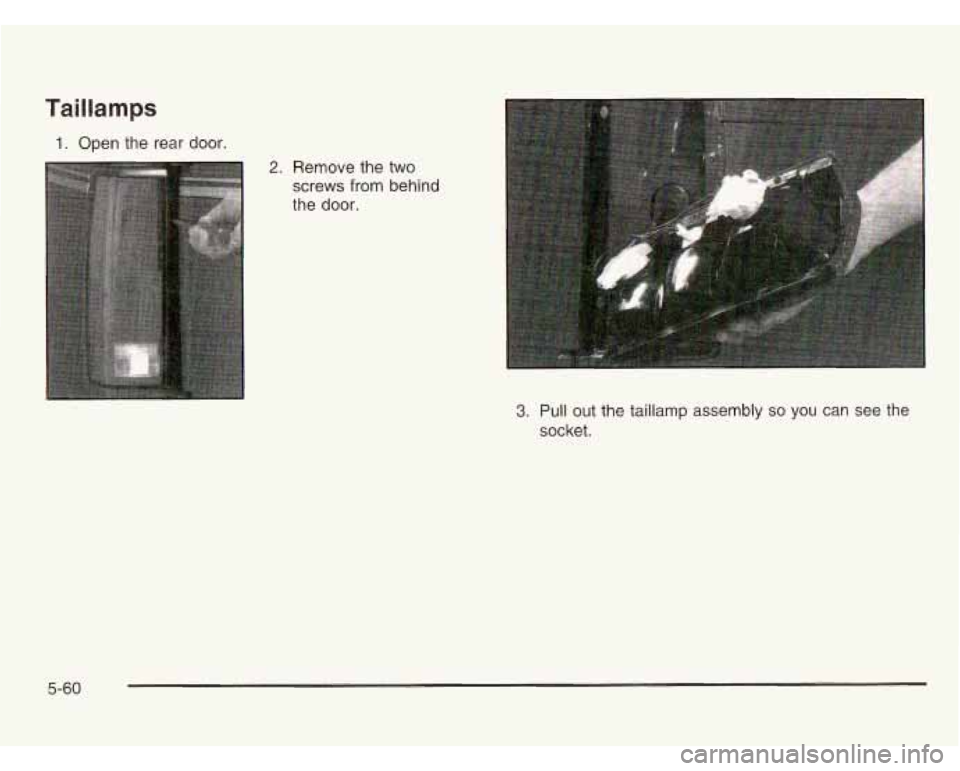
2. Remove the two
screws from behind
the door.
3. Pull out the taillamp assembly so you can see the
socket.
5-60
Page 278 of 386
4. Press the tab and
turn the socket
counterclockwise to
remove the socket from
the bezel: If the socket
does not have a
tab, turn the socket
counterclockwise
to remove the socket
from the bezel.
5. Remove the old bulb from the socket and replace it
6. Reverse Steps 1 through 4 to reinstall the taillamp.
with a new one.
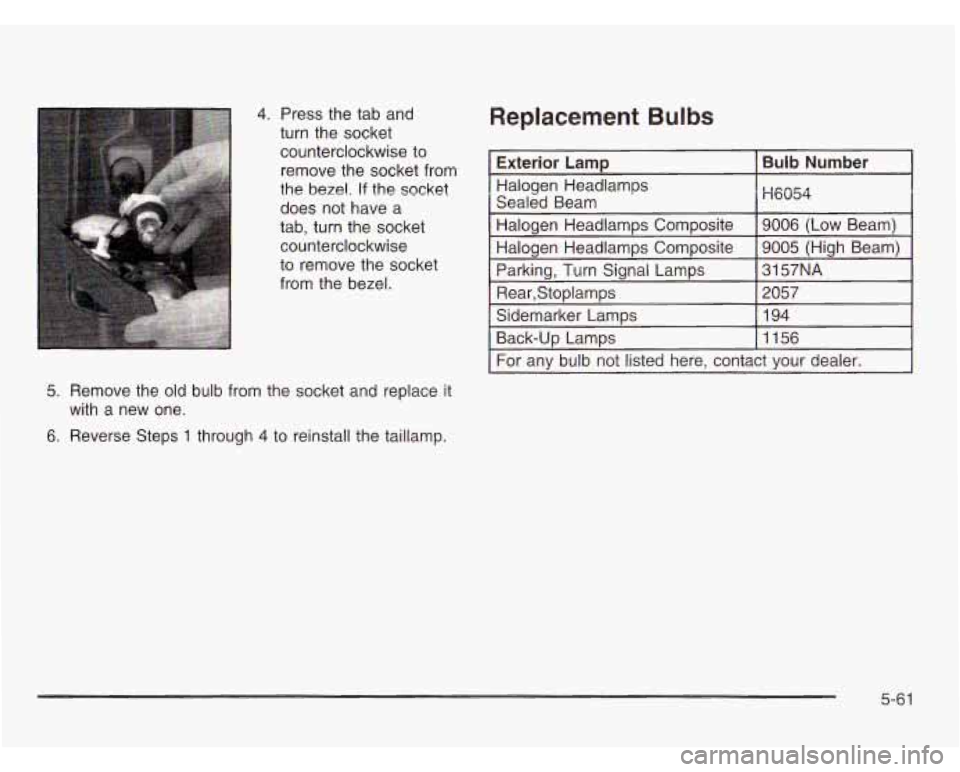
Replacement Bulbs
Exterior Lamp I Bulb Number
I
Halogen
Headlamps
Sealed Beam 1 H6054
I Halogen Headlamps Composite I9006 (Low Beam) I
5-6 1
Page 279 of 386
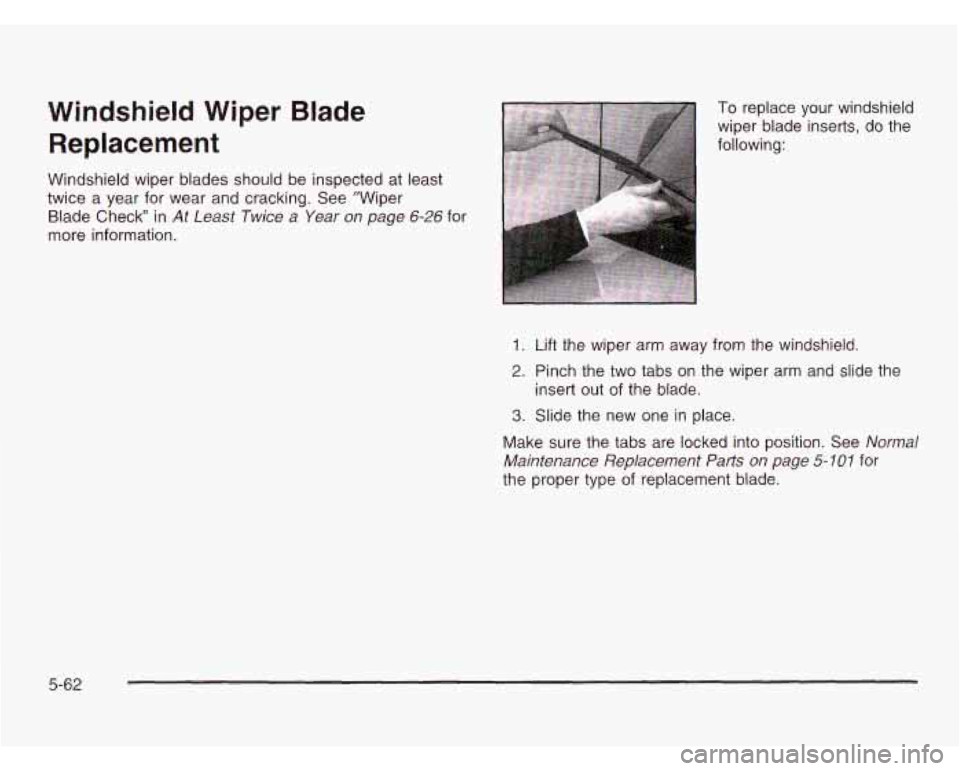
Windshield Wiper Blade Replacement To replace your windshield
wiper blade inserts, do the
following:
Windshield wiper blades should be inspected at least
twice a year for wear and cracking. See "Wiper
Blade Check in
At Least Twice a Year on page 6-26 for
more information.
1. Lift the wiper arm away from the windshield.
2. Pinch the two tabs on the wiper arm and slide the
insert out of the blade.
3. Slide the new one in place.
Make sure the tabs are locked into position. See
Normal
Maintenance Replacement Parts
on page 5- 10 I for
the proper type of replacement blade.
5-62
Page 280 of 386
Tires
Your new vehicle comes with high-quality tires made by
a leading tire manufacturer.
If you ever have questions
about your tire warranty
and where to obtain service,
see your GMC Warranty booklet for details.
Poorl! lail -Jned anc. ..nproy-. ly used tires
are dangerous.
Overloading your tires can cause
overheating as a result of too much
friction. You could have an air-out and a
serious accident. See “Loading Your
Vehicle” in the Index.
CAUTION: (Continued)
0 Underinflated tires pose the same danger
as overloaded tires. The resulting accident
could cause serious injury. Check
all tires
frequently to maintain the recommended pressure. Tire pressure should be checked
when your tires are cold.
Overinflated tires are more likely to be
cut, punctured or broken by
a sudden
impact
- such as when you hit a pothole.
Keep tires at the recommended pressure.
Worn, old tires can cause accidents.
If your tread
is badly worn, or if your tires
have been damaged, replace them.
5-63
Trending: CD changer, wiring, homelink, key battery, automatic transmission, warning, wheel alignment
