check engine light CHEVROLET ASTRO 2004 User Guide
[x] Cancel search | Manufacturer: CHEVROLET, Model Year: 2004, Model line: ASTRO, Model: CHEVROLET ASTRO 2004Pages: 382, PDF Size: 2.73 MB
Page 177 of 382
Avoid needless heavy braking. Some people drive
in spurts Ð heavy acceleration followed by heavy
braking Ð rather than keeping pace with traffic. This is
a mistake. Your brakes may not have time to cool
between hard stops. Your brakes will wear out much
faster if you do a lot of heavy braking. If you keep pace
with the traffic and allow realistic following distances,
you will eliminate a lot of unnecessary braking.
That means better braking and longer brake life.
If your engine ever stops while you are driving, brake
normally but do not pump your brakes. If you do,
the pedal may get harder to push down. If your engine
stops, you will still have some power brake assist.
But you will use it when you brake. Once the power
assist is used up, it may take longer to stop and
the brake pedal will be harder to push.Anti-lock Brake System
Your vehicle has anti-lock brakes. ABS is an advanced
electronic braking system that will help prevent a
braking skid.
When you start your engine and begin to drive away,
your anti-lock brake system will check itself. You
may hear a momentary motor or clicking noise while
this test is going on. This is normal.
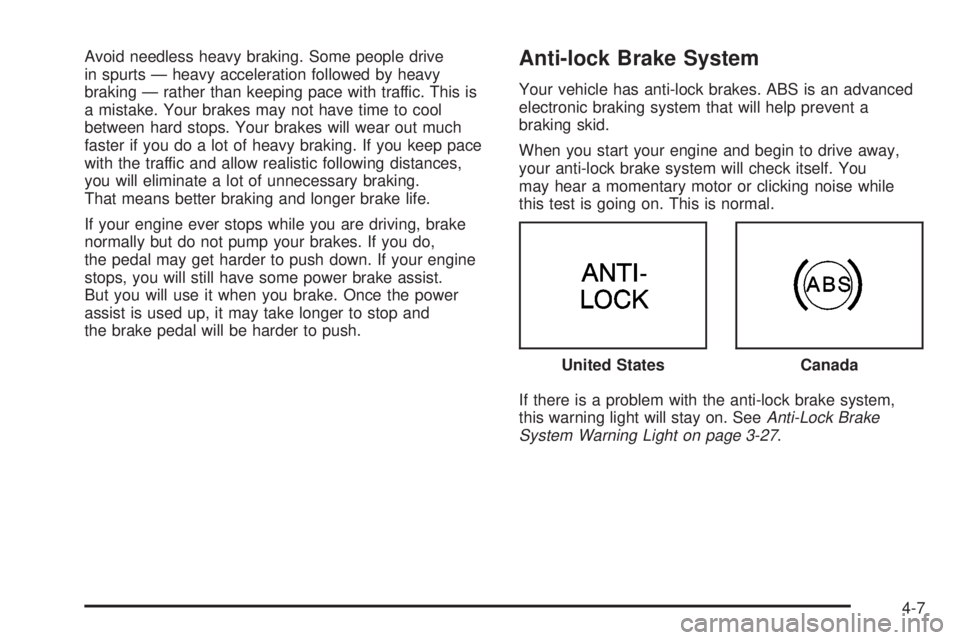
If there is a problem with the anti-lock brake system,
this warning light will stay on. See
Anti-Lock Brake
System Warning Light on page 3-27. United States
Canada
4-7
Page 197 of 382
{CAUTION:
Snow can trap exhaust gases under your
vehicle. This can cause deadly CO (carbon
monoxide) gas to get inside. CO could
overcome you and kill you. You can not see it
or smell it, so you might not know it is in your
vehicle. Clear away snow from around the
base of your vehicle, especially any that is
blocking your exhaust pipe. And check around
again from time to time to be sure snow does
not collect there.
Open a window just a little on the side of the
vehicle that is away from the wind. This will
help keep CO out.Run your engine only as long as you must. This saves
fuel. When you run the engine, make it go a little
faster than just idle. That is, push the accelerator
slightly. This uses less fuel for the heat that you get and
it keeps the battery charged. You will need a
well-charged battery to restart the vehicle, and possibly
for signaling later on with your headlamps. Let the
heater run for a while.
Then, shut the engine off and close the window almost
all the way to preserve the heat. Start the engine
again and repeat this only when you feel really
uncomfortable from the cold. But do it as little as
possible. Preserve the fuel as long as you can. To help
keep warm, you can get out of the vehicle and do
some fairly vigorous exercises every half hour or so until
help comes.
4-27
Page 214 of 382
Maintenance When Trailer Towing
Your vehicle will need service more often when you're
pulling a trailer. See the Maintenance Schedule for more
on this. Things that are especially important in trailer
operation are automatic transmission ¯uid (don't over®ll),
engine oil, axle lubricant, belt, cooling system and
brake system. Each of these is covered in this manual,
and the Index will help you ®nd them quickly. If
you're trailering, it's a good idea to review these sections
before you start your trip.
Check periodically to see that all hitch nuts and bolts
are tight.
Trailer Wiring Harness
If you have the optional trailering package, your vehicle
will have an eight-wire harness, including the center
high-mounted stoplamp battery feed wire. The harness
is stored on the passenger's side of the vehicle near
the rear wheel well. This harness has a 30 amp battery
feed wire and no connector, and should be wired by
a quali®ed electrical technician. After choosing an
aftermarket trailer mating connector pair, have the
technician attach one connector to the eight-wire trailer
harness and the other connector to the wiring harness
on the trailer. Be sure the wiring harness on the trailer is
taped or strapped to the trailer's frame rail and leave
it loose enough so the wiring doesn't bend or break, but
not so loose that it drags on the ground. The eight-wireharness must be routed out of your vehicle between the
rear door and the ¯oor, with enough of the harness
left on both sides so that the trailer or the body won't pull
it. If you do not have the optional trailering package,
your vehicle will still have a trailering harness. The
harness is located near the passenger's side rear wheel
well. It consists of six wires that may be used by
after-market trailer hitch installers.
The technician can use the following color code chart
when connecting the wiring harness to your trailer.
┬ĚBrown: Rear lamps.
┬ĚYellow: Left stoplamp and turn signal.
┬ĚDark Green: Right stoplamp and turn signal.
┬ĚWhite (Heavy Gage): Ground.
┬ĚLight Green: Back-up lamps.
┬ĚWhite (Light Gage): Center High-Mounted Stoplamp.
┬ĚBlue: Auxiliary circuit (eight-wire harness only).
┬ĚOrange: Fused auxiliary (eight-wire harness only).
Store the harness in its original place. Wrap the
harness together and tie it neatly so it won't
be damaged.
4-44
Page 236 of 382
How to Inspect the Engine Air
Cleaner/Filter
To inspect the engine air cleaner/®lter remove the ®lter
from the vehicle and lightly shake ®lter to release
loose dust and dirt. If the ®lter remains caked with dirt, a
new ®lter is required.
To inspect or replace the ®lter, do the following:
1. Unsnap both clips on the cover.
2. Remove the cover.
3. Change the ®lter.
4. Snap both clips to secure the engine air
cleaner/®lter cover.
{CAUTION:
Operating the engine with the air cleaner/®lter
off can cause you or others to be burned. The
air cleaner not only cleans the air, it helps to
stop ¯ame if the engine back®res. If it is not
there and the engine back®res, you could
be burned. Do not drive with it off, and be
careful working on the engine with the air
cleaner/®lter off.
Notice:If the air cleaner/®lter is off, a back®re can
cause a damaging engine ®re. And, dirt can
easily get into your engine, which will damage it.
Always have the air cleaner/®lter in place when you
are driving.
Automatic Transmission Fluid
When to Check and Change
A good time to check your automatic transmission ¯uid
level is when the engine oil is changed.
Change both the ¯uid and ®lter every 15,000 miles
(25,000 km) if the vehicle is mainly driven under one or
more of these conditions:
┬ĚIn heavy city traffic where the outside temperature
regularly reaches 90ÉF (32ÉC) or higher.
┬ĚIn hilly or mountainous terrain.
┬ĚWhen doing frequent trailer towing.
┬ĚUses such as found in taxi, police or delivery
service.
If you do not use your vehicle under any of these
conditions, change the ¯uid and ®lter every 50,000 miles
(83 000 km).
See
Part A: Scheduled Maintenance Services on
page 6-4.
5-22
Page 239 of 382
How to Add Fluid
Refer to the Maintenance Schedule to determine what
kind of transmission ¯uid to use. SeePart D:
Recommended Fluids and Lubricants on page 6-30.
Using a funnel, add ¯uid down the transmission dipstick
tube only after checking the transmission ¯uid while it
is hot. (A cold check is used only as a reference.) If the
¯uid level is low, add only enough of the proper ¯uid
to bring the level up to the HOT area for a hot check. It
doesn't take much ¯uid, generally less than one pint
(0.5 L).
Don't over®ll.
Notice:We recommend you use only ¯uid labeled
DEXRON┼ż-III, because ┬»uid with that label is
made especially for your automatic transmission.
Damage caused by ¯uid other than DEXRON
┼ż-III is
not covered by your new vehicle warranty.
┬ĚAfter adding ┬»uid, recheck the ┬»uid level as
described under┬▓How to Check.┬▓
┬ĚWhen the correct ┬»uid level is obtained, push the
dipstick back in all the way; then ¯ip the handle
down to lock the dipstick in place.
Engine Coolant
The cooling system in your vehicle is ®lled with
DEX-COOL┼żengine coolant. This coolant is designed
to remain in your vehicle for 5 years or 150,000 miles
(240 000 km), whichever occurs ®rst, if you add
only DEX-COOL
┼żextended life coolant.
The following explains your cooling system and how to
add coolant when it is low. If you have a problem
with engine overheating, see
Engine Overheating on
page 5-28.
A 50/50 mixture of clean, drinkable water and
DEX-COOL
┼żcoolant will:
┬ĚGive freezing protection down to-34├ëF (-37├ëC).
┬ĚGive boiling protection up to 265├ëF (129├ëC).
┬ĚProtect against rust and corrosion.
┬ĚHelp keep the proper engine temperature.
┬ĚLet the warning lights and gages work as they
should.
Notice:Using coolant other than DEX-COOL┼żmay
cause premature engine, heater core or radiator
corrosion. In addition, the engine coolant may
require changing sooner, at 30,000 miles (50 000 km)
or 24 months, whichever occurs ®rst. Any repairs
would not be covered by your warranty. Always use
DEX-COOL
┼ż(silicate-free) coolant in your vehicle.
5-25
Page 258 of 382
Notice:If you leave your radio or other accessories
on during the jump starting procedure, they could
be damaged. The repairs would not be covered
by your warranty. Always turn off your radio and
other accessories when jump starting your vehicle.
4. Open the hoods and locate the batteries. Find
the positive (+) and negative (-) terminals on
each battery.
{CAUTION:
Using a match near a battery can cause battery
gas to explode. People have been hurt doing
this, and some have been blinded. Use a
¯ashlight if you need more light.
Be sure the battery has enough water. You do
not need to add water to the ACDelco
┼żbattery
installed in your new vehicle. But if a battery
has ®ller caps, be sure the right amount of
¯uid is there. If it is low, add water to take care
of that ®rst. If you do not, explosive gas could
be present.
Battery ¯uid contains acid that can burn you.
Do not get it on you. If you accidentally get it
in your eyes or on your skin, ¯ush the place
with water and get medical help immediately.
{CAUTION:
Fans or other moving engine parts can injure
you badly. Keep your hands away from moving
parts once the engine is running.
5. Check that the jumper cables don't have loose or
missing insulation. If they do, you could get a
shock. The vehicles could be damaged too.
Before you connect the cables, here are some
basic things you should know. Positive (+) will go to
positive (+) or to a remote positive (+) terminal if
the vehicle has one. Negative (-) will go to a heavy,
unpainted metal engine part, or to a negative (-)
terminal if the vehicle has one.
Don't connect positive (+) to negative (-) or you'll
get a short that would damage the battery and
maybe other parts, too. And don't connect
the negative (-) cable to the negative (-) terminal
on the dead battery because this can cause sparks.
5-44
Page 310 of 382
Headlamp Wiring
The headlamp wiring is protected by a circuit breaker in
the lamp switch. An electrical overload will cause the
lamps to ¯icker on and off, or in some cases to remain
off. If this happens, have your headlamp wiring
checked right away.
Windshield Wiper Fuses
The windshield wiper motor is protected by a circuit
breaker and a fuse. If the motor overheats due to heavy
snow, etc., the wiper will stop until the motor cools.
Although the circuit is protected from electrical overload,
overload due to heavy snow, etc., may cause wiper
linkage damage. Always clear ice and heavy snow from
the windshield before using the windshield wipers. If
the overload is caused by some electrical problem and
not snow, etc., be sure to get it ®xed.
Power Windows and Other Power
Options
Circuit breakers in the fuse panel protect the power
windows and other power accessories. When the current
load is too heavy, the circuit breaker opens and
closes, protecting the circuit until the problem is ®xed or
goes away.
Fuses and Circuit Breakers
The wiring circuits in your vehicle are protected from
short circuits by a combination of fuses, circuit breakers
and fusible thermal links. This greatly reduces the
chance of ®res caused by electrical problems.
Look at the silver-colored band inside the fuse. If the
band is broken or melted, replace the fuse. Be sure you
replace a bad fuse with a new one of the identical
size and rating.
Spare fuses and a fuse puller are located in the
underhood fuse block. You can remove fuses with the
fuse puller. Remember to replace any of the spare fuses
you use, so you will have some if you ever need them
again.
If you ever have a problem on the road and don't have
a spare fuse, you can borrow one that has the same
amperage. Just pick some feature of your vehicle
that you can get along without ┬▒ like the radio or
cigarette lighter ┬▒ and use its fuse, if it is the correct
amperage. Replace it as soon as you can.
There are two fuse blocks in your vehicle: one is inside
the vehicle and one is in the engine compartment.
5-96
Page 344 of 382
Part B: Owner Checks and Services
Listed in this part are owner checks and services
which should be performed at the intervals speci®ed to
help ensure the safety, dependability and emission
control performance of your vehicle.
Be sure any necessary repairs are completed at once.
Whenever any ¯uids or lubricants are added to your
vehicle, make sure they are the proper ones, as shown
in Part D.
At Each Fuel Fill
It is important for you or a service station attendant to
perform these underhood checks at each fuel ®ll.
Engine Oil Level Check
Check the engine oil level and add the proper oil if
necessary. SeeEngine Oil on page 5-13for further
details.
Engine Coolant Level Check
Check the engine coolant level and add DEX-COOL┼ż
coolant mixture if necessary. SeeEngine Coolant
on page 5-24for further details.
Windshield Washer Fluid Level Check
Check the windshield washer ¯uid level in the
windshield washer tank and add the proper ¯uid if
necessary. See
Windshield Washer Fluid on page 5-35for further details.
At Least Once a Month
Tire In¯ation Check
Visually inspect your tires and make sure tires are
in¯ated to the correct pressures. Do not forget to check
your spare tire. See
Tires on page 5-52for further details.
At Least Twice a Year
Restraint System Check
Make sure the safety belt reminder light and all your
belts, buckles, latch plates, retractors and anchorages
are working properly. Look for any other loose or
damaged safety belt system parts. If you see anything
that might keep a safety belt system from doing its job,
have it repaired. Have any torn or frayed safety belts
replaced.
Also look for any opened or broken air bag coverings,
and have them repaired or replaced. (The air bag
system does not need regular maintenance.)
6-24
Page 369 of 382
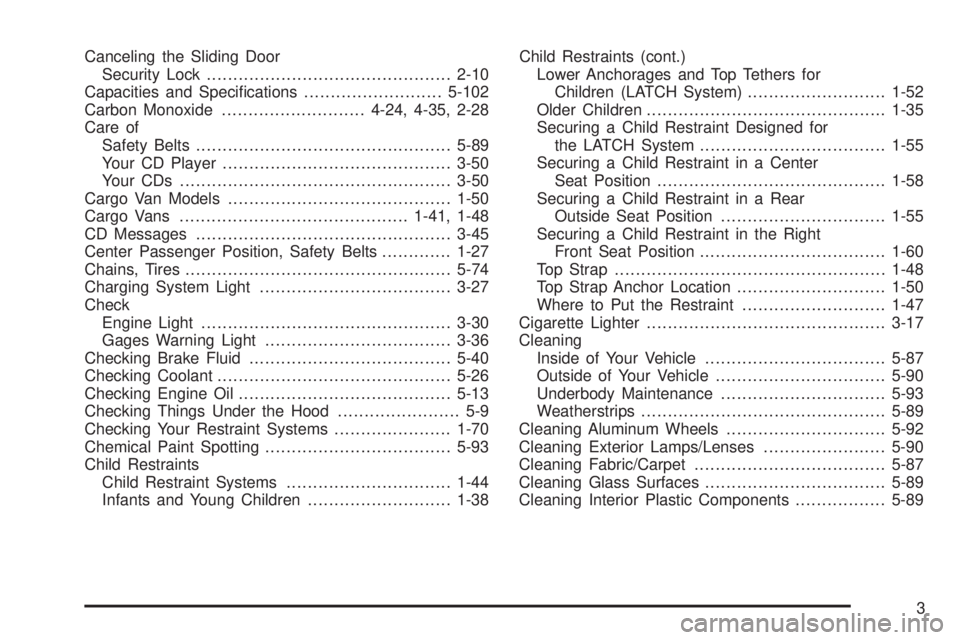
Canceling the Sliding Door
Security Lock..............................................2-10
Capacities and Speci®cations..........................5-102
Carbon Monoxide...........................4-24, 4-35, 2-28
Care of
Safety Belts................................................5-89
Your CD Player...........................................3-50
Your CDs ...................................................3-50
Cargo Van Models..........................................1-50
Cargo Vans...........................................1-41, 1-48
CD Messages................................................3-45
Center Passenger Position, Safety Belts.............1-27
Chains, Tires..................................................5-74
Charging System Light....................................3-27
Check
Engine Light...............................................3-30
Gages Warning Light...................................3-36
Checking Brake Fluid......................................5-40
Checking Coolant............................................5-26
Checking Engine Oil........................................5-13
Checking Things Under the Hood....................... 5-9
Checking Your Restraint Systems......................1-70
Chemical Paint Spotting...................................5-93
Child Restraints
Child Restraint Systems...............................1-44
Infants and Young Children...........................1-38Child Restraints (cont.)
Lower Anchorages and Top Tethers for
Children (LATCH System)..........................1-52
Older Children.............................................1-35
Securing a Child Restraint Designed for
the LATCH System...................................1-55
Securing a Child Restraint in a Center
Seat Position...........................................1-58
Securing a Child Restraint in a Rear
Outside Seat Position...............................1-55
Securing a Child Restraint in the Right
Front Seat Position...................................1-60
Top Strap...................................................1-48
Top Strap Anchor Location............................1-50
Where to Put the Restraint...........................1-47
Cigarette Lighter.............................................3-17
Cleaning
Inside of Your Vehicle..................................5-87
Outside of Your Vehicle................................5-90
Underbody Maintenance...............................5-93
Weatherstrips..............................................5-89
Cleaning Aluminum Wheels..............................5-92
Cleaning Exterior Lamps/Lenses.......................5-90
Cleaning Fabric/Carpet....................................5-87
Cleaning Glass Surfaces..................................5-89
Cleaning Interior Plastic Components.................5-89
3
Page 371 of 382
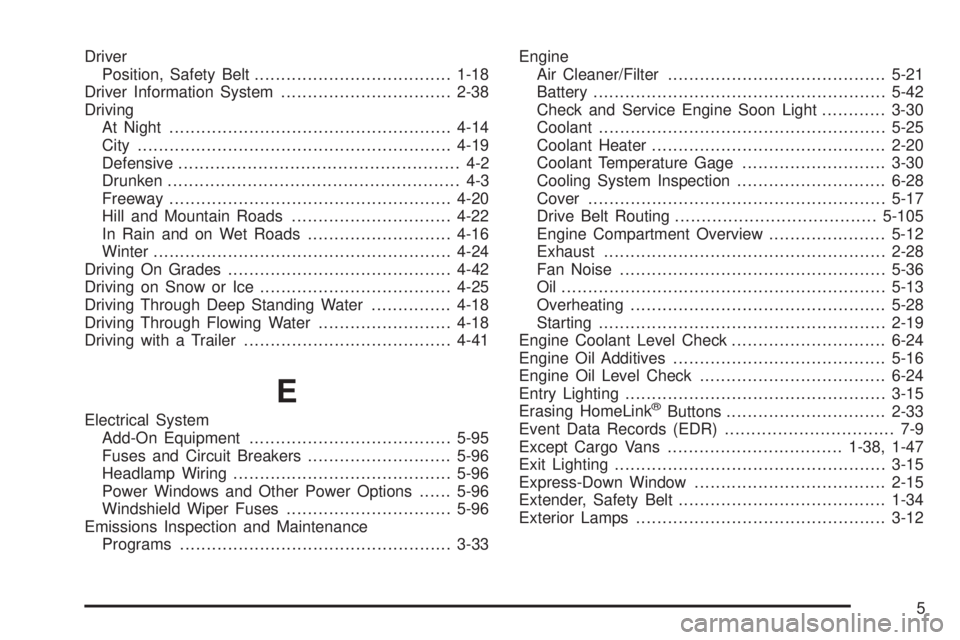
Driver
Position, Safety Belt.....................................1-18
Driver Information System................................2-38
Driving
At Night.....................................................4-14
City...........................................................4-19
Defensive..................................................... 4-2
Drunken....................................................... 4-3
Freeway.....................................................4-20
Hill and Mountain Roads..............................4-22
In Rain and on Wet Roads...........................4-16
Winter........................................................4-24
Driving On Grades..........................................4-42
Driving on Snow or Ice....................................4-25
Driving Through Deep Standing Water...............4-18
Driving Through Flowing Water.........................4-18
Driving with a Trailer.......................................4-41
E
Electrical System
Add-On Equipment......................................5-95
Fuses and Circuit Breakers...........................5-96
Headlamp Wiring.........................................5-96
Power Windows and Other Power Options......5-96
Windshield Wiper Fuses...............................5-96
Emissions Inspection and Maintenance
Programs...................................................3-33Engine
Air Cleaner/Filter.........................................5-21
Battery.......................................................5-42
Check and Service Engine Soon Light............3-30
Coolant......................................................5-25
Coolant Heater............................................2-20
Coolant Temperature Gage...........................3-30
Cooling System Inspection............................6-28
Cover........................................................5-17
Drive Belt Routing......................................5-105
Engine Compartment Overview......................5-12
Exhaust.....................................................2-28
Fan Noise..................................................5-36
Oil .............................................................5-13
Overheating................................................5-28
Starting......................................................2-19
Engine Coolant Level Check.............................6-24
Engine Oil Additives........................................5-16
Engine Oil Level Check...................................6-24
Entry Lighting.................................................3-15
Erasing HomeLink┼żButtons..............................2-33
Event Data Records (EDR)................................ 7-9
Except Cargo Vans.................................1-38, 1-47
Exit Lighting...................................................3-15
Express-Down Window....................................2-15
Extender, Safety Belt.......................................1-34
Exterior Lamps...............................................3-12
5