audio CHEVROLET ASTRO 2004 Owners Manual
[x] Cancel search | Manufacturer: CHEVROLET, Model Year: 2004, Model line: ASTRO, Model: CHEVROLET ASTRO 2004Pages: 382, PDF Size: 2.73 MB
Page 1 of 382
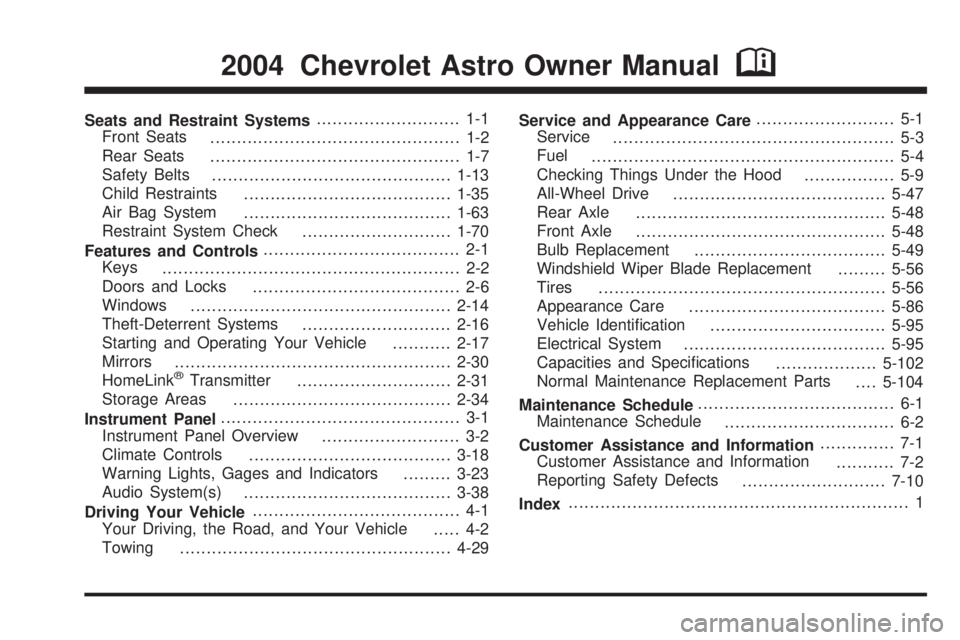
Seats and Restraint Systems........................... 1-1
Front Seats
............................................... 1-2
Rear Seats
............................................... 1-7
Safety Belts
.............................................1-13
Child Restraints
.......................................1-35
Air Bag System
.......................................1-63
Restraint System Check
............................1-70
Features and Controls..................................... 2-1
Keys
........................................................ 2-2
Doors and Locks
....................................... 2-6
Windows
.................................................2-14
Theft-Deterrent Systems
............................2-16
Starting and Operating Your Vehicle
...........2-17
Mirrors
....................................................2-30
HomeLink
žTransmitter
.............................2-31
Storage Areas
.........................................2-34
Instrument Panel............................................. 3-1
Instrument Panel Overview
.......................... 3-2
Climate Controls
......................................3-18
Warning Lights, Gages and Indicators
.........3-23
Audio System(s)
.......................................3-38
Driving Your Vehicle....................................... 4-1
Your Driving, the Road, and Your Vehicle
..... 4-2
Towing
...................................................4-29Service and Appearance Care.......................... 5-1
Service
..................................................... 5-3
Fuel
......................................................... 5-4
Checking Things Under the Hood
................. 5-9
All-Wheel Drive
........................................5-47
Rear Axle
...............................................5-48
Front Axle
...............................................5-48
Bulb Replacement
....................................5-49
Windshield Wiper Blade Replacement
.........5-56
Tires
......................................................5-56
Appearance Care
.....................................5-86
Vehicle Identi®cation
.................................5-95
Electrical System
......................................5-95
Capacities and Speci®cations
...................5-102
Normal Maintenance Replacement Parts
....5-104
Maintenance Schedule..................................... 6-1
Maintenance Schedule
................................ 6-2
Customer Assistance and Information.............. 7-1
Customer Assistance and Information
........... 7-2
Reporting Safety Defects
...........................7-10
Index................................................................ 1
2004 Chevrolet Astro Owner ManualM
Page 4 of 382
Vehicle Damage Warnings
Also, in this book you will ®nd these notices:
Notice:These mean there is something that could
damage your vehicle.
A notice will tell you about something that can damage
your vehicle. Many times, this damage would not be
covered by your warranty, and it could be costly. But the
notice will tell you what to do to help avoid the
damage.
When you read other manuals, you might see
CAUTION and NOTICE warnings in different colors or in
different words.
You'll also see warning labels on your vehicle. They use
the same words, CAUTION or NOTICE.
Vehicle Symbols
Your vehicle has components and labels that use
symbols instead of text. Symbols, used on your vehicle,
are shown along with the text describing the operation
or information relating to a speci®c component, control,
message, gage or indicator.
If you need help ®guring out a speci®c name of a
component, gage or indicator, reference the
following topics:
·Seats and Restraint Systems in Section 1
·Features and Controls in Section 2
·Instrument Panel Overview in Section 3
·Climate Controls in Section 3
·Warning Lights, Gages and Indicators in Section 3
·Audio System(s) in Section 3
·Engine Compartment Overview in Section 5
iv
Page 121 of 382
Instrument Panel Overview...............................3-2
Hazard Warning Flashers................................3-4
Other Warning Devices...................................3-5
Horn.............................................................3-5
Tilt Wheel.....................................................3-5
Turn Signal/Multifunction Lever.........................3-6
Exterior Lamps.............................................3-12
Interior Lamps..............................................3-15
Accessory Power Outlets...............................3-16
Ashtrays and Cigarette Lighter........................3-17
Climate Controls............................................3-18
Climate Control System.................................3-18
Outlet Adjustment.........................................3-20
Rear Heating System....................................3-21
Rear Air Conditioning System.........................3-21
Warning Lights, Gages and Indicators.............3-23
Warning Lights, Gages, and Indicators.............3-23
Instrument Panel Cluster................................3-24
Speedometer and Odometer...........................3-25
Safety Belt Reminder Light.............................3-26
Air Bag Readiness Light................................3-26
Charging System Light..................................3-27
Voltmeter Gage............................................3-28
Brake System Warning Light..........................3-28Anti-Lock Brake System Warning Light.............3-29
Engine Coolant Temperature Gage..................3-30
Malfunction Indicator Lamp.............................3-30
Oil Pressure Gage........................................3-34
Security Light...............................................3-35
Service All-Wheel Drive Light.........................3-35
Tow/Haul Mode Light....................................3-36
Check Gages Warning Light...........................3-36
Fuel Gage...................................................3-36
Low Fuel Warning Light.................................3-37
Audio System(s).............................................3-38
Setting the Time for Radios with the
Set Button................................................3-38
Setting the Time for Radios with HR
and MN Buttons........................................3-38
AM-FM Radio...............................................3-39
Radio with CD..............................................3-41
Rear Seat Audio (RSA).................................3-46
Theft-Deterrent Feature..................................3-47
Radio Reception...........................................3-50
Care of Your CDs.........................................3-50
Care of Your CD Player................................3-50
Fixed Mast Antenna......................................3-50
Section 3 Instrument Panel
3-1
Page 123 of 382
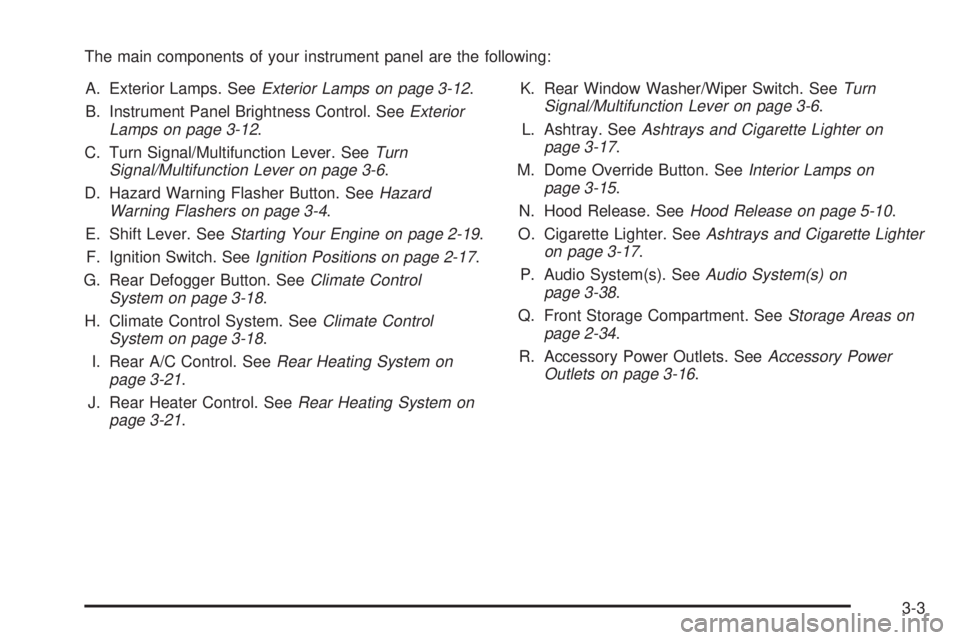
The main components of your instrument panel are the following:
A. Exterior Lamps. See
Exterior Lamps on page 3-12.
B. Instrument Panel Brightness Control. See
Exterior
Lamps on page 3-12.
C. Turn Signal/Multifunction Lever. See
Turn
Signal/Multifunction Lever on page 3-6.
D. Hazard Warning Flasher Button. See
Hazard
Warning Flashers on page 3-4.
E. Shift Lever. See
Starting Your Engine on page 2-19.
F. Ignition Switch. See
Ignition Positions on page 2-17.
G. Rear Defogger Button. See
Climate Control
System on page 3-18.
H. Climate Control System. See
Climate Control
System on page 3-18.
I. Rear A/C Control. See
Rear Heating System on
page 3-21.
J. Rear Heater Control. See
Rear Heating System on
page 3-21.K. Rear Window Washer/Wiper Switch. See
Turn
Signal/Multifunction Lever on page 3-6.
L. Ashtray. See
Ashtrays and Cigarette Lighter on
page 3-17.
M. Dome Override Button. See
Interior Lamps on
page 3-15.
N. Hood Release. See
Hood Release on page 5-10.
O. Cigarette Lighter. See
Ashtrays and Cigarette Lighter
on page 3-17.
P. Audio System(s). See
Audio System(s) on
page 3-38.
Q. Front Storage Compartment. See
Storage Areas on
page 2-34.
R. Accessory Power Outlets. See
Accessory Power
Outlets on page 3-16.
3-3
Page 129 of 382
Rear Window Washer/Wiper
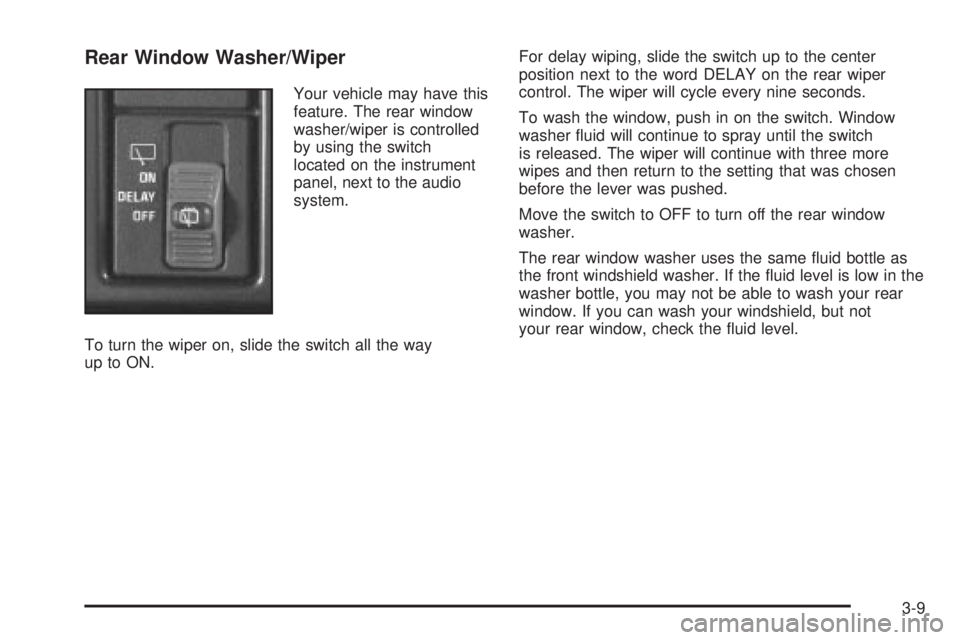
Your vehicle may have this
feature. The rear window
washer/wiper is controlled
by using the switch
located on the instrument
panel, next to the audio
system.
To turn the wiper on, slide the switch all the way
up to ON.For delay wiping, slide the switch up to the center
position next to the word DELAY on the rear wiper
control. The wiper will cycle every nine seconds.
To wash the window, push in on the switch. Window
washer ¯uid will continue to spray until the switch
is released. The wiper will continue with three more
wipes and then return to the setting that was chosen
before the lever was pushed.
Move the switch to OFF to turn off the rear window
washer.
The rear window washer uses the same ¯uid bottle as
the front windshield washer. If the ¯uid level is low in the
washer bottle, you may not be able to wash your rear
window. If you can wash your windshield, but not
your rear window, check the ¯uid level.
3-9
Page 141 of 382
Rear Heating System
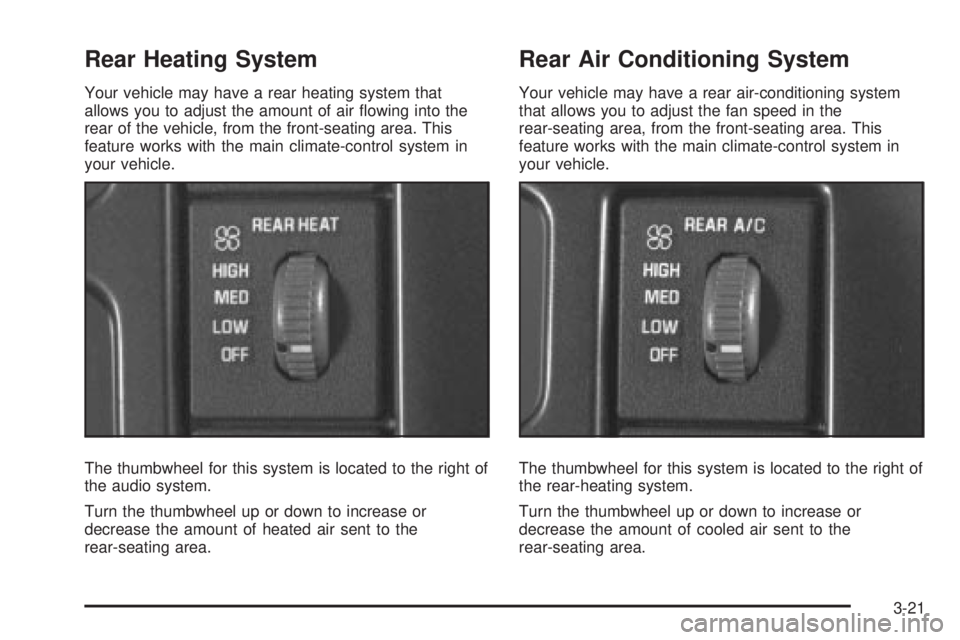
Your vehicle may have a rear heating system that
allows you to adjust the amount of air ¯owing into the
rear of the vehicle, from the front-seating area. This
feature works with the main climate-control system in
your vehicle.
The thumbwheel for this system is located to the right of
the audio system.
Turn the thumbwheel up or down to increase or
decrease the amount of heated air sent to the
rear-seating area.
Rear Air Conditioning System
Your vehicle may have a rear air-conditioning system
that allows you to adjust the fan speed in the
rear-seating area, from the front-seating area. This
feature works with the main climate-control system in
your vehicle.
The thumbwheel for this system is located to the right of
the rear-heating system.
Turn the thumbwheel up or down to increase or
decrease the amount of cooled air sent to the
rear-seating area.
3-21
Page 158 of 382
Audio System(s)
Notice:Before you add any sound equipment to
your vehicle ± like a tape player, CB radio, mobile
telephone or two-way radio ± be sure you can
add what you want. If you can, it's very important to
do it properly. Added sound equipment may
interfere with the operation of your vehicle's engine,
radio or other systems, and even damage them.
Your vehicle's systems may interfere with the
operation of sound equipment that has been added
improperly.
So, before adding sound equipment, check with
your dealer and be sure to check federal rules
covering mobile radio and telephone units.
Your audio system has been designed to operate easily
and to give years of listening pleasure. You will get
the most enjoyment out of it if you acquaint yourself with
it ®rst. Figure out which radio you have in your vehicle,
®nd out what your audio system can do and how to
operate all of its controls to be sure you're getting the
most out of the advanced engineering that went into it.
Your vehicle has a feature called Retained Accessory
Power (RAP). With RAP, you can play your audio
system even after the ignition is turned off. See
ªRetained Accessory Power (RAP)º under
Ignition
Positions on page 2-17.
Setting the Time for Radios with the
Set Button
Press SET. Within ®ve seconds, press and hold the left
SEEK arrow until the correct hour appears on the
display. Press and hold the right SEEK arrow until the
correct minute appears on the display.
Setting the Time for Radios with HR
and MN Buttons
Press and hold HR until the correct hour appears on the
display. Press and hold MN until the correct minute
appears on the display. To display the time with
the ignition off, press RECALL or HR/MN and the time
will be displayed for a few seconds. There is an
initial two-second delay before the clock goes into the
time-set mode.
3-38
Page 161 of 382
Radio with CD
Playing the Radio
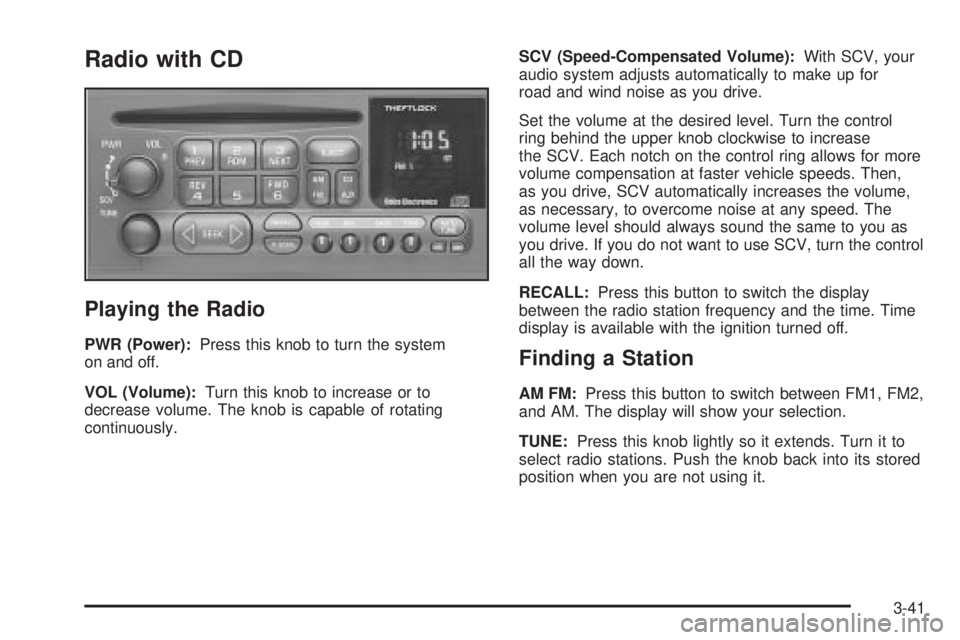
PWR (Power):Press this knob to turn the system
on and off.
VOL (Volume):Turn this knob to increase or to
decrease volume. The knob is capable of rotating
continuously.SCV (Speed-Compensated Volume):With SCV, your
audio system adjusts automatically to make up for
road and wind noise as you drive.
Set the volume at the desired level. Turn the control
ring behind the upper knob clockwise to increase
the SCV. Each notch on the control ring allows for more
volume compensation at faster vehicle speeds. Then,
as you drive, SCV automatically increases the volume,
as necessary, to overcome noise at any speed. The
volume level should always sound the same to you as
you drive. If you do not want to use SCV, turn the control
all the way down.
RECALL:Press this button to switch the display
between the radio station frequency and the time. Time
display is available with the ignition turned off.Finding a Station
AM FM:Press this button to switch between FM1, FM2,
and AM. The display will show your selection.
TUNE:Press this knob lightly so it extends. Turn it to
select radio stations. Push the knob back into its stored
position when you are not using it.
3-41
Page 163 of 382
Setting the Tone (Bass/Treble)
BASS:Press this knob lightly so it extends. Turn the
knob to increase or to decrease bass.
TREB (Treble):Press this knob lightly so it extends.
Turn the knob to increase or to decrease treble. If
a station is weak or noisy, you may want to decrease
the treble.
Return these knobs to their stored positions when
you're not using them.
AUTO TONE (Automatic Tone):Press this knob to
select customized equalization settings designed
for country/western, jazz, talk, pop, rock, and classical.
To return the bass and treble to the manual mode,
either press and release the AUTO TONE button until the
display goes blank or press and release the BASS or
TREB knobs and turn them until the display goes blank.
Adjusting the Speakers (Balance/Fade)
BAL (Balance):Press this knob lightly so it extends.
Turn the knob to move the sound toward the right or the
left speakers.
FADE:Press this knob lightly so it extends. Turn the
knob to move the sound toward the front or the
rear speakers.
Return these knobs to their stored positions when you
are not using them.
Playing a CD
Insert a CDpartway into the slot, label side up. The
player will pull it in and the CD should begin playing. CD
and a CD symbol will appear on the display. If you
want to insert a CD when the ignition is off, ®rst press
the EJECT button. If you insert a CD with the radio
off and the ignition on, it will start to play.
If you turn off the ignition or radio with a CD in the
player, it will stay in the player. When you turn on the
ignition or radio, the CD will start playing where it
stopped, if it was the last selected audio source.
3-43
Page 166 of 382
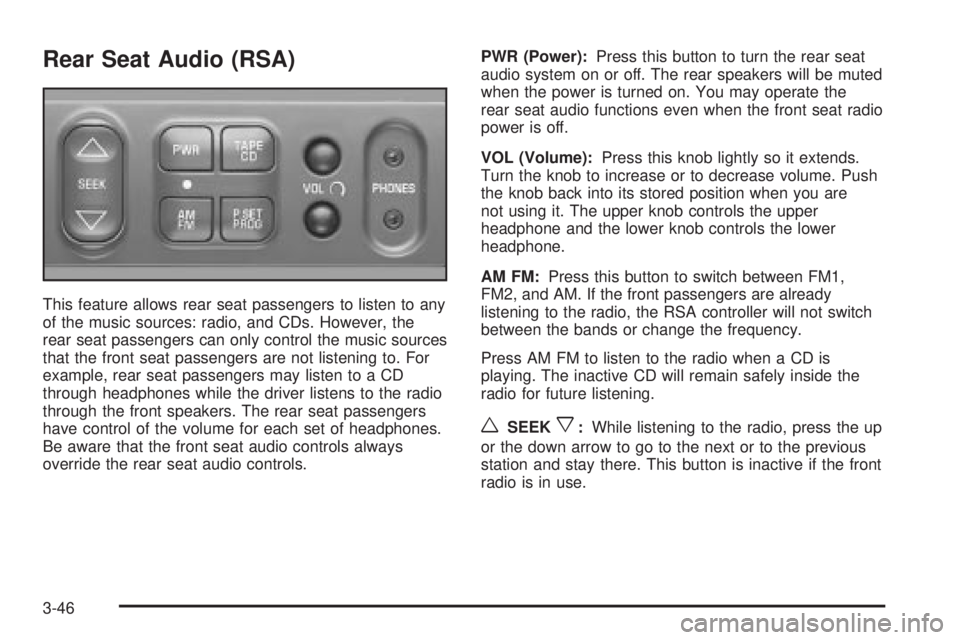
Rear Seat Audio (RSA)
This feature allows rear seat passengers to listen to any
of the music sources: radio, and CDs. However, the
rear seat passengers can only control the music sources
that the front seat passengers are not listening to. For
example, rear seat passengers may listen to a CD
through headphones while the driver listens to the radio
through the front speakers. The rear seat passengers
have control of the volume for each set of headphones.
Be aware that the front seat audio controls always
override the rear seat audio controls.PWR (Power):Press this button to turn the rear seat
audio system on or off. The rear speakers will be muted
when the power is turned on. You may operate the
rear seat audio functions even when the front seat radio
power is off.
VOL (Volume):Press this knob lightly so it extends.
Turn the knob to increase or to decrease volume. Push
the knob back into its stored position when you are
not using it. The upper knob controls the upper
headphone and the lower knob controls the lower
headphone.
AM FM:Press this button to switch between FM1,
FM2, and AM. If the front passengers are already
listening to the radio, the RSA controller will not switch
between the bands or change the frequency.
Press AM FM to listen to the radio when a CD is
playing. The inactive CD will remain safely inside the
radio for future listening.
wSEEKx:While listening to the radio, press the up
or the down arrow to go to the next or to the previous
station and stay there. This button is inactive if the front
radio is in use.
3-46