brake light CHEVROLET ASTRO 2004 Owners Manual
[x] Cancel search | Manufacturer: CHEVROLET, Model Year: 2004, Model line: ASTRO, Model: CHEVROLET ASTRO 2004Pages: 382, PDF Size: 2.73 MB
Page 101 of 382
If you manually select SECOND (2), the transmission
will drive in second gear. You may use this feature
for reducing torque to the rear wheels when you
are trying to start your vehicle from a stop on slippery
road surfaces.
FIRST (1):This position gives you even more power
(but lower fuel economy) than SECOND (2). You
can use it on very steep hills, or in deep snow or mud.
If the shift selector lever is put in FIRST (1), the
transmission won't shift into ®rst gear until the vehicle is
going slow enough.
Notice:Spinning the tires or holding the vehicle in
one place on a hill using only the accelerator
pedal may damage the transmission. If you are
stuck, do not spin the tires. When stopping on a hill,
use the brakes to hold the vehicle in place.
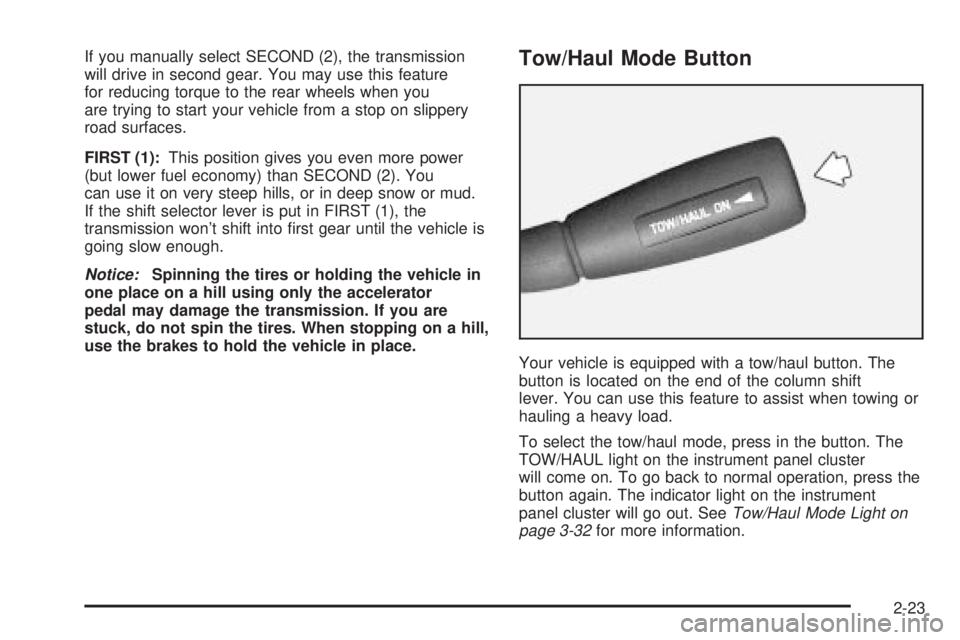
Tow/Haul Mode Button
Your vehicle is equipped with a tow/haul button. The
button is located on the end of the column shift
lever. You can use this feature to assist when towing or
hauling a heavy load.
To select the tow/haul mode, press in the button. The
TOW/HAUL light on the instrument panel cluster
will come on. To go back to normal operation, press the
button again. The indicator light on the instrument
panel cluster will go out. See
Tow/Haul Mode Light on
page 3-32for more information.
2-23
Page 102 of 382
All-Wheel Drive
If your vehicle has all-wheel drive, your engine's driving
power is sent to all four wheels for extra traction
when needed.
This is like four-wheel drive, but there is no separate
lever or switch to engage or disengage the front axle. It
is fully automatic, and adjusts itself as needed for
road conditions.
You may experience a brief vehicle vibration upon
acceleration when driving in slippery conditions. This is
normal and is an indication that the all-wheel drive
system is functioning properly.
Parking Brake
To set the parking brake, hold the regular brake pedal
down with your right foot.
Push down the parking brake pedal with your left foot. If
the ignition is on, the brake system warning light will
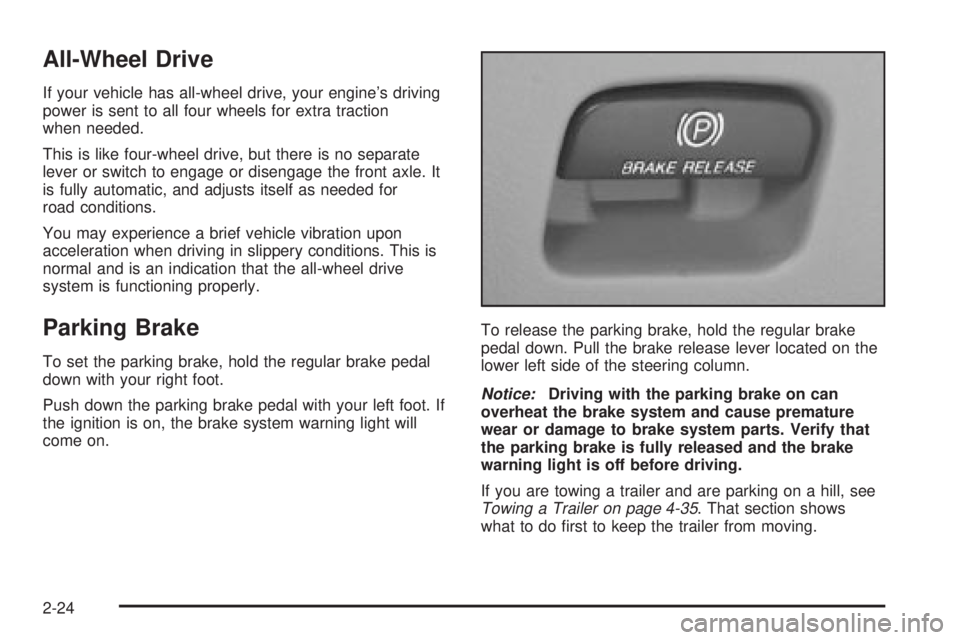
come on.To release the parking brake, hold the regular brake
pedal down. Pull the brake release lever located on the
lower left side of the steering column.
Notice:Driving with the parking brake on can
overheat the brake system and cause premature
wear or damage to brake system parts. Verify that
the parking brake is fully released and the brake
warning light is off before driving.
If you are towing a trailer and are parking on a hill, see
Towing a Trailer on page 4-35. That section shows
what to do ®rst to keep the trailer from moving.
2-24
Page 121 of 382
Instrument Panel Overview...............................3-2
Hazard Warning Flashers................................3-4
Other Warning Devices...................................3-5
Horn.............................................................3-5
Tilt Wheel.....................................................3-5
Turn Signal/Multifunction Lever.........................3-6
Exterior Lamps.............................................3-12
Interior Lamps..............................................3-15
Accessory Power Outlets...............................3-16
Ashtrays and Cigarette Lighter........................3-17
Climate Controls............................................3-18
Climate Control System.................................3-18
Outlet Adjustment.........................................3-20
Rear Heating System....................................3-21
Rear Air Conditioning System.........................3-21
Warning Lights, Gages and Indicators.............3-23
Warning Lights, Gages, and Indicators.............3-23
Instrument Panel Cluster................................3-24
Speedometer and Odometer...........................3-25
Safety Belt Reminder Light.............................3-26
Air Bag Readiness Light................................3-26
Charging System Light..................................3-27
Voltmeter Gage............................................3-28
Brake System Warning Light..........................3-28Anti-Lock Brake System Warning Light.............3-29
Engine Coolant Temperature Gage..................3-30
Malfunction Indicator Lamp.............................3-30
Oil Pressure Gage........................................3-34
Security Light...............................................3-35
Service All-Wheel Drive Light.........................3-35
Tow/Haul Mode Light....................................3-36
Check Gages Warning Light...........................3-36
Fuel Gage...................................................3-36
Low Fuel Warning Light.................................3-37
Audio System(s).............................................3-38
Setting the Time for Radios with the
Set Button................................................3-38
Setting the Time for Radios with HR
and MN Buttons........................................3-38
AM-FM Radio...............................................3-39
Radio with CD..............................................3-41
Rear Seat Audio (RSA).................................3-46
Theft-Deterrent Feature..................................3-47
Radio Reception...........................................3-50
Care of Your CDs.........................................3-50
Care of Your CD Player................................3-50
Fixed Mast Antenna......................................3-50
Section 3 Instrument Panel
3-1
Page 132 of 382
Passing Another Vehicle While Using
Cruise Control
Use the accelerator pedal to increase your speed.
When you take your foot off the pedal, your vehicle will
slow down to the cruise control speed you set earlier.
Using Cruise Control on Hills
How well your cruise control will work on hills depends
upon your speed, load and the steepness of the
hills. When going up steep hills, you may want to step
on the accelerator pedal to maintain your speed.
When going downhill, you may have to brake or shift to
a lower gear to keep your speed down. Of course,
applying the brake takes you out of cruise control. Many
drivers ®nd this to be too much trouble and don't use
cruise control on steep hills.
Ending Cruise Control
There are two ways to turn off the cruise control:
·Step lightly on the brake pedal.
·Move the cruise switch to OFF.
Erasing Speed Memory
When you turn off the cruise control or the ignition, your
cruise control set speed memory is erased.
Exterior Lamps
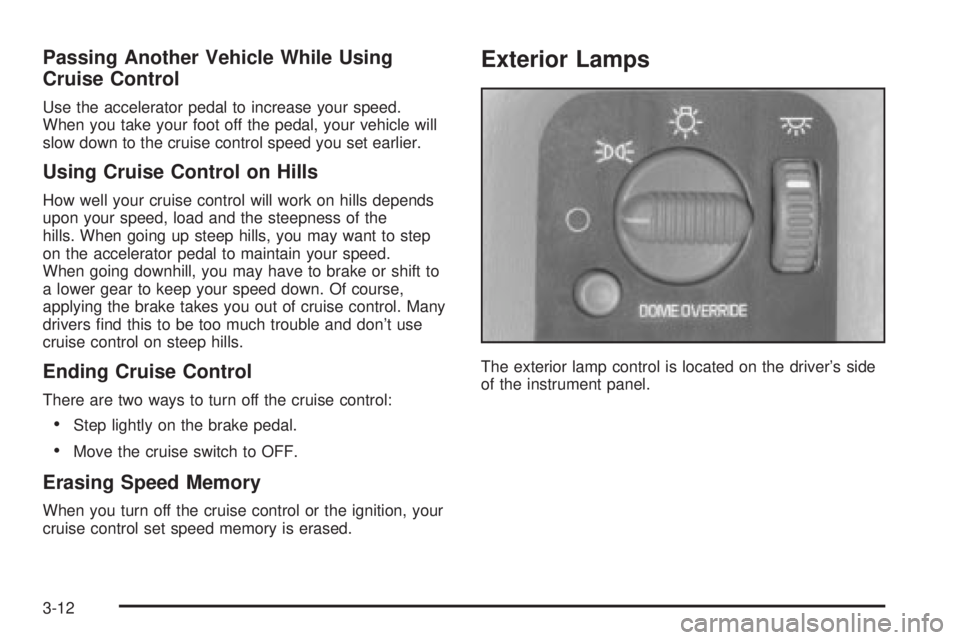
The exterior lamp control is located on the driver's side
of the instrument panel.
3-12
Page 134 of 382
To idle your vehicle with the automatic headlamp
system off, set the parking brake while the ignition is off.
Then start your vehicle. The automatic headlamp
system will stay off until you release the parking brake.
You may be able to turn off your automatic headlamp
system. See ªDaytime Running Lamps (DRL)º later
in this section for more information.
As with any vehicle, you should turn on the regular
headlamps when you need them.
Lamps On Reminder
A reminder tone will sound when your headlamps or
parking lamps are manually turned on and your ignition
is in OFF, LOCK or ACCESSORY. To disable the
tone, turn the instrument panel brightness thumbwheel
all the way down. In the automatic mode, the
headlamps turn off once the ignition key is in OFF.
Daytime Running Lamps (DRL)
Daytime Running Lamps (DRL) can make it easier for
others to see the front of your vehicle during the
day. DRL can be helpful in many different driving
conditions, but they can be especially helpful in the short
periods after dawn and before sunset. Fully functional
daytime running lamps are required on all vehicles
®rst sold in Canada.
The DRL system will make your headlamps come on at
a reduced brightness when the following conditions
are met:
·The ignition is on,
·the exterior lamp control is off.
·the automatic transmission is not in PARK (P),
·the light sensor determines it is daytime and
·the parking brake is released.
When the DRL are on, only your DRL lamps will be on.
The taillamps, sidemarker and other lamps won't be
on. Your instrument panel won't be lit up either.
3-14
Page 148 of 382
Voltmeter Gage
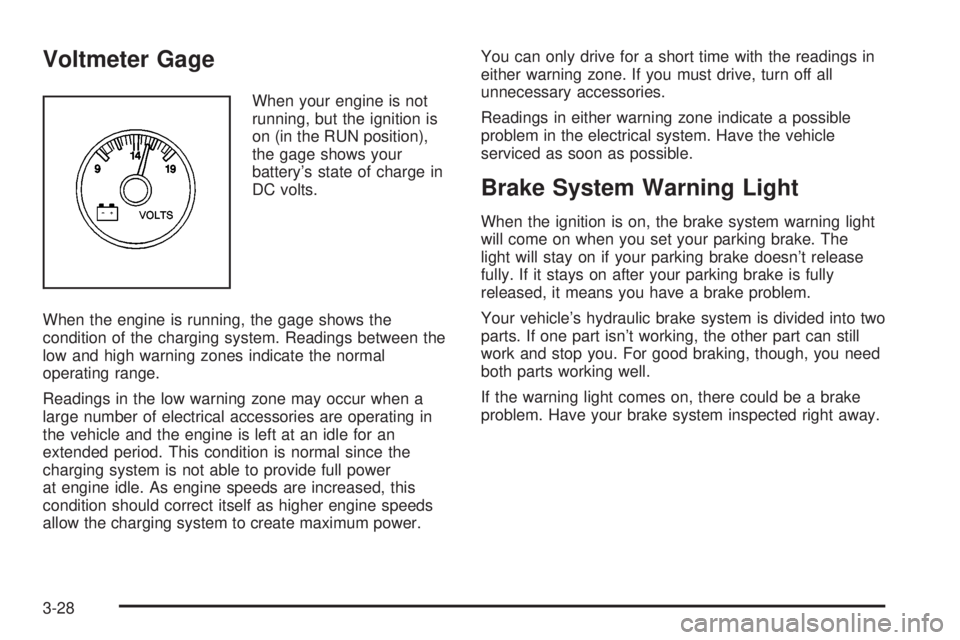
When your engine is not
running, but the ignition is
on (in the RUN position),
the gage shows your
battery's state of charge in
DC volts.
When the engine is running, the gage shows the
condition of the charging system. Readings between the
low and high warning zones indicate the normal
operating range.
Readings in the low warning zone may occur when a
large number of electrical accessories are operating in
the vehicle and the engine is left at an idle for an
extended period. This condition is normal since the
charging system is not able to provide full power
at engine idle. As engine speeds are increased, this
condition should correct itself as higher engine speeds
allow the charging system to create maximum power.You can only drive for a short time with the readings in
either warning zone. If you must drive, turn off all
unnecessary accessories.
Readings in either warning zone indicate a possible
problem in the electrical system. Have the vehicle
serviced as soon as possible.
Brake System Warning Light
When the ignition is on, the brake system warning light
will come on when you set your parking brake. The
light will stay on if your parking brake doesn't release
fully. If it stays on after your parking brake is fully
released, it means you have a brake problem.
Your vehicle's hydraulic brake system is divided into two
parts. If one part isn't working, the other part can still
work and stop you. For good braking, though, you need
both parts working well.
If the warning light comes on, there could be a brake
problem. Have your brake system inspected right away.
3-28
Page 149 of 382
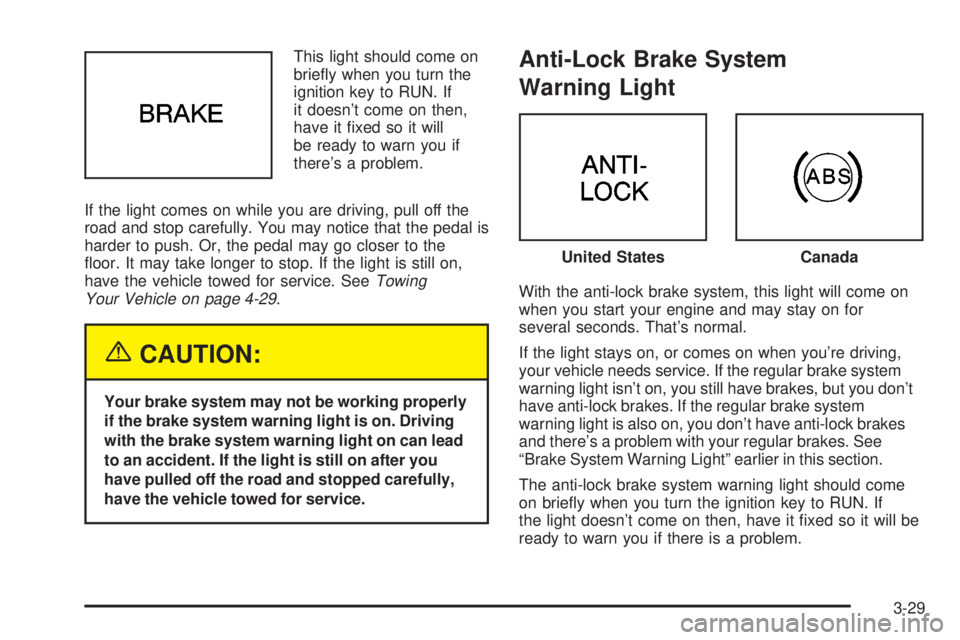
This light should come on
brie¯y when you turn the
ignition key to RUN. If
it doesn't come on then,
have it ®xed so it will
be ready to warn you if
there's a problem.
If the light comes on while you are driving, pull off the
road and stop carefully. You may notice that the pedal is
harder to push. Or, the pedal may go closer to the
¯oor. It may take longer to stop. If the light is still on,
have the vehicle towed for service. See
Towing
Your Vehicle on page 4-29.
{CAUTION:
Your brake system may not be working properly
if the brake system warning light is on. Driving
with the brake system warning light on can lead
to an accident. If the light is still on after you
have pulled off the road and stopped carefully,
have the vehicle towed for service.
Anti-Lock Brake System
Warning Light
With the anti-lock brake system, this light will come on
when you start your engine and may stay on for
several seconds. That's normal.
If the light stays on, or comes on when you're driving,
your vehicle needs service. If the regular brake system
warning light isn't on, you still have brakes, but you don't
have anti-lock brakes. If the regular brake system
warning light is also on, you don't have anti-lock brakes
and there's a problem with your regular brakes. See
ªBrake System Warning Lightº earlier in this section.
The anti-lock brake system warning light should come
on brie¯y when you turn the ignition key to RUN. If
the light doesn't come on then, have it ®xed so it will be
ready to warn you if there is a problem.
United StatesCanada
3-29
Page 177 of 382
Avoid needless heavy braking. Some people drive
in spurts Ð heavy acceleration followed by heavy
braking Ð rather than keeping pace with traffic. This is
a mistake. Your brakes may not have time to cool
between hard stops. Your brakes will wear out much
faster if you do a lot of heavy braking. If you keep pace
with the traffic and allow realistic following distances,
you will eliminate a lot of unnecessary braking.
That means better braking and longer brake life.
If your engine ever stops while you are driving, brake
normally but do not pump your brakes. If you do,
the pedal may get harder to push down. If your engine
stops, you will still have some power brake assist.
But you will use it when you brake. Once the power
assist is used up, it may take longer to stop and
the brake pedal will be harder to push.Anti-lock Brake System
Your vehicle has anti-lock brakes. ABS is an advanced
electronic braking system that will help prevent a
braking skid.
When you start your engine and begin to drive away,
your anti-lock brake system will check itself. You
may hear a momentary motor or clicking noise while
this test is going on. This is normal.
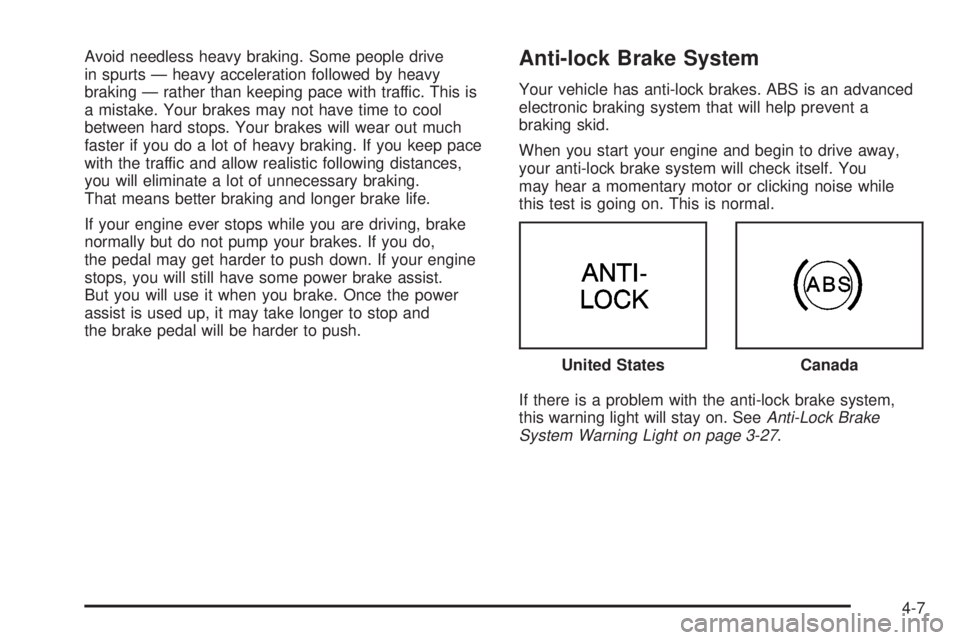
If there is a problem with the anti-lock brake system,
this warning light will stay on. See
Anti-Lock Brake
System Warning Light on page 3-27. United States
Canada
4-7
Page 187 of 382
Driving too fast through large water puddles or even
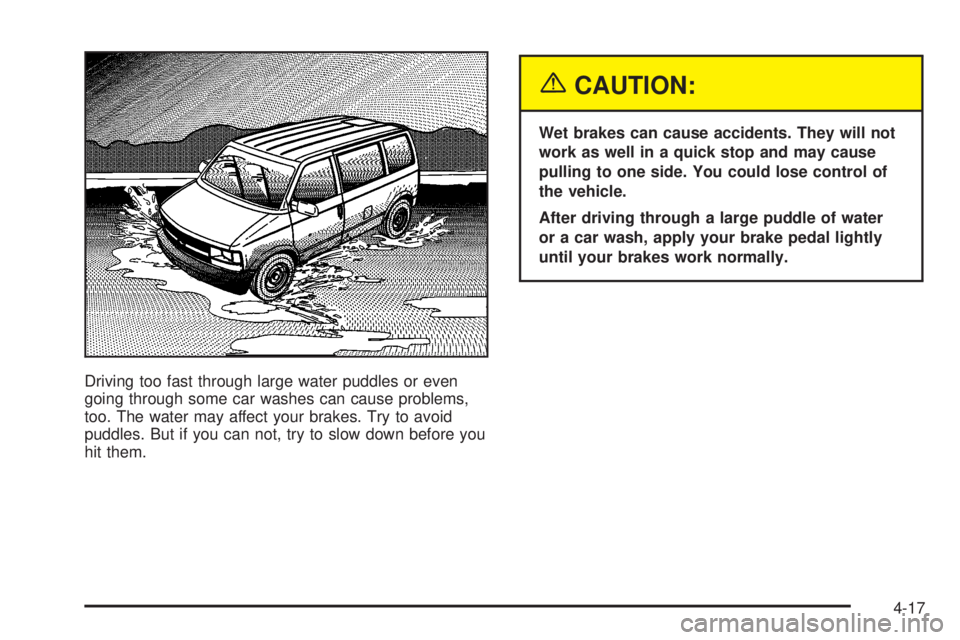
going through some car washes can cause problems,
too. The water may affect your brakes. Try to avoid
puddles. But if you can not, try to slow down before you
hit them.
{CAUTION:
Wet brakes can cause accidents. They will not
work as well in a quick stop and may cause
pulling to one side. You could lose control of
the vehicle.
After driving through a large puddle of water
or a car wash, apply your brake pedal lightly
until your brakes work normally.
4-17
Page 214 of 382
Maintenance When Trailer Towing
Your vehicle will need service more often when you're
pulling a trailer. See the Maintenance Schedule for more
on this. Things that are especially important in trailer
operation are automatic transmission ¯uid (don't over®ll),
engine oil, axle lubricant, belt, cooling system and
brake system. Each of these is covered in this manual,
and the Index will help you ®nd them quickly. If
you're trailering, it's a good idea to review these sections
before you start your trip.
Check periodically to see that all hitch nuts and bolts
are tight.
Trailer Wiring Harness
If you have the optional trailering package, your vehicle
will have an eight-wire harness, including the center
high-mounted stoplamp battery feed wire. The harness
is stored on the passenger's side of the vehicle near
the rear wheel well. This harness has a 30 amp battery
feed wire and no connector, and should be wired by
a quali®ed electrical technician. After choosing an
aftermarket trailer mating connector pair, have the
technician attach one connector to the eight-wire trailer
harness and the other connector to the wiring harness
on the trailer. Be sure the wiring harness on the trailer is
taped or strapped to the trailer's frame rail and leave
it loose enough so the wiring doesn't bend or break, but
not so loose that it drags on the ground. The eight-wireharness must be routed out of your vehicle between the
rear door and the ¯oor, with enough of the harness
left on both sides so that the trailer or the body won't pull
it. If you do not have the optional trailering package,
your vehicle will still have a trailering harness. The
harness is located near the passenger's side rear wheel
well. It consists of six wires that may be used by
after-market trailer hitch installers.
The technician can use the following color code chart
when connecting the wiring harness to your trailer.
·Brown: Rear lamps.
·Yellow: Left stoplamp and turn signal.
·Dark Green: Right stoplamp and turn signal.
·White (Heavy Gage): Ground.
·Light Green: Back-up lamps.
·White (Light Gage): Center High-Mounted Stoplamp.
·Blue: Auxiliary circuit (eight-wire harness only).
·Orange: Fused auxiliary (eight-wire harness only).
Store the harness in its original place. Wrap the
harness together and tie it neatly so it won't
be damaged.
4-44