light CHEVROLET ASTRO CARGO VAN 1995 2.G Service Manual
[x] Cancel search | Manufacturer: CHEVROLET, Model Year: 1995, Model line: ASTRO CARGO VAN, Model: CHEVROLET ASTRO CARGO VAN 1995 2.GPages: 342, PDF Size: 17.57 MB
Page 176 of 342
Downloaded from www.Manualslib.com manuals search engine 2. Get the vehicles close enough so the jumper cables can reach, but be
sure the vehicles aren’t touching each other.
If they are, it could cause a
ground connection you don’t want. You wouldn’t be able to start your
vehicle, and the bad grounding could damage the electrical systems.
You could be injured if the vehicles roll. Set the parking brake firmly
on each vehicle. Put an automatic transmission in PARK
(P) or a
manual transmission in NEUTRAL (N).
If you have a
four-wheel-drive vehicle with
a manual transfer case shift lever, be
sure the transfer case is
not in NEUTRAL (N).
3. Turn off the ignition on both vehicles. Turn off all lights that aren’t
needed, and radios. This will avoid sparks and help save both batteries.
And it could save your radio!
- ~-
NOTICE:
If you leave your radio on, it could be badly damaged. The
repairs wouldn’t be covered by your warranty.
4. Open the hoods and locate the batteries. Find the positive (+) and
negative
(-) terminals on each battery.
5. Check that the jumper cables don’t have loose or missing insulation. If
they do, you could get a shock. The vehicles could be damaged too.
Before
you connect the cables, here are some basic things you should
know. Positive
(+> will go to positive (+) and negative (-) will go to
negative
(-1 or a metal engine part. Don’t connect (+) to (-) or you’ll
get a short that would damage the battery and maybe other parts too.
5-4
Page 207 of 342
Downloaded from www.Manualslib.com manuals search engine And don’t mix your compact spare or wheel with other wheels or tires. They
won’t fit. Keep your spare and its wheel together.
NOTICE:
Tire chains won’t fit your compact spare. Using them will
damage your vehicle and destroy the chains too. Don’t use tire
chains on your compact spare.
If You’re Stuck: In Sand, Mud, Ice or Snow
What you don’t want to do when your vehicle is stuck is to spin your wheels
too fast. The method known as “rocking” can help you get out when you’re
stuck, but
you must use caution.
I A CAUTION:
I NOTICE:
Spinning your wheels can destroy parts of your vehicle as well as
the tires. If you spin the wheels too fast while shifting your
transmission back and forth, you can destroy your transmission.
For information about using tire chains on your vehicle, see “Tire Chains”
in the Index.
Rocking your vehicle to get it out:
First, turn your steering wheel left and right. That will clear the area around
your front wheels. Then shift back and forth between REVERSE
(R) and a
forward gear, spinning the wheels as little as possible. Release
the
accelerator pedal while you shift, and press lightly on the accelerator pedal
when the transmission is in gear. If that doesn’t get
you out after a few tries,
you may need
to be towed out. If you do need to be towed out, see “Towing
Your Vehicle” in the Index.
5-35
Page 210 of 342
Downloaded from www.Manualslib.com manuals search engine YOU should keep a record with all parts receipts and list the mileage and the
date of any service work
you perform. See “Maintenance Record” in the
Index.
I NOTICE:
If you try to do your own service work without knowing enough
about it, your vehicle could be damaged.
Fuel
Use regular unleaded gasoline rated at 87 octane or higher. Use premium
unleaded gasoline rated at
9 1 octane or higher for high power performance,
when towing a trailer
or with a high payload requirement. But when
operating with a light load as a normal condition, you may use middle grade
or regular unleaded gasolines.
The gasoline you use should meet specifications ASTM
D48 14 in the
United States and CGSB
3.5-92 in Canada. These fuels should have the
proper additives,
so you should not have to add anything to the fuel.
6-2
Page 222 of 342
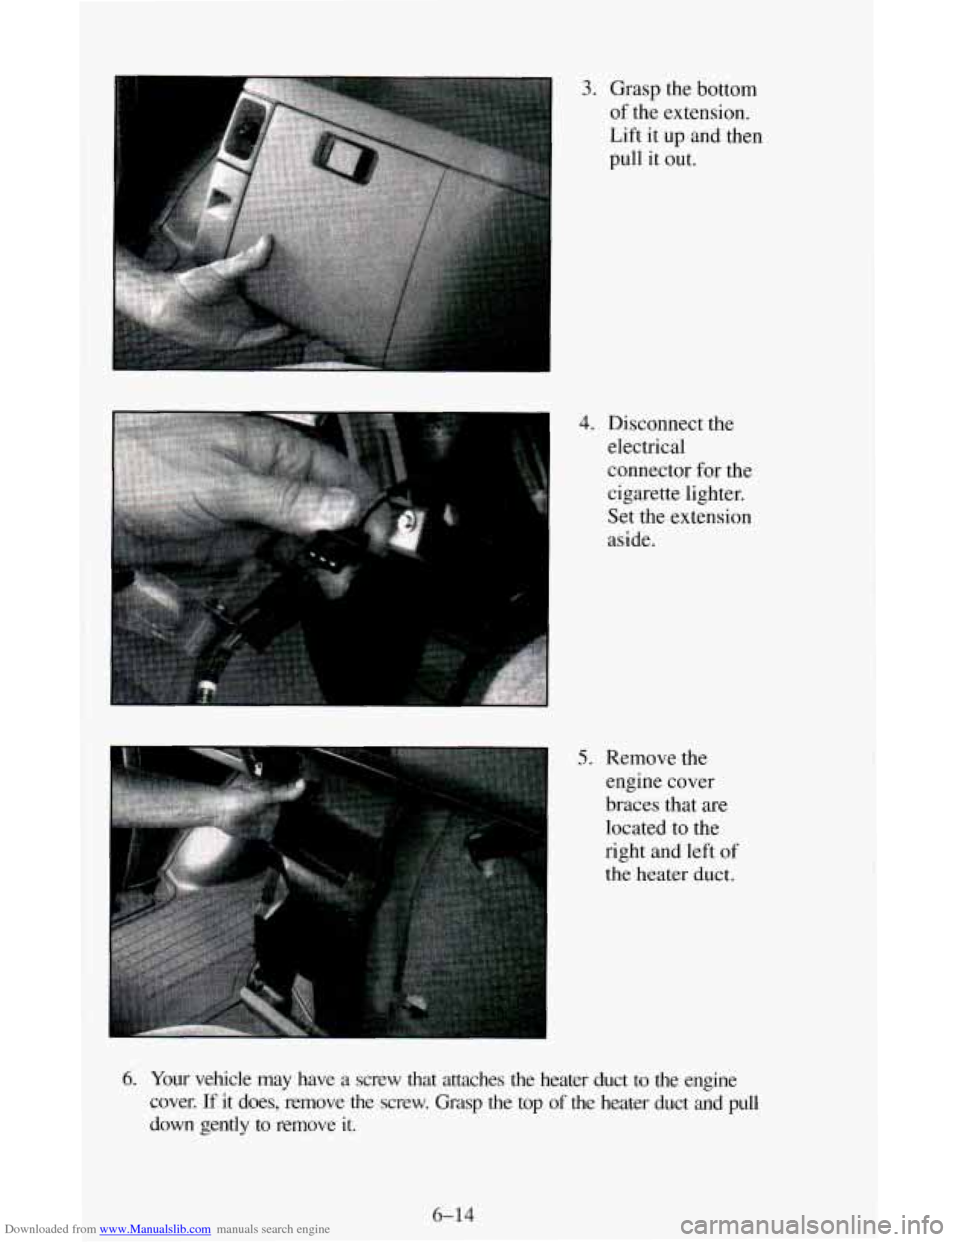
Downloaded from www.Manualslib.com manuals search engine 3. Grasp the bottom
of the extension.
Lift it up and then
pull it out.
4. Disconnect the
electrical
connector for the
cigarette lighter.
Set the extension
aside.
I
5. Remove the
engine cover
braces that are
located to the
right and left
of
the heater duct.
6. Your vehicle may have a screw that attaches the heater duct to the engine
cover.
If it does, remove the screw. Grasp the top of the heater duct and pull
down gently
to remove it.
6-14
Page 225 of 342
Downloaded from www.Manualslib.com manuals search engine 6. Put the heater duct over the engine cover studs. Push up on the duct
gently
until it snaps into place.
7. Reconnect the electrical connector for the cigarette lighter.
8. Grasp the bottom of the instrument panel extension and install the top
into the groove first. Then, push the bottom
of the extension into place.
9. Install the two nuts and two screws on the extension.
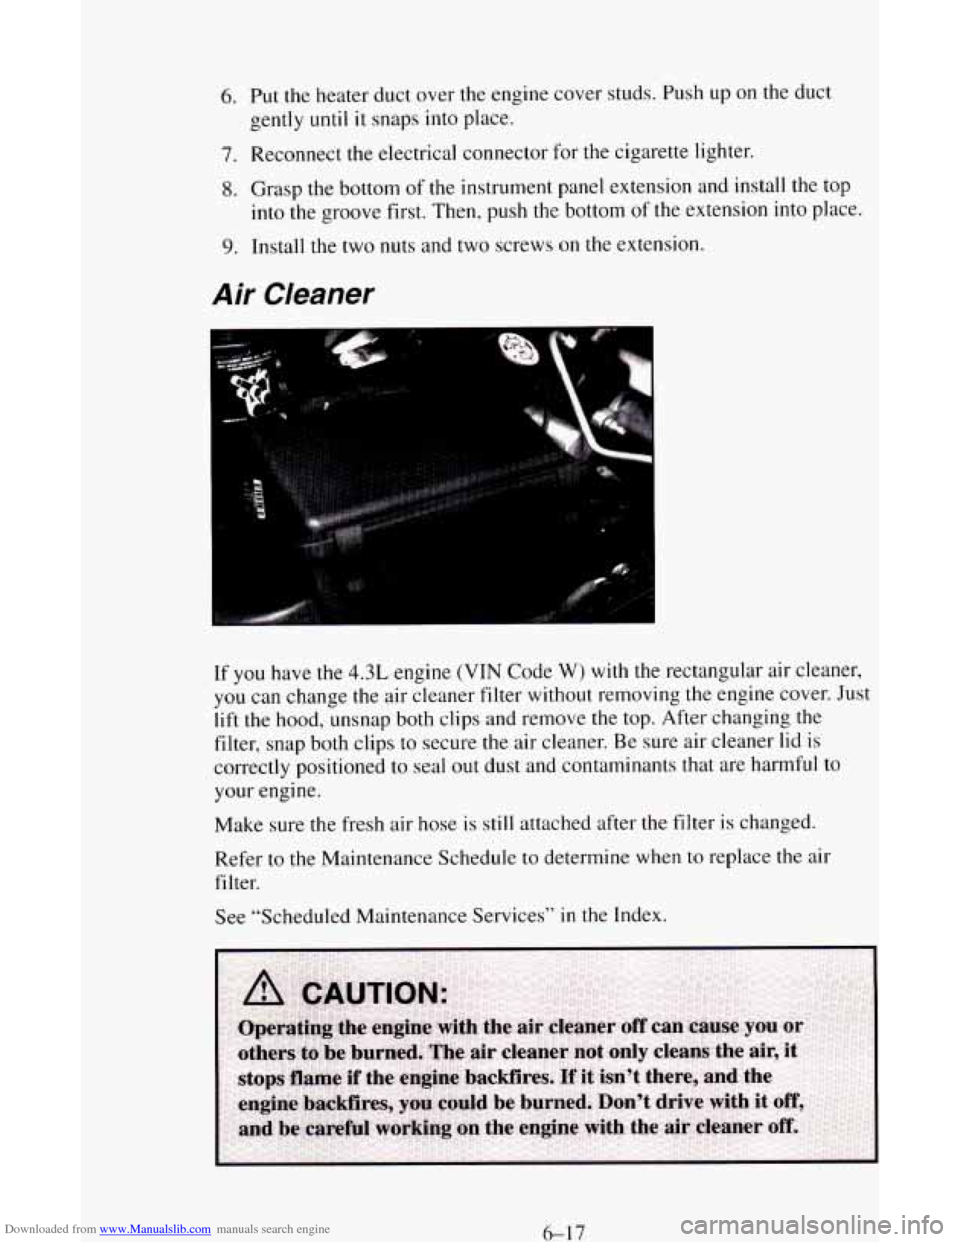
Air Cleaner
If you have the 4.3L engine (VIN Code W) with the rectangular air cleaner,
you can change the air cleaner filter without removing the engine cover. Just
lift the hood, unsnap both clips and remove
the top. After changing the
filter, snap both clips to secure
the air cleaner. Be sure air cleaner lid is
correctly positioned to seal out dust and contaminants that are harmful to
your engine.
Make sure the fresh air hose is
still attached after the filter is changed.
Refer to the Maintenance Schedule to determine when to replace the air
filter.
See “Scheduled Maintenance Services”
in the Index.
6-17
Page 231 of 342
Downloaded from www.Manualslib.com manuals search engine What to Use
Refer to the Maintenance Schedule to determine what kind of lubricant to
use. See “Recommended Fluids and Lubricants”
in the Index.
Engine Coolant
The following explains your cooling system and how to add coolant when it
is low. If you have a problem with engine overheating, see “Engine
Overheating”
in the Index.
The proper coolant
for your vehicle will:
0 Give freezing protection down to -34°F (-37°C).
0 Give boiling protection up to 262 OF ( 1 28 O C).
0 Protect against rust and corrosion.
0 Help keep the proper engine temperature.
0 Let the warning lights and gages work as they should.
What to Use
Use a mixture of one-half clean wafer (preferably distilled) and one-half
antifreeze that meets
“GM Specification 6038-M,” which won’t damage
aluminum parts. You can also use a recycled coolant conforming to “GM
Specification 6038-M. Use
GM Coolant Supplement (Sealer) with a
complete coolant flush and refill.
If you use this mixture, you don’t need to
add anything else.
6-23
Page 239 of 342
Downloaded from www.Manualslib.com manuals search engine Brake Wear
Your vehicle has front disc brakes and rear drum brakes.
Disc brake pads have built-in wear indicators that make
a high-pitched
warning sound when the brake pads are worn and new pads are needed. The
sound may come and go or be heard all the time your vehicle is moving
(except when you are pushing
on the brake pedal firmly).
NOTICE:
Continuing to drive with worn-out brake pads could result in
costly brake repair.
Some driving conditions or climates may cause a brake squeal when the
brakes are first applied or lightly applied. This does not mean something is
wrong with your brakes.
Your rear drum brakes don’t have wear indicators, but
if you ever hear a
rear brake rubbing noise, have the rear brake linings inspected. Also,
the
rear brake drums should be removed and inspected each time the tires are
removed for rotation or changing. When you have the front brakes replaced,
have
the rear brakes inspected, too.
Brake linings should always be replaced
as complete axle sets.
Brake Pedal Travel
See your dealer if the brake pedal does not return to normal height, or if
there is a rapid increase in pedal travel. This could be a sign of brake
trouble.
Brake Adjustment
Every time you make a brake stop, your disc brakes adjust for wear.
If your brake pedal goes down Farther than normal, your rear drum brakes
may need adjustment. Adjust them by backing
up and firmly applying the
brakes a few times.
6-3 1
Page 241 of 342
Downloaded from www.Manualslib.com manuals search engine For more information on vehicle storage, contact your dealer’s service
department, or write to:
Adistra Corporation
17 1 Hamilton Street
Plymouth, MI
48 170
In Canada, write to:
General Motors of Canada, Limited
Customer Services Department
Oshawa, Ontario
Ll J 5Z6
Fluid Leak Check
After the vehicle has been parked for awhile, inspect the surface beneath the
vehicle for water, oil,
fuel or other fluids. Water dripping from the air
conditioning system is normal. If you notice fuel leaks or fumes, the causes
should be found and corrected at once.
Bulb Replacement
Before replacing any bulbs, make sure all lights are off and the vehicle is
not running.
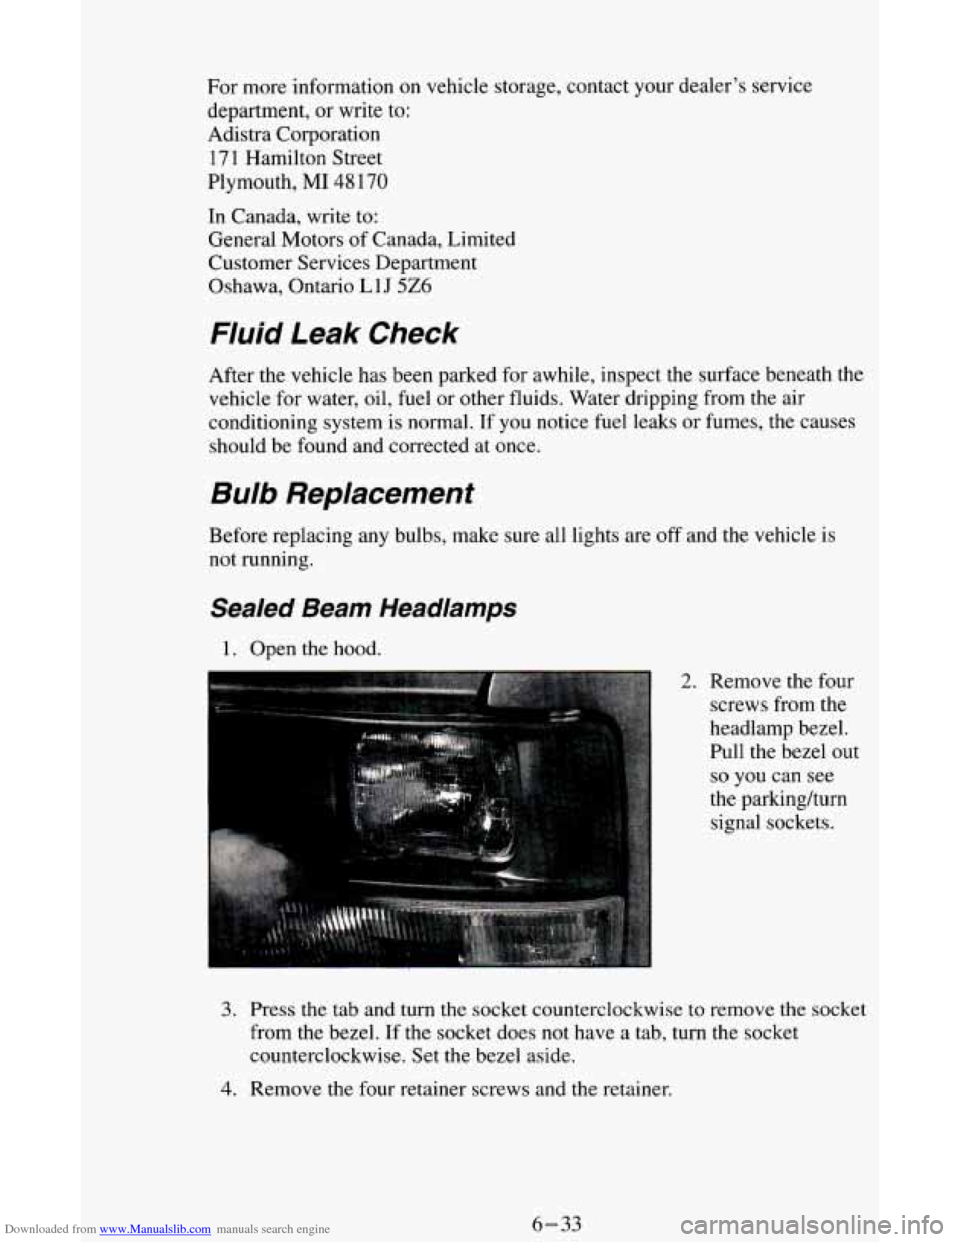
Sealed Beam Headlamps
1. Open the hood.
2. Remove the four
screws from the
headlamp bezel.
Pull the bezel out
so you can see
the parkingkurn
signal sockets.
3. Press the tab and turn the socket counterclockwise to remove the socket
from the bezel. If the socket does
not have a tab, turn the socket
counterclockwise. Set the bezel aside.
4. Remove the four retainer screws and the retainer.
6-33
Page 249 of 342
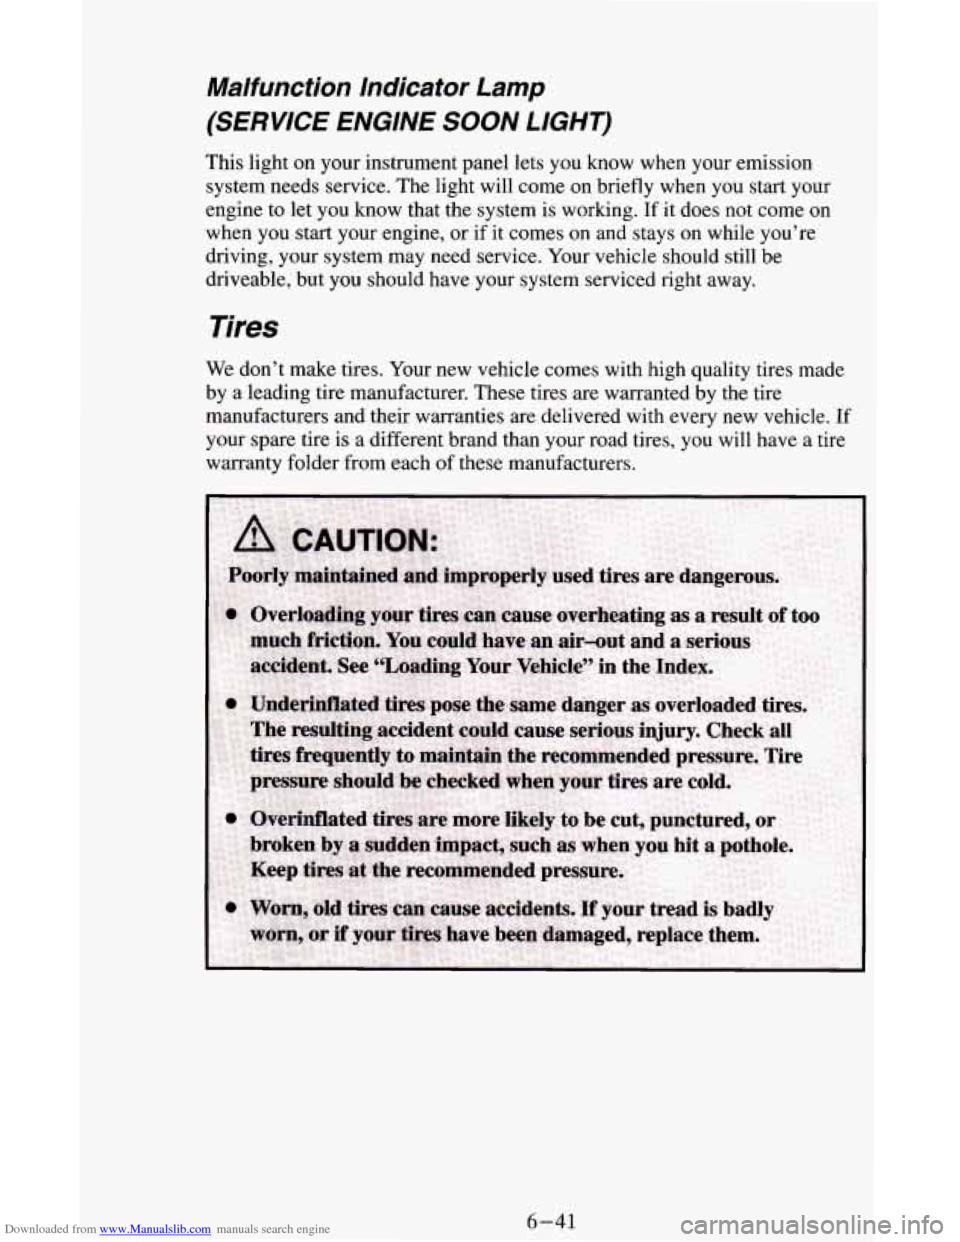
Downloaded from www.Manualslib.com manuals search engine Malfunction lndicator Lamp
(SERVICE ENGINE SOON LIGHT)
This light on your instrument panel lets you know when your emission
system needs service. The light will come on briefly when
you start your
engine to let you know that the system is working. If it does not come on
when you start your engine, or if it comes on and stays on while you’re
driving, your system may need service. Your vehicle should still
be
driveable, but you should have your system serviced right away.
Tires
We don’t make tires. Your new vehicle comes with high quality tires made
by
a leading tire manufacturer. These tires are warranted by the tire
manufacturers and their warranties
are delivered with every new vehicle. If
your spare tire is a different brand than your road tires, you will have a tire
warranty folder from each of these manufacturers.
6-41
Page 258 of 342
Downloaded from www.Manualslib.com manuals search engine Rinse the section with a clean, wet sponge.
Wipe off what’s left with a slightly damp paper towel or cloth.
Then dry it immediately with a blow dryer or a heat lamp.
NOTICE:
Be careful. A blow dryer may scorch the fabric.
Wipe with a clean cloth.
Using Solvent-Type Cleaner on Fabric
First, see if you have to use solvent-type cleaner at all. Some spots and
stains will clean off better
with just water and mild soap.
If you need to
use a solvent:
Gently scrape excess soil from the trim material with a clean, dull knife or
scraper. Use
very little cleaner, light pressure and clean cloths (preferably
cheesecloth). Cleaning should start at the outside
of the stain, “feathering”
toward the center. Keep changing
to a clean section of the cloth.
blow dryer to help prevent a cleaning ring. (See the previous NOTICE.)
0 When you clean a stain from fabric, immediately dry the area with a
Fabric Protection
Your vehicle has upholstery that has been treated with Scotchgard” Fabric
Protector,
a 3M product. Scotchgard“ protects fabrics by repelling oil and
water, which are the carriers of most stains. Even with this protection, you
still need to clean your upholstery often to keep it looking new.
Further information on cleaning is available by calling 1-800-433-3296
(in
Minnesota, 1-800-642-6 167).
Special Cleaning Problems
Greasy or Oily Stains
Stains caused by grease, oil, butter, margarine, shoe polish, coffee with
cream, chewing gum, cosmetic creams, vegetable oils, wax crayon, tar and
asphalt can be removed as follows:
Carefully scrape off excess stain.
Follow the solvent-type instructions described earlier.
Shoe polish, wax crayon, tar and asphalt will stain if left on a vehicle
seat fabric. They should be removed as soon
as possible. Be careful,
because the cleaner will dissolve them and may cause them to spread.
4-50