light CHEVROLET ASTRO CARGO VAN 1995 2.G Owner's Manual
[x] Cancel search | Manufacturer: CHEVROLET, Model Year: 1995, Model line: ASTRO CARGO VAN, Model: CHEVROLET ASTRO CARGO VAN 1995 2.GPages: 342, PDF Size: 17.57 MB
Page 121 of 342
Downloaded from www.Manualslib.com manuals search engine BLEND - With this setting, the heated outside air comes out both the
heater
vents and defroster vents, with some air coming through the side
window vents. Adjust the temperature lever
for warmer or cooler air. This
setting
is useful for cold weather with a large number of passengers or very
humid conditions
to help keep the windshield clear. The A/C compressor
may operate in this setting
to dehumidify the air.
HTR (Heater)
- Most of the air comes out near the floor. The rest comes
out from the defroster vents under the windshield and at the front side
windows. This
is best for cold weather.
VENT
- The air comes out at the vents on your instrument panel. The air
conditioner will not run. Adjust the temperature lever for warmer or cooler air.
BI-LEV A/C - With this, outside air comes out through the heater floor
vent and the instrument panel vents. If you move your temperature control
lever between cold and hot, cooler air
will come out of the upper vents
while warmer air comes
out of the floor vent. This setting is useful in cool
weather with bright sunlight.
NORM A/C - This setting cools the outside air. If you first used MAX
A/C, use NORM A/C
as soon as the vehicle has cooled down, so outside air
will be going through your vehicle.
MAX A/C -This cools the air the fastest. Move
the other lever all the way to
Cold. MAX A/C lets in only a little air from the outside. You can use MAX A/C
at first when
it's really hot outside and you need to cool off quickly.
When
the air conditioning, defrost or BLEND is on, you may notice a slight
increase or decrease in engine speed, due
to compressor operation.
Engine Coolant Heater (Option)
If you use the optional engine coolant heater before starting your engine,
your heating system will produce warmer air faster to heat the passenger
compartment
in cold weather. See "Engine Coolant Heater" in the Index.
Rear Heater (Option)
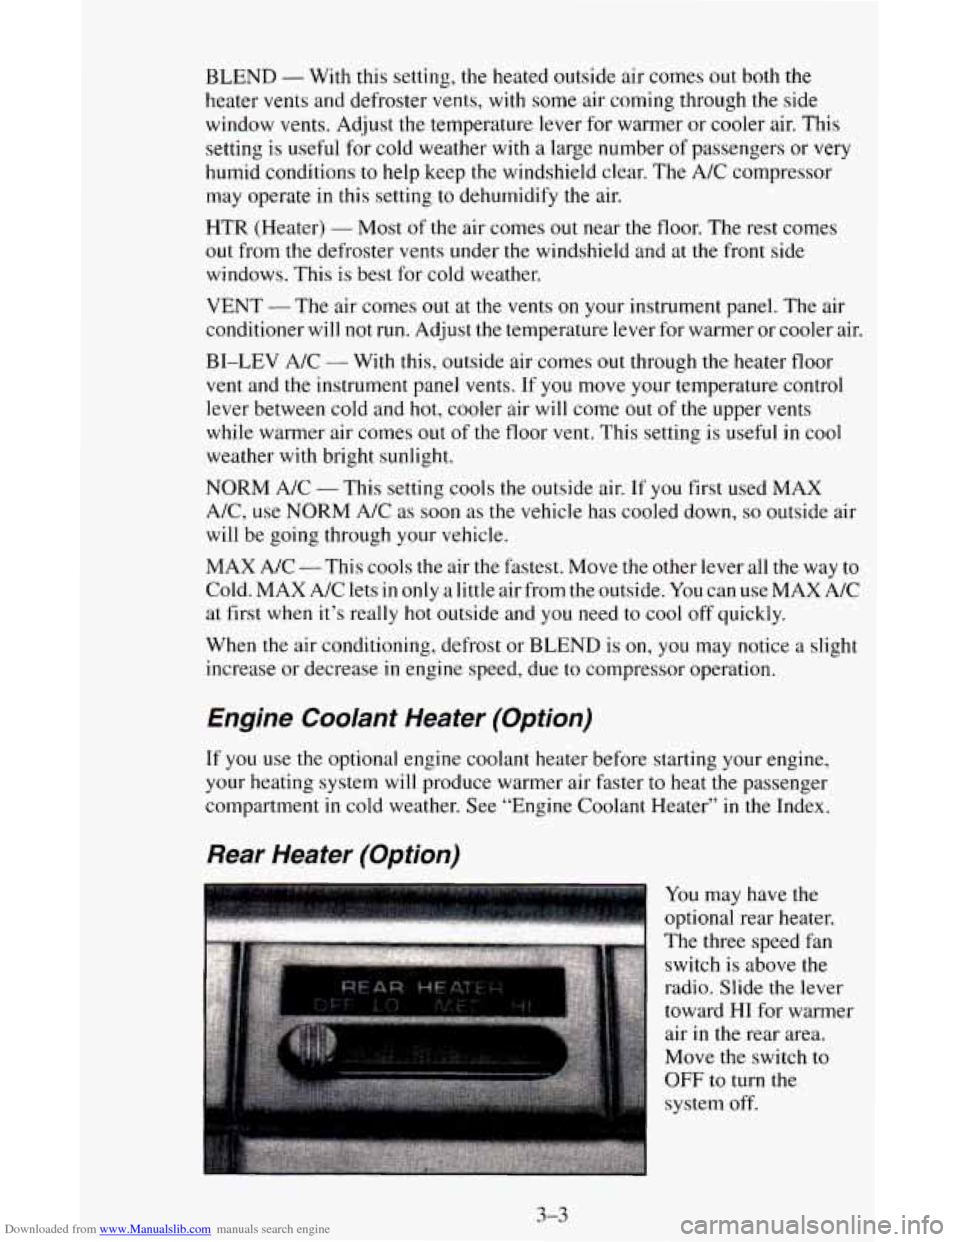
You may have the
optional rear heater.
The three speed fan
switch is above the
radio. Slide
the lever
toward
HI for warmer
air in the rear area.
Move the switch to
OFF to turn the
system off.
3-3
Page 122 of 342
Downloaded from www.Manualslib.com manuals search engine Rear Air Conditioning (Option)
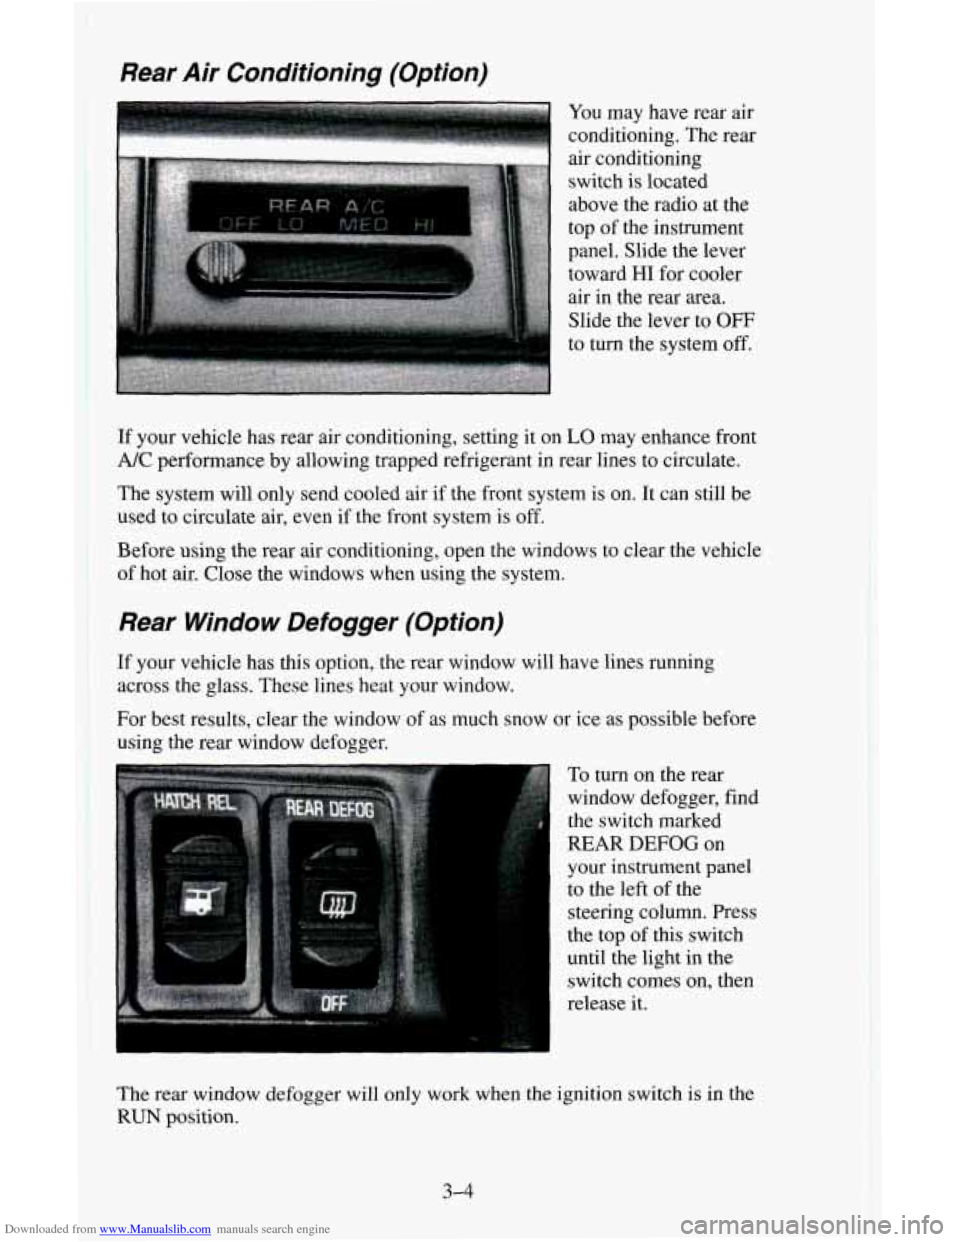
You may have rear air
conditioning. The rear
air conditioning
switch
is located
above the radio at the
top
of the instrument
panel. Slide the lever
toward
HI for cooler
air in the rear
area.
Slide the lever to OFF
to turn the system off.
If your vehicle has rear air conditioning, setting it on LO may enhance front
A/C performance by allowing trapped refrigerant in rear lines to circulate.
The system will only send cooled air if the front system is on. It can still
be
used to circulate air, even if the front system is off.
Before
using the rear air conditioning, open the windows to clear the vehicle
of hot air. Close the windows when using the system.
Rear Window Defogger (Option)
If your vehicle has this option, the rear window will have lines running
across the glass. These lines heat your window.
For best results, clear the window of as much snow or ice as possible before
using the
rear window defogger.
To
turn on the rear
window defogger, find
the switch marked
REAR DEFOG on
your instrument panel
to the left of the
steering column. Press
the top
of this switch
until the light in the
switch comes on, then
release it.
The rear window defogger will only work when the ignition switch
is in the
RUN position.
3-4
Page 129 of 342
Downloaded from www.Manualslib.com manuals search engine To PIay A Cassette
Your tape player is built to work best with tapes that are 30 to 45 minutes
long on each side. Tapes longer than that are
so thin they may not work well
in this player.
Once the tape is playing, use the upper and lower knobs for volume, balance
and fade just as you do for the radio. A lighted arrow shows which direction
the tape is being played.
FORWARD
- To rapidly advance the tape, press 4 or b in the direction
that the amber arrow points and the tape will rapidly go forward until
you
press the STOP-EJECT button lightly.
REVERSE
- To rapidly reverse the tape, press 4 or b in the opposite
direction that the amber arrow points and the tape will rapidly reverse until
you press the STOP-EJECT button lightly.
PROGRAM
- To go from one side of the tape to the other, press the
VOL-PROG-RCL knob.
STOP-EJECT
- To remove the tape or stop the tape and switch to radio,
press the STOP-EJECT button.
If a tape
is inserted with side “1” (or “A”) up, then the right arrow means
that that side is being played. Likewise,
a left arrow would indicate that side
“2” (or “B”) had been selected. The player will automatically switch to the
other side
of the tape when the first side ends.
If “Cln” (Clean) appears
on the display when you insert your cassette tape,
your cassette player needs to be cleaned. It will
still play cassette tapes but it
should be cleaned to prevent damage to your cassette tapes and the cassette
tape player. See “Care
of Your Cassette Tape Player” later in this section.
After you have cleaned the cassette tape player, press and hold
STOP-EJECT for
5 seconds to reset the the “Cln” indicator. The radio will
display
“- - -” to show the clean feature has been reset.
3-1 1
Page 131 of 342
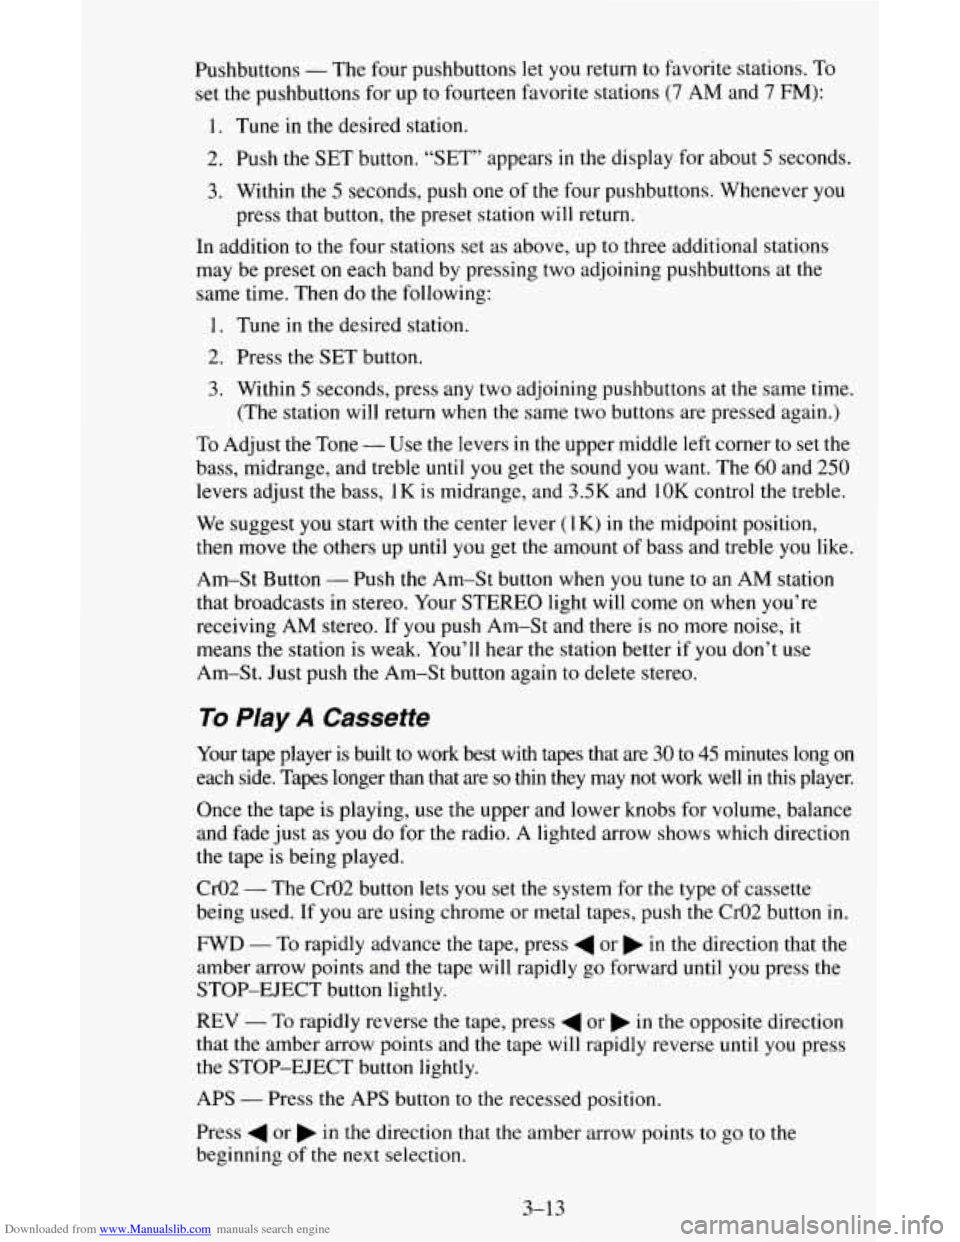
Downloaded from www.Manualslib.com manuals search engine Pushbuttons - The four pushbuttons let you return to favorite stations. To
set the pushbuttons for up to fourteen favorite stations
(7 AM and 7 FM):
1. Tune in the desired station.
2. Push the SET button. “SET” appears in the display for about 5 seconds.
3. Within the 5 seconds, push one of the four pushbuttons. Whenever you
press that button, the preset station will return.
In addition to the four stations set as above, up to three additional stations
may be preset
on each band by pressing two adjoining pushbuttons at the
same time. Then do the following:
1. Tune in the desired station.
2. Press the SET button.
3. Within 5 seconds, press any two adjoining pushbuttons at the same time.
(The station will return when the same two buttons are pressed again.)
To Adjust the Tone - Use the levers in the upper middle left corner to set the
bass, midrange, and treble until you get the sound you want. The 60 and 250
levers adjust the bass,
1 K is midrange, and 3.5K and 1 OK control the treble.
We suggest
you start with the center lever (1K) in the midpoint position,
then move the others up until
you get the amount of bass and treble you like.
Am-St Button
- Push the Am-St button when you tune to an AM station
that broadcasts in stereo. Your STEREO light will come on when you’re
receiving AM stereo. If you push Am-St and there is
no more noise, it
means the station is weak. You’ll hear the station better if you don’t use
Am-St. Just push the Am-St button again to delete stereo.
To Play A Cassette
Your tape player is built to work best with tapes that are 30 to 45 minutes long on
each side. Tapes longer than that are so thin they may not work well in this player.
Once the tape is playing, use
the upper and lower knobs for volume, balance
and fade just as
you do for the radio. A lighted arrow shows which direction
the tape
is being played.
CrO2
- The CrO2 button lets you set the system for the type of cassette
being used. If you are using chrome
or metal tapes, push the Cr02 button in.
FWD - To rapidly advance the tape, press 4 or in the direction that the
amber arrow points and the tape will rapidly go forward until you press the
STOP-EJECT button lightly.
REV - To rapidly reverse the tape, press 4 or b in the opposite direction
that
the amber arrow points and the tape will rapidly reverse until you press
the STOP-EJECT button lightly.
APS
- Press the APS button to the recessed position.
Press
4 or b in the direction that the amber arrow points to go to the
beginning
of the next selection.
3-13
Page 136 of 342
Downloaded from www.Manualslib.com manuals search engine 3. Enter the six digits of the code following steps 6-9 above. The display
will show the numbers
as entered.
4. Press the BAND knob and the time appears - indicating that the
disabling sequence was successful.
If the display indicates “SEC”, the
numbers did
not match and the unit is still secured.
Disabling The Theft System
1. Press presets 1 and 4 for 5 seconds with ignition on and radio off. The
display will show
“SEC”, indicating the unit is in the secure mode.
2. Press the SET button. The display will show “000”.
3. Enter the first three digits of the code following steps 6 and 7 of the
preceding paragraphs (“To Lock
the System”). The display will show
the numbers
as entered.
4. Press the BAND knob. The radio will display “000”.
5. Enter the second three digits of the code. The display will show the
numbers
as entered.
6. Press the BAND knob. If the display shows “- - - ”, the disabling
sequence was successful. The numbers matched the user-selected code
or the factory back-up code, and the
unit is in the UNSECURED
mode. If
the display shows “SEC”, the disabling sequence was
unsuccessful and
the numbers did not match either of the codes and the
unit will remain
in the SECURED mode.
Understanding Radio Reception
FM stereo will give you the best sound. But FM signals will reach only
about 10 to 40 miles (16 to 65 km). And, tall buildings or hills can interfere
with FM signals, causing the sound to come and
go.
The range for most AM stations is greater than for FM, especially at night.
The longer range, however, can cause stations
to interfere with each other.
AM can pick up noise from things like storms and power lines. Try reducing
the treble
to reduce this noise if you ever get it.
AM Stereo means the DelcoB system can receive C-QUAM@stereo
broadcasts. Many AM stations around
the countr use C-QUAM@ to
produce stereo, though some do not. (C-QUAM
4 is a registered trademark
of Motorola, Inc.) If your Delco@ system can get C-QUAM@, your
“STEREO” light
will come on when you’re receiving it.
Be aware that hearing damage from loud noise is almost undetectable
until
it is too late. Your hearing can adapt to higher volumes of sound. Sound that
seems normal can be loud and harmful to your hearing. Take precautions by
adjusting
the volume control on your radio to a safe sound level before your
hearing adapts
to it.
3-18
Page 137 of 342
Downloaded from www.Manualslib.com manuals search engine To help avoid hearing loss or damage:
1. Adjust the volume control to the lowest setting.
2. Increase volume slowly until you hear comfortably and clearly.
NOTICE:
Before you add any sound equipment to your vehicle - like a
tape player, CB radio, mobile telephone or two-way radio - be
sure you can add what you want.
If you can, it’s very important
to do it properly. Added sound equipment may interfere with the
operation
of your vehicle’s engine, Delco@ radio or other
systems, and even damage them. And, your vehicle’s systems
may interfere with the operation
of sound equipment that has
been added improperly.
So, before adding sound equipment, check with your dealer and
be sure to check Federal rules covering mobile radio and
telephone units.
Care of Your Cassette Player and Tape
A tape player that is not cleaned regularly is subject to reduced sound
quality, ruining
the cassette, or damaging the mechanism. Tape cassettes that
are not properly stored
in their plastic cases away from contaminants, direct
sunlight, and extreme heat, may not operate properly and could cause
premature failure
of the tape player.
Your tape player should be cleaned with every
50 hours of use to provide
optimum performance. Your radio may display “Cln” (Clean)
to indicate
that you have used your tape player for
50 hours without re-setting the tape
clean timer. If you notice a reduction
in sound quality, regardless of when
the tape player was last cleaned, try playing
a different cassette to see if the
tape or tape player is at fault. If
the second cassette results in no
improvement
in sound quality, try cleaning the tape player.
Proper tape player cleaning should be done with a scrubbing action,
non-abrasive cleaning cassette. This is a wet-type cleaning system that uses
a cleaning cassette with pads which scrub the tape head as the hubs of the
cleaner cassette turn. To properly clean your tape player, follow instructions
with the cleaning cassette. If
you use this type of cleaner, the radio may
display an error and eject the cartridge. This is normal and is the result of an
added feature
in the tape player that detects broken tapes. If an error occurs,
you will need to insert the cleaning cassette at least
3 times to thoroughly
clean the tape player.
3-19
Page 138 of 342
Downloaded from www.Manualslib.com manuals search engine You may prefer to use a non-scrubbing action, wet-type cleaner. This type
of cleaner uses a fabric belt to clean the tape head. This type of cleaner
cassette will not
cause an error, but it may not clean the tape player as
thoroughly
as the scrubbing type cleaner.
A scrubbing action cleaner cassette is available through your retailer (SPO
12344600).
Cassettes are subject to wear and the sound quality may degrade over time.
Always verify that the cassette tape
is in good condition and the tape player
is clean before obtaining service on your tape player.
NOTICE:
Cassette tape adapter kits for portable CD players will not work
in your cassette player. These adapters will cause the radio t\
o
display an error and the adapter cassette
will be ejected.
Care of Compact Discs
Handle discs carefully. Store them in their original cases or other protective
cases and away from direct sunlight and dust. If
the surface of a disc is
soiled, dampen a clean, soft cloth
in a mild, neutral detergent solution and
clean it, wiping from
the center to the edge.
Be sure never
to touch the signal surface when handling discs. Pick up discs
by grasping the outer edges
or the edge of the hole and the outer edge.
Antenna Care
The fixed mast antenna can withstand most car washes without being
damaged. If the mast should ever become slightly bent,
you can straighten it
out by hand. If the mast
is badly bent, as it might be by vandals, you should
replace it.
Check every once in a while
to be sure the mast is still tightened to the
fender.
3-20
Page 147 of 342
Downloaded from www.Manualslib.com manuals search engine Off-Road Recovery
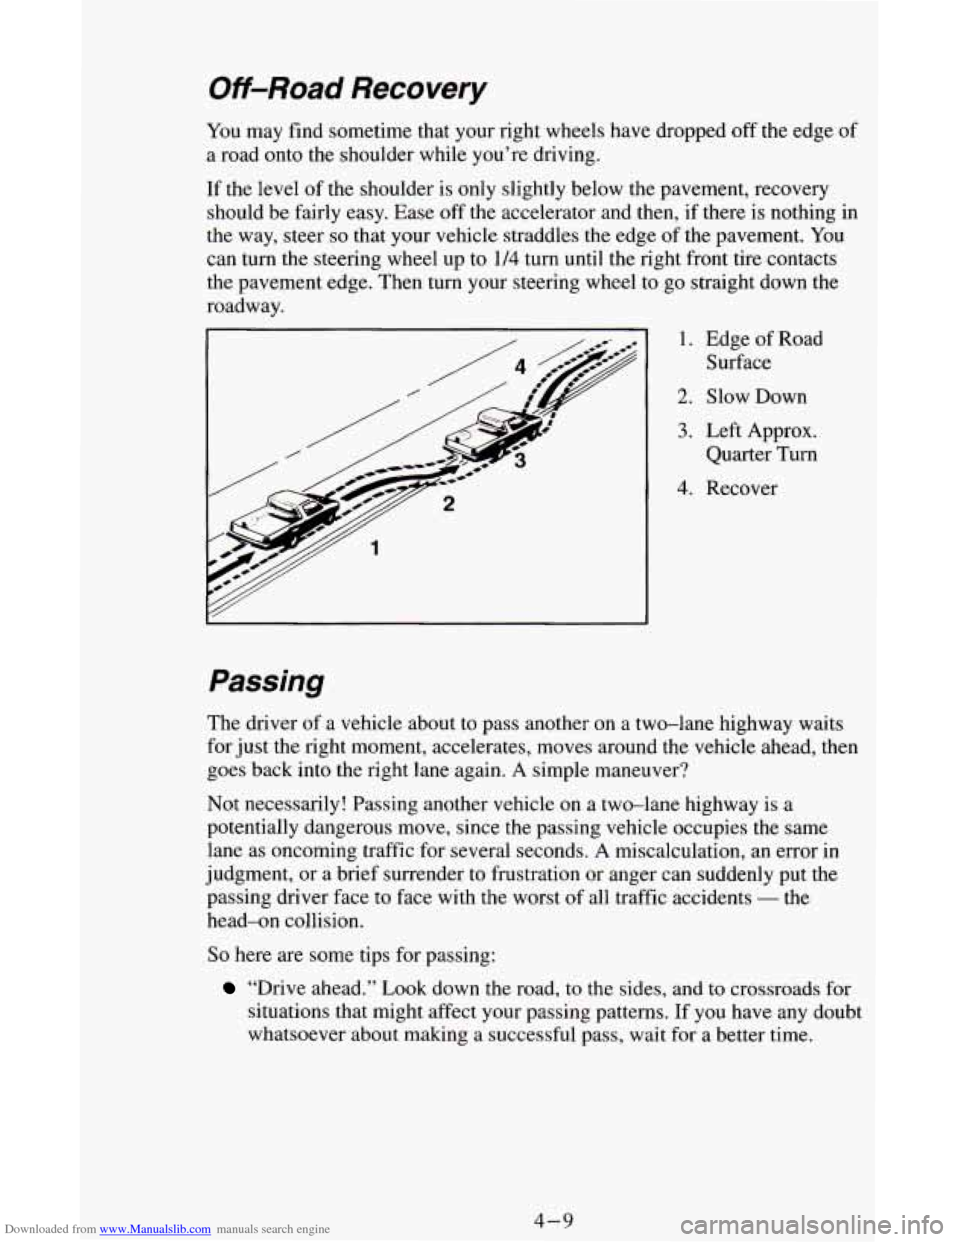
You may find sometime that your right wheels have dropped off the edge of
a road onto the shoulder while you’re driving.
If the level of the shoulder is only slightly below the pavement, recovery
should be fairly easy. Ease
off the accelerator and then, if there is nothing in
the way, steer
so that your vehicle straddles the edge of the pavement. You
can turn the steering wheel up to
114 turn until the right front tire contacts
the pavement edge. Then
turn your steering wheel to go straight down the
roadway.
I
:,I ‘W I
1. Edge of Road
Surface
2. Slow Down
3. Left Approx.
Quarter Turn
4. Recover
Passing
The driver of a vehicle about to pass another on a two-lane highway waits
for just the right moment, accel.erates, moves around the vehicle ahead, then
goes back into the right lane again.
A simple maneuver?
Not necessarily! Passing another vehicle
on a two-lane highway is a
potentially dangerous move, since the passing vehicle occupies the same
lane as oncoming traffic for several seconds. A miscalculation, an error in
judgment, or a brief surrender
to frustration or anger can suddenly put the
passing driver face to face with the worst of all traffic accidents
- the
head-on collision.
So here are some tips for passing:
“Drive ahead.” Look down the road, to the sides, and to crossroads for
situations that might affect your passing patterns. If you have any doubt
whatsoever about making a successful pass, wait for a better time.
4-9
Page 148 of 342
Downloaded from www.Manualslib.com manuals search engine 0
0
0
0
0
0 0
0
Watch for traffic signs, pavement markings, and lines. If you can see a
sign up ahead that might indicate a turn or an intersection, delay your
pass.
A broken center line usually indicates it’s all right to pass
(providing the road ahead is clear). Never cross a solid line on your
side of the lane or a double solid line, even if the road seems empty
of
approaching traffic.
Do not get too close to the vehicle you want to pass while you’re
awaiting
an opportunity. For one thing, following too closely reduces
your
area of vision, especially if you’re following a larger vehicle.
Also, you won’t have adequate space if the vehicle ahead suddenly
slows or stops. Keep back a reasonable distance.
When it looks like a chance
to pass is coming up, start to accelerate but
stay in the right lane and don’t get too close. Time your move
so you
will be increasing speed as the time comes to move into the other lane.
If the way is clear to pass, you will have a “running start” that more
than makes up for the distance you would lose by dropping back. And
if something happens
to cause you to cancel your pass, you need only
slow down and drop back again and wait for another opportunity.
If other cars are lined up to pass a slow vehicle, wait your turn. But
take care that someone isn’t trying to pass
you as you pull out to pass
the slow vehicle. Remember
to glance over your shoulder and check
the blind spot.
Check your mirrors, glance over your shoulder, and start your left lane
change signal before moving out of the right lane
to pass. When you
are far enough ahead of the passed vehicle to see its front in your inside
mirror, activate your right lane change signal and move back into the
right lane. (Remember that your right outside mirror is convex. The
vehicle you just passed may seem to be farther away from
you than it
really is.)
Try not to pass more than one vehicle at a time on two-lane roads.
Reconsider before passing
the next vehicle.
Don’t overtake a slowly moving vehicle too rapidly. Even though the
brake lights are not flashing, it may be slowing down or starting
to turn.
If you’re being passed, make it easy for the following driver to get
ahead of you. Perham vou
can ease a little to the ripht.
4-10
Page 150 of 342
Downloaded from www.Manualslib.com manuals search engine Driving at Night
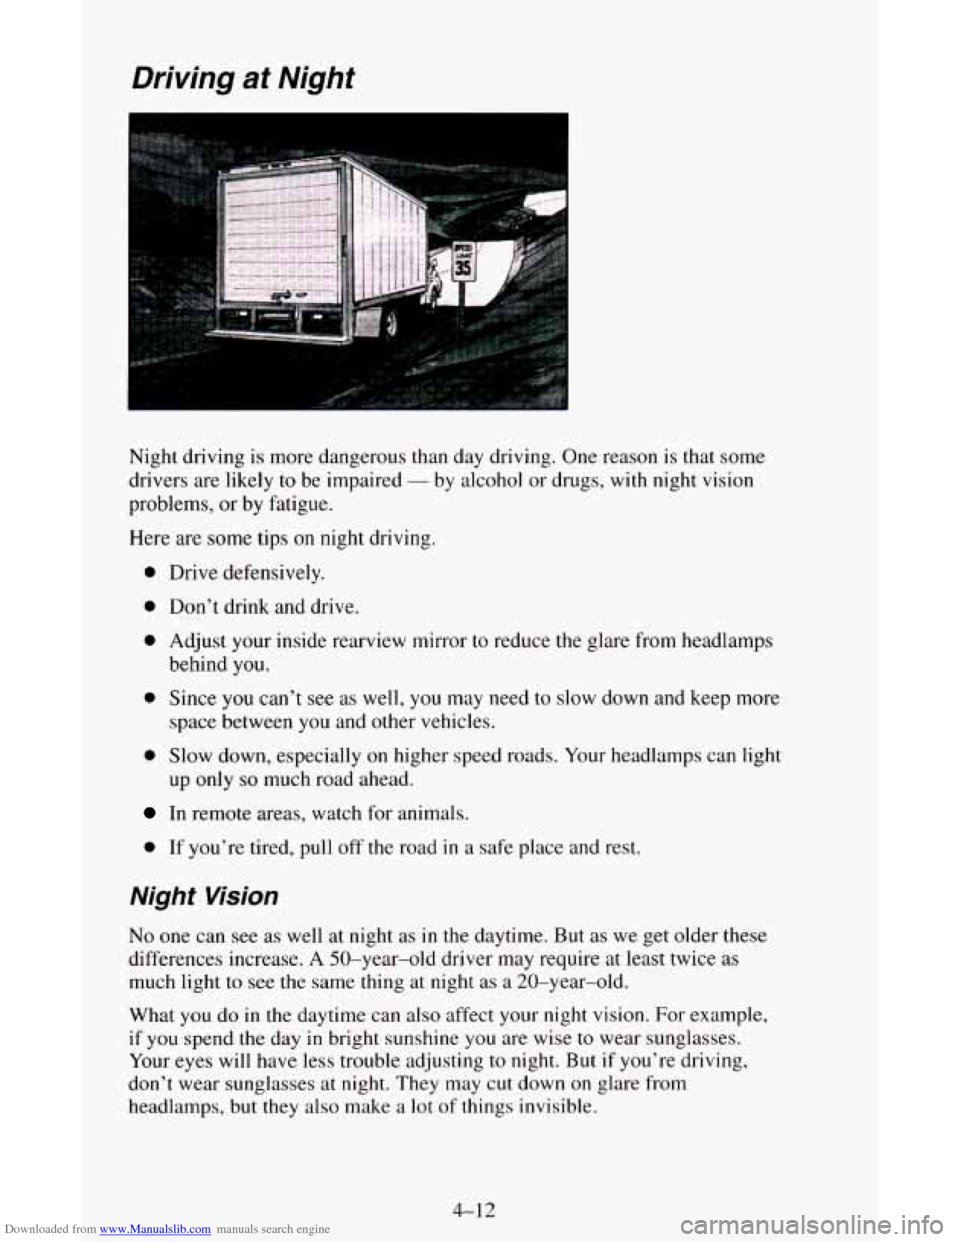
Night driving is more dangerous than day driving. One reason is that some
drivers are
likely to be impaired - by alcohol or drugs, with night vision
problems, or by fatigue.
Here are
some tips on night driving.
0 Drive defensively.
0 Don’t drink and drive.
0 Adjust your inside rearview mirror to reduce the glare from headlamps
behind
you.
0 Since you can’t see as well, you may need to slow down and keep more
space between you and other vehicles.
0 Slow down, especially on higher speed roads. Your headlamps can light
up
only so much road ahead.
In remote areas, watch for animals.
0 If you’re tired, pull off the road in a safe place and rest.
Night Vision
No one can see as well at night as in the daytime. But as we get older these
differences increase.
A 50-year-old driver may require at least twice as
much light to see
the same thing at night as a 20-year-old.
What
you do in the daytime can also affect your night vision. For example,
if you spend the day in bright sunshine you are wise to wear sunglasses.
Your eyes will have
less trouble adjusting to night. But if you’re driving,
don’t wear sunglasses at night. They may
cut down on glare from
headlamps, but they also make a lot of things invisible.
4-12