parking CHEVROLET ASTRO CARGO VAN 1995 2.G Owners Manual
[x] Cancel search | Manufacturer: CHEVROLET, Model Year: 1995, Model line: ASTRO CARGO VAN, Model: CHEVROLET ASTRO CARGO VAN 1995 2.GPages: 342, PDF Size: 17.57 MB
Page 11 of 342
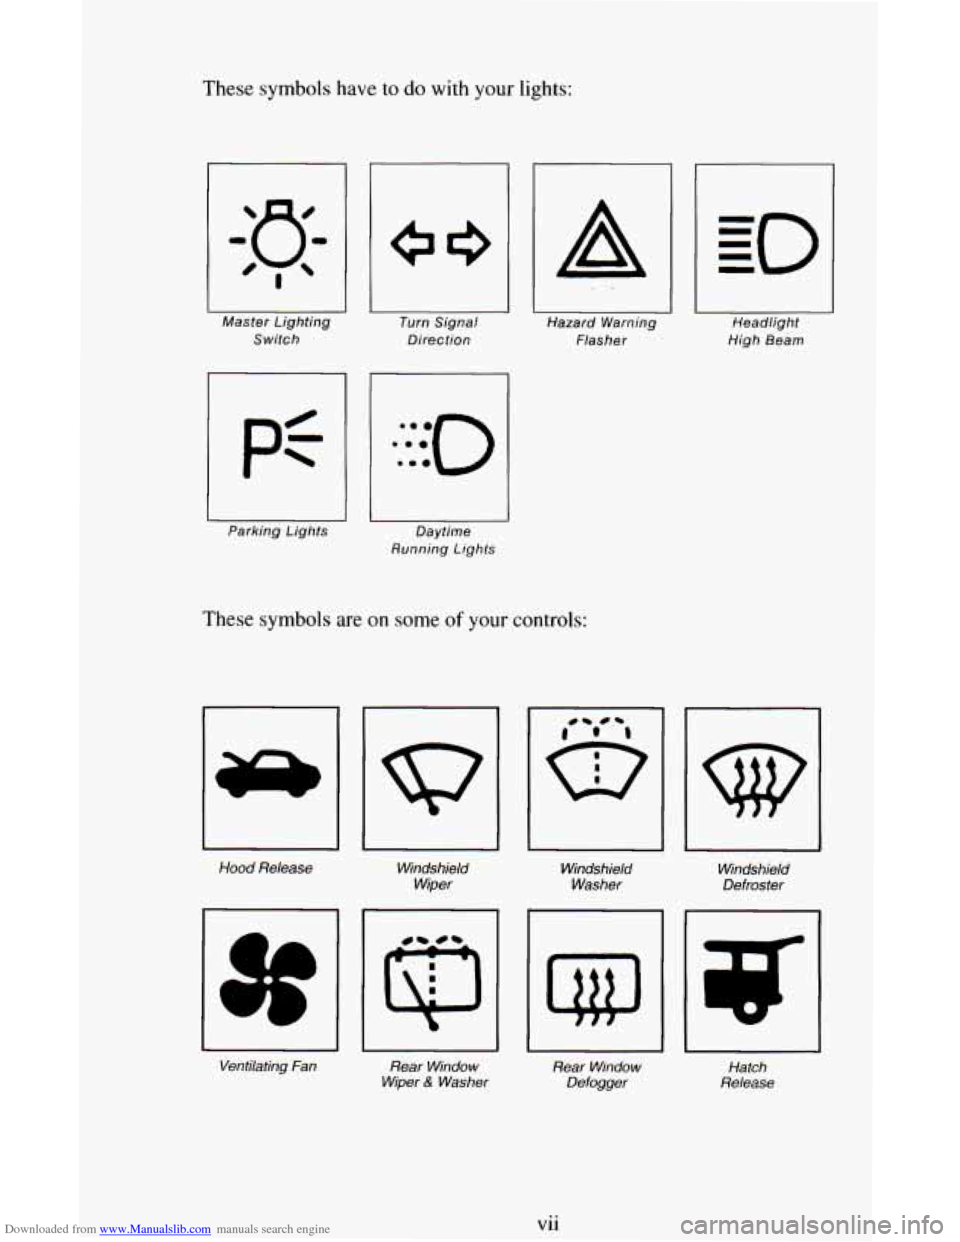
Downloaded from www.Manualslib.com manuals search engine These symbols have to do with your lights:
Master Lighting Switch
1 P=-
Parking Lights
I Turn Signal
Direction
I Daytime
Running Lights
I II I Hazard Warning
Headlight
Flasher High Beam
These symbols are on some of your controls:
Hood
Release
Windshield
Wiper Windshield
Washer
Ventilating
Fan Rear Window
Wiper
6: Washer
rl
Windshield
Defroster
Rear Window
Defogger Hatch
Release
vii
Page 67 of 342
Downloaded from www.Manualslib.com manuals search engine Parking at Night
Parking
Lots
If you park in a lot where someone will be watching your vehicle, it’s best
to lock it up and take your keys. But what
if you have to leave your ignition
key? What if you have to leave something valuable in your vehicle?
0 Put your valuables in a storage area out of sight.
0 Lock all the doors except the driver’s.
0 Then take the door key with you.
New Vehicle “Break-In”
NOTICE:
Your modern vehicle doesn’t need an elaborate “break-in.” But
it will perform better in the long run if you follow these
guidelines:
Keep your speed at 55 mph (88 kmh) or less for the first 500
miles (804 km).
0 Don’t drive at any one speed - fast or slow - for the first
500 miles (804 km). Don’t make full-throttle starts.
0 Avoid making hard stops for the first 200 miles (322 km) or
so. During this time your new brake linings aren’t yet broken
in. Hard stops with new linings can mean premature wear and
earlier replacement. Follow this “breaking-in” guideline
every time you get new brake linings.
Don’t tow a trailer during “break-in.” See “Towing a Trailer”
in the Index for more information.
2-13
Page 72 of 342
Downloaded from www.Manualslib.com manuals search engine How long should you keep the coolant heater plugged in? The answer
depends
on the weather, the kind of oil you have, and some other things.
Instead
of trying to list everything here, we ask that you contact your GM
dealer in the area where you’ll be parking your vehicle. The dealer can give
you the best advice for that particular area.
Automatic Transmission
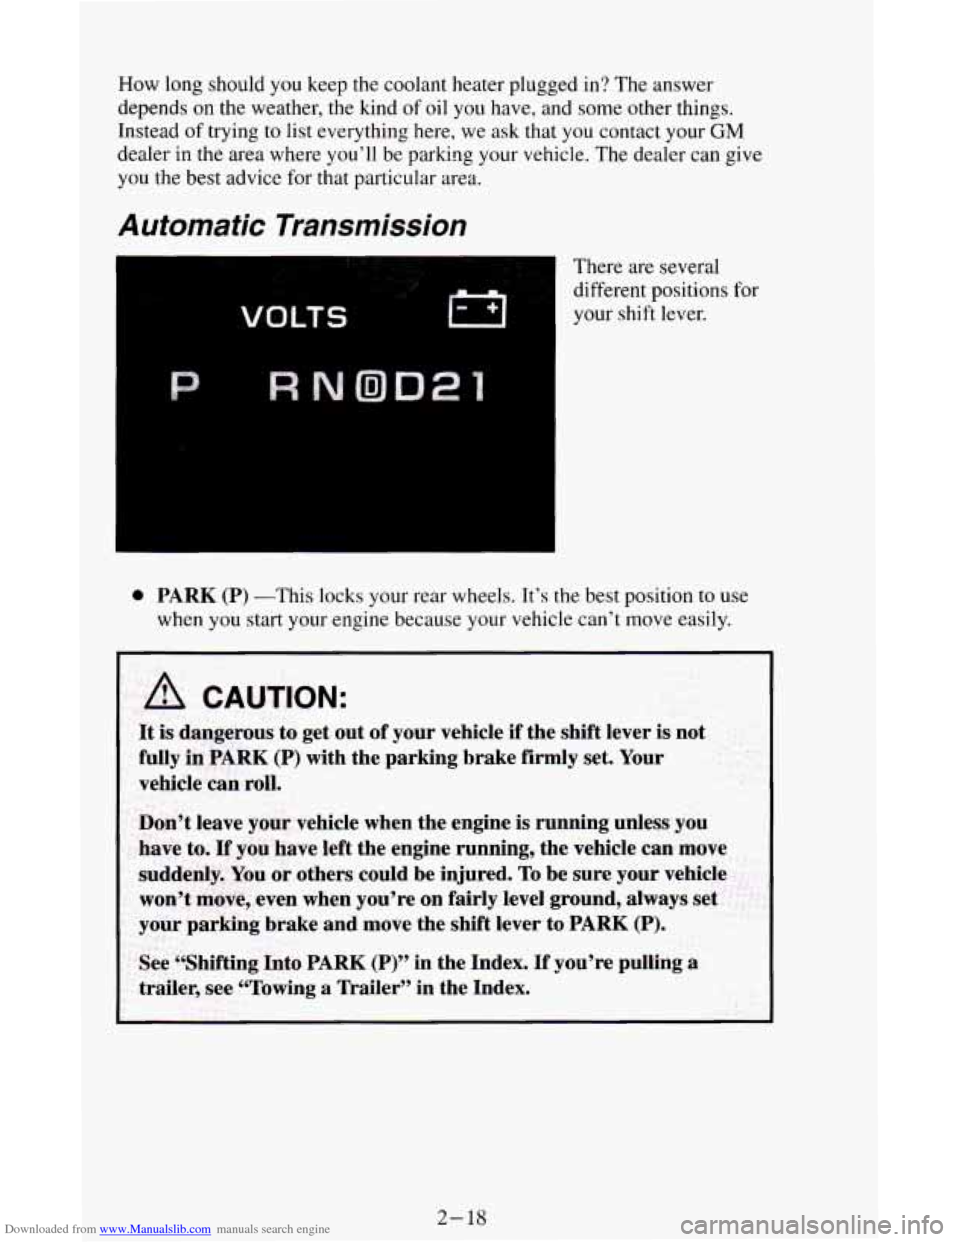
There are several
different positions for
your shift lever.
0 PARK (P) -This locks your rear wheels. It’s the best position to use
when you start your engine because your vehicle can’t move easily.
A CAUTION:
It is dangerous to get out of your vehicle if the shift lever is not I
fully in PARK (P) with the parking brake firmly set. Your
vehicle can roll.
Don’t leave your vehicle when the engine is running unless you
have to.
If you have left the engine running, the vehicle can move
suddenly.
You or others could be injured. To be sure your vehicle
won’t move, even when you’re on fairly level ground, always set
your parking brake and move the shift lever to PARK
(P). I
See “Shifting Into PARK (P)” in the Index. If you’re pulling a
trailer,
see “Towing a Trailer” in the Index.
2- 18
Page 75 of 342
Downloaded from www.Manualslib.com manuals search engine Parking Brake
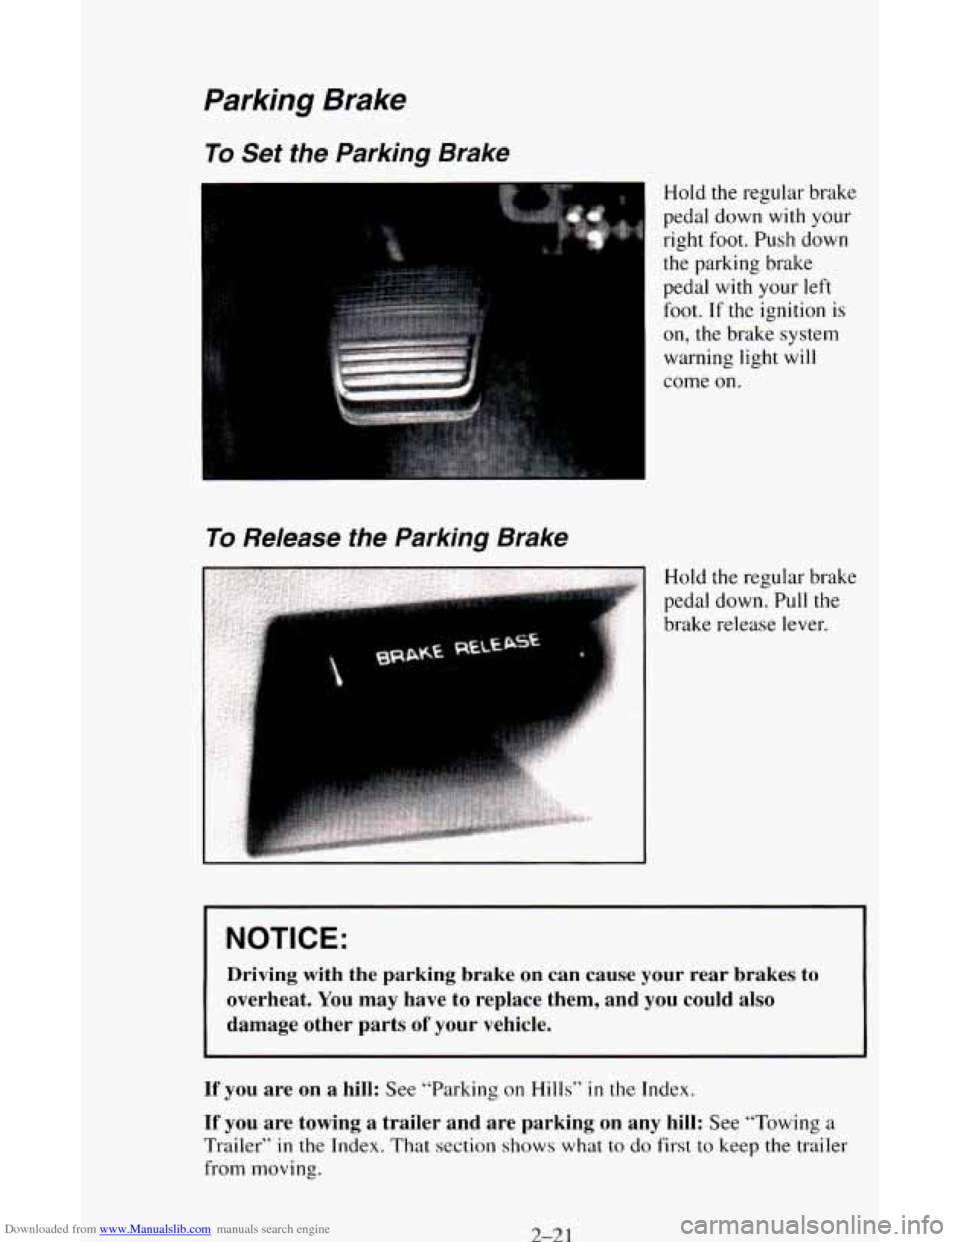
To Set the Parking Brake
Hold the regular brake
To Release the Parking Brake
pedal down with your
right foot. Push down
the parking brake
pedal with your left
foot.
If the ignition is
on, the brake system
warning light
will
come on.
Hold the regular brake
pedal down. Pull the
brake release lever.
NOTICE:
Driving with the parking brake on can cause your rear brakes to
overheat. You may have to replace them, and you could also
damage other parts
of your vehicle.
If you are on a hill: See “Parking on Hills” in the Index.
If you are towing a trailer and are parking on any hill: See “Towing a
Trailer” in the Index. That section shows what to do first to keep the trailer
from moving.
2-21
Page 76 of 342
Downloaded from www.Manualslib.com manuals search engine Locking Rear Axle
If you have this feature, your rear axle can give you additional traction on
snow, mud, ice, sand or gravel. It works like a standard axle most of the
time, but when one of the rear wheels has
no traction and the other does, the
locking feature will allow the wheel
with traction to move the vehicle.
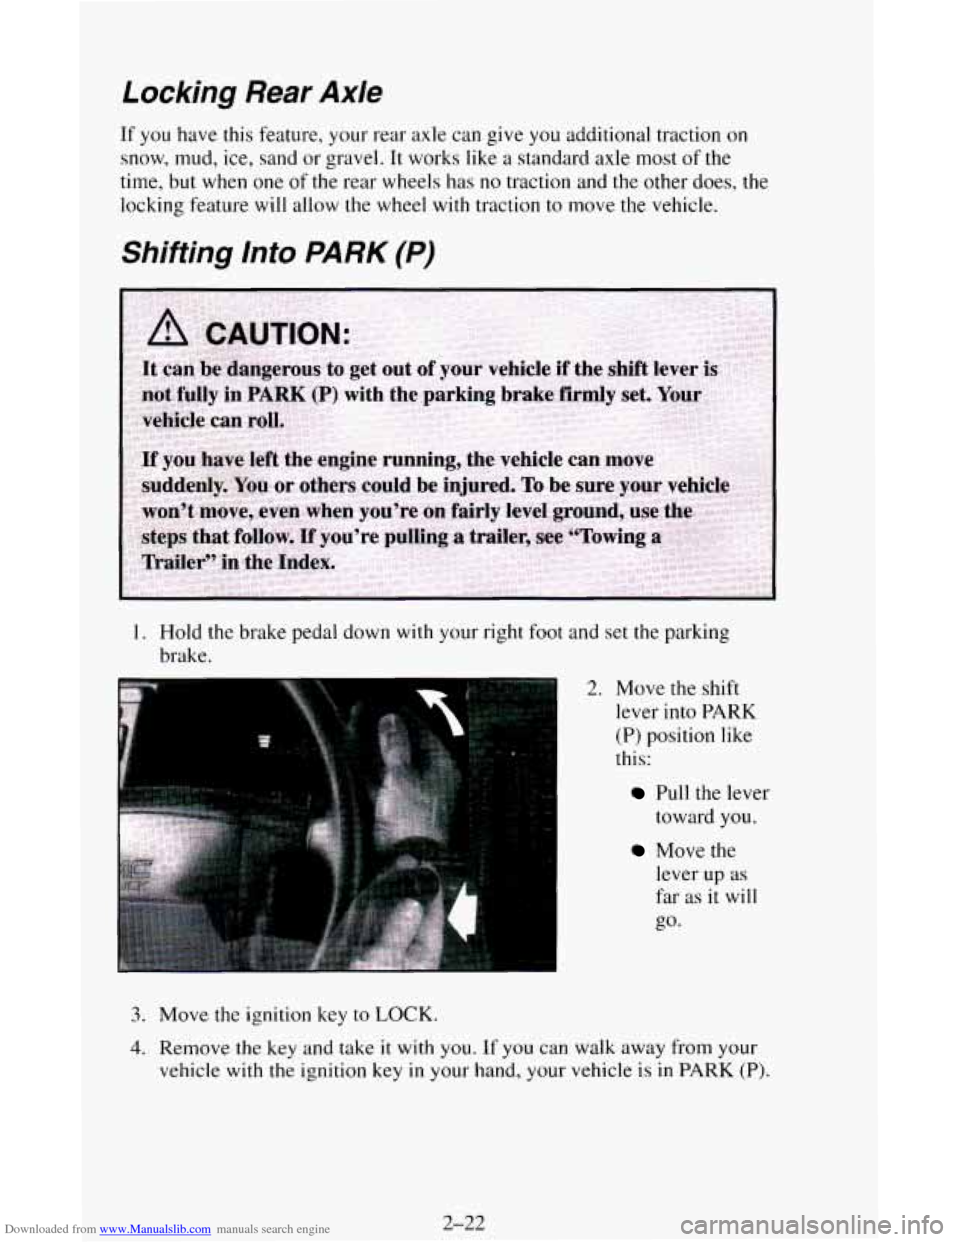
Shifting Into PARK (P)
1. Hold the brake pedal down with your right foot and set the parking
brake.
2. Move the shift
lever
into PARK
(P) position like
this:
Pull the lever
toward
you.
lever up as
far as
it will
go.
Move the
3. Move the ignition key to LOCK.
4. Remove the key and take it with you. If you can walk away from your
vehicle
with the ignition key in your hand, your vehicle is in PARK (P).
2-22
Page 77 of 342
Downloaded from www.Manualslib.com manuals search engine Leaving Your Vehicle With the Engine Running
If you have to leave your vehicle with the engine running, be sure your
vehicle
is in PARK (P) and your parking brake is firmly set before you leave
it. After you’ve moved the shift lever into the
PARK (P) position, hold the
regular brake pedal down. Then, see if you can move the shift lever away
from
PARK (P) without first pulling it toward you. If you can, it means that
the shift lever wasn’t fully locked into
PARK (P).
Torque Lock
If you are parking on a hill and you don’t shift your transmission into PARK
(P) properly, the weight of the vehicle may put too much force on the
parking pawl in the transmission. You may find it difficult to pull the shift
lever out of
PARK (P). This is called “torque lock.” To prevent torque lock,
set the parking brake and then shift into
PARK (P) properly before you
leave the driver’s seat.
To find out how, see “Shifting Into PARK (P)” in the
Index.
When you are ready to drive, move the shift lever out
of PARK (P) before
you release the parking brake.
If “torque lock” does occur, you may need to have another vehicle push
yours a little uphill
to take some of the pressure from the transmission, so
you can pull the shift lever out of PARK (P).
2-23
Page 78 of 342
Downloaded from www.Manualslib.com manuals search engine Shifting Out of PARK (P)
Your vehicle has a brake-transmission shift interlock. You have to fully
apply your regular brake before you can shift from PARK (P) when the
ignition is in the RUN position.
See “Automatic Transmission” in the Index,
If you cannot shift out
of PARK (P), ease pressure on the shift lever - push
the shift lever all the way into PARK (P) as you maintain brake application.
Then move the shift lever into the gear you want.
If you ever hold the brake pedal down but still can’t shift out of PARK (P),
try this:
1. Turn the key to OFF.
2. Apply and hold the brake until the end of Step 4.
3. Shift to NEUTRAL (N).
4. Start the vehicle and then shift to the drive gear you want.
5. Have the vehicle fixed as soon as you can.
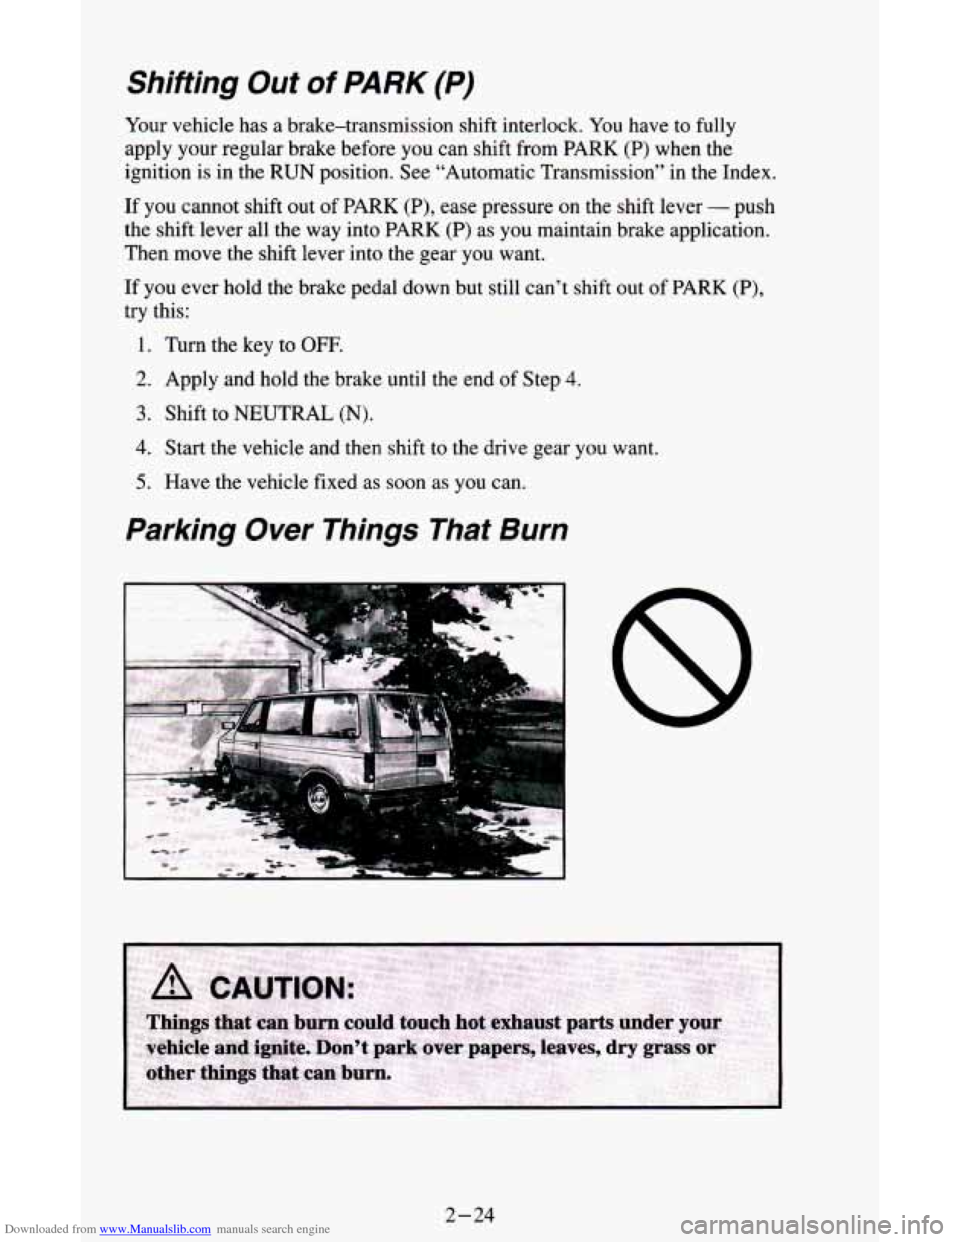
Parking Over Things That Burn
2-24
Page 94 of 342

Downloaded from www.Manualslib.com manuals search engine Lamps
Your lamp switches
are
on the driver’s
side of your
instrument panel.
Push the top switch
with the parking lamps symbol on it to turn on:
0 Parking Lamps
0 Taillamps
License Plate Lamps
Instrument Panel Lamps
Push the bottom switch
with the master lamps symbol on it to turn on all the
lamps listed above as well as the headlamps.
Push the side of
the switch marked OFF to turn off your lamps.
Turn the dial above the lamp switches counterclockwise to dim your
instrument panel lamps.
Turn
the dial clockwise to brighten your instrument panel lamps. If you turn
the dial clockwise all
the way until it clicks, your interior lamps will come
on.
You can switch your headlamps from high to low beam by pulling on the
turn signal/high beam lever.
A circuit breaker protects your headlamps. If you have an electrical
overload, your headlamps
will flicker on and off. Have your headlamp
wiring checked right away
if this happens.
2-40
Page 95 of 342
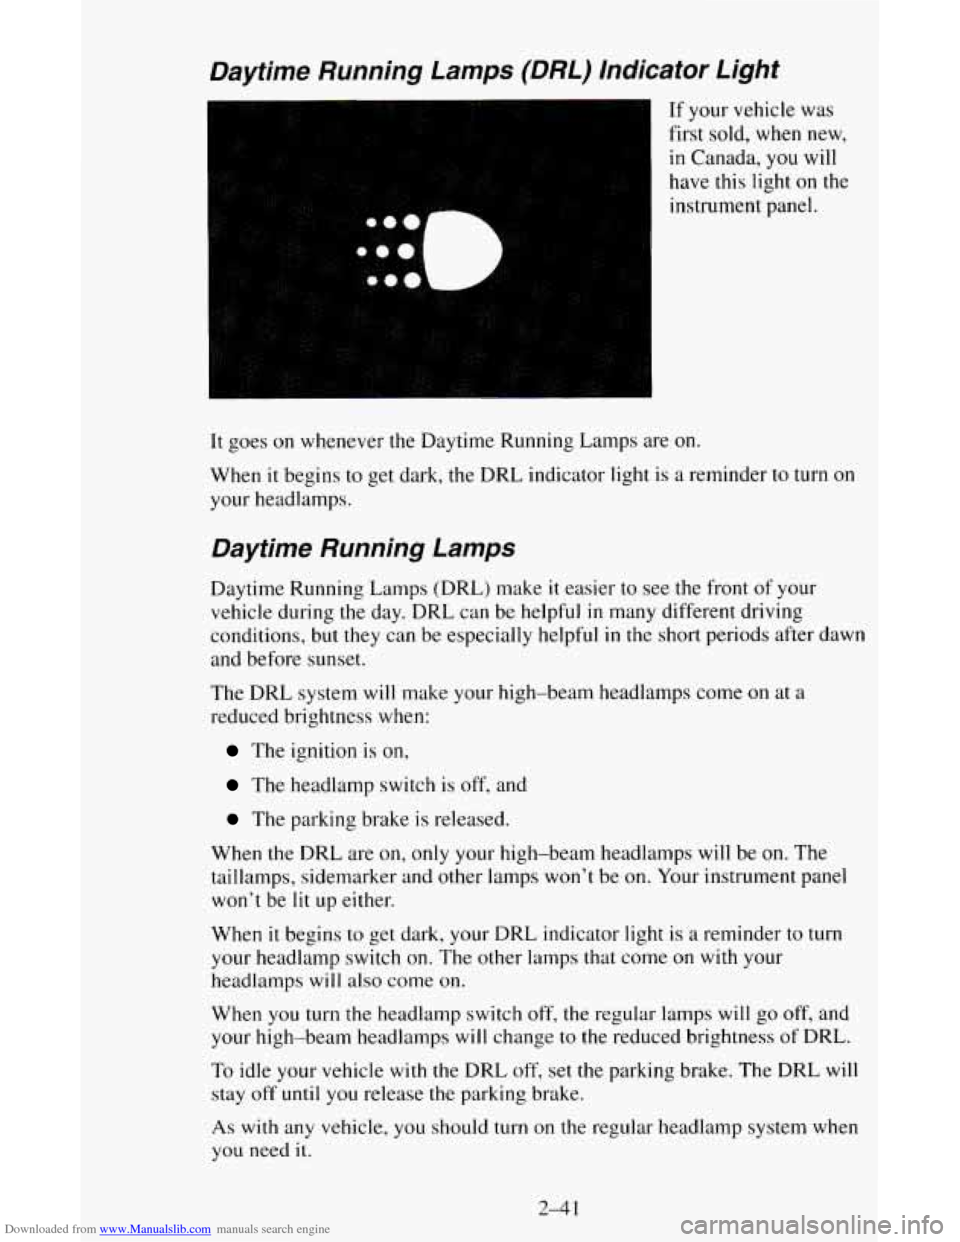
Downloaded from www.Manualslib.com manuals search engine Daytime Running Lamps (DRL) Indicator Light
If your vehicle was
first sold, when new,
in Canada,
you will
have this light on the
instrument panel.
It goes on whenever the Daytime Running Lamps are on.
When it begins to get dark, the DRL indicator light is a reminder to turn on
your headlamps.
Daytime Running Lamps
Daytime Running Lamps (DRL) make it easier to see the front of your
vehicle during the day. DRL can be helpful
in many different driving
conditions, but
they can be especially helpful in the short periods after dawn
and before sunset.
The DRL system will make your high-beam headlamps come
on at a
reduced brightness when:
The ignition is on,
The headlamp switch is off, and
The parking brake is released.
When the DRL are on, only your high-beam headlamps will be
on. The
taillamps, sidemarker and other lamps
won’t be on. Your instrument panel
won’t be
lit up either.
When it begins to get dark, your DRL indicator light is
a reminder to turn
your headlamp switch on. The other lamps that come on with your
headlamps will also come
on.
When you turn the headlamp switch off, the regular lamps will go off, and
your high-beam headlamps
will change to the reduced brightness of DRL.
To idle your vehicle with the DRL off, set the parking brake. The DRL will
stay
off until you release the parking brake.
As with any vehicle, you should turn on the regular headlamp system when
you need it.
2-4 1
Page 96 of 342

Downloaded from www.Manualslib.com manuals search engine Headlamps-On Reminder
A reminder tone will sound when your headlamps or parking lamps are
turned
on and your ignition is in OFF, LOCK or ACC. To turn the tone off,
press the OFF switch,
Dome Lamps
Reading Lamps
The dome lamps may
come
on when you
open any of the doors.
You can also turn on
the dome lamps by
turning the dimmer
dial clockwise until it
clicks.
You may have the
optional reading
lamps next to the
dome lamps. Turn the
lamps
on and off by
pressing the switch
next to the lamp.
YOU can adjust the lamps to any desired position by rotating the lamp. They
will work when the ignition is on or off. Be sure to turn the lamps off before
you leave the vehicle.
2-42