instrument panel CHEVROLET ASTRO CARGO VAN 2005 2.G User Guide
[x] Cancel search | Manufacturer: CHEVROLET, Model Year: 2005, Model line: ASTRO CARGO VAN, Model: CHEVROLET ASTRO CARGO VAN 2005 2.GPages: 370, PDF Size: 2.33 MB
Page 113 of 370
Instrument Panel Overview...............................3-4
Hazard Warning Flashers................................3-6
Other Warning Devices...................................3-6
Horn.............................................................3-6
Tilt Wheel.....................................................3-6
Turn Signal/Multifunction Lever.........................3-7
Turn and Lane-Change Signals........................3-8
Headlamp High/Low-Beam Changer..................3-9
Flash-to-Pass.................................................3-9
Windshield Wipers..........................................3-9
Windshield Washer.......................................3-10
Cruise Control..............................................3-11
Exterior Lamps.............................................3-14
Headlamps on Reminder................................3-15
Daytime Running Lamps (DRL).......................3-15
Automatic Headlamp System..........................3-16
Instrument Panel Brightness...........................3-17
Dome Lamps...............................................3-17
Entry Lighting...............................................3-17
Exit Lighting.................................................3-17
Battery Run-Down Protection..........................3-18
Accessory Power Outlets...............................3-18
Ashtrays and Cigarette Lighter........................3-18Climate Controls............................................3-19
Climate Control System.................................3-19
Outlet Adjustment.........................................3-21
Rear Heating System....................................3-22
Rear Air Conditioning System.........................3-22
Warning Lights, Gages, and Indicators............3-24
Instrument Panel Cluster................................3-25
Speedometer and Odometer...........................3-26
Trip Odometer..............................................3-26
Safety Belt Reminder Light.............................3-26
Airbag Readiness Light..................................3-27
Charging System Light..................................3-28
Voltmeter Gage............................................3-28
Brake System Warning Light..........................3-29
Anti-Lock Brake System Warning Light.............3-30
Engine Coolant Temperature Gage..................3-30
Malfunction Indicator Lamp.............................3-31
Oil Pressure Gage........................................3-34
Security Light...............................................3-35
Highbeam On Light.......................................3-35
Service All-Wheel Drive Light.........................3-35
Tow/Haul Mode Light....................................3-36
Check Gages Warning Light...........................3-36
Fuel Gage...................................................3-37
Low Fuel Warning Light.................................3-37
Section 3 Instrument Panel
3-1
Page 114 of 370
Driver Information Center (DIC).......................3-38
Audio System(s).............................................3-40
Setting the Time for Radios with the
Set Button................................................3-41
Setting the Time for Radios with HR and
MN Buttons..............................................3-41
AM-FM Radio...............................................3-41
Radio with CD..............................................3-43Rear Seat Audio (RSA).................................3-47
Theft-Deterrent Feature..................................3-49
Radio Reception...........................................3-51
Care of Your CDs.........................................3-51
Care of the CD Player...................................3-51
Fixed Mast Antenna......................................3-51
Section 3 Instrument Panel
3-2
Page 116 of 370
Instrument Panel Overview
3-4
Page 117 of 370
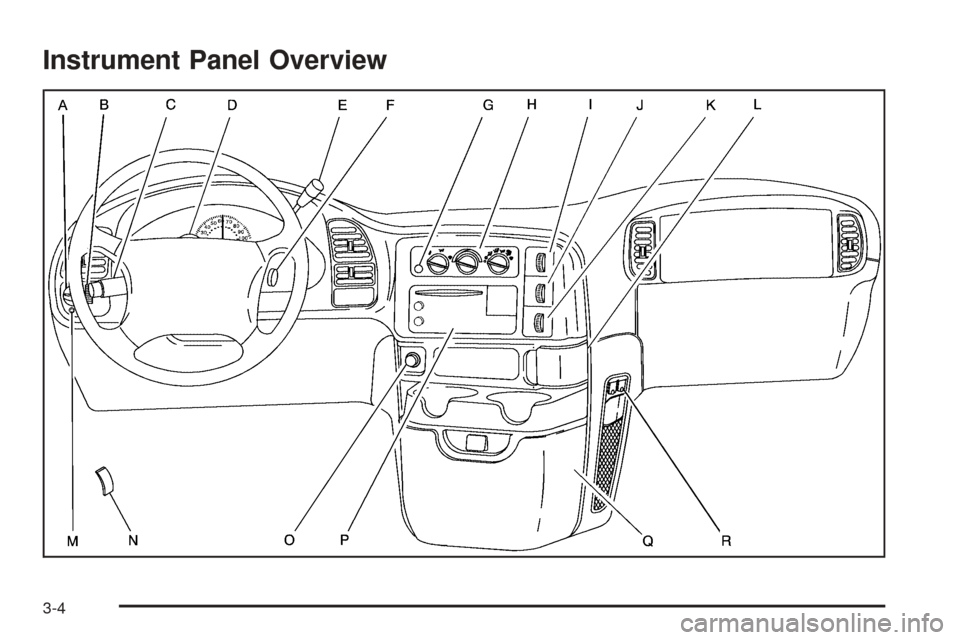
The main components of your instrument panel are the following:
A. Exterior Lamps. SeeExterior Lamps on page 3-14.
B. Instrument Panel Brightness Control. See
Instrument Panel Brightness on page 3-17.
C. Turn Signal/Multifunction Lever. SeeTurn
Signal/Multifunction Lever on page 3-7.
D. Hazard Warning Flasher Button. SeeHazard
Warning Flashers on page 3-6.
E. Shift Lever. SeeAutomatic Transmission Operation
on page 2-20.
F. Ignition Switch. SeeIgnition Positions on page 2-17.
G. Rear Defogger Button. SeeClimate Control
System on page 3-19.
H. Climate Control System. SeeClimate Control
System on page 3-19.
I. Rear Air Conditioning Control. SeeRear Air
Conditioning System on page 3-22.
J. Rear Heater Control. SeeRear Heating System on
page 3-22.K. Rear Window Washer/Wiper Switch. SeeTurn
Signal/Multifunction Lever on page 3-7.
L. Ashtray. SeeAshtrays and Cigarette Lighter on
page 3-18.
M. Dome Override Button. SeeDome Lamps on
page 3-17.
N. Hood Release. SeeHood Release on page 5-10.
O. Cigarette Lighter. SeeAshtrays and Cigarette Lighter
on page 3-18.
P. Audio System(s). SeeAudio System(s) on
page 3-40.
Q. Front Storage Compartment. SeeStorage Areas on
page 2-33.
R. Accessory Power Outlets. SeeAccessory Power
Outlets on page 3-18.
3-5
Page 120 of 370
LWindshield Washer. SeeWindshield Washer
on page 3-10.
Cruise Control (Option). SeeCruise Control on
page 3-11.
For information on the exterior lamps, seeExterior
Lamps on page 3-14.
Turn and Lane-Change Signals
The turn signal has two upward (for right) and two
downward (for left) positions. These positions allow you
to signal a turn or a lane change.
To signal a turn, move the lever all the way up or down.
When the turn is �nished, the lever will return
automatically.
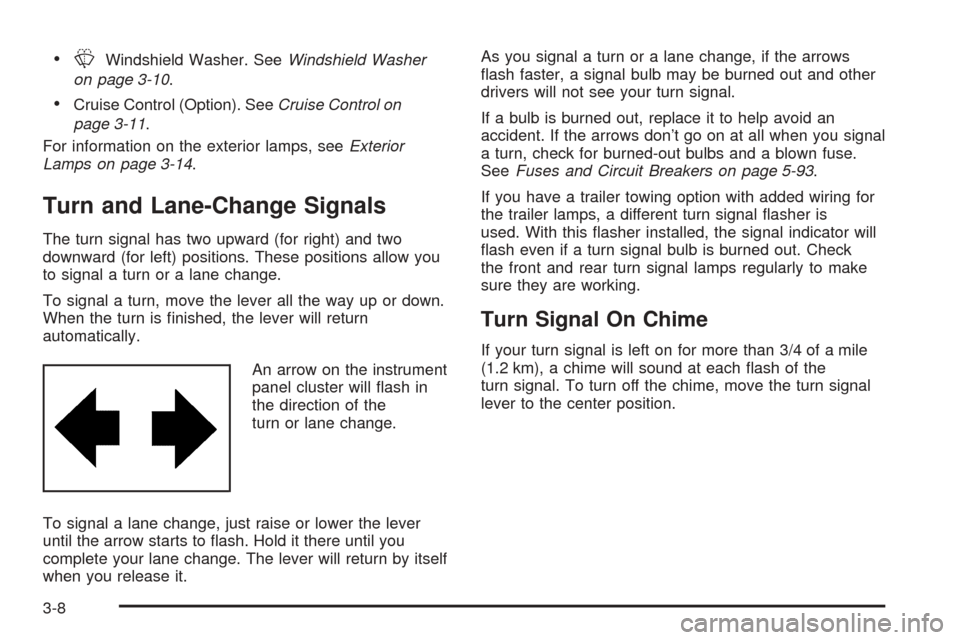
An arrow on the instrument
panel cluster will �ash in
the direction of the
turn or lane change.
To signal a lane change, just raise or lower the lever
until the arrow starts to �ash. Hold it there until you
complete your lane change. The lever will return by itself
when you release it.As you signal a turn or a lane change, if the arrows
�ash faster, a signal bulb may be burned out and other
drivers will not see your turn signal.
If a bulb is burned out, replace it to help avoid an
accident. If the arrows don’t go on at all when you signal
a turn, check for burned-out bulbs and a blown fuse.
SeeFuses and Circuit Breakers on page 5-93.
If you have a trailer towing option with added wiring for
the trailer lamps, a different turn signal �asher is
used. With this �asher installed, the signal indicator will
�ash even if a turn signal bulb is burned out. Check
the front and rear turn signal lamps regularly to make
sure they are working.
Turn Signal On Chime
If your turn signal is left on for more than 3/4 of a mile
(1.2 km), a chime will sound at each �ash of the
turn signal. To turn off the chime, move the turn signal
lever to the center position.
3-8
Page 121 of 370
Headlamp High/Low-Beam Changer
To change the headlamps from low beam to high or
high to low, pull the multifunction lever all the way
toward you. Then release it.
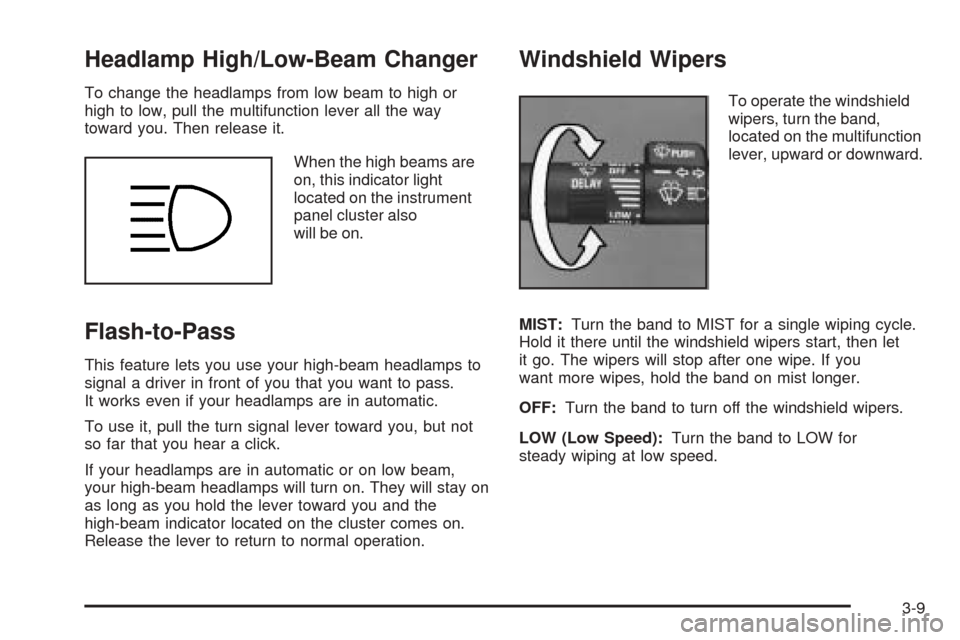
When the high beams are
on, this indicator light
located on the instrument
panel cluster also
will be on.
Flash-to-Pass
This feature lets you use your high-beam headlamps to
signal a driver in front of you that you want to pass.
It works even if your headlamps are in automatic.
To use it, pull the turn signal lever toward you, but not
so far that you hear a click.
If your headlamps are in automatic or on low beam,
your high-beam headlamps will turn on. They will stay on
as long as you hold the lever toward you and the
high-beam indicator located on the cluster comes on.
Release the lever to return to normal operation.
Windshield Wipers
To operate the windshield
wipers, turn the band,
located on the multifunction
lever, upward or downward.
MIST:Turn the band to MIST for a single wiping cycle.
Hold it there until the windshield wipers start, then let
it go. The wipers will stop after one wipe. If you
want more wipes, hold the band on mist longer.
OFF:Turn the band to turn off the windshield wipers.
LOW (Low Speed):Turn the band to LOW for
steady wiping at low speed.
3-9
Page 122 of 370
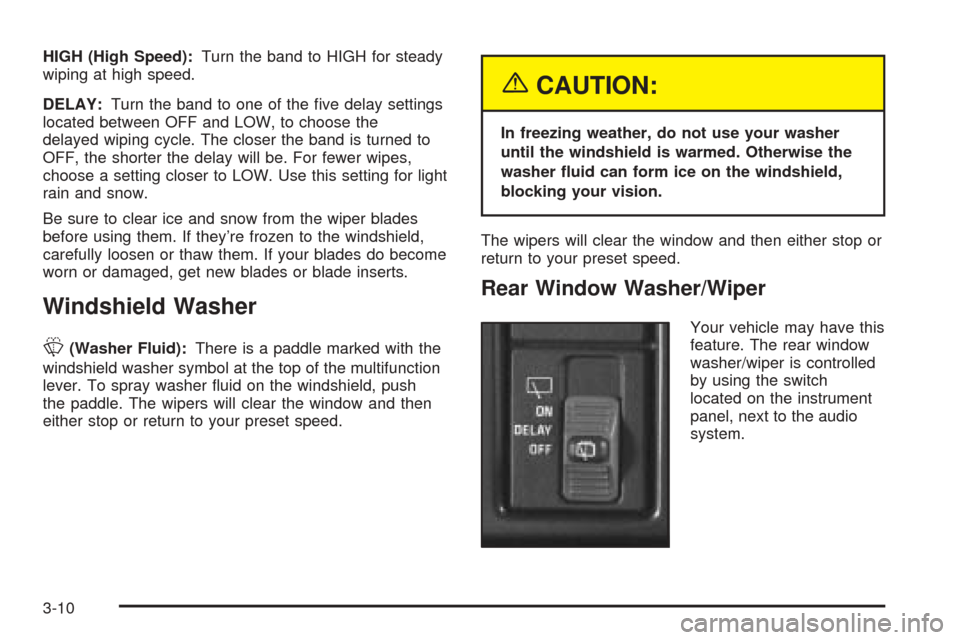
HIGH (High Speed):Turn the band to HIGH for steady
wiping at high speed.
DELAY:Turn the band to one of the �ve delay settings
located between OFF and LOW, to choose the
delayed wiping cycle. The closer the band is turned to
OFF, the shorter the delay will be. For fewer wipes,
choose a setting closer to LOW. Use this setting for light
rain and snow.
Be sure to clear ice and snow from the wiper blades
before using them. If they’re frozen to the windshield,
carefully loosen or thaw them. If your blades do become
worn or damaged, get new blades or blade inserts.
Windshield Washer
L(Washer Fluid):There is a paddle marked with the
windshield washer symbol at the top of the multifunction
lever. To spray washer �uid on the windshield, push
the paddle. The wipers will clear the window and then
either stop or return to your preset speed.
{CAUTION:
In freezing weather, do not use your washer
until the windshield is warmed. Otherwise the
washer �uid can form ice on the windshield,
blocking your vision.
The wipers will clear the window and then either stop or
return to your preset speed.
Rear Window Washer/Wiper
Your vehicle may have this
feature. The rear window
washer/wiper is controlled
by using the switch
located on the instrument
panel, next to the audio
system.
3-10
Page 126 of 370
Passing Another Vehicle While Using
Cruise Control
Use the accelerator pedal to increase your speed.
When you take your foot off the pedal, your vehicle will
slow down to the cruise control speed you set earlier.
Using Cruise Control on Hills
How well your cruise control will work on hills depends
upon your speed, load and the steepness of the
hills. When going up steep hills, you may want to step
on the accelerator pedal to maintain your speed.
When going downhill, you may have to brake or shift to
a lower gear to keep your speed down. Of course,
applying the brake takes you out of cruise control. Many
drivers �nd this to be too much trouble and don’t use
cruise control on steep hills.
Ending Cruise Control
There are two ways to turn off the cruise control:
Step lightly on the brake pedal.
Move the cruise switch to OFF.
Erasing Speed Memory
When you turn off the cruise control or the ignition, your
cruise control set speed memory is erased.
Exterior Lamps
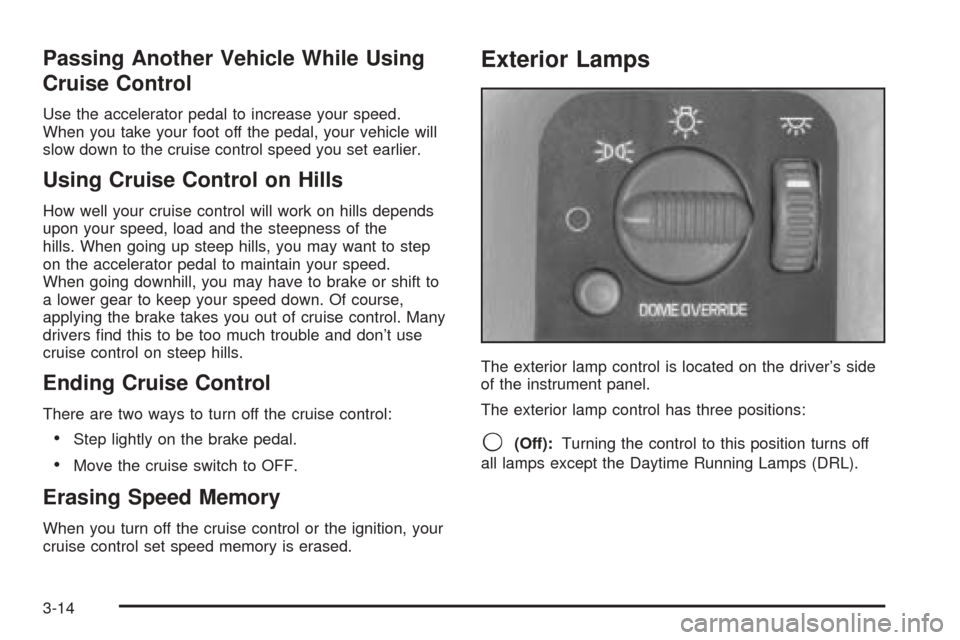
The exterior lamp control is located on the driver’s side
of the instrument panel.
The exterior lamp control has three positions:
9(Off):Turning the control to this position turns off
all lamps except the Daytime Running Lamps (DRL).
3-14
Page 127 of 370
;(Parking Lamps):Turning the control to this
position turns on the parking lamps, together with the
following:
Sidemarker Lamps
Taillamps
License Plate Lamps
Instrument Panel Lights
Ashtray Lamp
O(Headlamps):Turning the control to this position
turns on the headlamps, together with the previously
listed lamps and lights.
Headlamps on Reminder
A reminder tone will sound when your headlamps or
parking lamps are manually turned on and your ignition
is in OFF, LOCK or ACCESSORY. To disable the
tone, turn the instrument panel brightness thumbwheel
all the way down. In the automatic mode, the
headlamps turn off once the ignition key is in OFF.
Daytime Running Lamps (DRL)
Daytime Running Lamps (DRL) can make it easier for
others to see the front of your vehicle during the
day. DRL can be helpful in many different driving
conditions, but they can be especially helpful in the short
periods after dawn and before sunset. Fully functional
daytime running lamps are required on all vehicles
�rst sold in Canada.
The DRL system will make your headlamps come on at
a reduced brightness when the following conditions
are met:
The ignition is on,
the exterior lamp control is off,
the automatic transmission is not in PARK (P),
the light sensor determines it is daytime, and
the parking brake is released.
When the DRL are on, only your DRL lamps will be on.
The taillamps, sidemarker and other lamps won’t be
on. Your instrument panel won’t be lit up either.
When it begins to get dark, the automatic headlamp
system will switch from DRL to the headlamps or the last
chosen headlamp setting that was used.
To idle your vehicle with the DRL off, put the transmission
in PARK (P). The DRL will stay off until you shift out of
PARK (P).
3-15
Page 128 of 370
The following does not apply to vehicles �rst sold in
Canada.
When necessary, you may turn off the automatic
headlamp system and the Daytime Running
Lamps (DRL) feature by following the steps below:
1. Turn the ignition to RUN.
2. Press the DOME OVERRIDE button four times
within six seconds. After the fourth press of the
button, a chime will sound informing you that
the system is off.
To return to the automatic mode, push the DOME
OVERRIDE button four times within six seconds (the
chime will sound), or turn the ignition to off and then to
RUN again.
As with any vehicle, you should turn on the regular
headlamp system when you need it.
Automatic Headlamp System
When it is dark enough outside, your automatic
headlamp system will turn on your headlamps at the
normal brightness along with other lamps such as
the taillamps, sidemarker, parking lamps and the
instrument panel lights. The radio lights will also dim.Your vehicle is equipped with a light sensor on the top of
the instrument panel in the defroster grille. Be sure it is
not covered, or the system will be on whenever the
ignition is on.
The system may also turn on your headlamps when
driving through a parking garage, heavy overcast
weather or a tunnel. This is normal.
There is a delay in the transition between the daytime
and nighttime operation of the Daytime Running
Lamps (DRL) and the automatic headlamp systems so
that driving under bridges or bright overhead street
lights does not affect the system. The DRL and
automatic headlamp system will only be affected when
the light sensor sees a change in lighting lasting
longer than the delay.
To idle your vehicle with the automatic headlamp
system off, set the parking brake while the ignition is off.
Then start your vehicle. The automatic headlamp
system will stay off until you release the parking brake.
You may be able to turn off your automatic headlamp
system. SeeDaytime Running Lamps (DRL) on
page 3-15for more information.
As with any vehicle, you should turn on the regular
headlamps when you need them.
3-16