check oil CHEVROLET ASTRO PASSENGER 1994 1.G Owners Manual
[x] Cancel search | Manufacturer: CHEVROLET, Model Year: 1994, Model line: ASTRO PASSENGER, Model: CHEVROLET ASTRO PASSENGER 1994 1.GPages: 340, PDF Size: 16.86 MB
Page 153 of 340
Downloaded from www.Manualslib.com manuals search engine Care of Your Compact Discs
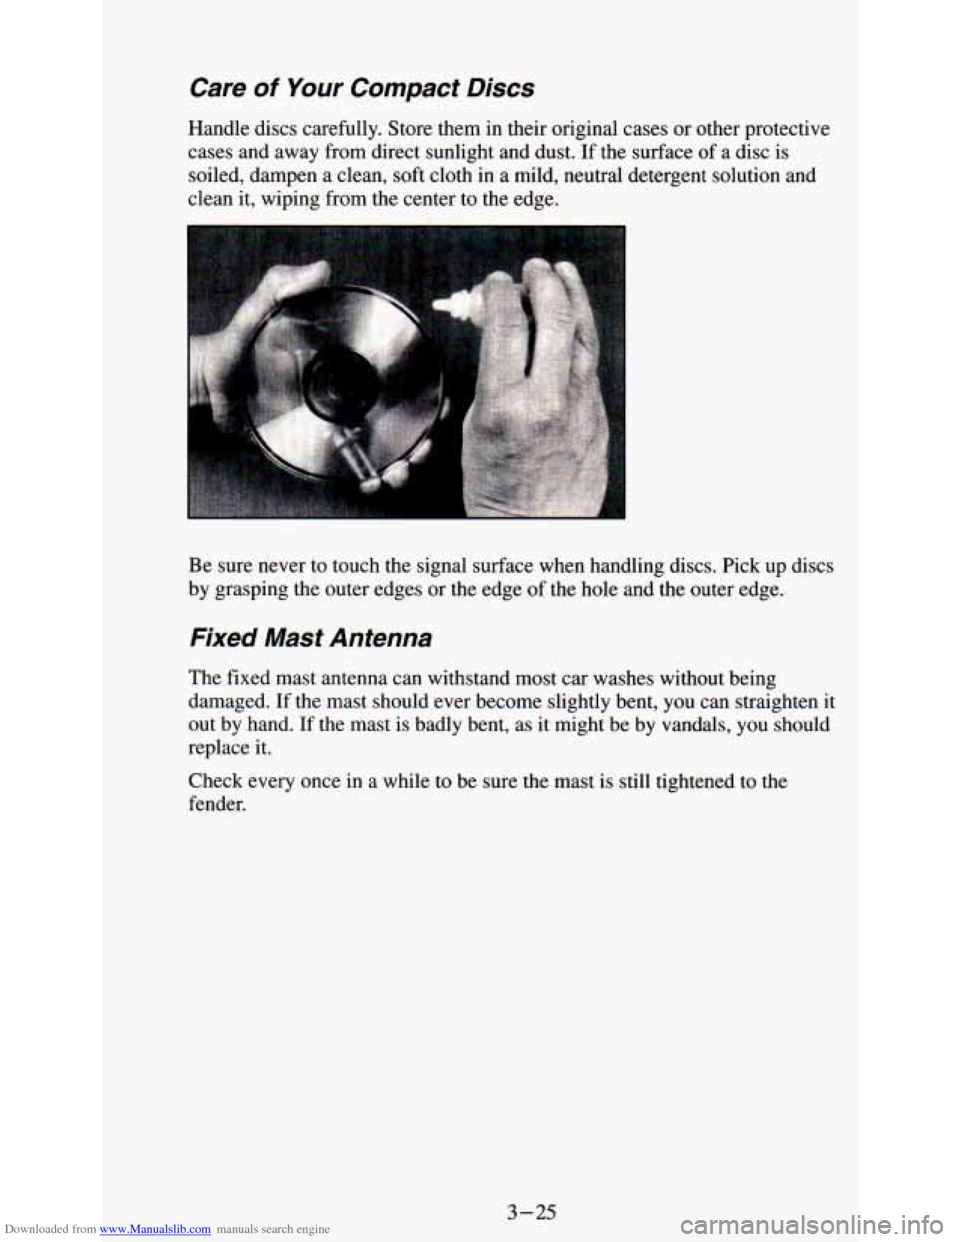
Handle discs carefully. Store them in their original cases or other protective
cases and away from direct sunlight and dust. If the surface of a disc is
soiled, dampen a clean, soft cloth in a mild, neutral detergent solution and
clean it, wiping from the center to the edge.
Be sure never to touch the signal surface when handling discs. Pick up discs
by grasping the outer edges or the edge of the hole and the outer edge.
Fixed Mast Antenna
The fixed mast antenna can withstand most car washes without being
damaged. If the mast should ever become slightly bent, you can straighten it
out by hand. If the mast is badly bent, as it might be by vandals, you should
replace it.
Check every once in
a while to be sure the mast is still tightened to the
fender.
3-25
Page 171 of 340
Downloaded from www.Manualslib.com manuals search engine Just before you leave the lane, glance quickly over your shoulder to make
sure there isn’t another vehicle in your “blind” spot.
Once you are moving on
the freeway, make certain you allow a reasonable
following distance. Expect to move slightly slower
at night.
When you want
to leave the freeway, move to the proper lane well in
advance. If you miss your exit do not, under any circumstances, stop and
back up. Drive on to the next exit.
The exit ramp can be curved, sometimes quite sharply.
The exit speed is usually posted.
Reduce your speed according to your speedometer, not to your sense of
motion. After driving for any distance at higher speeds, you may tend to
think you are going slower than you actually are.
Before Leaving on a Long Trip
Make sure you’re ready. Try to be well rested. If you must start when you’re
not fresh
- such as after a day’s work - don’t plan to make too many
miles that first part of the journey. Wear comfortable clothing and shoes you
can easily drive in.
Is your vehicle ready for a long trip? If you keep
it serviced and maintained,
it’s ready to go. If
it needs service, have it done before starting out. Of course,
you’ll find experienced and able service experts in
GM dealerships all across
North America. They’ll be ready and willing to help
if you need it.
Here are some things you can check before a trip:
0
0
0
0
0
0
0
Windshield Washer Fluid: Is the reservoir full? Are all windows clean
inside and outside?
Wiper Blades: Are they in good shape?
Fuel, Engine Oil, Other Fluids: Have you checked all levels?
Lights: Are they all working? Are the lenses clean?
Tires: They are vitally important to a safe, trouble-free trip. Is the tread
good enough for long-distance driving? Are the tires all inflated to the
recommended pressure?
Weather Forecasts: What’s the weather outlook along your route?
Should you delay your trip a short time to avoid a major storm system?
Maps: Do you have up-to-date maps?
4- 17
Page 183 of 340
Downloaded from www.Manualslib.com manuals search engine Parking on Hills
You really should not park your vehicle, with a trailer attached, on a hill. If
something goes wrong, your rig could start to move. People can be injured.
and both your vehicle and the trailer can be damaged.
But if you ever have to park your rig on a hill, here’s how to do it:
1. Apply your regular brakes, but don’t shift into “P” (Park) yet.
2. Have someone place chocks under the trailer wheels.
3. When the wheel chocks are in place, release the regular brakes until the
chocks absorb the load.
4. Reapply the regular brakes. Then apply your parking brake, and shift to
5. Release the regular brakes.
“P” (Park).
When You Are Ready to Leave After Parking on a Hill
1. Apply your regular brakes and hold the pedal down while you:
Start your engine;
Shift into a gear; and
Release the parking brake.
2. Let up on the brake pedal.
3. Drive slowly until the trailer is clear of the chocks.
4. Stop and have someone pick up and store the chocks.
Maintenance When Trailer Towing
Your vehicle will need service more often when you’re pulling a trailer. See
the Maintenance Schedule for more on this. Thin.gs that are especially
important in trailer operation are automatic transmission fluid (don’t
overfill), engine oil, axle lubricant, belt, cooling system, and brake
adjustment. Each of these
is covered in this manual, and the Index will help
you find them quickly. If you’re trailering, it’s a good idea to review these
sections before you start your trip.
Check periodically
to see that all hitch nuts and bolts are tight.
Trailer Light Wiring
See “Trailer Wiring Harness” in the Index.
4-29
Page 219 of 340
Downloaded from www.Manualslib.com manuals search engine Service & Appearance Care
...
Section
Here you will find information about the care of your vehicle . This part
begins with service and fuel information. and then it shows how to check
important fluid and lubricant levels
. There is also technical information
about your vehicle. and a section devoted to its appearance care
.
Service ................................................... 6-2
Fuel
..................................................... 6-3
Checking Things Under the Hood
.............................. 6-7
Hood Release
........................................... 6-7
Engineoil
.............................................. 6-9
Enginecover
.......................................... 6-15
Air Cleaner
............................................ 6-19
Automatic Transmission Fluid ............................. 6-20
RearAxle
............................................. 6-24
All-WheelDrive
........................................ 6-24
Transfercase
.......................................... 6-24
FrontAxle
............................................. 6-25
Engine Coolant
....................................... 6-26
Windshield Washer Fluid
................................. 6-31
Brake Master Cylinder
................................... 6-32
Replacing Brake System Parts
.................... ........ 6-35
Battery
.................................................. 6-35
Vehiclestorage
......................................... 6-35
FluidLeakCheck
.......................................... 6-36
Bulb Replacement
......................................... 6-36
Other Maintenance Items
.................................... 6-41
Tires
.................................................... 6-47
Appearancecare
.......................................... 6-54
Vehicle Identification Number
................................ 6-63
Service Parts Identification Label
..................... .... 6-65
Capacities and Specification Charts
................ . . 6-68
Fuses and Circuit Breakers ........... 6-72
Power Steering Fluid .................................. 6-30
Loading Your Vehicle
.... .............................. 6-44
6-1
Page 223 of 340
Downloaded from www.Manualslib.com manuals search engine Fuels in Foreign Countries
If you plan on driving in another country outside the U.S. or Canada,
unleaded fuel may be hard
to find. Do not use leaded gasoline. If you use
even one tankful, your emission controls won’t work well or
at all. With
continuous use, spark plugs can get fouled, the exhaust system can corrode,
and your engine oil can deteriorate quickly. Your vehicle’s oxygen sensor
will be damaged. All of that means costly repairs that wouldn’t be covered
by your warranty.
To check on fuel availability, ask an auto club, or contact a major oil
company that does business in the country where you’ll be driving.
You can also write us at the following address for advice. Just tell us where
you’re going and give your Vehicle Identification Number (VIN).
General Motors Overseas Distribution Corporation
North American Export Sales (NAES)
1908 Colonel Sam Drive
Oshawa, Ontario
L1H 8P7
Filling Your Tank
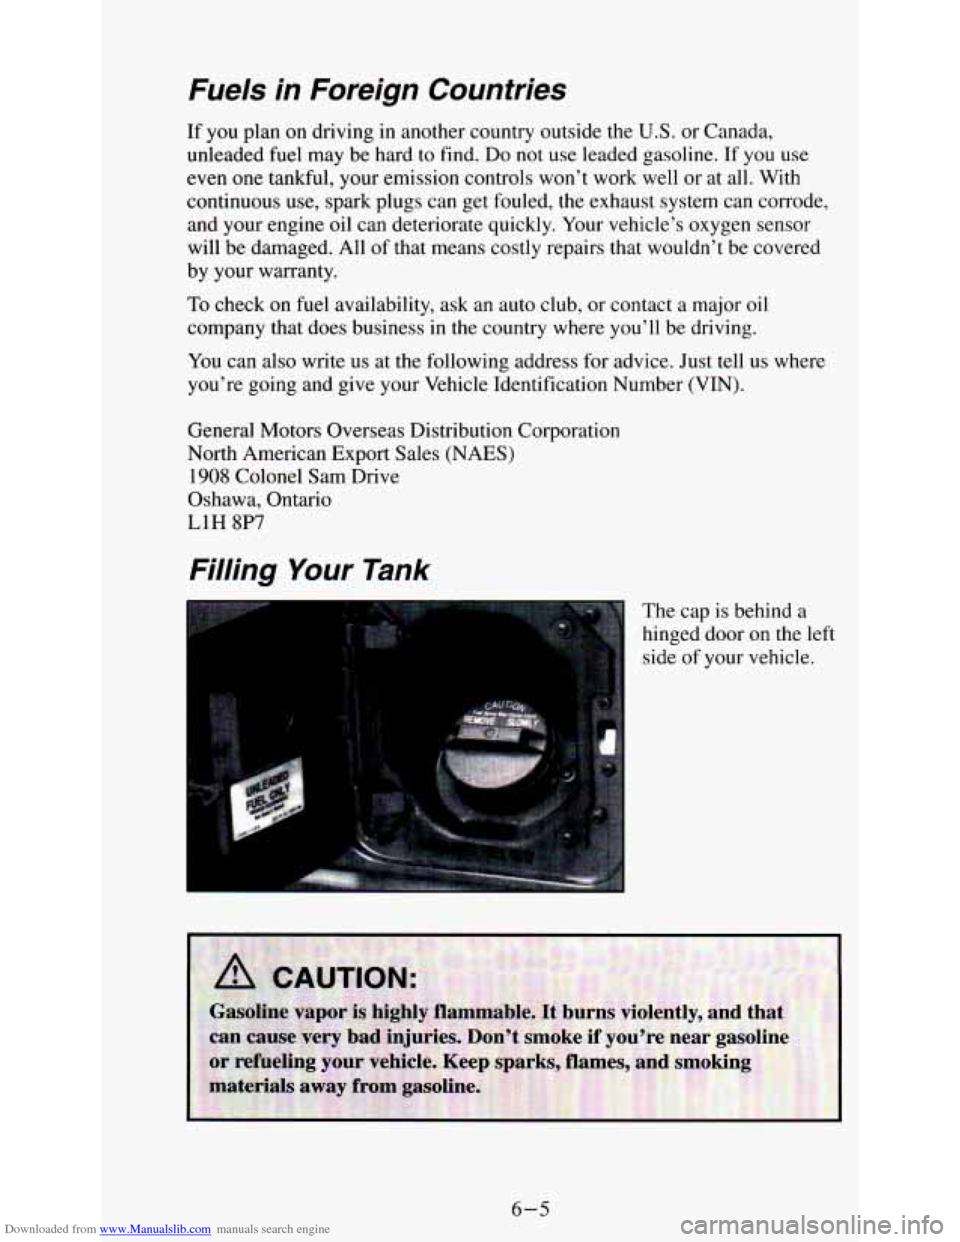
The cap is behind a
hinged door on the left
side of your vehicle.
.. .
.. .
6-5
Page 227 of 340
Downloaded from www.Manualslib.com manuals search engine a
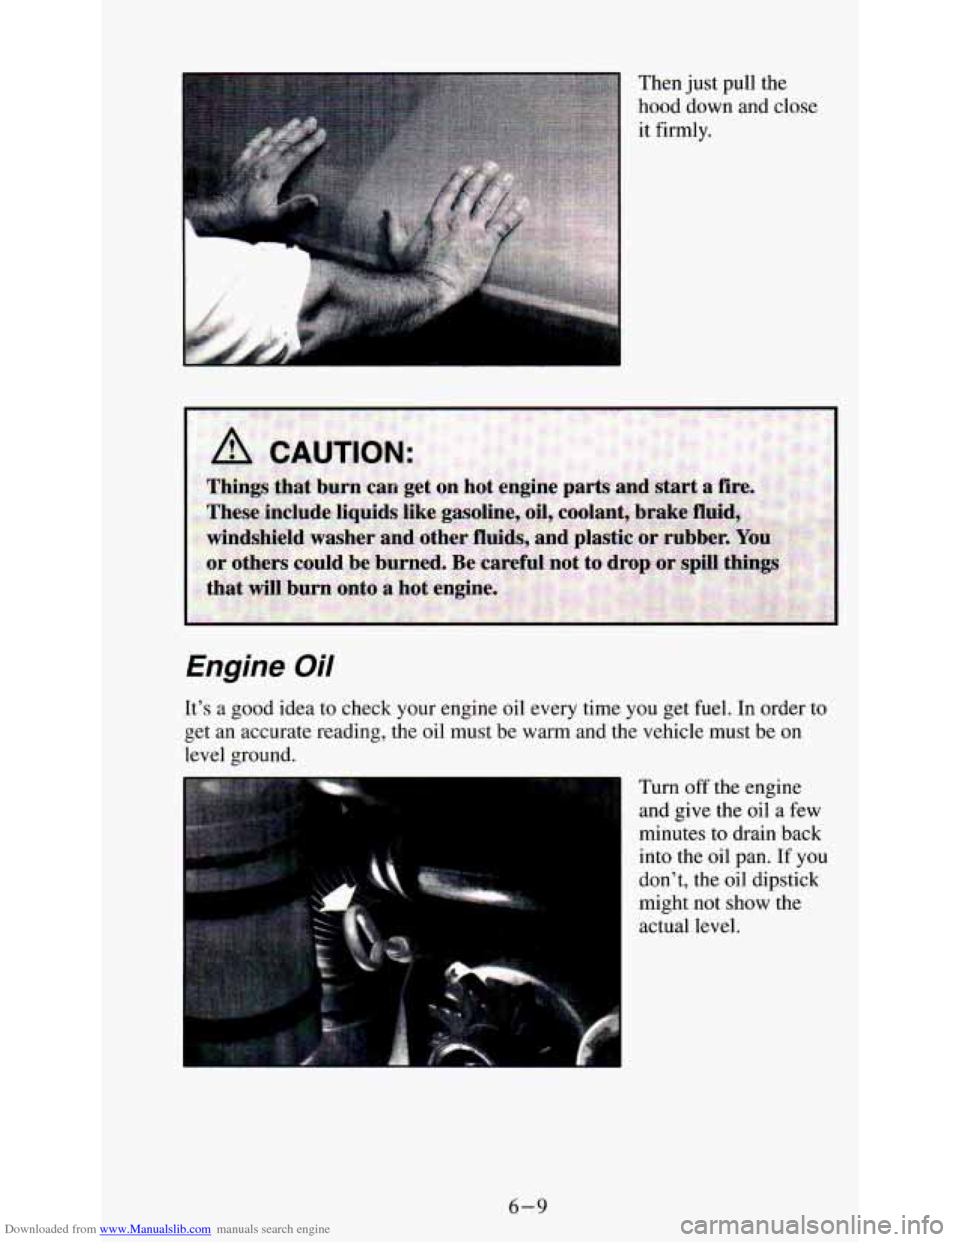
Then just pull the
hood down and close
it firmly.
Engine Oil
It's a good idea to check your engine oil every time you get fuel. In order to
get an accurate reading, the oil must be warm and the vehicle must be on
level ground.
Turn off the engine
and give the oil a few
minutes to drain back
into the oil pan. If you
don't, the oil dipstick
might not show the
actual level.
6-9
Page 228 of 340
Downloaded from www.Manualslib.com manuals search engine To Check Engine Oil
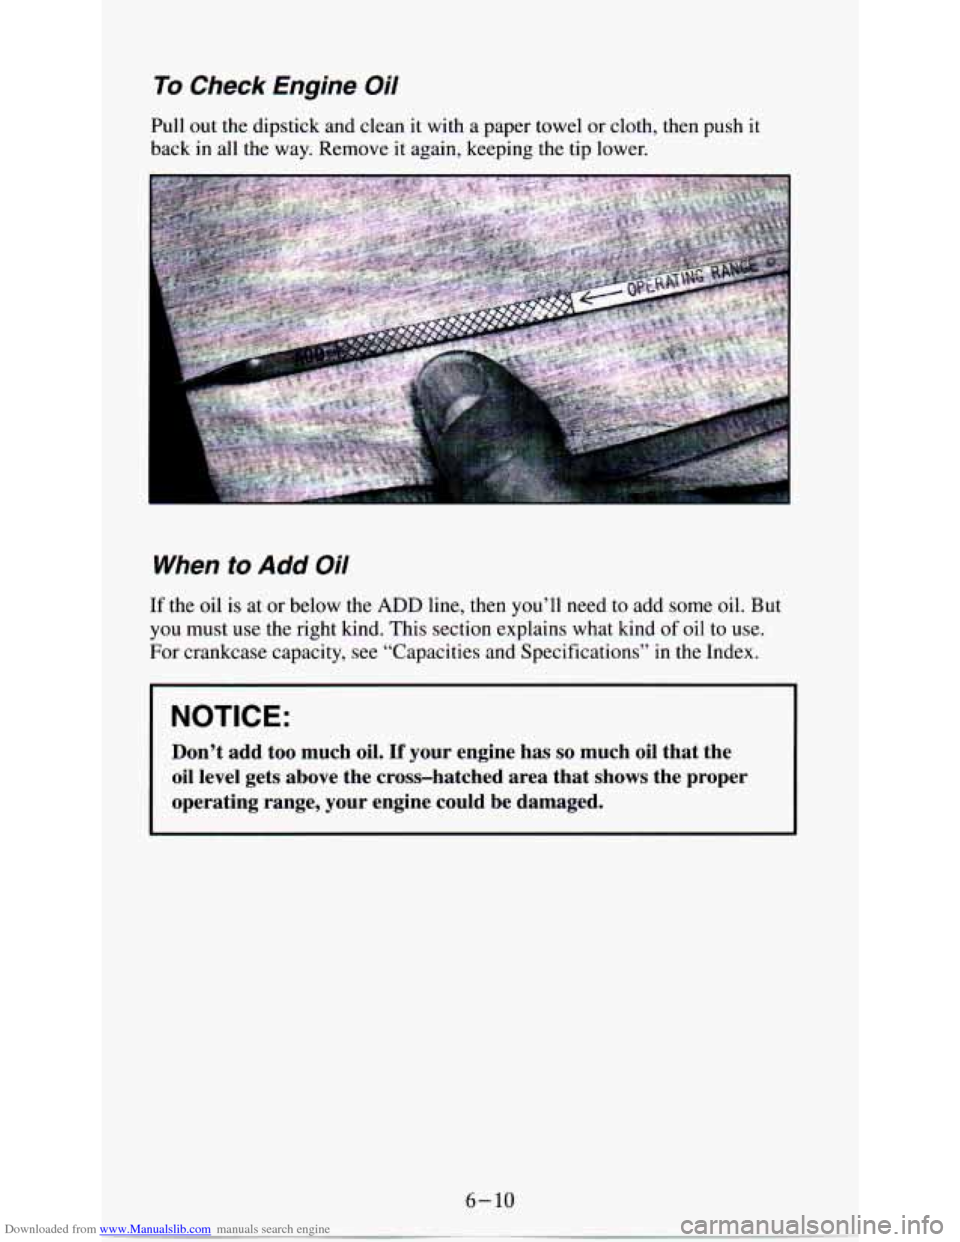
Pull out the dipstick and clean it with a paper towel or cloth, then push it
back in all the way. Remove it again, keeping
the tip lower.
I
When to Add Oil
If the oil is at or below the ADD line, then you’ll need to add some oil. But
you must use the right kind. This section explains what kind of oil to use.
For crankcase capacity, see “Capacities and Specifications” \
in the Index.
L
NOTICE:
Don’t add too much oil. If your engine has so much oil that the
oil level gets above the cross-hatched area that shows the pro\
per
operating range, your engine could be damaged.
Page 238 of 340
Downloaded from www.Manualslib.com manuals search engine If you have the 4.3L engine (VIN Code W) with the square air cleaner, you
can change the air cleaner filter without removing the engine cover. Just lift
the hood, unsnap both clips and remove
the top. After changing the filter,
snap both clips to secure
the air cleaner. Be sure air cleaner lid is correctly
positioned to seal out dust and contaminants that are harmful
to your engine.
Refer to the Maintenance Schedule to determine when to replace the air
filter.
See “Scheduled Maintenance Services”
in the Index.
NOTICE:
If the air cleaner is off, a backfire can cause a damaging engine
fire. And, dirt can easily get into your engine, which
will damage
it. Always have the air cleaner in place when you’re drivin\
g.
Automatic Transmission Fluid
When to Check and Change
A good time to check your automatic transmission fluid level is when the
engine oil is changed. Refer to the Maintenance Schedule to determine
when to change your fluid. See “Scheduled Maintenance Services” in the
Index.
How to Check
Because this operation can be a little difficult, you may choose to have this
done at a GM dealership Service Department.
If you do it yourself, be sure to follow all the instructions here,
or you could
get a false reading on the dipstick.
6-20
Page 251 of 340
Downloaded from www.Manualslib.com manuals search engine To Check Brake Fluid
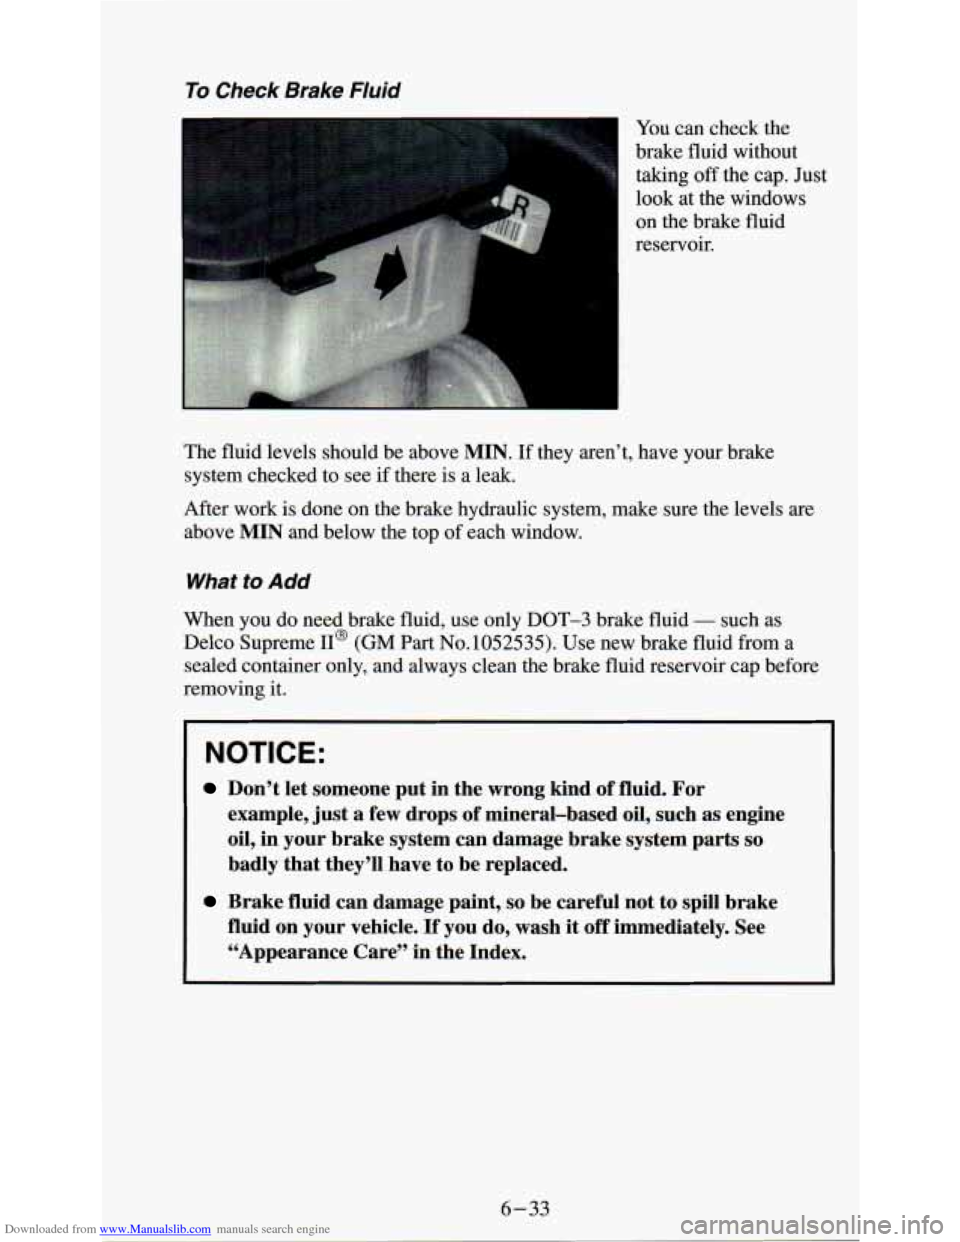
You can check the
brake fluid without
taking off the cap. Just
look at the windows
on the brake fluid
reservoir.
The fluid levels should be above
MIN. If they aren’t, have your brake
system checked to see if there is
a leak.
After work is done on the brake hydraulic system, make sure the levels are
above
MIN and below the top of each window.
What to Add
When you do need brake fluid, use only DOT-3 brake fluid - such as
Delco Supreme II@
(GM Part No.1052535). Use new brake fluid from a
sealed container only, and always clean the brake fluid reservoir cap before
removing it.
NOTICE:
Don’t let someone put in the wrong kind of fluid. For
example, just a few drops of mineral-based oil, such
as engine
oil, in your brake system can damage brake system parts
so
badly that they’ll have to be replaced.
Brake fluid can damage paint, so be careful not to spill brake
fluid on your vehicle.
If you do, wash it off immediately. See
“Appearance Care” in the Index.
Page 254 of 340
Downloaded from www.Manualslib.com manuals search engine For more information on vehicle storage, contact your dealer’s service
department,
or write to:
Adistra Corporation
17 1 Hamilton Street
Plymouth, MI
48 170
In Canada, write to:
General Motors of Canada, Limited
Customer Services Department
Oshawa, Ontario
L1 J 5Z6
Fluid Leak Check
After the vehicle has been parked for awhile, inspect the surface beneath the
vehicle for water, oil, fuel or other fluids. Water dripping from the air
conditioning system
is normal. If you notice fuel leaks or fumes, the causes
should be found and corrected at once.
Bulb Replacement
Before replacing any bulbs, make sure all lights are off and the vehicle is
not running.
Halogen Bulbs
1_
6-36