lock CHEVROLET AVALANCHE 2003 1.G Owners Manual
[x] Cancel search | Manufacturer: CHEVROLET, Model Year: 2003, Model line: AVALANCHE, Model: CHEVROLET AVALANCHE 2003 1.GPages: 492, PDF Size: 3.53 MB
Page 284 of 492

Environmental Concerns
Off-road driving can provide wholesome and satisfying
recreation. However, it also raises environmental
concerns. We recognize these concerns and urge every
off-roader to follow these basic rules for protecting
the environment:
·Always use established trails, roads and areas that
have been specially set aside for public off-road
recreational driving; obey all posted regulations.
·Avoid any driving practice that could damage the
environment Ð shrubs, ¯owers, trees, grasses Ð
or disturb wildlife (this includes wheel-spinning,
breaking down trees or unnecessary driving through
streams or over soft ground).
·Always carry a litter bag Ð make sure all refuse is
removed from any campsite before leaving.
·Take extreme care with open ®res (where
permitted), camp stoves and lanterns.
·Never park your vehicle over dry grass or other
combustible materials that could catch ®re from
the heat of the vehicle's exhaust system.
Traveling to Remote Areas
It makes sense to plan your trip, especially when going
to a remote area. Know the terrain and plan your
route. You are much less likely to get bad surprises.
Get accurate maps of trails and terrain. Try to learn of
any blocked or closed roads.
It's also a good idea to travel with at least one other
vehicle. If something happens to one of them, the other
can help quickly.
Does your vehicle have a winch? If so, be sure to read
the winch instructions. In a remote area, a winch
can be handy if you get stuck. But you'll want to know
how to use it properly.
Getting Familiar with Off-Road Driving
It's a good idea to practice in an area that's safe
and close to home before you go into the wilderness.
Off-road driving does require some new and different
skills. Here's what we mean.
Tune your senses to different kinds of signals. Your
eyes, for example, need to constantly sweep the terrain
for unexpected obstacles. Your ears need to listen
for unusual tire or engine sounds. With your arms,
hands, feet and body, you'll need to respond to
vibrations and vehicle bounce.
4-21
Page 287 of 492

Approaching a Hill
When you approach a hill, you need to decide if it's one
of those hills that's just too steep to climb, descend
or cross. Steepness can be hard to judge. On a very
small hill, for example, there may be a smooth, constant
incline with only a small change in elevation where
you can easily see all the way to the top. On a large hill,
the incline may get steeper as you near the top, but
you may not see this because the crest of the hill
is hidden by bushes, grass or shrubs.
Here are some other things to consider as you approach
a hill.
·Is there a constant incline, or does the hill get
sharply steeper in places?
·Is there good traction on the hillside, or will the
surface cause tire slipping?
·Is there a straight path up or down the hill so you
won't have to make turning maneuvers?
·Are there obstructions on the hill that can block
your path (boulders, trees, logs or ruts)?
·What's beyond the hill? Is there a cliff, an
embankment, a drop-off, a fence? Get out and walk
the hill if you don't know. It's the smart way to
®nd out.
·Is the hill simply too rough? Steep hills often have
ruts, gullies, troughs and exposed rocks because
they are more susceptible to the effects of erosion.
Driving Uphill
Once you decide you can safely drive up the hill, you
need to take some special steps.
·Use a low gear and get a ®rm grip on the steering
wheel.
·Get a smooth start up the hill and try to maintain
your speed. Don't use more power than you
need, because you don't want your wheels to start
spinning or sliding.
·Try to drive straight up the hill if at all possible. If
the path twists and turns, you might want to ®nd
another route.
{CAUTION:
Turning or driving across steep hills can be
dangerous. You could lose traction, slide
sideways, and possibly roll over. You could be
seriously injured or killed. When driving up
hills, always try to go straight up.
·Ease up on your speed as you approach the top of
the hill.
·Attach a ¯ag to the vehicle to make you more
visible to approaching traffic on trails or hills.
4-24
Page 288 of 492
·Sound the horn as you approach the top of the hill
to let opposing traffic know you're there.
·Use your headlamps even during the day. They
make you more visible to oncoming traffic.
{CAUTION:
Driving to the top (crest) of a hill at full speed
can cause an accident. There could be a
drop-off, embankment, cliff, or even another
vehicle. You could be seriously injured or
killed. As you near the top of a hill, slow down
and stay alert.
Q:What should I do if my vehicle stalls, or is
about to stall, and I can't make it up the hill?
A:If this happens, there are some things you should
do, and there are some things you must not do.
First, here's what you
shoulddo:
·Push the brake pedal to stop the vehicle and keep it
from rolling backwards. Also, apply the parking
brake.
·If your engine is still running, shift the transmission to
REVERSE (R), release the parking brake, and slowly
back down the hill in REVERSE (R).
·If your engine has stopped running, you'll need to
restart it. With the brake pedal pressed and the
parking brake still applied, shift the transmission to
PARK (P) and restart the engine. Then, shift to
REVERSE (R), release the parking brake, and slowly
back down the hill as straight as possible in
REVERSE (R).
·As you are backing down the hill, put your left hand
on the steering wheel at the 12 o'clock position. This
way, you'll be able to tell if your wheels are straight
and maneuver as you back down. It's best that you
back down the hill with your wheels straight rather
than in the left or right direction. Turning the wheel
too far to the left or right will increase the possibility
of a rollover.
Here are some things you
must notdo if you stall, or
are about to stall, when going up a hill.
·Never attempt to prevent a stall by shifting into
NEUTRAL (N) to ªrev-upº the engine and regain
forward momentum. This won't work. Your vehicle
will roll backwards very quickly and you could
go out of control.
Instead, apply the regular brake to stop the vehicle.
Then apply the parking brake. Shift to
REVERSE (R), release the parking brake, and
slowly back straight down.
4-25
Page 306 of 492

Whatever the condition ± smooth ice, packed, blowing
or loose snow ± drive with caution.
If you have traction assist, keep the system on. It will
improve your ability to accelerate when driving on
a slippery road. But you can turn the traction system off
if your vehicle ever gets stuck in sand, mud, ice or
snow. See
If You Are Stuck: In Sand, Mud, Ice or Snow
on page 4-45. Even though your vehicle has a traction
system, you'll want to slow down and adjust your driving
to the road conditions. See
Traction Assist System
(TAS) on page 4-10.
If you don't have a traction system, accelerate gently.
Try not to break the fragile traction. If you accelerate too
fast, the drive wheels will spin and polish the surface
under the tires even more.Your anti-lock brakes improve your vehicle's stability
when you make a hard stop on a slippery road.
Even though you have an anti-lock braking system,
you'll want to begin stopping sooner than you would on
dry pavement. See
Braking on page 4-6.
·Allow greater following distance on any slippery
road.
·Watch for slippery spots. The road might be ®ne
until you hit a spot that's covered with ice. On
an otherwise clear road, ice patches may appear in
shaded areas where the sun can't reach: around
clumps of trees, behind buildings or under bridges.
Sometimes the surface of a curve or an overpass
may remain icy when the surrounding roads
are clear. If you see a patch of ice ahead of you,
brake before you are on it. Try not to brake
while you're actually on the ice, and avoid sudden
steering maneuvers.
4-43
Page 308 of 492
{CAUTION:
Snow can trap exhaust gases under your
vehicle. This can cause deadly CO (carbon
monoxide) gas to get inside. CO could
overcome you and kill you. You can't see it or
smell it, so you might not know it is in your
vehicle. Clear away snow from around the
base of your vehicle, especially any that is
blocking your exhaust pipe. And check around
again from time to time to be sure snow
doesn't collect there.
Open a window just a little on the side of the
vehicle that's away from the wind. This will
help keep CO out.
Run your engine only as long as you must. This saves
fuel. When you run the engine, make it go a little
faster than just idle. That is, push the accelerator
slightly. This uses less fuel for the heat that you get and
it keeps the battery charged. You will need a
well-charged battery to restart the vehicle, and possibly
for signaling later on with your headlamps. Let the
heater run for a while.Then, shut the engine off and close the window almost
all the way to preserve the heat. Start the engine
again and repeat this only when you feel really
uncomfortable from the cold. But do it as little as
possible. Preserve the fuel as long as you can. To help
keep warm, you can get out of the vehicle and do
some fairly vigorous exercises every half hour or so until
help comes.
If You Are Stuck: In Sand, Mud, Ice
or Snow
In order to free your vehicle when it is stuck, you will
need to spin the wheels, but you don't want to spin your
wheels too fast. The method known as ªrockingº can
help you get out when you're stuck, but you must
use caution.
4-45
Page 313 of 492

5. Release the parking brake only after the vehicle
being towed is ®rmly attached to the towing
vehicle.
6. When the vehicle is properly attached to the tow
vehicle and is ready to be towed, turn the ignition
to LOCK.
Dolly Towing
Two-Wheel-Drive Vehicles
Two-wheel-drive vehicles should not be towed with the
rear wheels on the ground. Two-wheel-drive
transmission have no provisions for internal lubrication
while being towed. To properly tow these vehicles,
they should be placed on a platform trailer with all four
wheels off the ground.
Four-Wheel-Drive Vehicles
Use the following procedure to correctly tow you vehicle
on two wheels:
1. Firmly set the parking brake.
2. Shift the transmission to PARK (P).
3. Securely attach the vehicle being towed to the tow
vehicle.
4-50
Page 314 of 492
{CAUTION:
Shifting the transfer case to NEUTRAL can
cause your vehicle to roll even if the
transmission is in PARK (P). You or someone
else could be seriously injured. Be sure to set
the parking brake before placing the transfer
case in NEUTRAL. See ªParking Brakeº in the
Index.
4. Shift the transfer case to NEUTRAL (N). See
Four-Wheel Drive on page 2-34for the proper
procedure to select the neutral position for your
vehicle.
5. Release the parking brake only after the vehicle
being towed is ®rmly attached to the towing
vehicle.
6. When the vehicle is properly attached to the tow
vehicle and is ready to be towed, turn the ignition
to LOCK.
Loading Your Vehicle
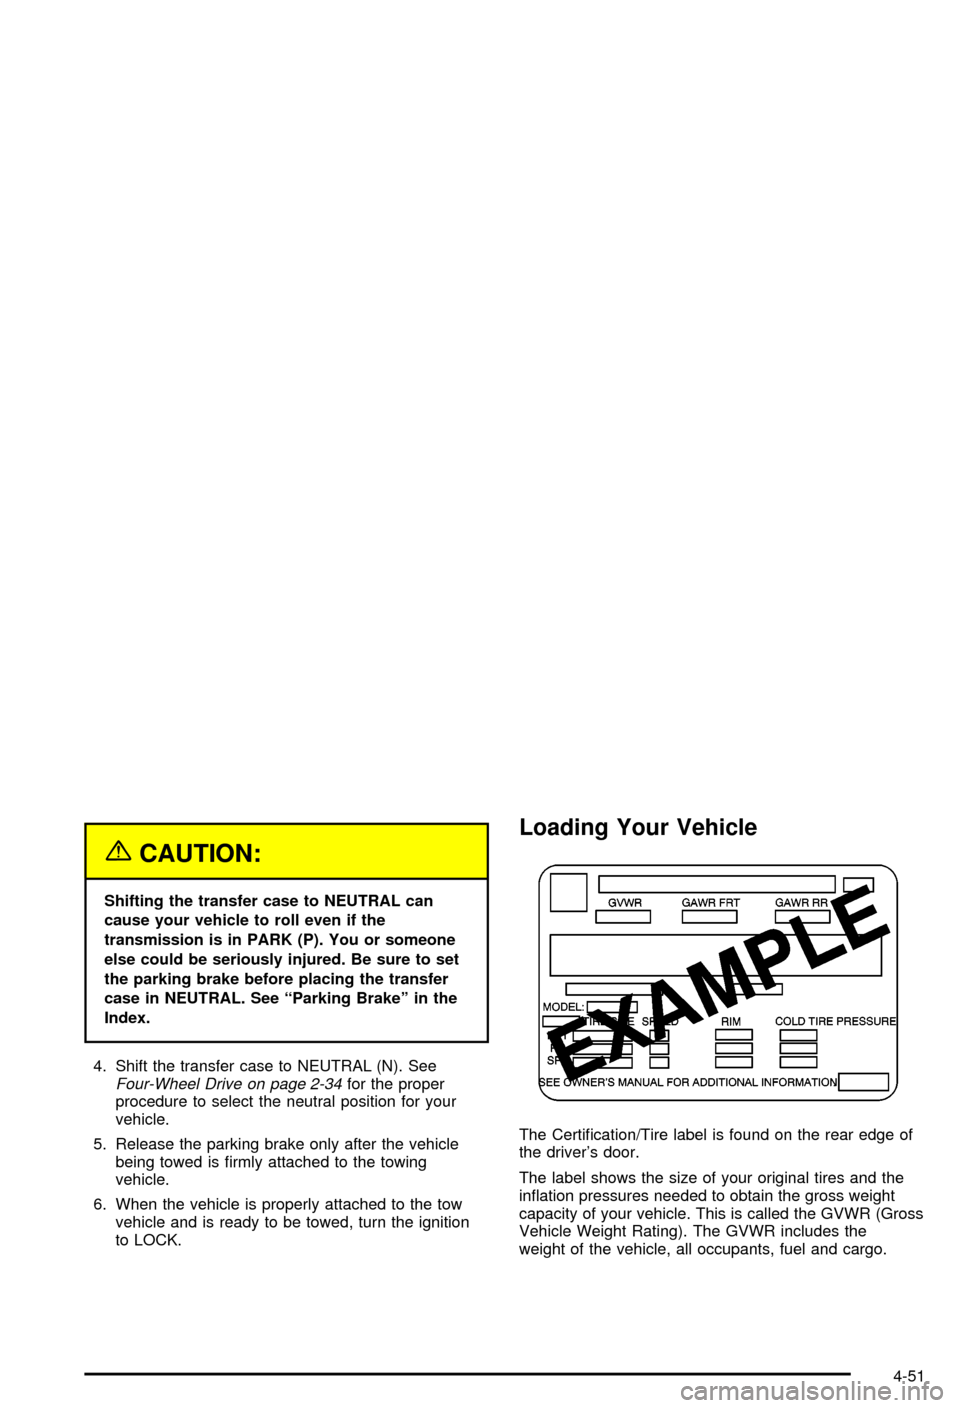
The Certi®cation/Tire label is found on the rear edge of
the driver's door.
The label shows the size of your original tires and the
in¯ation pressures needed to obtain the gross weight
capacity of your vehicle. This is called the GVWR (Gross
Vehicle Weight Rating). The GVWR includes the
weight of the vehicle, all occupants, fuel and cargo.
4-51
Page 341 of 492
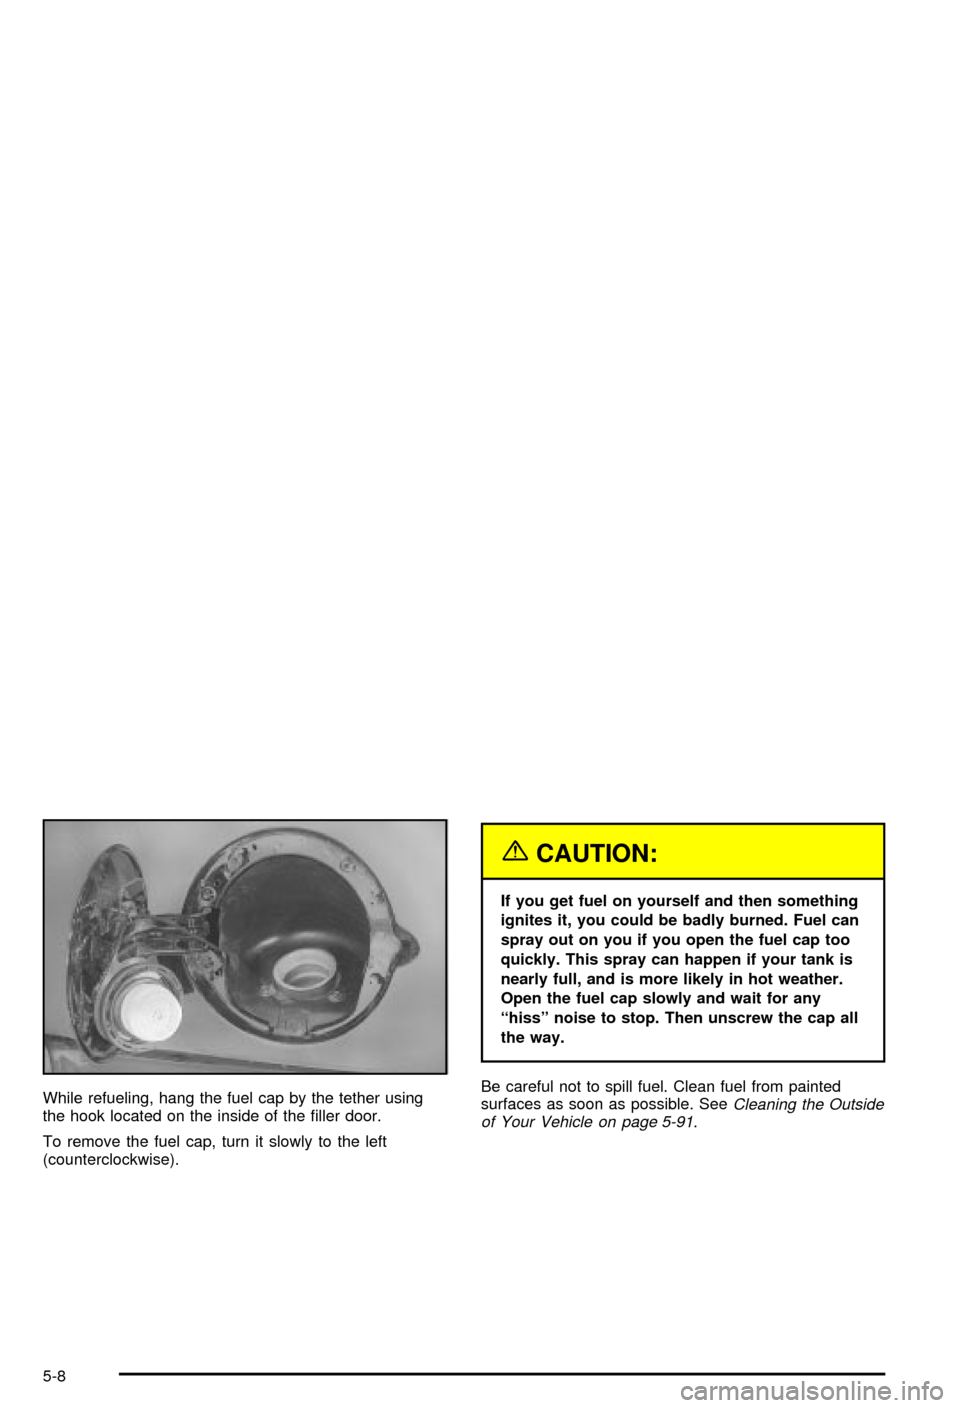
While refueling, hang the fuel cap by the tether using
the hook located on the inside of the ®ller door.
To remove the fuel cap, turn it slowly to the left
(counterclockwise).
{CAUTION:
If you get fuel on yourself and then something
ignites it, you could be badly burned. Fuel can
spray out on you if you open the fuel cap too
quickly. This spray can happen if your tank is
nearly full, and is more likely in hot weather.
Open the fuel cap slowly and wait for any
ªhissº noise to stop. Then unscrew the cap all
the way.
Be careful not to spill fuel. Clean fuel from painted
surfaces as soon as possible. See
Cleaning the Outside
of Your Vehicle on page 5-91.
5-8
Page 342 of 492
When you put the fuel cap back on, turn it to the right
(clockwise) until you hear a clicking sound. Make
sure you fully install the cap. The diagnostic system can
determine if the fuel cap has been left off or improperly
installed. this would allow fuel to evaporate into the
atmosphere. See
Malfunction Indicator Lamp on
page 3-41.
Notice:If you need a new fuel cap, be sure to get
the right type. Your dealer can get one for you.
If you get the wrong type, it may not ®t properly.
This may cause your malfunction indicator lamp to
light and may damage your fuel tank and emissions
system. See ªMalfunction Indicator Lampº in the
Index.
Filling a Portable Fuel Container
{CAUTION:
Never ®ll a portable fuel container while it is in
your vehicle. Static electricity discharge from
the container can ignite the gasoline vapor.
You can be badly burned and your vehicle
damaged if this occurs. To help avoid injury to
you and others:
·Dispense gasoline only into approved
containers.
·Do not ®ll a container while it is inside a
vehicle, in a vehicle's trunk, pickup bed or
on any surface other than the ground.
·Bring the ®ll nozzle in contact with the
inside of the ®ll opening before operating
the nozzle. Contact should be maintained
until the ®lling is complete.
·Don't smoke while pumping gasoline.
5-9
Page 346 of 492

A. Engine Air Cleaner/Filter. SeeEngine Air
Cleaner/Filter on page 5-20.
B. Coolant Surge Tank. See
Cooling System on
page 5-30andCoolant Surge Tank Pressure Cap
on page 5-27.
C. Air Filter Restriction Indicator (If Equipped). See
Engine Air Cleaner/Filter on page 5-20.
D. Engine Oil Fill. See
Engine Oil on page 5-15.
E. Engine Oil Dipstick. See
Engine Oil on page 5-15.
F. Automatic Transmission Dipstick. See
Automatic
Transmission Fluid on page 5-22.
G. Fan. See
Cooling System on page 5-30andEngine
Fan Noise on page 5-36.H. Remote Negative (-) Terminal (GND). See
Jump
Starting on page 5-43.
I. Power Steering Fluid Reservoir (Out of View). See
Power Steering Fluid on page 5-36.
J. Remote Positive (+) Terminal. See
Jump Starting on
page 5-43.
K. Brake Fluid Reservoir. See
Brakes on page 5-39.
L. Underhood Fuse Block. See ªUnderhood Fuse Blockº
under
Fuses and Circuit Breakers on page 5-97.
M. Battery. See
Battery on page 5-42.
N. Windshield Washer Fluid Reservoir. See
Windshield
Washer Fluid on page 5-38.
5-13