lock CHEVROLET AVALANCHE 2003 1.G Workshop Manual
[x] Cancel search | Manufacturer: CHEVROLET, Model Year: 2003, Model line: AVALANCHE, Model: CHEVROLET AVALANCHE 2003 1.GPages: 492, PDF Size: 3.53 MB
Page 145 of 492
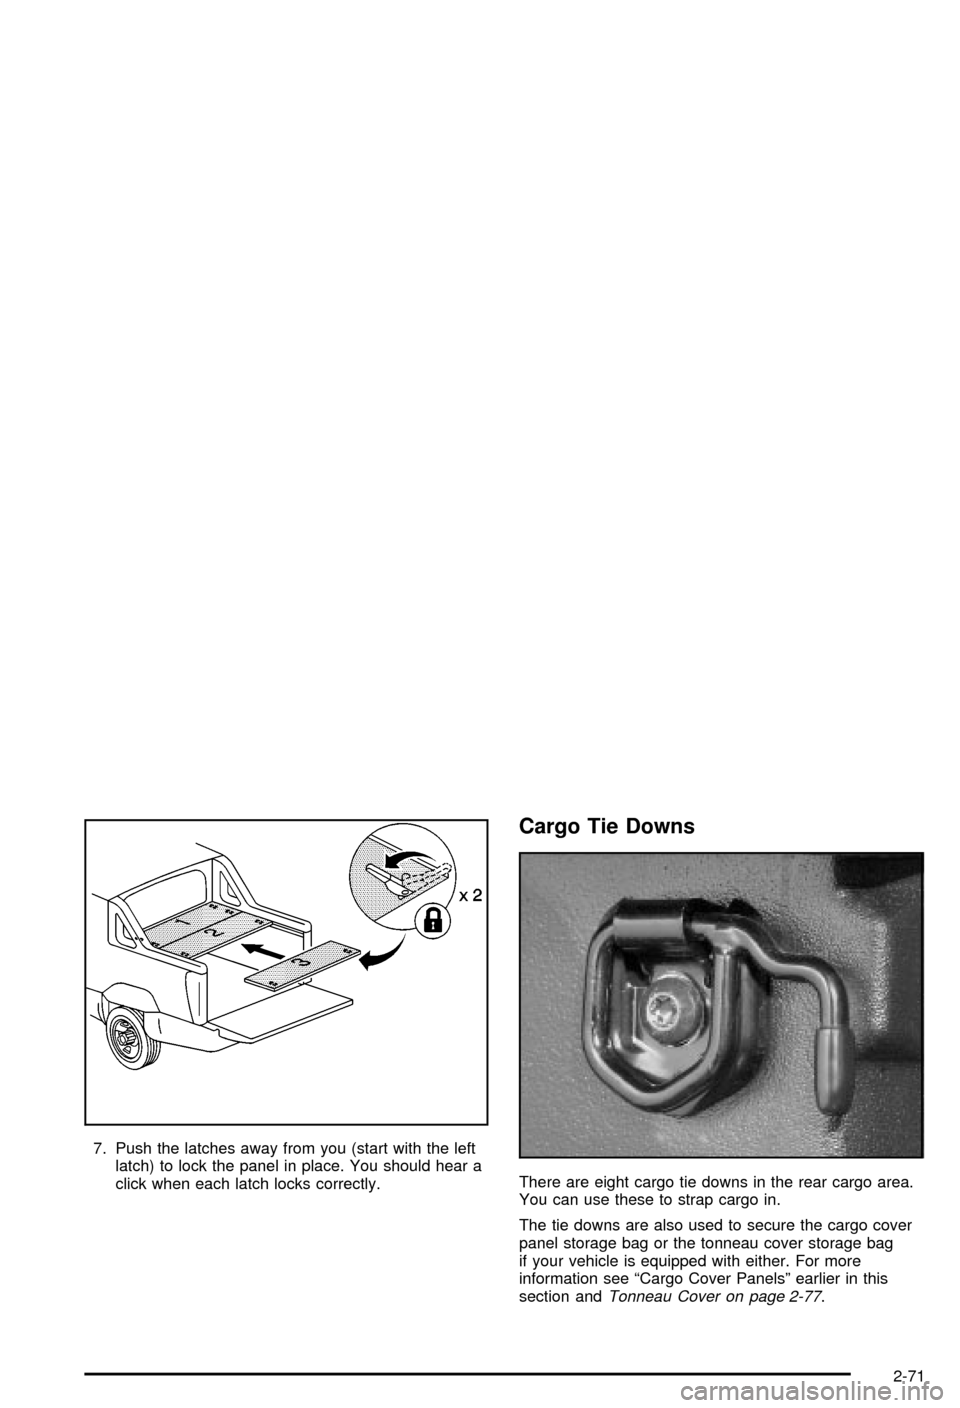
7. Push the latches away from you (start with the left
latch) to lock the panel in place. You should hear a
click when each latch locks correctly.
Cargo Tie Downs
There are eight cargo tie downs in the rear cargo area.
You can use these to strap cargo in.
The tie downs are also used to secure the cargo cover
panel storage bag or the tonneau cover storage bag
if your vehicle is equipped with either. For more
information see ªCargo Cover Panelsº earlier in this
section and
Tonneau Cover on page 2-77.
2-71
Page 147 of 492
Maintenance and Cleaning
To ensure that the water management system performs
properly, be sure that the midgate, tailgate and cover
system are fully closed and that each element of
the water management system is clean and not blocked
with debris. Follow the instruction given next in this
section for the proper procedures on cleaning each item
of the water management system.
Top Drain Grates ± Removal and
Cleaning
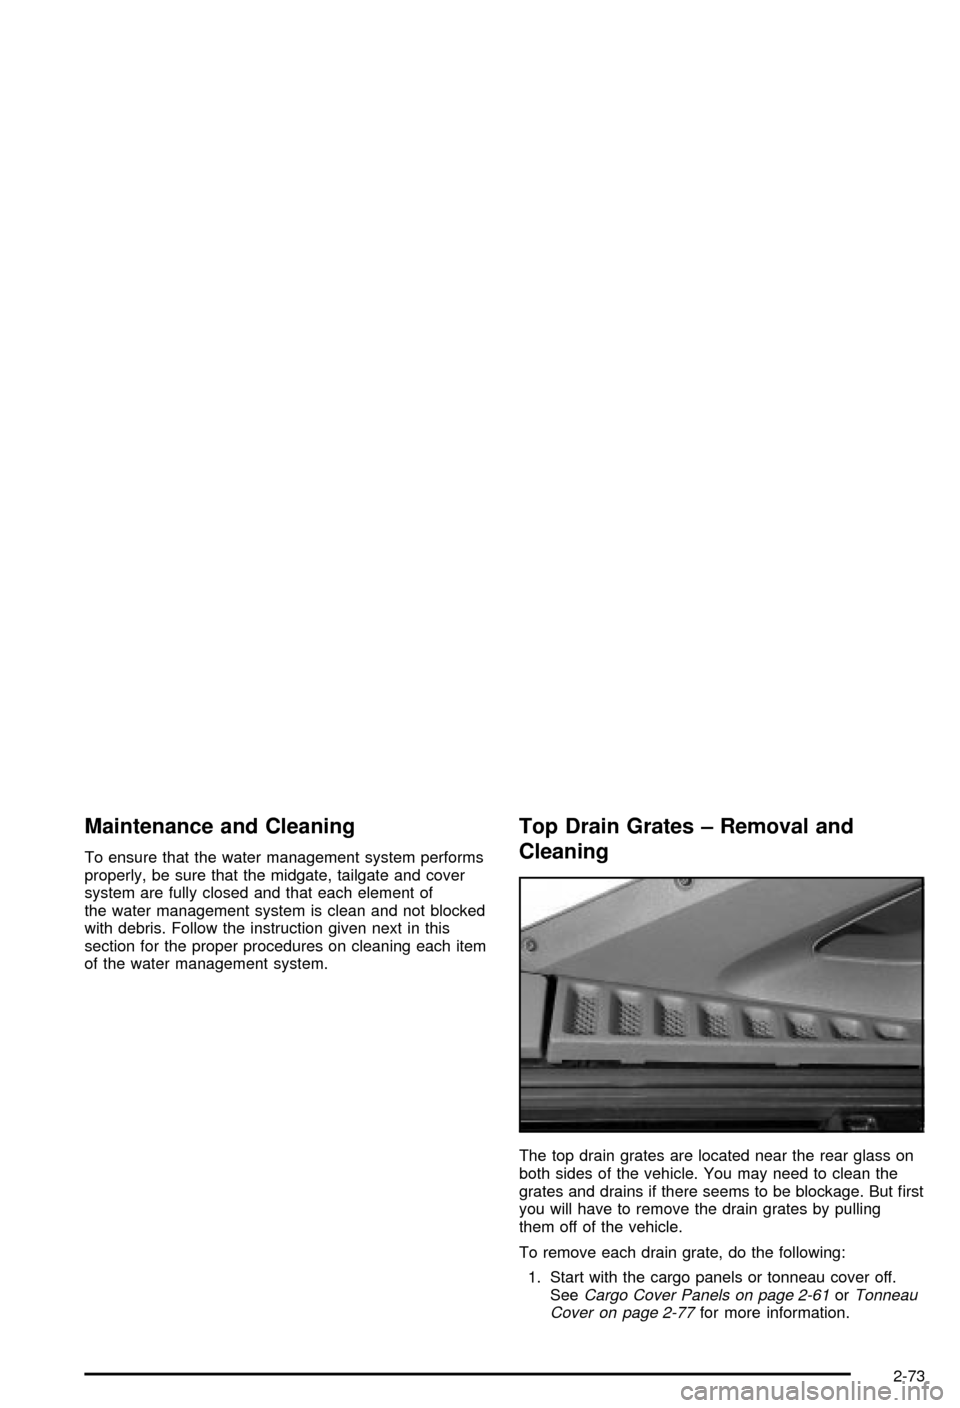
The top drain grates are located near the rear glass on
both sides of the vehicle. You may need to clean the
grates and drains if there seems to be blockage. But ®rst
you will have to remove the drain grates by pulling
them off of the vehicle.
To remove each drain grate, do the following:
1. Start with the cargo panels or tonneau cover off.
See
Cargo Cover Panels on page 2-61orTonneau
Cover on page 2-77for more information.
2-73
Page 151 of 492
Top-Box Storage
Your vehicle is equipped with top-box storage units on
both side of the vehicle. The passenger side top box
contains the tools you will need to change a ¯at tire.
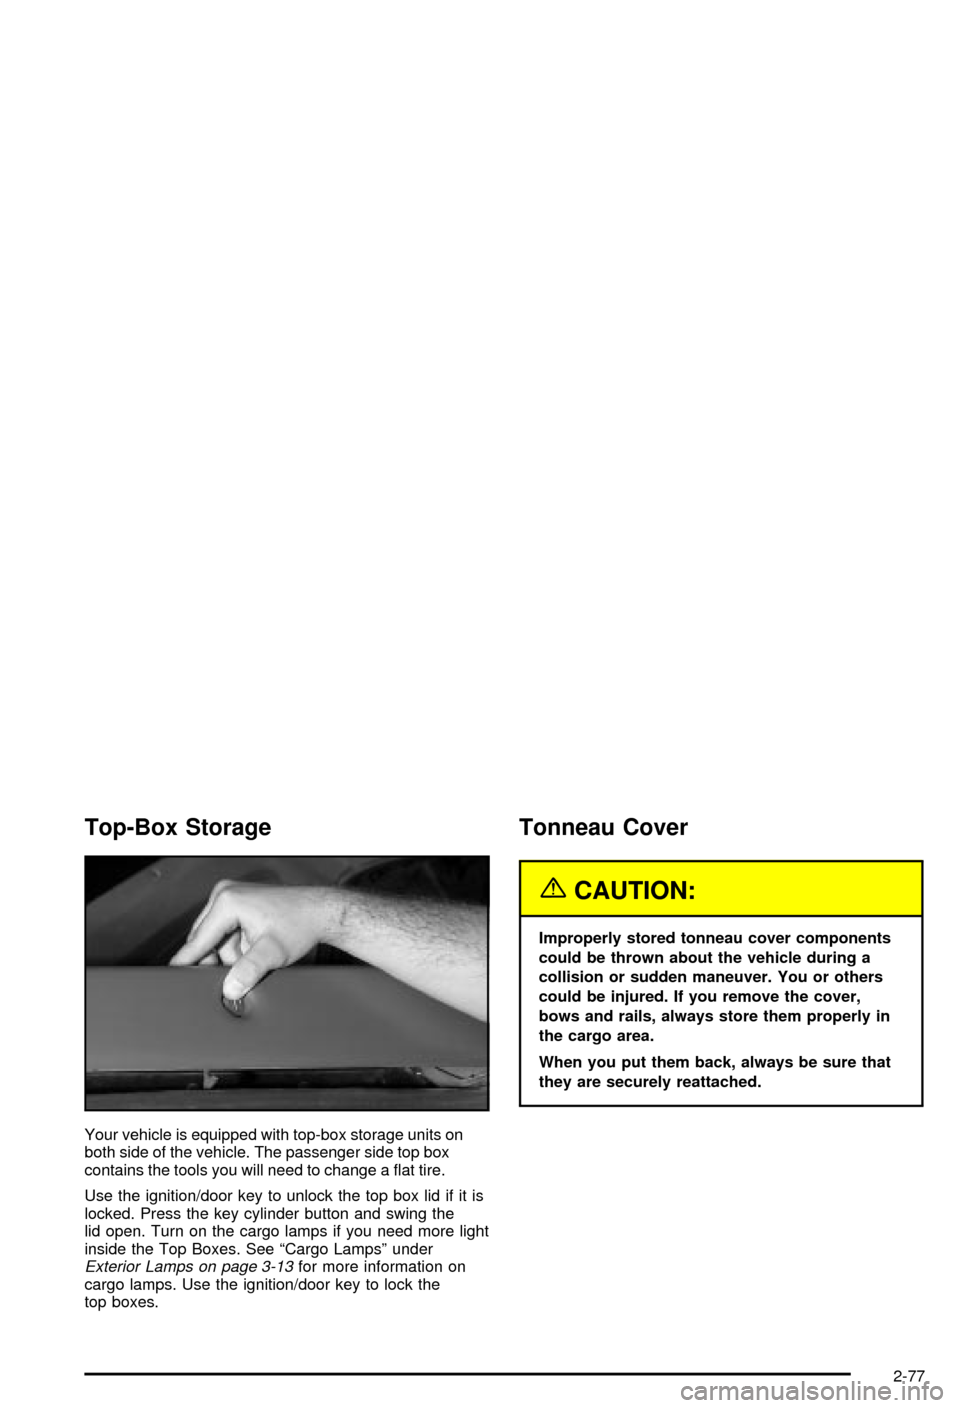
Use the ignition/door key to unlock the top box lid if it is
locked. Press the key cylinder button and swing the
lid open. Turn on the cargo lamps if you need more light
inside the Top Boxes. See ªCargo Lampsº under
Exterior Lamps on page 3-13for more information on
cargo lamps. Use the ignition/door key to lock the
top boxes.
Tonneau Cover
{CAUTION:
Improperly stored tonneau cover components
could be thrown about the vehicle during a
collision or sudden maneuver. You or others
could be injured. If you remove the cover,
bows and rails, always store them properly in
the cargo area.
When you put them back, always be sure that
they are securely reattached.
2-77
Page 158 of 492
Sunroof
Your vehicle may be equipped with a power sliding
sunroof. To open or close your sunroof, the ignition
needs to be on or RAP needs to be active. See
ªRetained Accessory Powerº under
Ignition Positions on
page 2-27.
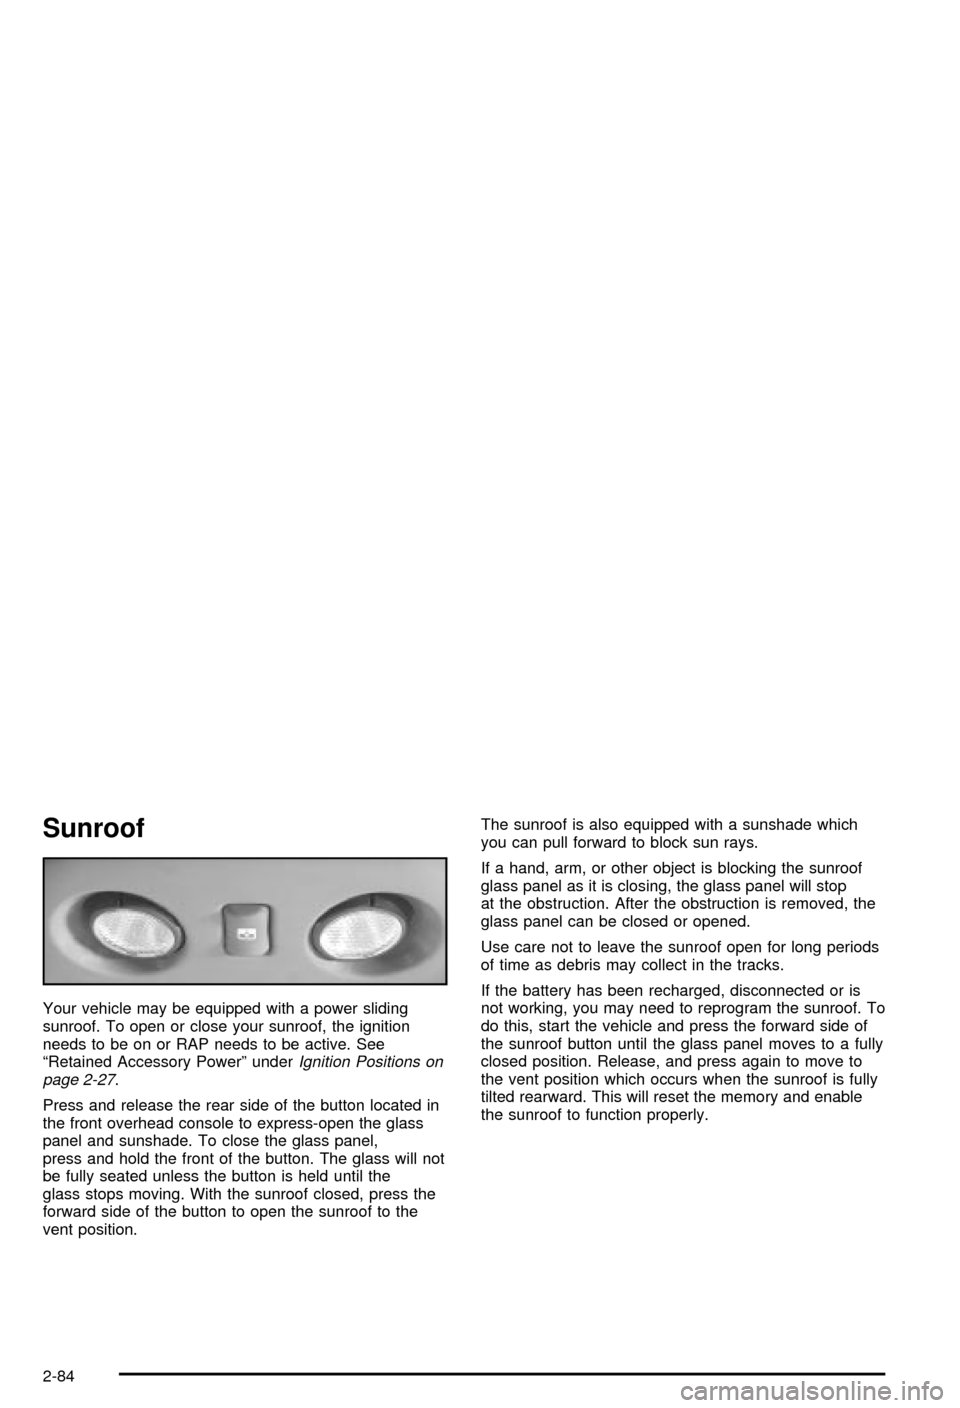
Press and release the rear side of the button located in
the front overhead console to express-open the glass
panel and sunshade. To close the glass panel,
press and hold the front of the button. The glass will not
be fully seated unless the button is held until the
glass stops moving. With the sunroof closed, press the
forward side of the button to open the sunroof to the
vent position.The sunroof is also equipped with a sunshade which
you can pull forward to block sun rays.
If a hand, arm, or other object is blocking the sunroof
glass panel as it is closing, the glass panel will stop
at the obstruction. After the obstruction is removed, the
glass panel can be closed or opened.
Use care not to leave the sunroof open for long periods
of time as debris may collect in the tracks.
If the battery has been recharged, disconnected or is
not working, you may need to reprogram the sunroof. To
do this, start the vehicle and press the forward side of
the sunroof button until the glass panel moves to a fully
closed position. Release, and press again to move to
the vent position which occurs when the sunroof is fully
tilted rearward. This will reset the memory and enable
the sunroof to function properly.
2-84
Page 160 of 492

If you use the unlock button on the remote keyless entry
transmitter to enter your vehicle, the preset driver's
seat, throttle and brake pedal, mirror positions and the
radio station presets will be recalled if programmed
to do so through the Driver Information Center (DIC).
See
DIC Operation and Displays on page 3-46.
The numbers on the back of the transmitters, 1 or 2,
correspond to the numbers on the memory controls.
The seat, throttle and brake pedals and mirror positions
can also be recalled when placing the key in the
ignition if programmed to do so through the Driver
Information Center (DIC). See
DIC Operation and
Displays on page 3-46.
To stop recall movement of the memory seat feature at
any time, press one of the memory buttons or power
seat controls.
Easy Exit Seat
The controls for this memory function are located on the
driver's door.
B(Easy Exit Seat):This button is used to program
and recall the desired driver's seat position when
exiting/entering the vehicle. The seat position, can be
personalized for both driver 1 and driver 2.To store the seat exit position for driver 1 or 2, do the
following:
1. Select the desired driver number by pressing and
releasing the 1 or 2 button or by pressing the
unlock button on the number 1 or 2 remote keyless
entry transmitter. The seat will move to the stored
memory position.
2. Adjust the seat to the desired exit position.
3. Press and hold the exit button of the memory
control for three seconds. A double chime will sound
to let you know that the position has been stored
for the identi®ed driver (1 or 2).
To use the seat exit position, do one of the following:
·Press the exit button on the memory control.
·Or, if this feature is enabled (active) in the DIC,
then removing the key from the ignition will
cause the seat to move to the exit position.
2-86
Page 161 of 492

Instrument Panel Overview...............................3-4
Hazard Warning Flashers................................3-6
Other Warning Devices...................................3-6
Horn.............................................................3-7
Tilt Wheel.....................................................3-7
Turn Signal/Multifunction Lever.........................3-7
Exterior Lamps.............................................3-13
Interior Lamps..............................................3-17
Accessory Power Outlets...............................3-19
Ashtrays and Cigarette Lighter........................3-19
Climate Controls............................................3-20
Automatic Climate Control System...................3-20
Dual Climate Control System..........................3-26
Outlet Adjustment.........................................3-28
Climate Controls Personalization.....................3-29
Warning Lights, Gages and Indicators.............3-30
Instrument Panel Cluster................................3-31
Speedometer and Odometer...........................3-32
Tachometer.................................................3-33
Safety Belt Reminder Light.............................3-33Air Bag Readiness Light................................3-33
Passenger Air Bag Status Indicator.................3-34
Charging System Light..................................3-36
Voltmeter Gage............................................3-36
Brake System Warning Light..........................3-37
Anti-Lock Brake System Warning Light.............3-38
Traction Off Light..........................................3-38
Engine Coolant Temperature Gage..................3-39
Transmission Temperature Gage.....................3-40
Malfunction Indicator Lamp.............................3-41
Oil Pressure Gage........................................3-43
Security Light...............................................3-44
Cruise Control Light......................................3-44
Tow/Haul Mode Light....................................3-45
Fuel Gage...................................................3-45
Low Fuel Warning Light.................................3-45
Driver Information Center (DIC).......................3-46
DIC Operation and Displays...........................3-46
DIC Warnings and Messages.........................3-57
Section 3 Instrument Panel
3-1
Page 167 of 492
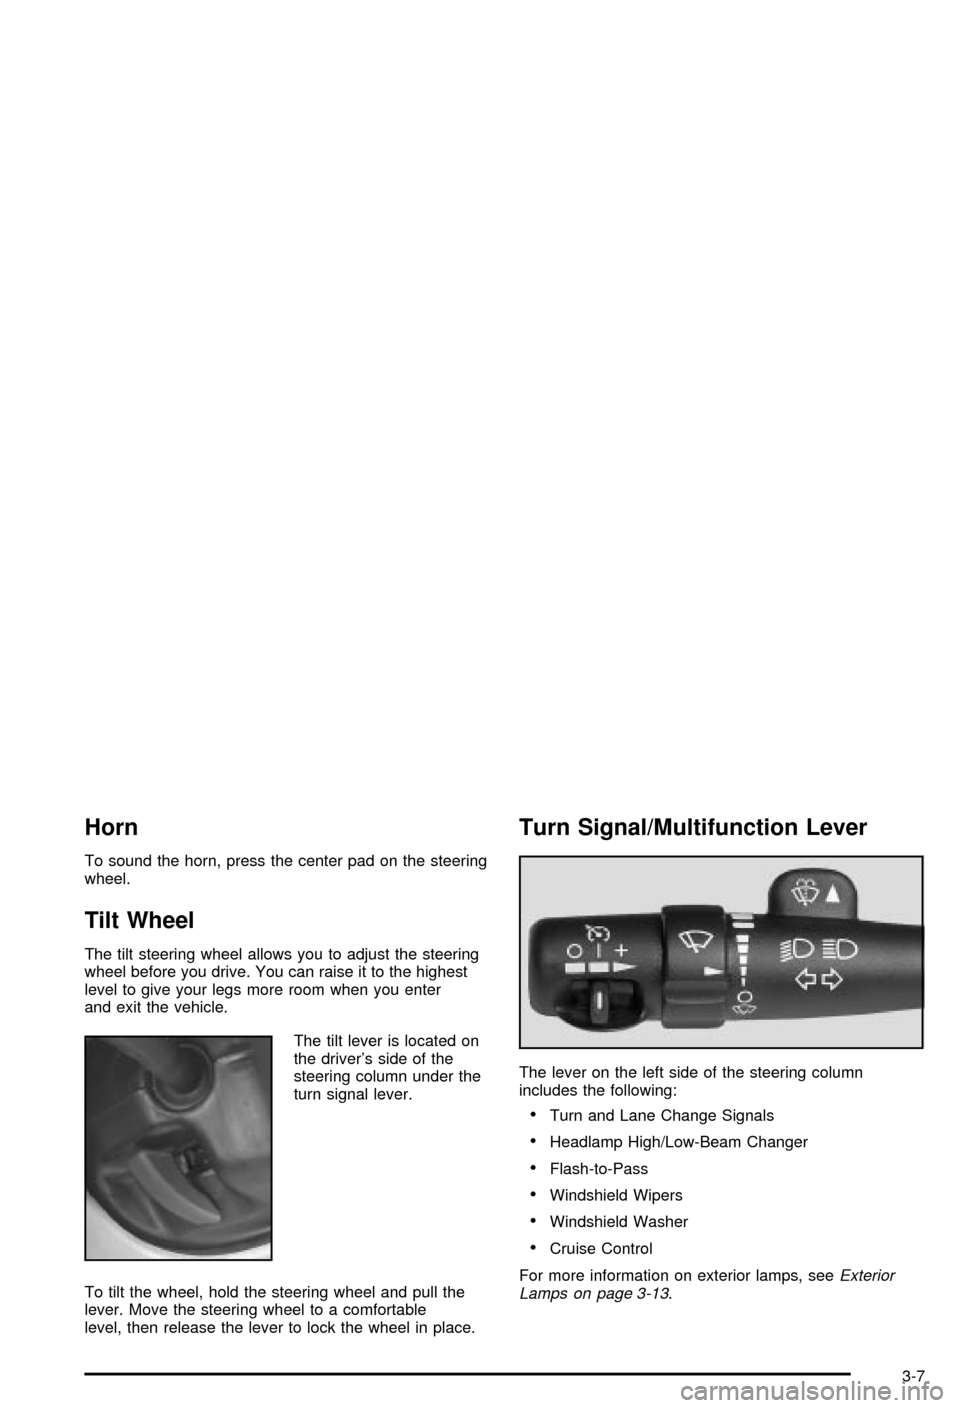
Horn
To sound the horn, press the center pad on the steering
wheel.
Tilt Wheel
The tilt steering wheel allows you to adjust the steering
wheel before you drive. You can raise it to the highest
level to give your legs more room when you enter
and exit the vehicle.
The tilt lever is located on
the driver's side of the
steering column under the
turn signal lever.
To tilt the wheel, hold the steering wheel and pull the
lever. Move the steering wheel to a comfortable
level, then release the lever to lock the wheel in place.
Turn Signal/Multifunction Lever
The lever on the left side of the steering column
includes the following:
·Turn and Lane Change Signals
·Headlamp High/Low-Beam Changer
·Flash-to-Pass
·Windshield Wipers
·Windshield Washer
·Cruise Control
For more information on exterior lamps, see
Exterior
Lamps on page 3-13.
3-7
Page 169 of 492

To use it, pull the turn signal lever toward you, then
release it.
If your headlamps are in the automatic position or on
low beam, your high-beam headlamps will turn on.
They'll stay on as long as you hold the lever toward you.
The high-beam indicator on the instrument panel
cluster will come on. Release the lever to return to
normal operation.
Windshield Wipers
You control the windshield wipers by turning the band
with the wiper symbol on it.
8(Mist):For a single wiping cycle, turn the band to
mist. Hold it there until the wipers start. Then let go. The
wipers will stop after one wipe. If you want more
wipes, hold the band on mist longer.
N(Delay):You can set the wiper speed for a long or
short delay between wipes. This can be very useful
in light rain or snow. Turn the band to choose the delay
time. The closer to the top of the lever, the shorter
the delay.
6(Low Speed):For steady wiping at low speed,
turn the band away from you to the ®rst solid band past
the delay settings.
1(High Speed):For high-speed wiping, turn the
band further, to the second solid band past the
delay settings.
9(Off):To stop the wipers, move the band to off.
Be sure to clear ice and snow from the wiper blades
before using them. If they're frozen to the windshield,
carefully loosen or thaw them. If your blades do become
worn or damaged, get new blades or blade inserts.
Windshield Washer
L
(Washer Fluid):There is a paddle marked with the
windshield washer symbol at the top of the multifunction
lever. To spray washer ¯uid on the windshield, push
the paddle. The wipers will clear the window and then
either stop or return to your preset speed.
{CAUTION:
In freezing weather, don't use your washer
until the windshield is warmed. Otherwise the
washer ¯uid can form ice on the windshield,
blocking your vision.
3-9
Page 174 of 492

Automatic Headlamp System
When it is dark enough outside and the headlamp
switch is in AUTO, your automatic headlamp system will
turn on your headlamps at the normal brightness
along with other lamps such as the taillamps,
sidemarker, parking lamps, roof marker lamps and the
instrument panel lights. The radio lights will also be dim.
To turn off the automatic headlamp system, turn the
exterior lamps switch to the off position and then
release.
Your vehicle has a light sensor located on the top of the
instrument panel. Be sure it is not covered, or the
system will be on whenever the ignition is on.
The system may also turn on your headlamps when
driving through a parking garage, heavy overcast
weather or a tunnel. This is normal.
There is a delay in the transition between the daytime
and nighttime operation of the Daytime Running
Lamps (DRL) and the automatic headlamp systems so
that driving under bridges or bright overhead street
lights does not affect the system. The DRL and
automatic headlamp system will only be affected when
the light sensor sees a change in lighting lasting
longer than the delay.If you start your vehicle in a dark garage, the automatic
headlamp system will come on immediately. Once
you leave the garage, it will take approximately
one minute for the automatic headlamp system to
change to DRL if it is light outside. During that delay,
your instrument panel cluster may not be as bright
as usual. Make sure your instrument panel brightness
control is in the full bright position. See ªInstrument
Panel Brightnessº under
Interior Lamps on page 3-17.
Lamps On Reminder
If a door is open, a reminder chime will sound when
your headlamps or parking lamps are manually turned
on and your key is out of the ignition. To turn off
the chime, turn the headlamp switch to off or AUTO and
then back on. In the automatic mode, the headlamps
turn off once the ignition is in LOCK and the headlamps
on at exit delay ends (if enabled in the DIC).
Daytime Running Lamps
Daytime Running Lamps (DRL) can make it easier for
others to see the front of your vehicle during the
day. DRL can be helpful in many different driving
conditions, but they can be especially helpful in the short
periods after dawn and before sunset. Fully functional
daytime running lamps are required on all vehicles
®rst sold in Canada.
3-14
Page 175 of 492

The DRL system will come on when the following
conditions are met:
·The ignition is on,
·the exterior lamps control is in AUTO,
·the transmission is not in PARK (P), and
·the light sensor determines it is daytime.
When the DRL are on, only your DRL lamps will be on.
The taillamps, sidemarker and other lamps won't be
on. The instrument panel won't be lit up either.
When it begins to get dark, the automatic headlamp
system will switch from DRL to the headlamps.
As with any vehicle, you should turn on the regular
headlamp system when you need it.
Puddle Lamps
Your vehicle may be equipped with puddle lamps to
help you see the area near the base of the front doors
when it is dark out. The puddle lamps will illuminate
when a door is opened or when you press the unlock
button on the keyless entry transmitter. The lamps
will time out or turn off once the engine is started.
You can program the puddle lamps not to come on if
you choose. See
Driver Information Center (DIC)
on page 3-46.
Fog Lamps
If your vehicle has fog lamps you can use them for
better vision in foggy or misty conditions. Your parking
lamps and/or low-beam headlamps must be on for
your fog lamps to work.
The fog lamp button is
located on the left side of
your instrument panel.
Press the button to turn the fog lamps on while the
headlamps or parking lamps are on. Press the button
again to turn them off. An indicator light will glow
near the button when the fog lamps are on.
Remember, fog lamps alone will not give off as much
light as your headlamps. Never use your fog lamps
in the dark without turning on the headlamps.
The fog lamps will go off whenever your high-beam
headlamps come on. When the high beams go off, the
fog lamps will come on again.
3-15