mirror CHEVROLET AVALANCHE 2003 1.G User Guide
[x] Cancel search | Manufacturer: CHEVROLET, Model Year: 2003, Model line: AVALANCHE, Model: CHEVROLET AVALANCHE 2003 1.GPages: 492, PDF Size: 3.53 MB
Page 125 of 492
Cleaning the Mirror
Use a paper towel or similar material dampened with
glass cleaner. Do not spray glass cleaner directly on the
mirror as that may cause the liquid cleaner to enter
the mirror housing.
Passenger Air Bag Indicator
Your mirror may be equipped with a passenger air bag
indicator on the mirror glass, just above the buttons.
If you have this feature the mirror will display the word
ON, or an airbag symbol in Canada, when the
passenger air bag is enabled. For more information see
Passenger Sensing System on page 1-62
Outside Camper-Type Mirrors
If your vehicle is equipped with outside camper-type
mirrors, they can be adjusted so you can have a clear
view of objects behind you.
To extend the manual camper mirrors, pull out the
mirror head to extend it for better visibility. Adjust the
mirror glass manually to the desired position.
To extend the power camper mirrors, move the selector
switch, located above the mirror control, to the middle
position. The mirror control will illuminate. Press the left
or right side of the mirror control to slide the mirror
heads away or toward the body of the vehicle. Adjust
the mirror glass by using the power mirror switches. See
Outside Power Mirrors on page 2-51.
Outside Power Mirrors
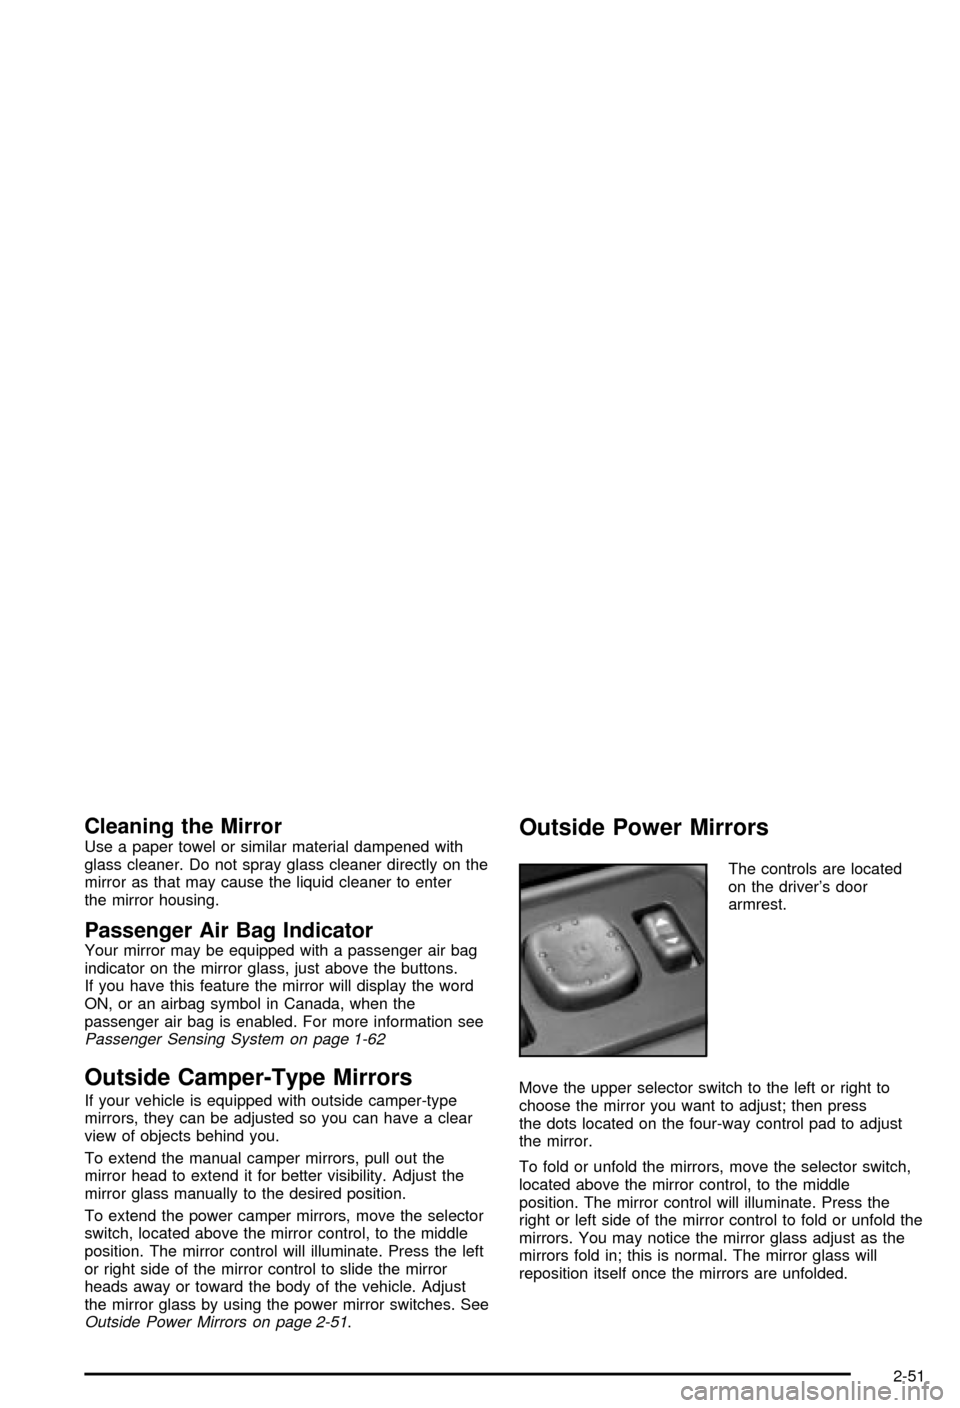
The controls are located
on the driver's door
armrest.
Move the upper selector switch to the left or right to
choose the mirror you want to adjust; then press
the dots located on the four-way control pad to adjust
the mirror.
To fold or unfold the mirrors, move the selector switch,
located above the mirror control, to the middle
position. The mirror control will illuminate. Press the
right or left side of the mirror control to fold or unfold the
mirrors. You may notice the mirror glass adjust as the
mirrors fold in; this is normal. The mirror glass will
reposition itself once the mirrors are unfolded.
2-51
Page 126 of 492
If the mirrors are accidently manually folded in or you
notice that the mirrors will not stay in the unfolded
position, unfold and fold them at least twice using the
mirror controls. Do not unfold them manually. The
mirrors may not stay in place otherwise.
The mirrors may also include a memory function which
works in conjunction with the memory seats. See
Memory Seat on page 2-85for more information.
Outside Convex Mirror
Your passenger's side mirror is convex. A convex
mirror's surface is curved so you can see more from the
driver's seat.
{CAUTION:
A convex mirror can make things (like other
vehicles) look farther away than they really are.
If you cut too sharply into the right lane, you
could hit a vehicle on your right. Check your
inside mirror or glance over your shoulder
before changing lanes.
Outside Heated Mirrors
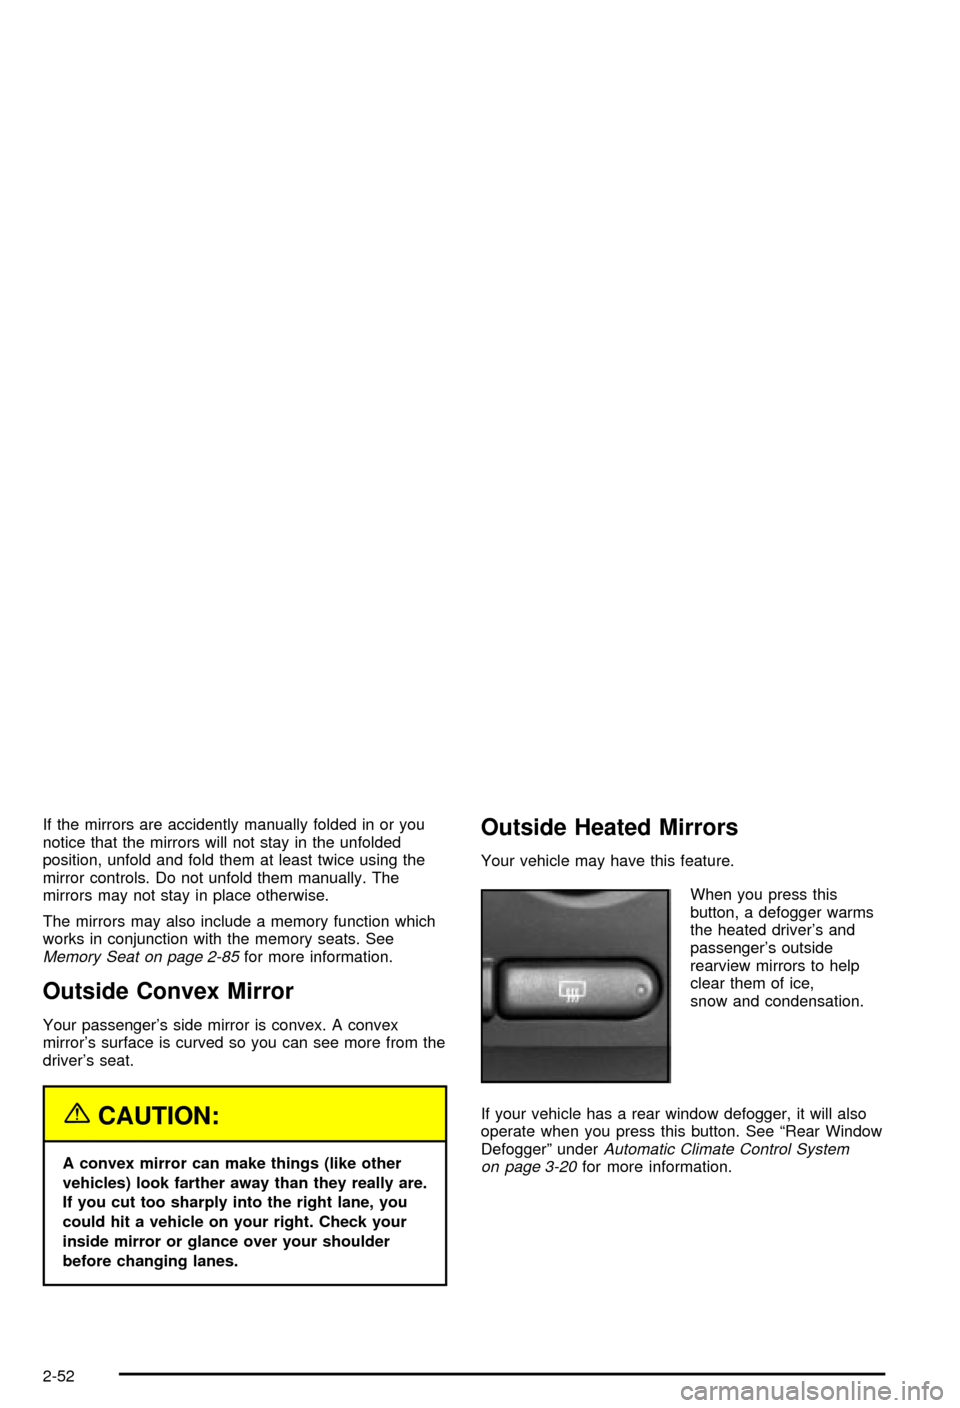
Your vehicle may have this feature.
When you press this
button, a defogger warms
the heated driver's and
passenger's outside
rearview mirrors to help
clear them of ice,
snow and condensation.
If your vehicle has a rear window defogger, it will also
operate when you press this button. See ªRear Window
Defoggerº under
Automatic Climate Control System
on page 3-20for more information.
2-52
Page 127 of 492
Outside Automatic Dimming Mirror
with Curb View Assist
Your vehicle may have this feature.
The driver's outside mirror will adjust for the glare of the
headlamps behind you. See
Automatic Dimming
Rearview Mirror with OnStarž, Compass and
Temperature Display on page 2-46.
Your vehicle's mirrors will also be capable of performing
the curb view assist mirror function. This feature will
cause the passenger's and/or driver's mirror to tilt to a
preselected position when the vehicle is in
REVERSE (R). This feature may be useful in allowing
you to view the curb when you are parallel parking.
When the vehicle is shifted out of REVERSE (R) and a
short delay has occurred, the passenger's and/or
driver's mirror will return to its original position.
To change the preselected tilt position, adjust the
mirrors to the desired position while the vehicle is in
REVERSE (R). When the vehicle is shifted out of
REVERSE (R), this new position is saved in memory as
the tilt position.
This feature can be enabled/disabled through the Driver
Information Center. See
Driver Information Center
(DIC) on page 3-46for more information.
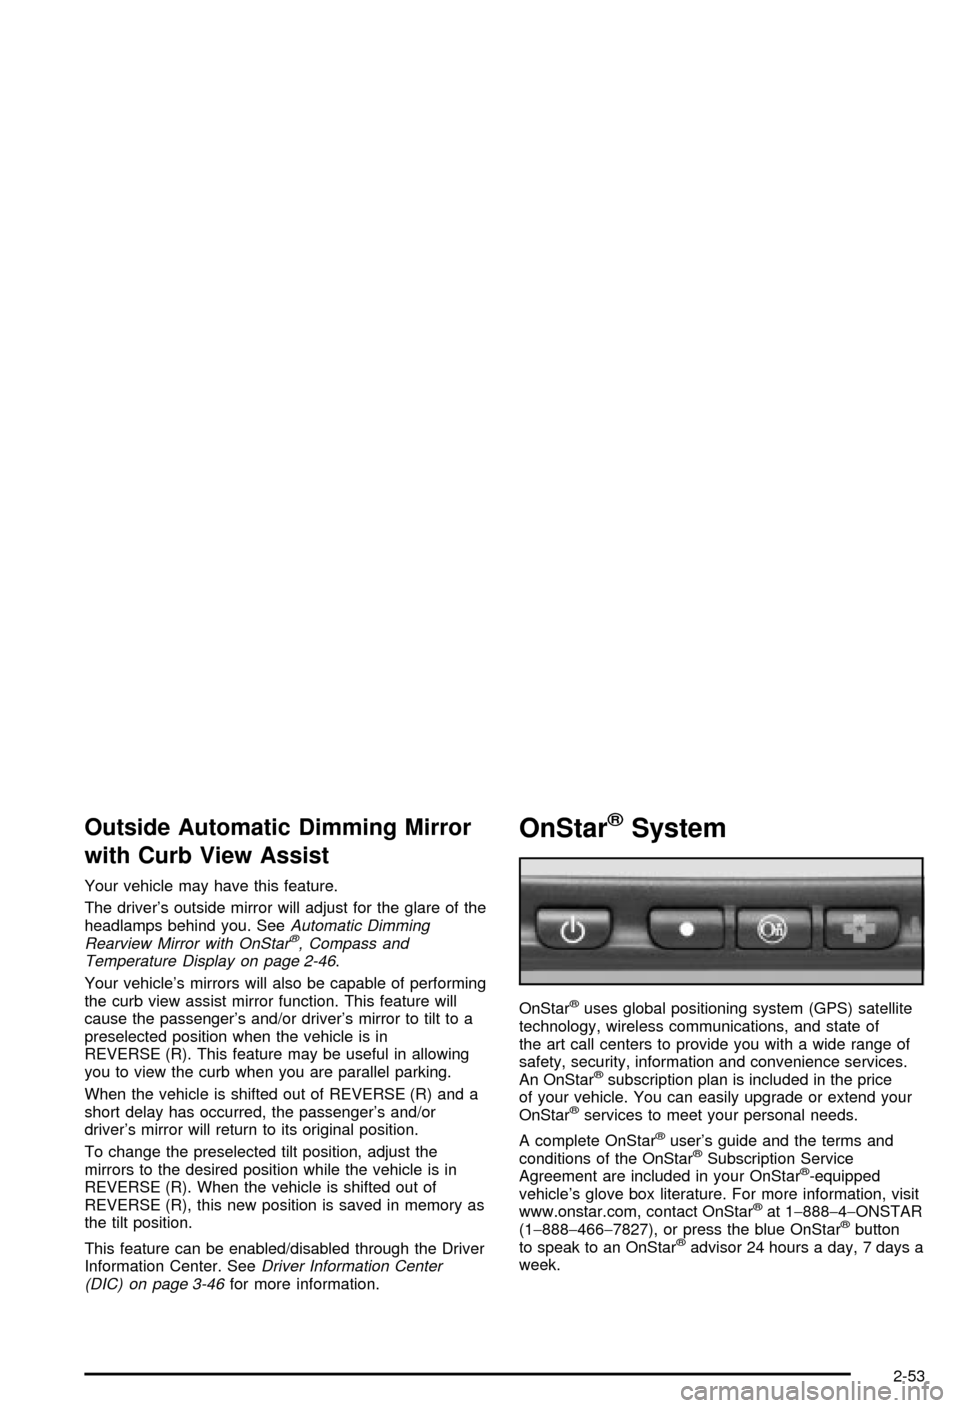
OnStaržSystem
OnStaržuses global positioning system (GPS) satellite
technology, wireless communications, and state of
the art call centers to provide you with a wide range of
safety, security, information and convenience services.
An OnStar
žsubscription plan is included in the price
of your vehicle. You can easily upgrade or extend your
OnStar
žservices to meet your personal needs.
A complete OnStar
žuser's guide and the terms and
conditions of the OnStaržSubscription Service
Agreement are included in your OnStarž-equipped
vehicle's glove box literature. For more information, visit
www.onstar.com, contact OnStar
žat 1-888-4-ONSTAR
(1-888-466-7827), or press the blue OnStaržbutton
to speak to an OnStaržadvisor 24 hours a day, 7 days a
week.
2-53
Page 159 of 492
Vehicle Personalization
Memory Seat
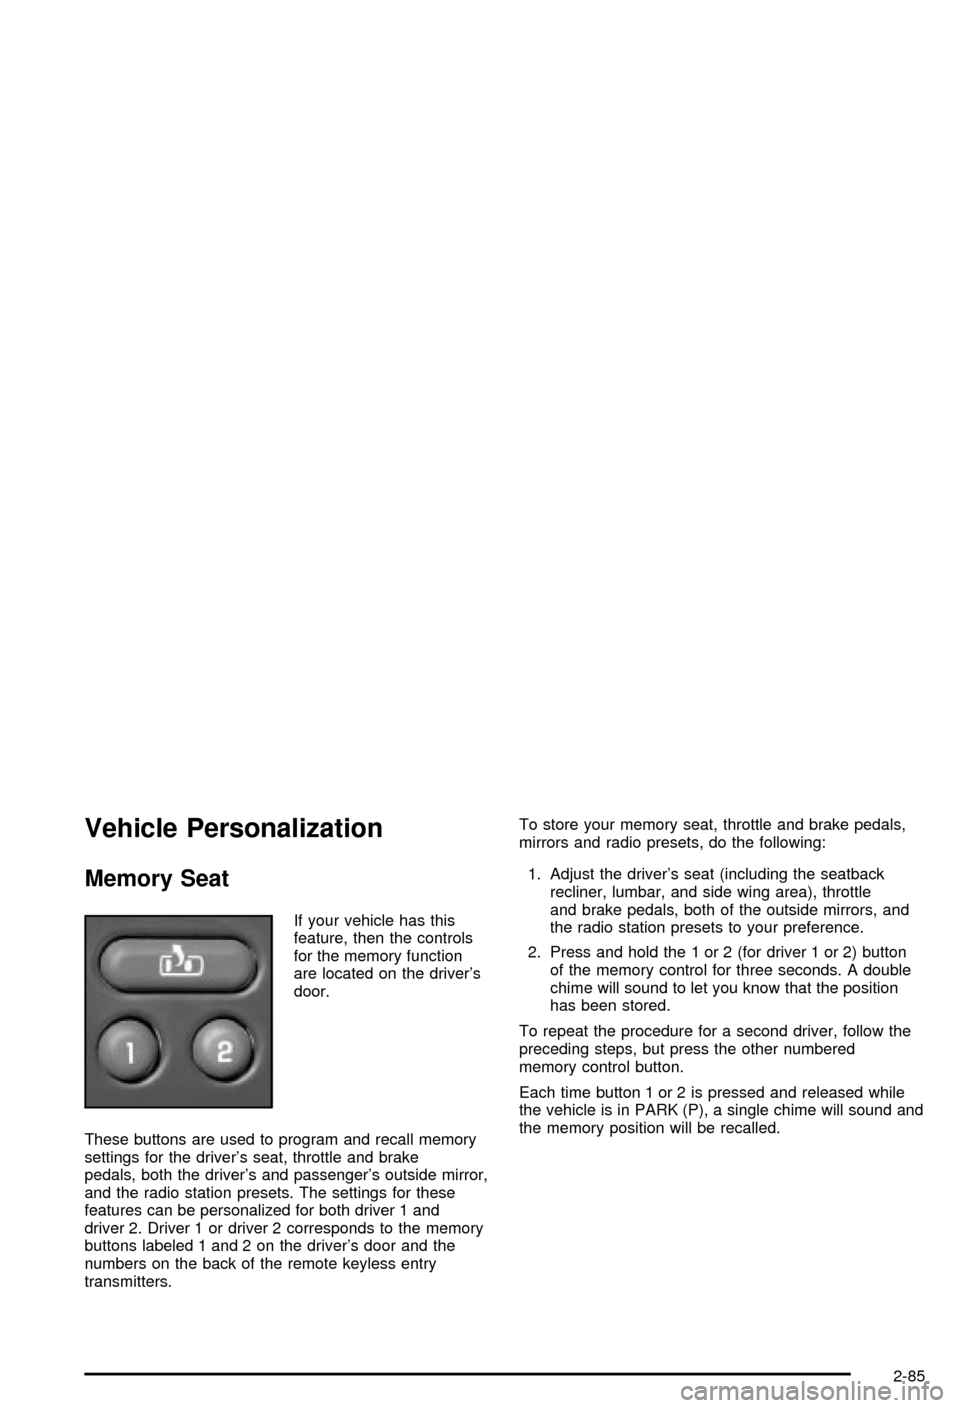
If your vehicle has this
feature, then the controls
for the memory function
are located on the driver's
door.
These buttons are used to program and recall memory
settings for the driver's seat, throttle and brake
pedals, both the driver's and passenger's outside mirror,
and the radio station presets. The settings for these
features can be personalized for both driver 1 and
driver 2. Driver 1 or driver 2 corresponds to the memory
buttons labeled 1 and 2 on the driver's door and the
numbers on the back of the remote keyless entry
transmitters.To store your memory seat, throttle and brake pedals,
mirrors and radio presets, do the following:
1. Adjust the driver's seat (including the seatback
recliner, lumbar, and side wing area), throttle
and brake pedals, both of the outside mirrors, and
the radio station presets to your preference.
2. Press and hold the 1 or 2 (for driver 1 or 2) button
of the memory control for three seconds. A double
chime will sound to let you know that the position
has been stored.
To repeat the procedure for a second driver, follow the
preceding steps, but press the other numbered
memory control button.
Each time button 1 or 2 is pressed and released while
the vehicle is in PARK (P), a single chime will sound and
the memory position will be recalled.
2-85
Page 160 of 492

If you use the unlock button on the remote keyless entry
transmitter to enter your vehicle, the preset driver's
seat, throttle and brake pedal, mirror positions and the
radio station presets will be recalled if programmed
to do so through the Driver Information Center (DIC).
See
DIC Operation and Displays on page 3-46.
The numbers on the back of the transmitters, 1 or 2,
correspond to the numbers on the memory controls.
The seat, throttle and brake pedals and mirror positions
can also be recalled when placing the key in the
ignition if programmed to do so through the Driver
Information Center (DIC). See
DIC Operation and
Displays on page 3-46.
To stop recall movement of the memory seat feature at
any time, press one of the memory buttons or power
seat controls.
Easy Exit Seat
The controls for this memory function are located on the
driver's door.
B(Easy Exit Seat):This button is used to program
and recall the desired driver's seat position when
exiting/entering the vehicle. The seat position, can be
personalized for both driver 1 and driver 2.To store the seat exit position for driver 1 or 2, do the
following:
1. Select the desired driver number by pressing and
releasing the 1 or 2 button or by pressing the
unlock button on the number 1 or 2 remote keyless
entry transmitter. The seat will move to the stored
memory position.
2. Adjust the seat to the desired exit position.
3. Press and hold the exit button of the memory
control for three seconds. A double chime will sound
to let you know that the position has been stored
for the identi®ed driver (1 or 2).
To use the seat exit position, do one of the following:
·Press the exit button on the memory control.
·Or, if this feature is enabled (active) in the DIC,
then removing the key from the ignition will
cause the seat to move to the exit position.
2-86
Page 185 of 492

^(Air Conditioning Off):On some vehicles, when
you turn the air conditioning off, this symbol will appear
on the display. If your vehicle does not have this
symbol, the snow¯ake symbol will turn off to let you
know the air conditioning is off.
Heating
On cold days when using manual operation of the
automatic system, choose ¯oor mode to deliver air to
the ¯oor outlets. To warm or cool the air delivered, turn
the temperature knob to the desired setting.
If you want to use the automatic mode, press AUTO
and adjust the temperature by turning the temperature
knob.
The heater works best if you keep the windows closed
while using it.
Defogging and Defrosting
You can use either defog or front defrost to clear fog or
frost from your windshield. Use the defog mode to
clear the windows of fog or moisture. Use the front
defrost button to defrost the front windshield.
-(Defog):Use this setting to clear the windows of fog
or moisture. Press the mode button to select this
setting. This setting will deliver air to the ¯oor and
windshield outlets.
0(Front Defrost):Press the front defrost button to
defrost the windshield. The system will automatically
control the fan speed if you select defrost from AUTO
mode. If the outside temperature is 40ÉF (4ÉC) or warmer,
your air conditioning compressor will automatically run to
help dehumidify the air and dry the windshield.
Rear Window Defogger
If your vehicle has this feature, the lines you see on the
rear window warm the glass. The rear window
defogger uses a warming grid to remove fog from the
rear window.
<(Rear):Press this button to turn the rear window
defogger on or off. An indicator light in the button
will come on to let you know that the rear window
defogger is activated.
The rear window defogger will turn off about 10 minutes
after the button is pressed. If you need additional
warming time, press the button again.
If your vehicle is equipped with heated mirrors this
button will activate them.
Notice:Don't use a razor blade or something else
sharp on the inside of the rear window. If you
do, you could cut or damage the defogger and the
repairs would not be covered by your warranty.
Do not attach a temporary vehicle license, tape, a
decal or anything similar to the defogger grid.
3-25
Page 188 of 492

Rear Window Defogger
If your vehicle has a rear defogger, the lines you see on
the rear window warm the glass. The rear window
defogger uses a warming grid to remove fog from the
rear window.
<(Rear):Press this button to turn the rear window
defogger on or off. An indicator light in the button
will come on to let you know that the rear window
defogger is activated.
The rear window defogger will automatically turn off
several minutes after the button is pressed. Pressing the
button while the defogger is running can also turn off
the defogger.
If your vehicle is equipped with heated mirrors this
button will activate them.
Notice:Don't use anything sharp on the inside of
the rear window. If you do, you could cut or damage
the warming grid, and the repairs wouldn't be
covered by your warranty. Do not attach a temporary
vehicle license, tape, a decal or anything similar
to the defogger grid.
Outlet Adjustment
Use the air outlets located in the center and on the side
of your instrument panel to direct the air¯ow.
Your vehicle has air outlets that allow you to adjust the
direction and amount of air¯ow inside the vehicle.
Move the louvers up or down. Use the thumbwheel next
to or underneath the outlet to close the louvers. For
the most efficient air¯ow and temperature control, keep
the outlet in the fully opened position.
3-28
Page 194 of 492
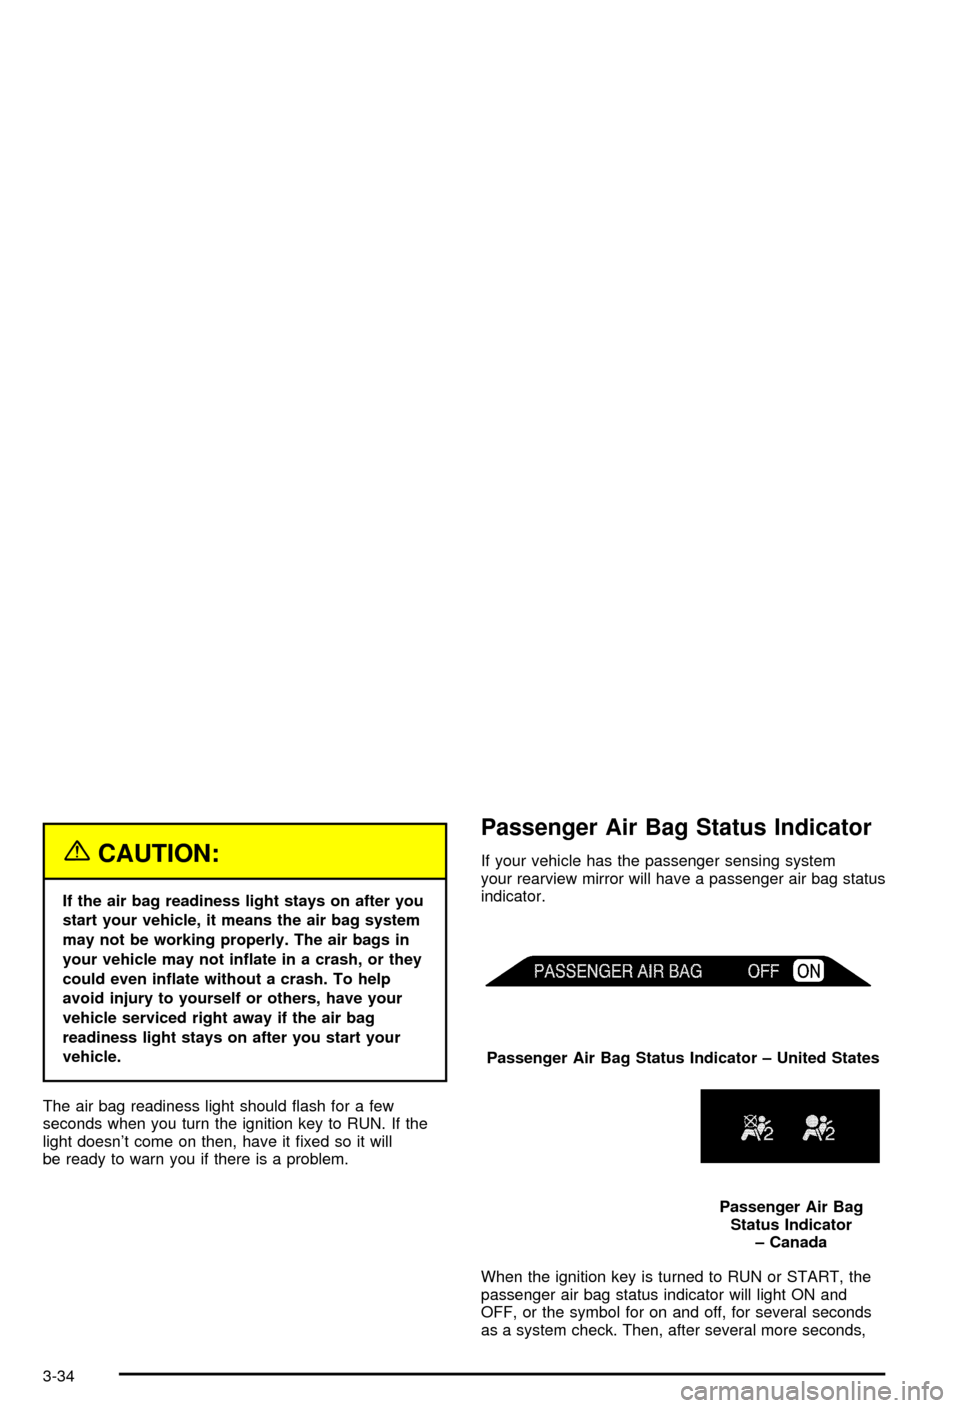
{CAUTION:
If the air bag readiness light stays on after you
start your vehicle, it means the air bag system
may not be working properly. The air bags in
your vehicle may not in¯ate in a crash, or they
could even in¯ate without a crash. To help
avoid injury to yourself or others, have your
vehicle serviced right away if the air bag
readiness light stays on after you start your
vehicle.
The air bag readiness light should ¯ash for a few
seconds when you turn the ignition key to RUN. If the
light doesn't come on then, have it ®xed so it will
be ready to warn you if there is a problem.
Passenger Air Bag Status Indicator
If your vehicle has the passenger sensing system
your rearview mirror will have a passenger air bag status
indicator.
When the ignition key is turned to RUN or START, the
passenger air bag status indicator will light ON and
OFF, or the symbol for on and off, for several seconds
as a system check. Then, after several more seconds,Passenger Air Bag Status Indicator ± United States
Passenger Air Bag
Status Indicator
± Canada
3-34
Page 215 of 492

Headlamps on at Exit
Press the personalization button until HEADLAMPS ON
AT EXIT appears in the display. To select your
personalization for how long the headlamps will stay on
when you turn off the vehicle, press the select button
while HEADLAMPS ON AT EXIT is displayed on
the DIC. Pressing the select button will scroll through
the following choices:
·HEADLAMP DELAY: 10 SEC (default)
·HEADLAMP DELAY: 20 SEC
·HEADLAMP DELAY: 40 SEC
·HEADLAMP DELAY: 60 SEC
·HEADLAMP DELAY: 120 SEC
·HEADLAMP DELAY: 180 SEC
·HEADLAMP DELAY OFF
The amount of time you choose will be the amount of
time that the headlamps stay on after you turn off
the vehicle. If you choose off, the headlamps will turn
off as soon as you turn off the vehicle.
Choose one of the seven options and press the
personalization button while it is displayed on the DIC to
select it and move on to the next feature.
Curb View Assist
Press the personalization button until CURB VIEW
ASSIST appears in the display. To select your
personalization for curb view assist, press the select
button while CURB VIEW ASSIST is displayed on
the DIC. Pressing the select button will scroll through
the following choices:
CURB VIEW: OFF (default):Neither outside mirror will
be tilted down when the vehicle is shifted into
REVERSE (R).
CURB VIEW: PASSENGER:The passenger's outside
mirror will be tilted down when the vehicle is shifted
into REVERSE (R).
CURB VIEW: DRIVER:The driver's outside mirror will
be tilted down when the vehicle is shifted into
REVERSE (R).
CURB VIEW: BOTH:The driver's and passenger's
outside mirror will be tilted down when the vehicle
is shifted into REVERSE (R).
Choose one of the four options and press the
personalization button while it is displayed on the DIC to
select it and move on to the next feature. For more
information on tilt mirror in reverse see
Outside
Automatic Dimming Mirror with Curb View Assist on
page 2-53
.
3-55
Page 280 of 492

·Do not get too close to the vehicle you want to
pass while you're awaiting an opportunity. For
one thing, following too closely reduces your area
of vision, especially if you're following a larger
vehicle. Also, you won't have adequate space if the
vehicle ahead suddenly slows or stops. Keep
back a reasonable distance.
·When it looks like a chance to pass is coming up,
start to accelerate but stay in the right lane and
don't get too close. Time your move so you will be
increasing speed as the time comes to move
into the other lane. If the way is clear to pass, you
will have a ªrunning startº that more than makes
up for the distance you would lose by dropping
back. And if something happens to cause you to
cancel your pass, you need only slow down
and drop back again and wait for another
opportunity.
·If other vehicles are lined up to pass a slow vehicle,
wait your turn. But take care that someone isn't
trying to pass you as you pull out to pass the slow
vehicle. Remember to glance over your shoulder
and check the blind spot.
·Check your mirrors, glance over your shoulder and
start your left lane change signal before moving out
of the right lane to pass. When you are far
enough ahead of the passed vehicle to see its front
in your inside mirror, activate your right lane
change signal and move back into the right lane.
(Remember that if your right outside mirror is
convex, the vehicle you just passed may seem to
be farther away from you than it really is.)
·Try not to pass more than one vehicle at a time on
two-lane roads. Reconsider before passing the
next vehicle.
·Don't overtake a slowly moving vehicle too rapidly.
Even though the brake lamps are not ¯ashing, it
may be slowing down or starting to turn.
·If you're being passed, make it easy for the
following driver to get ahead of you. Perhaps you
can ease a little to the right.
4-17