radiator cap CHEVROLET AVALANCHE 2003 1.G Owners Manual
[x] Cancel search | Manufacturer: CHEVROLET, Model Year: 2003, Model line: AVALANCHE, Model: CHEVROLET AVALANCHE 2003 1.GPages: 492, PDF Size: 3.53 MB
Page 359 of 492
Checking Coolant
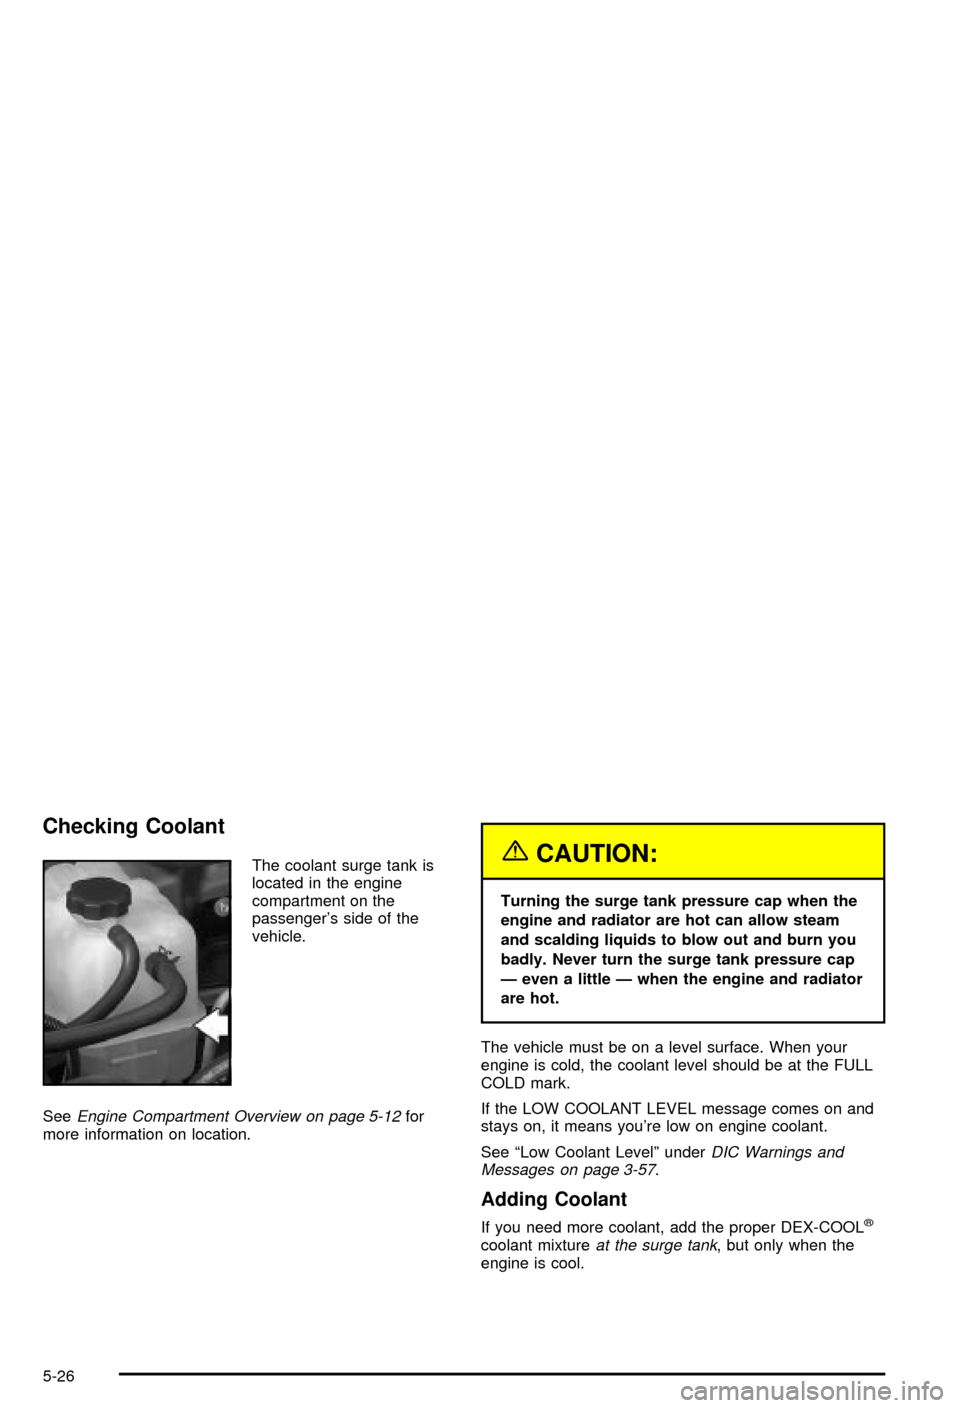
The coolant surge tank is
located in the engine
compartment on the
passenger's side of the
vehicle.
See
Engine Compartment Overview on page 5-12for
more information on location.
{CAUTION:
Turning the surge tank pressure cap when the
engine and radiator are hot can allow steam
and scalding liquids to blow out and burn you
badly. Never turn the surge tank pressure cap
Ð even a little Ð when the engine and radiator
are hot.
The vehicle must be on a level surface. When your
engine is cold, the coolant level should be at the FULL
COLD mark.
If the LOW COOLANT LEVEL message comes on and
stays on, it means you're low on engine coolant.
See ªLow Coolant Levelº under
DIC Warnings and
Messages on page 3-57.
Adding Coolant
If you need more coolant, add the proper DEX-COOLž
coolant mixtureat the surge tank, but only when the
engine is cool.
5-26
Page 364 of 492
When the engine is cold,
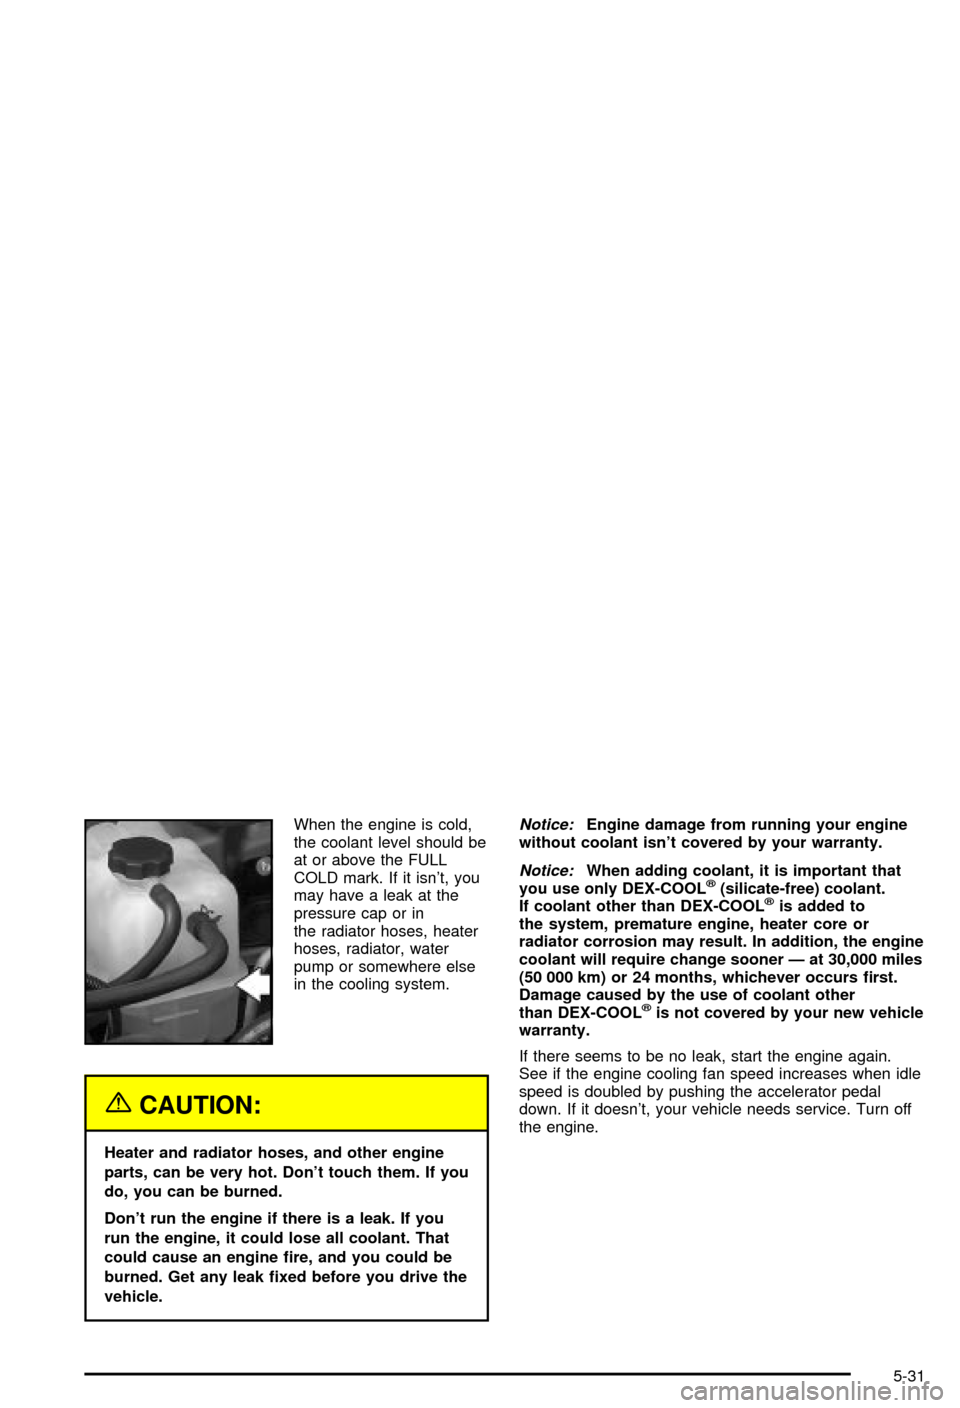
the coolant level should be
at or above the FULL
COLD mark. If it isn't, you
may have a leak at the
pressure cap or in
the radiator hoses, heater
hoses, radiator, water
pump or somewhere else
in the cooling system.
{CAUTION:
Heater and radiator hoses, and other engine
parts, can be very hot. Don't touch them. If you
do, you can be burned.
Don't run the engine if there is a leak. If you
run the engine, it could lose all coolant. That
could cause an engine ®re, and you could be
burned. Get any leak ®xed before you drive the
vehicle.
Notice:Engine damage from running your engine
without coolant isn't covered by your warranty.
Notice:When adding coolant, it is important that
you use only DEX-COOLž(silicate-free) coolant.
If coolant other than DEX-COOLžis added to
the system, premature engine, heater core or
radiator corrosion may result. In addition, the engine
coolant will require change sooner Ð at 30,000 miles
(50 000 km) or 24 months, whichever occurs ®rst.
Damage caused by the use of coolant other
than DEX-COOL
žis not covered by your new vehicle
warranty.
If there seems to be no leak, start the engine again.
See if the engine cooling fan speed increases when idle
speed is doubled by pushing the accelerator pedal
down. If it doesn't, your vehicle needs service. Turn off
the engine.
5-31
Page 365 of 492
How to Add Coolant to the Coolant
Surge Tank
If you haven't found a problem yet, check to see if
coolant is visible in the surge tank. If coolant is visible
but the coolant level isn't at the FULL COLD mark, add a
50/50 mixture of
clean, drinkable waterand DEX-COOLž
coolant at the coolant surge tank, but be sure the
cooling system, including the coolant surge tank
pressure cap, is cool before you do it. See
Engine
Coolant on page 5-24for more information.
If no coolant is visible in the surge tank, add coolant as
follows:
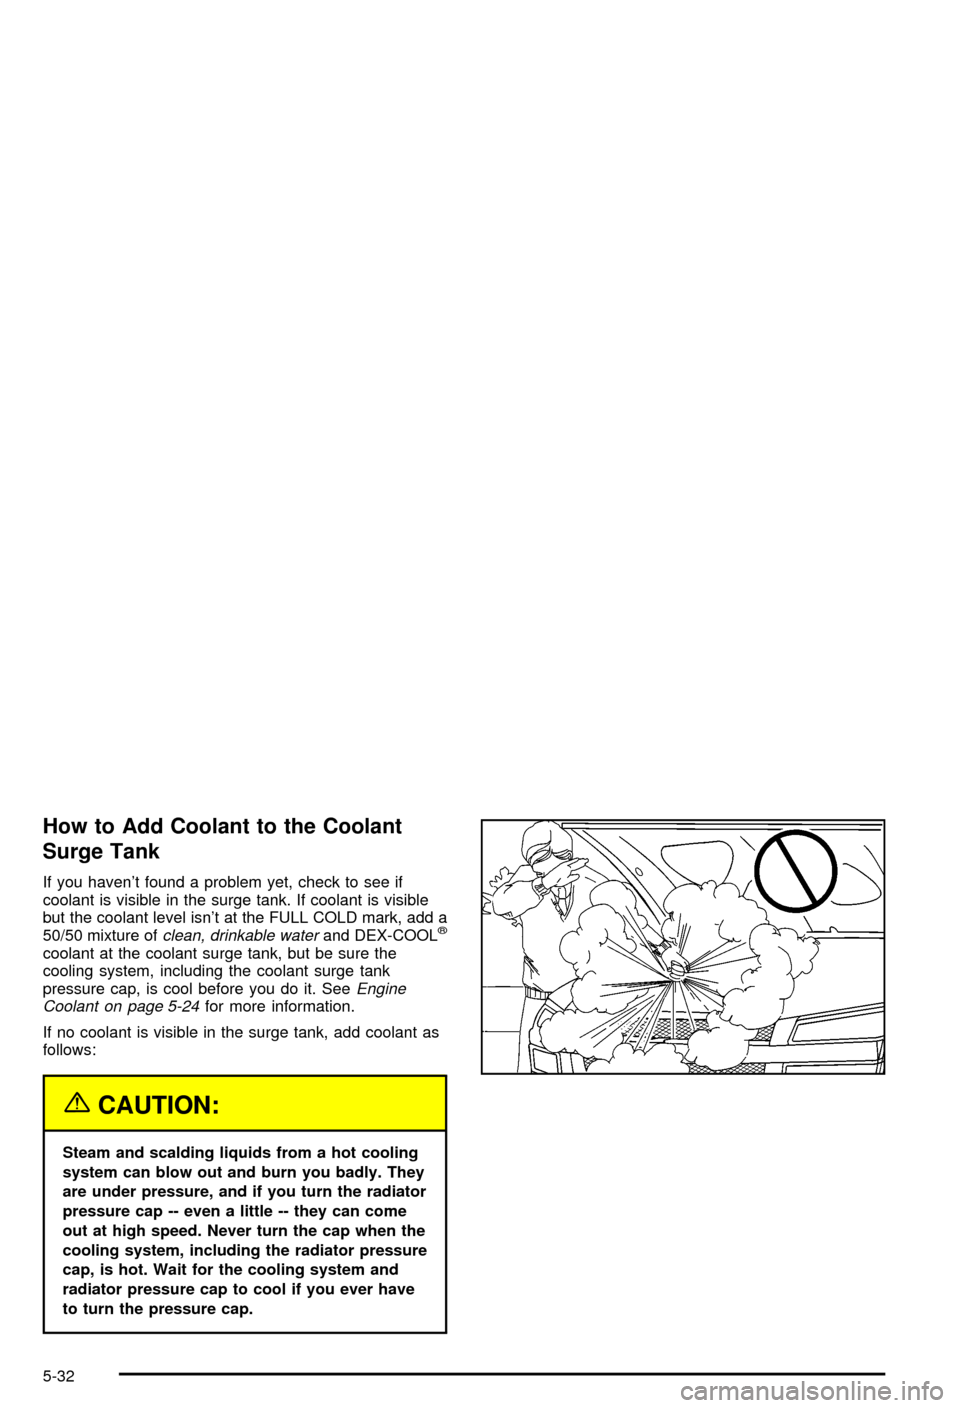
{CAUTION:
Steam and scalding liquids from a hot cooling
system can blow out and burn you badly. They
are under pressure, and if you turn the radiator
pressure cap -- even a little -- they can come
out at high speed. Never turn the cap when the
cooling system, including the radiator pressure
cap, is hot. Wait for the cooling system and
radiator pressure cap to cool if you ever have
to turn the pressure cap.
5-32
Page 367 of 492
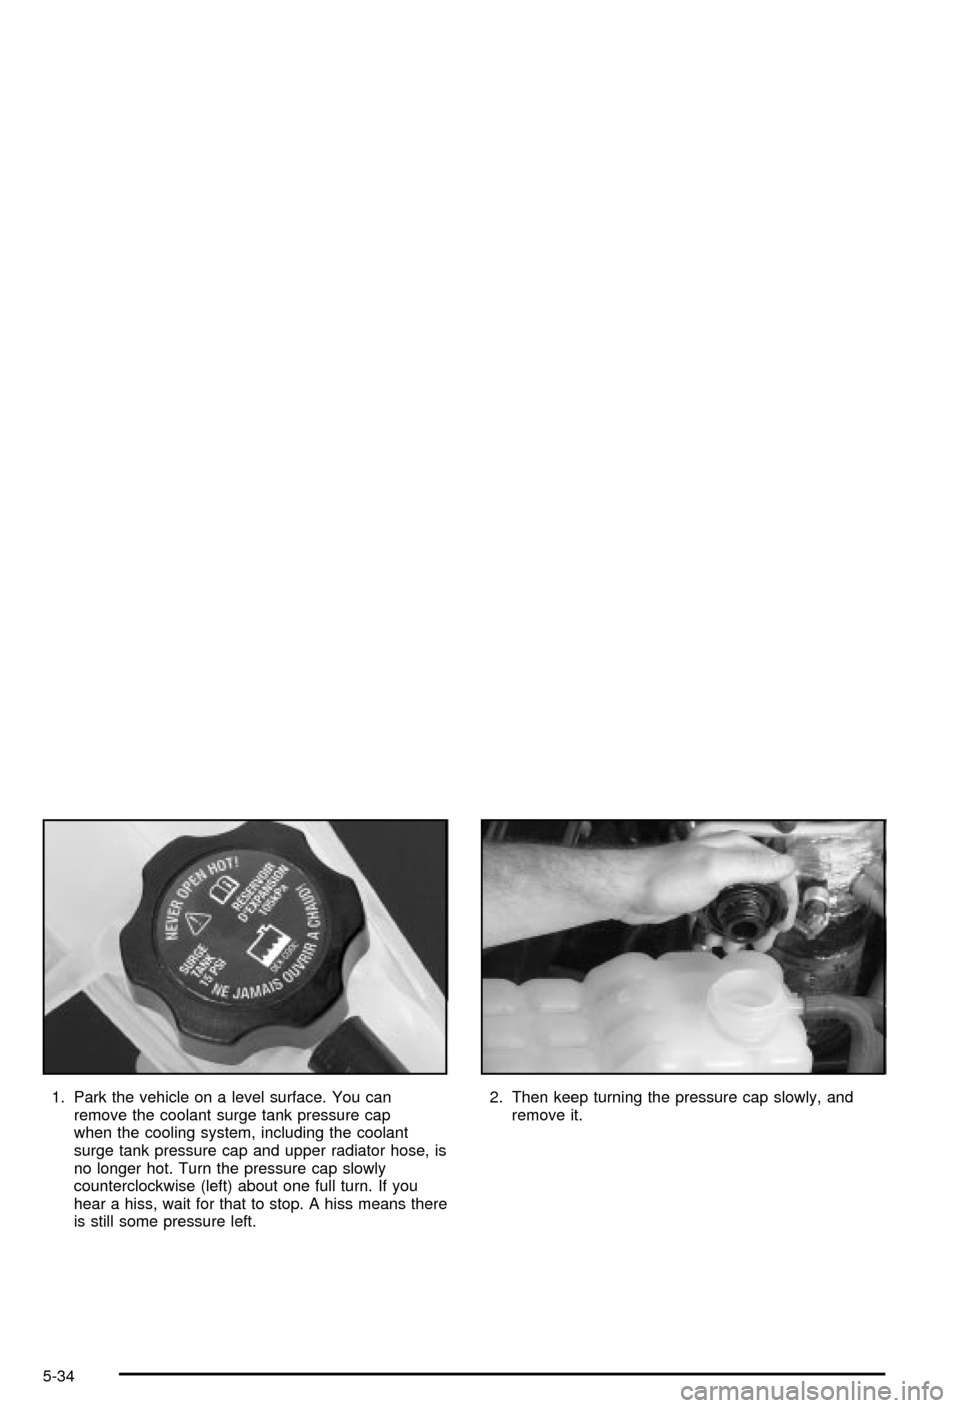
1. Park the vehicle on a level surface. You can
remove the coolant surge tank pressure cap
when the cooling system, including the coolant
surge tank pressure cap and upper radiator hose, is
no longer hot. Turn the pressure cap slowly
counterclockwise (left) about one full turn. If you
hear a hiss, wait for that to stop. A hiss means there
is still some pressure left.2. Then keep turning the pressure cap slowly, and
remove it.
5-34
Page 368 of 492
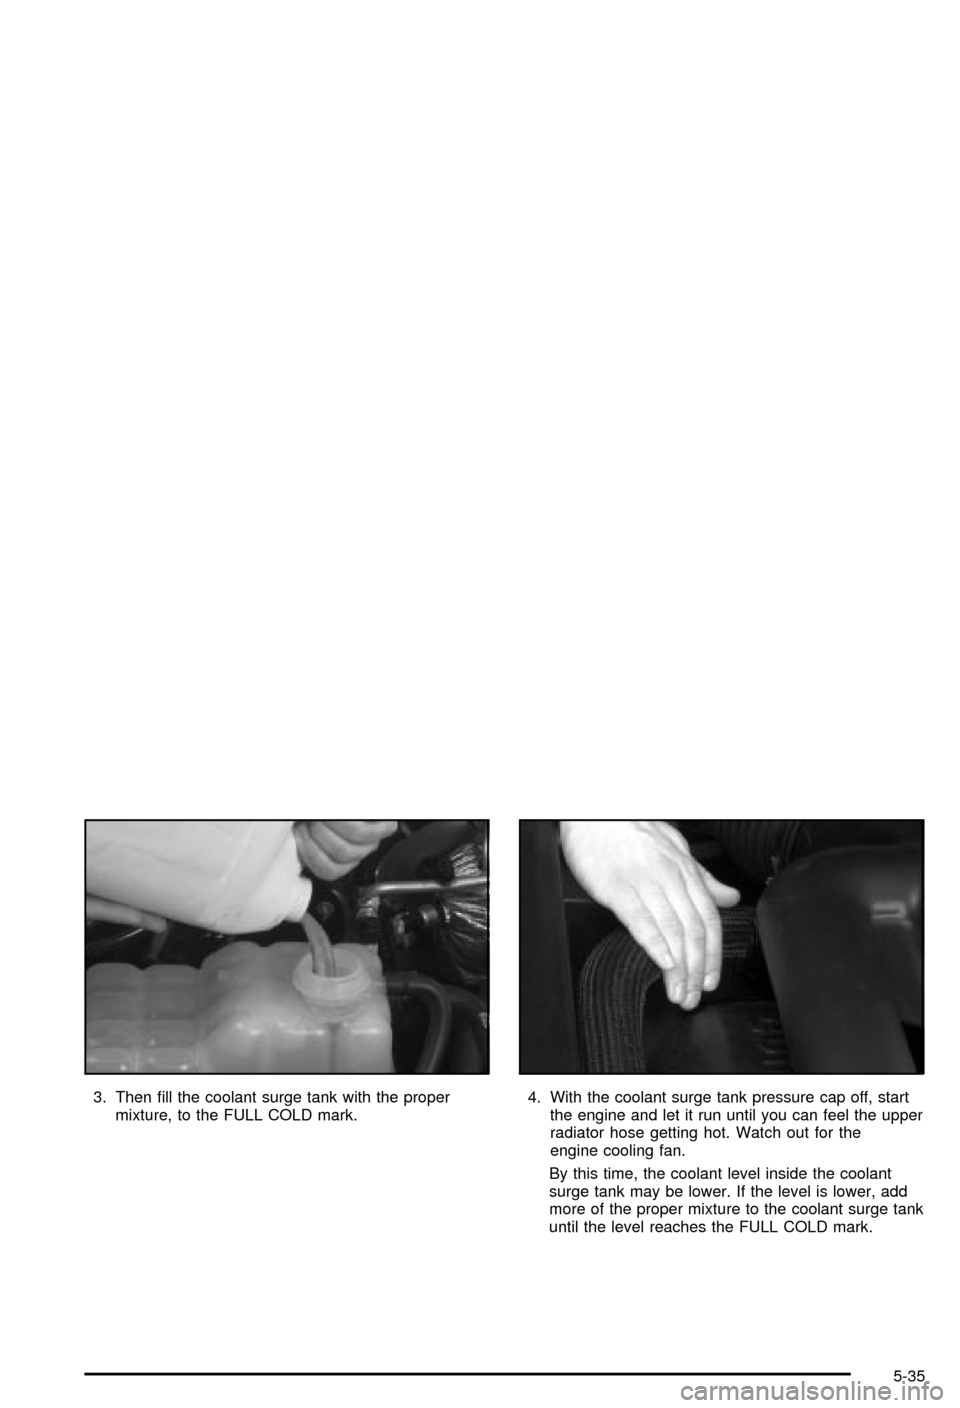
3. Then ®ll the coolant surge tank with the proper
mixture, to the FULL COLD mark.4. With the coolant surge tank pressure cap off, start
the engine and let it run until you can feel the upper
radiator hose getting hot. Watch out for the
engine cooling fan.
By this time, the coolant level inside the coolant
surge tank may be lower. If the level is lower, add
more of the proper mixture to the coolant surge tank
until the level reaches the FULL COLD mark.
5-35
Page 451 of 492

qChange transfer case ¯uid.
qExcept 8.1L V8 Engine: Inspect Positive Crankcase
Ventilation (PCV) valve.
An Emission Control
Service.
150,000 Miles (240 000 km)
·Drain, ¯ush and re®ll cooling system (or every
60 months since last service, whichever occurs
®rst). See
Engine Coolant on page 5-24for what to
use. Inspect hoses. Clean radiator, condenser,
pressure cap and neck. Pressure test the cooling
system and pressure cap.
An Emission Control
Service.
·Inspect engine accessory drive belt.An Emission
Control Service.
Part B: Owner Checks and Services
Listed in this part are owner checks and services
which should be performed at the intervals speci®ed to
help ensure the safety, dependability and emission
control performance of your vehicle.
Be sure any necessary repairs are completed at once.
Whenever any ¯uids or lubricants are added to your
vehicle, make sure they are the proper ones, as shown
in Part D.
At Each Fuel Fill
It is important for you or a service station attendant to
perform these underhood checks at each fuel ®ll.
Engine Oil Level Check
Check the engine oil level and add the proper oil if
necessary. SeeEngine Oil on page 5-15for further
details.
Engine Coolant Level Check
Check the engine coolant level and add DEX-COOLž
coolant mixture if necessary. SeeEngine Coolant
on page 5-24for further details.
6-10
Page 457 of 492

Engine Cooling System Inspection
Inspect the hoses and have them replaced if they
are cracked, swollen or deteriorated. Inspect all pipes,
®ttings and clamps; replace as needed. Clean the
outside of the radiator and air conditioning condenser.
To help ensure proper operation, a pressure test of
the cooling system and pressure cap is recommended
at least once a year.
Transfer Case and Front Axle
(Four-Wheel Drive) Inspection
Every 12 months or at engine oil change intervals,
check front axle and transfer case and add lubricant
when necessary. A ¯uid loss could indicate a problem;
check and have it repaired, if needed. On manual
shift transfer case, oil the control lever pivot point. Check
vent hose at transfer case for kinks and proper
installation. More frequent lubrication may be required
on off-road use.
Brake System Inspection
Inspect the complete system. Inspect brake lines and
hoses for proper hook-up, binding, leaks, cracks,
cha®ng, etc. Inspect disc brake pads for wear and rotors
for surface condition. Inspect other brake parts,
including calipers, parking brake, etc. You may need to
have your brakes inspected more often if your driving
habits or conditions result in frequent braking.
6-16