sensor CHEVROLET AVALANCHE 2011 2.G User Guide
[x] Cancel search | Manufacturer: CHEVROLET, Model Year: 2011, Model line: AVALANCHE, Model: CHEVROLET AVALANCHE 2011 2.GPages: 528, PDF Size: 7.65 MB
Page 212 of 528
Black plate (4,1)Chevrolet Avalanche Owner Manual - 2011
6-4 Lighting
Automatic Headlamp
System
When it is dark enough outside and
the headlamp switch is in AUTO,
the automatic headlamp system
turns on the headlamps along with
other lamps such as the taillamps,
sidemarker, parking lamps, roof
marker lamps, and the instrument
panel lights. The radio lights will
also be dim.
To turn off the automatic headlamp
system, turn the exterior lamps
switch to the off position and then
release. For vehicles first sold in
Canada, the transmission must be
in the P (Park) position, before the
automatic headlamp system can be
turned off.The vehicle has a light sensor
located on the top of the instrument
panel. Do not cover this sensor or
the system will come on whenever
the ignition is on.
The system may also turn on the
headlamps when driving through a
parking garage, a tunnel, or while
driving in heavy overcast weather.
This is normal.
There is a delay in the transition
between the daytime and nighttime
operation of the Daytime Running
Lamps (DRL) and the automatic
headlamp systems so that driving
under bridges or bright overhead
street lights does not affect the
system. The DRL and automatic
headlamp system is only affected
when the light sensor sees a
change in lighting lasting longer
than the delay.If the vehicle is started in a dark
garage, the automatic headlamp
system comes on immediately.
Once the vehicle leaves the garage,
it takes approximately one minute
for the automatic headlamp system
to change to DRL if it is light
outside. During that delay, the
instrument panel cluster may not be
as bright as usual. Make sure the
instrument panel brightness control
is in the full bright position. See
Instrument Panel Illumination
Control on page 6‑6.
Page 274 of 528
Black plate (6,1)Chevrolet Avalanche Owner Manual - 2011
8-6 Climate Controls
Automatic Operation
AUTO (Automatic):When
automatic operation is active the
system will control the inside
temperature, the air delivery, and
the fan speed.
Use the steps below to place the
entire system in automatic mode:
1. Press the AUTO button.
When AUTO is selected, the
display will change to show the
current temperature(s) and
AUTO will be lit on the display.
The current delivery mode and
fan speed will also be displayed
for approximately 5 seconds.
When AUTO is selected, the air
conditioning operation and air
inlet will be automatically
controlled. The air conditioning
compressor will run when the
outside temperature is over
about 4°C (40°F). The air inlet
will normally be set to outside air. If it is hot outside, the air
inlet may automatically switch to
recirculate inside air to help
quickly cool down the vehicle.
The light on the button comes
on in recirculation.
2. Set the driver and passenger temperature.
To find your comfort setting, start
with a 23°C (74°F) temperature
setting and allow about
20 minutes for the system to
regulate. Use the driver or
passenger temperature buttons
to adjust the temperature setting
as necessary. If a temperature
setting of 15°C (60°F) is chosen,
the system remains at the
maximum cooling setting. If a
temperature setting of 32°C
(90°F) is chosen, the system
remains at the maximum heat
setting. Choosing either
maximum setting will not
cause the vehicle to heat or
cool any faster. Do not cover the solar sensor
located on the top of the instrument
panel near the windshield. This
sensor regulates air temperature
based on sun load and also turns
on the headlamps. For more
information on the solar sensor, see
“Sensors”
later in this section.
To avoid blowing cold air in cold
weather, the system will delay
turning on the fan until warm air is
available. The length of delay
depends on the engine coolant
temperature. Pressing the fan
switch will override this delay and
change the fan to a selected speed.
Manual Operation
D C(Fan Control): Press these
buttons to increase or decrease the
fan speed.
Pressing either fan button while in
automatic control places the fan
under manual control. The fan
setting remains displayed and the
AUTO light turns off. The air
delivery mode remains under
automatic control.
Page 277 of 528
Black plate (9,1)Chevrolet Avalanche Owner Manual - 2011
Climate Controls 8-9
Rear Window Defogger
The rear window defogger uses a
warming grid to remove fog from the
rear window.
<(Rear Window Defogger):
Press to turn the rear window
defogger on or off. It automatically
turns off several minutes after it has
been activated. The defogger can
also be turned off by turning off the
engine. Do not drive the vehicle until
all the windows are clear.
Notice: Do not use a razor blade
or sharp object to clear the inside
rear window. Do not adhere
anything to the defogger grid
lines in the rear glass. These
actions may damage the rear
defogger. Repairs would not be
covered by your warranty.
Heated Mirrors: For vehicles with
heated outside rearview mirrors, the
mirrors heat to help clear fog or frost
from the surface of the mirror when
the rear window defog button is
pressed. See Power Mirrors on
page 2‑20.
Sensors
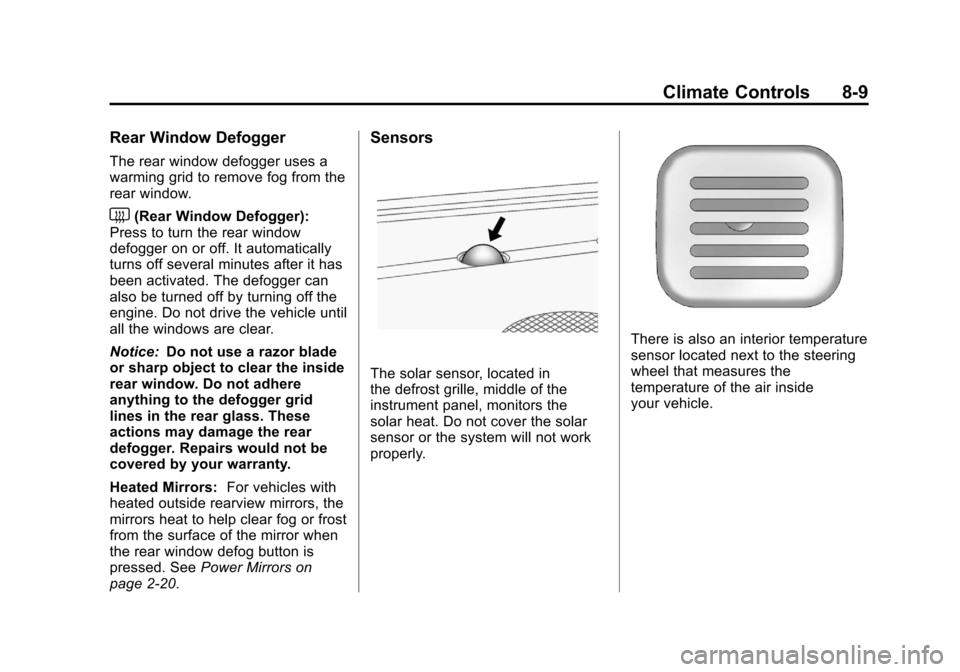
The solar sensor, located in
the defrost grille, middle of the
instrument panel, monitors the
solar heat. Do not cover the solar
sensor or the system will not work
properly.
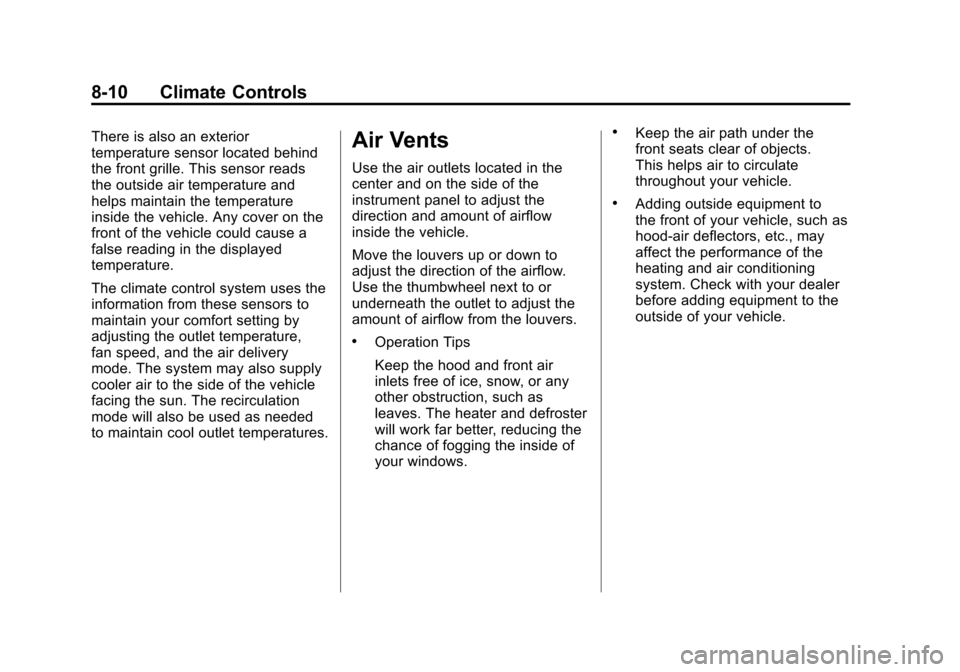
There is also an interior temperature
sensor located next to the steering
wheel that measures the
temperature of the air inside
your vehicle.
Page 278 of 528
Black plate (10,1)Chevrolet Avalanche Owner Manual - 2011
8-10 Climate Controls
There is also an exterior
temperature sensor located behind
the front grille. This sensor reads
the outside air temperature and
helps maintain the temperature
inside the vehicle. Any cover on the
front of the vehicle could cause a
false reading in the displayed
temperature.
The climate control system uses the
information from these sensors to
maintain your comfort setting by
adjusting the outlet temperature,
fan speed, and the air delivery
mode. The system may also supply
cooler air to the side of the vehicle
facing the sun. The recirculation
mode will also be used as needed
to maintain cool outlet temperatures.Air Vents
Use the air outlets located in the
center and on the side of the
instrument panel to adjust the
direction and amount of airflow
inside the vehicle.
Move the louvers up or down to
adjust the direction of the airflow.
Use the thumbwheel next to or
underneath the outlet to adjust the
amount of airflow from the louvers.
.Operation Tips
Keep the hood and front air
inlets free of ice, snow, or any
other obstruction, such as
leaves. The heater and defroster
will work far better, reducing the
chance of fogging the inside of
your windows.
.Keep the air path under the
front seats clear of objects.
This helps air to circulate
throughout your vehicle.
.Adding outside equipment to
the front of your vehicle, such as
hood-air deflectors, etc., may
affect the performance of the
heating and air conditioning
system. Check with your dealer
before adding equipment to the
outside of your vehicle.
Page 338 of 528
Black plate (60,1)Chevrolet Avalanche Owner Manual - 2011
9-60 Driving and Operating
Ending Cruise Control
There are three ways to end cruise
control:
.To disengage cruise control,
step lightly on the brake pedal.
.Press the[on the steering
wheel.
.To turn off the cruise control,
press
Ion the steering wheel.
Erasing Speed Memory
The cruise control set speed is
erased from memory by pressing
the
Ibutton or if the ignition is
turned off.
Object Detection
Systems
Ultrasonic Parking Assist
For vehicles with the Ultrasonic
Rear Parking Assist (URPA) system,
it operates at speeds less than
8 km/h (5 mph), and assists the
driver with parking and avoiding
objects while in R (Reverse). The
sensors on the rear bumper are
used to detect the distance to an
object up to 2.5 m (8 ft) behind the
vehicle, and at least 25.4 cm (10 in)
off the ground.
{WARNING
The Ultrasonic Rear Parking
Assist (URPA) system does not
replace driver vision. It cannot
detect:
.Objects that are below the
bumper, underneath the
vehicle, or too close or far
from the vehicle
.Children, pedestrians,
bicyclists, or pets.
If you do not use proper care
before and while backing, vehicle
damage, injury, or death could
occur. Even with URPA, always
check behind the vehicle before
backing up. While backing, be
sure to look for objects and check
the vehicle's mirrors.
Page 340 of 528
Black plate (62,1)Chevrolet Avalanche Owner Manual - 2011
9-62 Driving and Operating
PARK ASST BLOCKED SEE
OWNERS MANUAL:This
message can occur under the
following conditions:
.The ultrasonic sensors are not
clean. Keep the vehicle's rear
bumper free of mud, dirt, snow,
ice, and slush. For cleaning
instructions, see “Washing the
Vehicle” underExterior Care on
page 10‑98.
.The park assist sensors are
covered by frost or ice. Frost or
ice can form around and behind
the sensors and may not always
be seen; this can occur after
washing the vehicle in cold
weather. The message may not
clear until the frost or ice has
melted.
.A trailer was attached to the
vehicle, or a bicycle or an object
was hanging out of the tailgate
during the last drive cycle. Once
the attached object is removed
and the tailgate is raised, URPA
will return to normal operation.
.A tow bar is attached to the
vehicle.
.The vehicle's bumper is
damaged. Take the vehicle to
your dealer to repair the system.
.Other conditions are affecting
system performance. Examples
of this are vibrations from a
jackhammer or the compression
of air brakes on a very large
truck.
Rear Vision
Camera (RVC)
This vehicle may have a Rear
Vision Camera system. Read this
entire section before using it.
{WARNING
The Rear Vision Camera (RVC)
system does not replace driver
vision. RVC does not:
.Detect objects that are
outside the camera's field of
view, below the bumper,
or underneath the vehicle.
.Detect children, pedestrians,
bicyclists, or pets.
Do not back the vehicle by only
looking at the RVC screen, or use
the screen during longer, higher
speed backing maneuvers or
where there could be cross-traffic. (Continued)
Page 415 of 528
Black plate (43,1)Chevrolet Avalanche Owner Manual - 2011
Vehicle Care 10-43
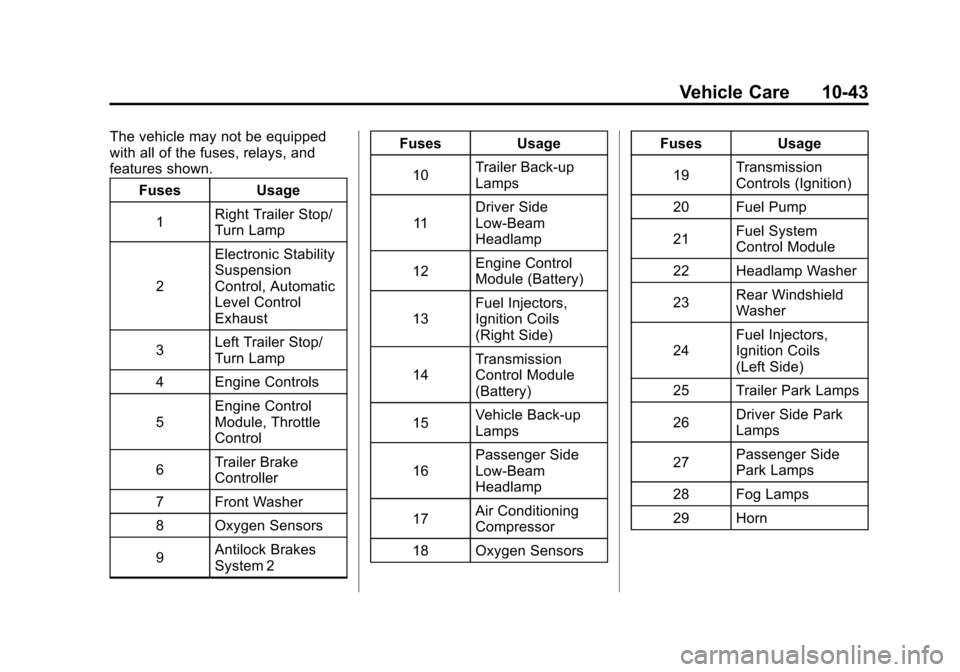
The vehicle may not be equipped
with all of the fuses, relays, and
features shown.Fuses Usage
1 Right Trailer Stop/
Turn Lamp
2 Electronic Stability
Suspension
Control, Automatic
Level Control
Exhaust
3 Left Trailer Stop/
Turn Lamp
4 Engine Controls
5 Engine Control
Module, Throttle
Control
6 Trailer Brake
Controller
7 Front Washer
8 Oxygen Sensors
9 Antilock Brakes
System 2 Fuses Usage
10 Trailer Back-up
Lamps
11 Driver Side
Low-Beam
Headlamp
12 Engine Control
Module (Battery)
13 Fuel Injectors,
Ignition Coils
(Right Side)
14 Transmission
Control Module
(Battery)
15 Vehicle Back-up
Lamps
16 Passenger Side
Low-Beam
Headlamp
17 Air Conditioning
Compressor
18 Oxygen Sensors Fuses Usage
19 Transmission
Controls (Ignition)
20 Fuel Pump
21 Fuel System
Control Module
22 Headlamp Washer
23 Rear Windshield
Washer
24 Fuel Injectors,
Ignition Coils
(Left Side)
25 Trailer Park Lamps
26 Driver Side Park
Lamps
27 Passenger Side
Park Lamps
28 Fog Lamps
29 Horn
Page 431 of 528
Black plate (59,1)Chevrolet Avalanche Owner Manual - 2011
Vehicle Care 10-59
How to Check
Use a good quality pocket-type
gauge to check tire pressure.
You cannot tell if your tires are
properly inflated simply by
looking at them. Radial tires may
look properly inflated even when
they are under-inflated. Check
the tire's inflation pressure when
the tires are cold. Cold means
your vehicle has been sitting for
at least three hours or driven no
more than 1.6 km (1 mile).
Remove the valve cap from the
tire valve stem. Press the tire
gauge firmly onto the valve to
get a pressure measurement.
If the cold tire inflation pressure
matches the recommended
pressure on the Tire and
Loading Information label, no
further adjustment is necessary.
If the pressure is low, add
air until you reach the
recommended amount.If you overfill the tire, release
air by pushing on the metal stem
in the center of the tire valve.
Recheck the tire pressure with
the tire gauge.
Be sure to put the valve caps
back on the valve stems. They
help prevent leaks by keeping
out dirt and moisture.
Tire Pressure Monitor
System
The Tire Pressure Monitor System
(TPMS) uses radio and sensor
technology to check tire pressure
levels. The TPMS sensors monitor
the air pressure in your tires and
transmit tire pressure readings to a
receiver located in the vehicle.
Each tire, including the spare
(if provided), should be checked
monthly when cold and inflated to
the inflation pressure recommended
by the vehicle manufacturer on the vehicle placard or tire inflation
pressure label. (If your vehicle has
tires of a different size than the size
indicated on the vehicle placard or
tire inflation pressure label, you
should determine the proper tire
inflation pressure for those tires.)
As an added safety feature, your
vehicle has been equipped with a
tire pressure monitoring system
(TPMS) that illuminates a low tire
pressure telltale when one or
more of your tires is significantly
under‐inflated.
Accordingly, when the low tire
pressure telltale illuminates, you
should stop and check your tires as
soon as possible, and inflate them
to the proper pressure. Driving on a
significantly under‐inflated tire
causes the tire to overheat and can
lead to tire failure. Under‐inflation
also reduces fuel efficiency and tire
tread life, and may affect the
vehicle's handling and
stopping ability.
Page 433 of 528
Black plate (61,1)Chevrolet Avalanche Owner Manual - 2011
Vehicle Care 10-61
Tire Pressure Monitor
Operation
This vehicle may have a Tire
Pressure Monitor System (TPMS).
The TPMS is designed to warn the
driver when a low tire pressure
condition exists. TPMS sensors are
mounted onto each tire and wheel
assembly, excluding the spare tire
and wheel assembly. The TPMS
sensors monitor the air pressure in
the vehicle's tires and transmit the
tire pressure readings to a receiver
located in the vehicle.
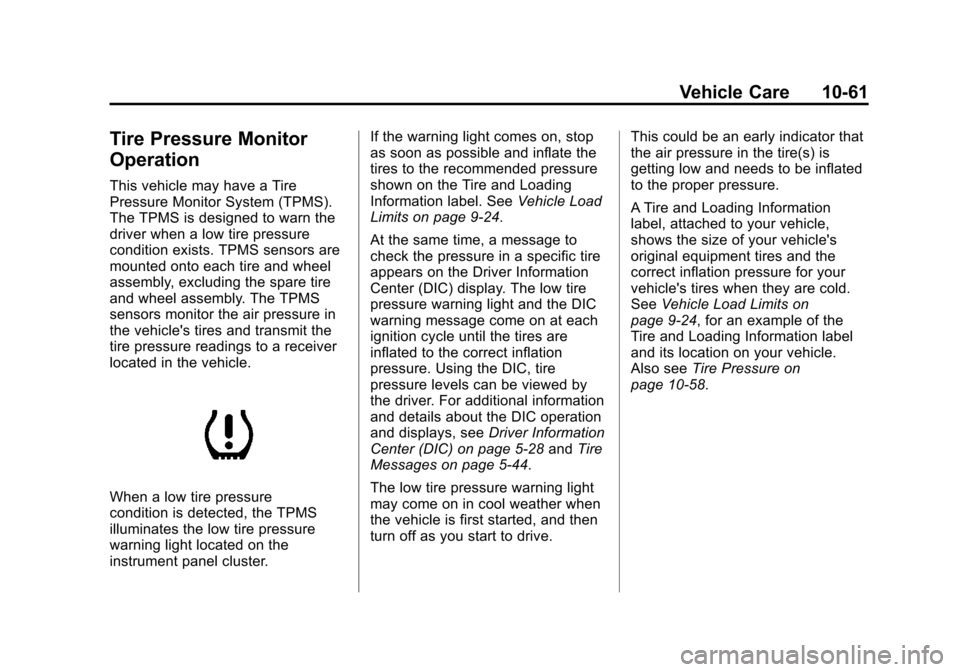
When a low tire pressure
condition is detected, the TPMS
illuminates the low tire pressure
warning light located on the
instrument panel cluster.If the warning light comes on, stop
as soon as possible and inflate the
tires to the recommended pressure
shown on the Tire and Loading
Information label. See
Vehicle Load
Limits on page 9‑24.
At the same time, a message to
check the pressure in a specific tire
appears on the Driver Information
Center (DIC) display. The low tire
pressure warning light and the DIC
warning message come on at each
ignition cycle until the tires are
inflated to the correct inflation
pressure. Using the DIC, tire
pressure levels can be viewed by
the driver. For additional information
and details about the DIC operation
and displays, see Driver Information
Center (DIC) on page 5‑28 andTire
Messages on page 5‑44.
The low tire pressure warning light
may come on in cool weather when
the vehicle is first started, and then
turn off as you start to drive. This could be an early indicator that
the air pressure in the tire(s) is
getting low and needs to be inflated
to the proper pressure.
A Tire and Loading Information
label, attached to your vehicle,
shows the size of your vehicle's
original equipment tires and the
correct inflation pressure for your
vehicle's tires when they are cold.
See
Vehicle Load Limits on
page 9‑24, for an example of the
Tire and Loading Information label
and its location on your vehicle.
Also see Tire Pressure on
page 10‑58.
Page 434 of 528
Black plate (62,1)Chevrolet Avalanche Owner Manual - 2011
10-62 Vehicle Care
Your vehicle's TPMS can warn you
about a low tire pressure condition
but it does not replace normal tire
maintenance. SeeTire Inspection
on page 10‑64, Tire Rotation on
page 10‑64, and Tires on
page 10‑49.
Notice: Tire sealant materials are
not all the same. A non-approved
tire sealant could damage the Tire
Pressure Monitor System (TPMS)
sensors. TPMS sensor damage
caused by using an incorrect tire
sealant is not covered by the
vehicle warranty. Always use only
the GM approved tire sealant
available through your dealer or
included in the vehicle.TPMS Malfunction Light and
Message
The TPMS will not function properly
if one or more of the TPMS sensors
are missing or inoperable. When the
system detects a malfunction, the
low tire pressure warning light
flashes for about one minute and
then stays on for the remainder of
the ignition cycle. A DIC warning
message is also displayed. The low
tire pressure warning light and DIC
warning message come on at each
ignition cycle until the problem is
corrected. Some of the conditions
that can cause the malfunction light
and DIC message to come on are:
.One of the road tires has been
replaced with the spare tire.
The spare tire does not have a
TPMS sensor. The TPMS
malfunction light and DIC
message should go off once you
re‐install the road tire containing
the TPMS sensor.
.The TPMS sensor matching
process was started but not
completed or not completed
successfully after rotating the
vehicle's tires. The DIC message
and TPMS malfunction light
should go off once the TPMS
sensor matching process is
performed successfully. See
“TPMS Sensor Matching
Process” later in this section.
.One or more TPMS sensors are
missing or damaged. The DIC
message and the TPMS
malfunction light should go off
when the TPMS sensors are
installed and the sensor
matching process is performed
successfully. See your dealer
for service.
.Replacement tires or wheels do
not match your vehicle's original
equipment tires or wheels. Tires
and wheels other than those
recommended for your vehicle
could prevent the TPMS from
functioning properly. See Buying
New Tires on page 10‑66.