remove seats CHEVROLET AVEO 2002 Service Repair Manual
[x] Cancel search | Manufacturer: CHEVROLET, Model Year: 2002, Model line: AVEO, Model: CHEVROLET AVEO 2002Pages: 5127, PDF Size: 41.82 MB
Page 1562 of 5127
Rear Window and Outside Mirror
Defogger
Your vehicle may have a rear window and outside
mirror defogger. This feature will only work when the
ignition is turned to ON.
The rear window defogger uses a warming grid to
remove fog or frost from the rear window. Before using
this feature, clear as much snow from the rear
window as possible.
<(Rear):Press this button to turn the rear window
and outside mirror defogger on or off. An indicator
light in the button will come on to let your know that the
feature is activated.
Notice:Don’t use anything sharp on the inside of
the rear window. If you do, you could cut or damage
the warming grid, and the repairs wouldn’t be
covered by your warranty. Do not attach a temporary
vehicle license, tape, a decal or anything similar
to the defogger grid.
Outlet Adjustment
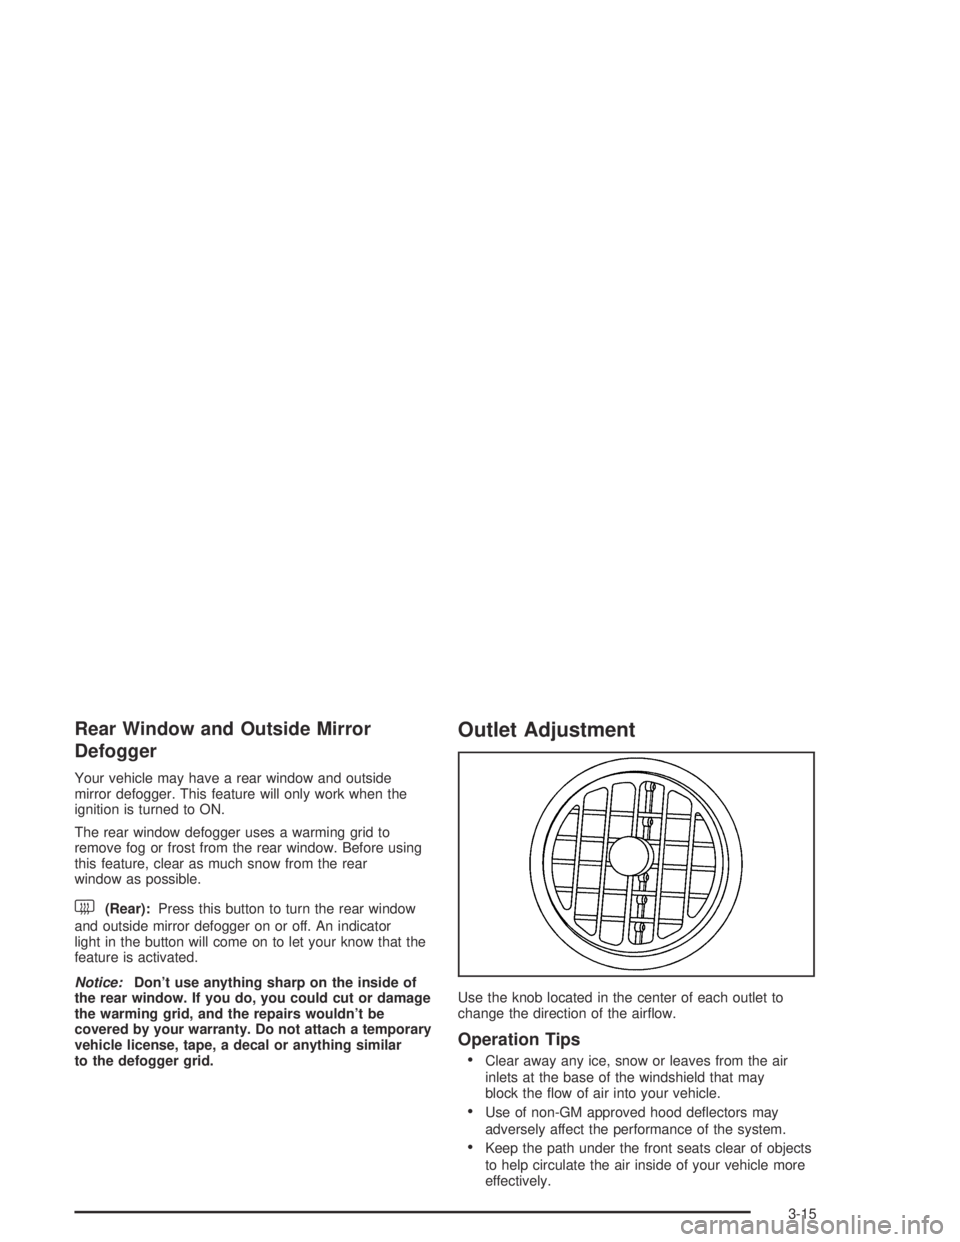
Use the knob located in the center of each outlet to
change the direction of the airflow.
Operation Tips
•
Clear away any ice, snow or leaves from the air
inlets at the base of the windshield that may
block the flow of air into your vehicle.
•Use of non-GM approved hood deflectors may
adversely affect the performance of the system.
•Keep the path under the front seats clear of objects
to help circulate the air inside of your vehicle more
effectively.
3-15
Page 1789 of 5127
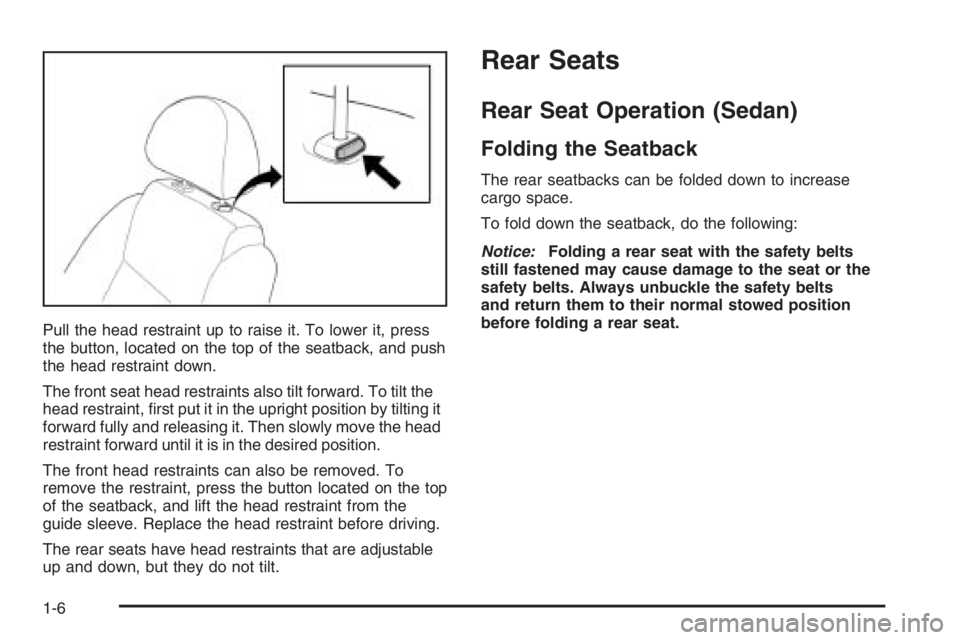
Pull the head restraint up to raise it. To lower it, press
the button, located on the top of the seatback, and push
the head restraint down.
The front seat head restraints also tilt forward. To tilt the
head restraint, first put it in the upright position by tilting it
forward fully and releasing it. Then slowly move the head
restraint forward until it is in the desired position.
The front head restraints can also be removed. To
remove the restraint, press the button located on the top
of the seatback, and lift the head restraint from the
guide sleeve. Replace the head restraint before driving.
The rear seats have head restraints that are adjustable
up and down, but they do not tilt.
Rear Seats
Rear Seat Operation (Sedan)
Folding the Seatback
The rear seatbacks can be folded down to increase
cargo space.
To fold down the seatback, do the following:
Notice:Folding a rear seat with the safety belts
still fastened may cause damage to the seat or the
safety belts. Always unbuckle the safety belts
and return them to their normal stowed position
before folding a rear seat.
1-6
Page 1793 of 5127
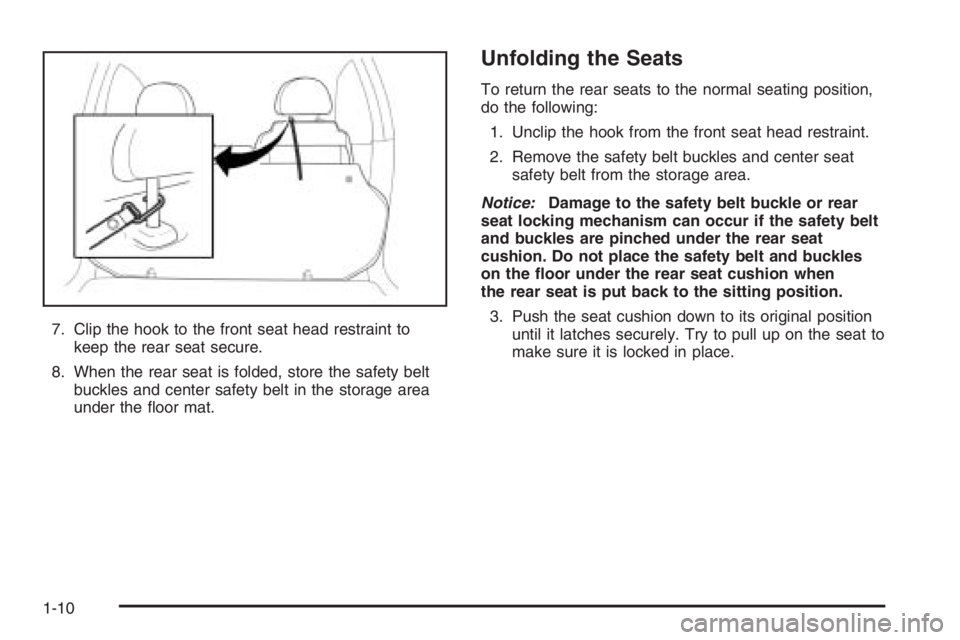
7. Clip the hook to the front seat head restraint to
keep the rear seat secure.
8. When the rear seat is folded, store the safety belt
buckles and center safety belt in the storage area
under the floor mat.
Unfolding the Seats
To return the rear seats to the normal seating position,
do the following:
1. Unclip the hook from the front seat head restraint.
2. Remove the safety belt buckles and center seat
safety belt from the storage area.
Notice:Damage to the safety belt buckle or rear
seat locking mechanism can occur if the safety belt
and buckles are pinched under the rear seat
cushion. Do not place the safety belt and buckles
on the �oor under the rear seat cushion when
the rear seat is put back to the sitting position.
3. Push the seat cushion down to its original position
until it latches securely. Try to pull up on the seat to
make sure it is locked in place.
1-10
Page 4391 of 5127
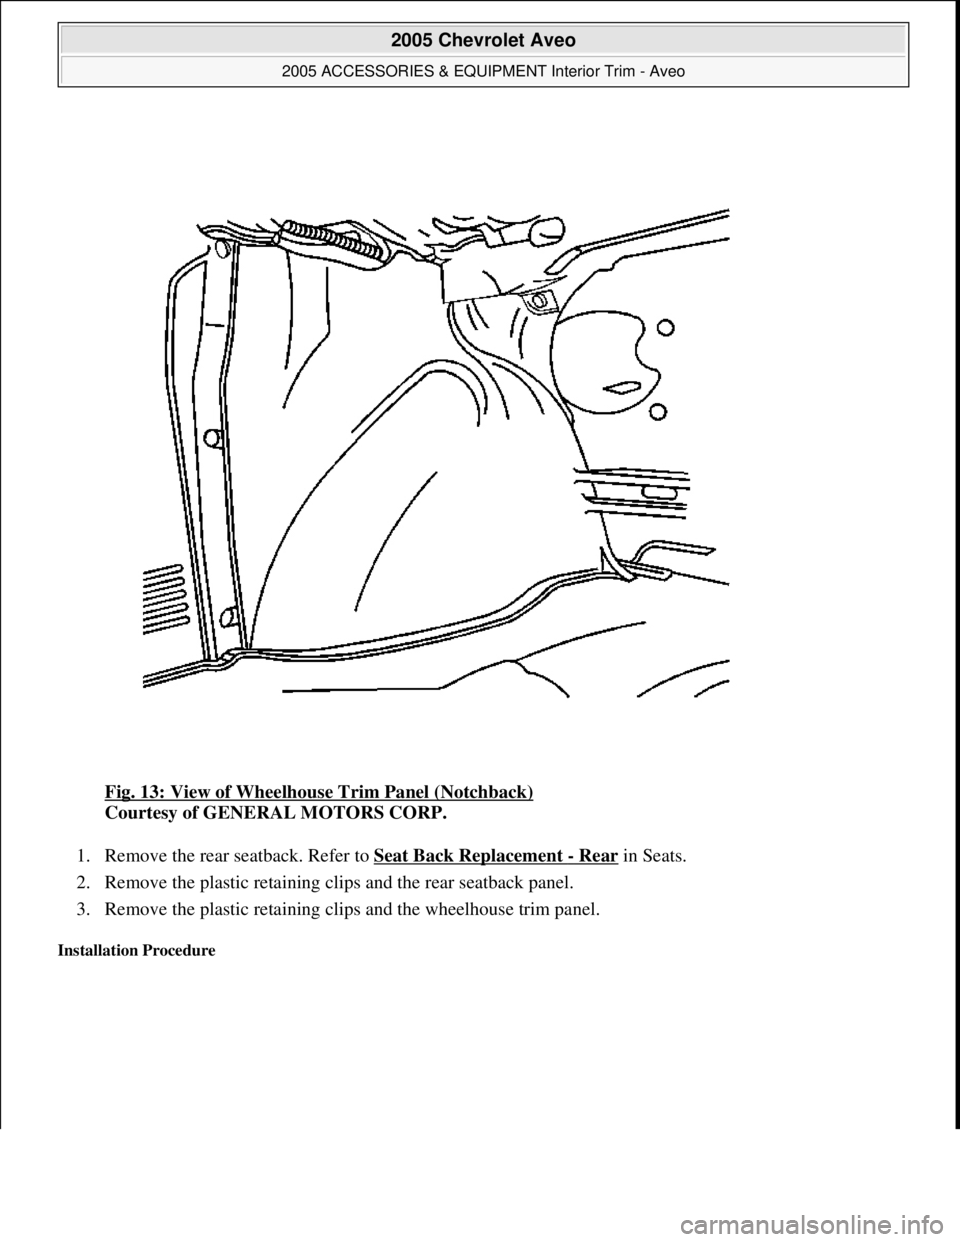
Fig. 13: View of Wheelhouse Trim Panel (Notchback)
Courtesy of GENERAL MOTORS CORP.
1. Remove the rear seatback. Refer to Seat Back Replacement
- Rear in Seats.
2. Remove the plastic retaining clips and the rear seatback panel.
3. Remove the plastic retaining clips and the wheelhouse trim panel.
Installation Procedure
2005 Chevrolet Aveo
2005 ACCESSORIES & EQUIPMENT Interior Trim - Aveo
Microsoft
Friday, July 31, 2009 1:08:27 PMPage 14 © 2005 Mitchell Repair Information Company, LLC.
Page 4400 of 5127
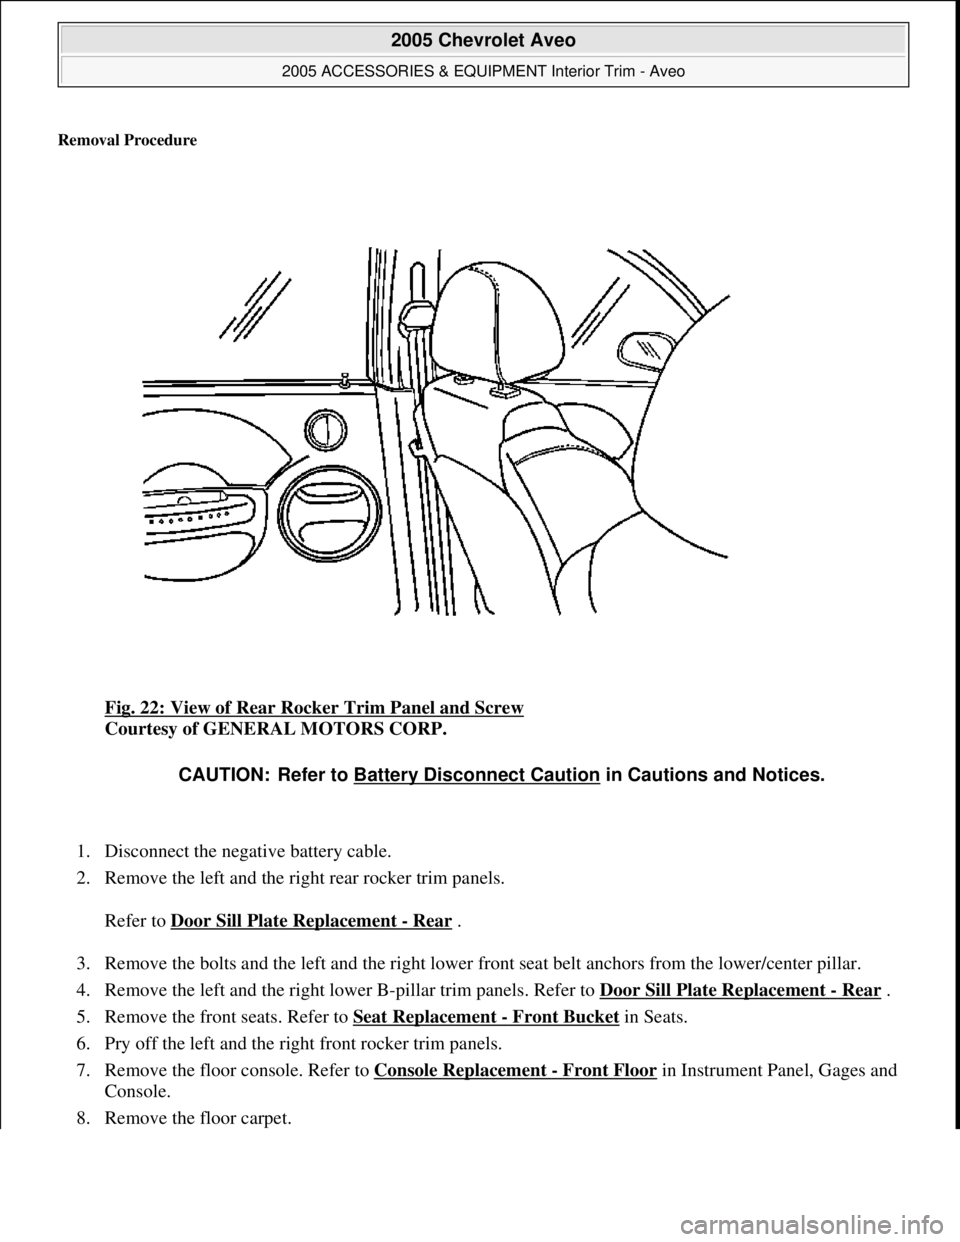
Removal Procedure
Fig. 22: View of Rear Rocker Trim Panel and Screw
Courtesy of GENERAL MOTORS CORP.
1. Disconnect the negative battery cable.
2. Remove the left and the right rear rocker trim panels.
Refer to Door Sill Plate Replacement
- Rear .
3. Remove the bolts and the left and the right lower front seat belt anchors from the lower/center pillar.
4. Remove the left and the right lower B-pillar trim panels. Refer to Door Sill Plate Replacement
- Rear .
5. Remove the front seats. Refer to Seat Replacement
- Front Bucket in Seats.
6. Pry off the left and the right front rocker trim panels.
7. Remove the floor console. Refer to Console Replacement
- Front Floor in Instrument Panel, Gages and
Console.
8. Remove the floor carpet.
CAUTION: Refer to Battery Disconnect Caution in Cautions and Notices.
2005 Chevrolet Aveo
2005 ACCESSORIES & EQUIPMENT Interior Trim - Aveo
Microsoft
Friday, July 31, 2009 1:08:27 PMPage 23 © 2005 Mitchell Repair Information Company, LLC.
Page 4406 of 5127
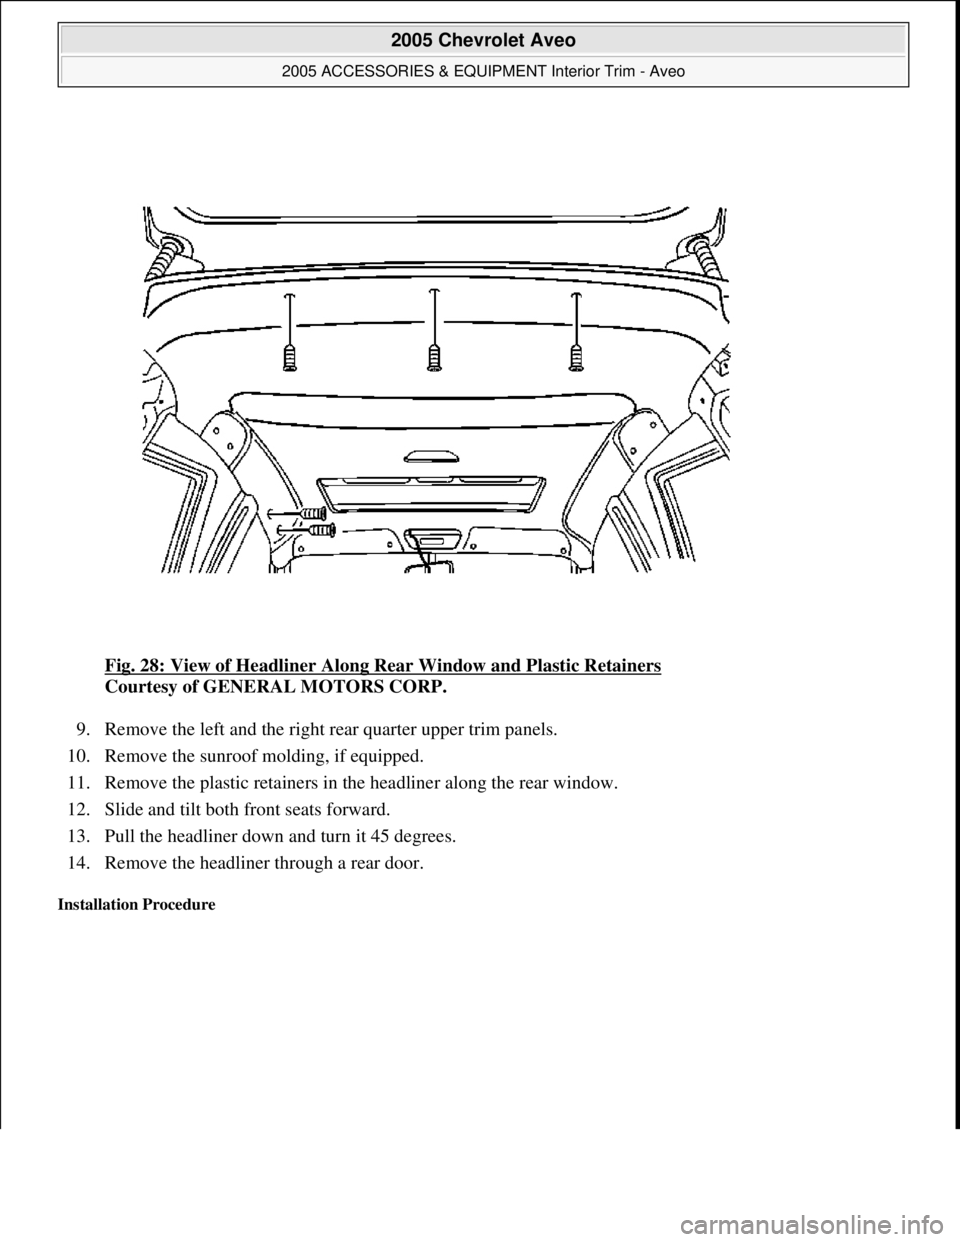
Fig. 28: View of Headliner Along Rear Window and Plastic Retainers
Courtesy of GENERAL MOTORS CORP.
9. Remove the left and the right rear quarter upper trim panels.
10. Remove the sunroof molding, if equipped.
11. Remove the plastic retainers in the headliner along the rear window.
12. Slide and tilt both front seats forward.
13. Pull the headliner down and turn it 45 degrees.
14. Remove the headliner through a rear door.
Installation Procedure
2005 Chevrolet Aveo
2005 ACCESSORIES & EQUIPMENT Interior Trim - Aveo
Microsoft
Friday, July 31, 2009 1:08:27 PMPage 29 © 2005 Mitchell Repair Information Company, LLC.
Page 4435 of 5127
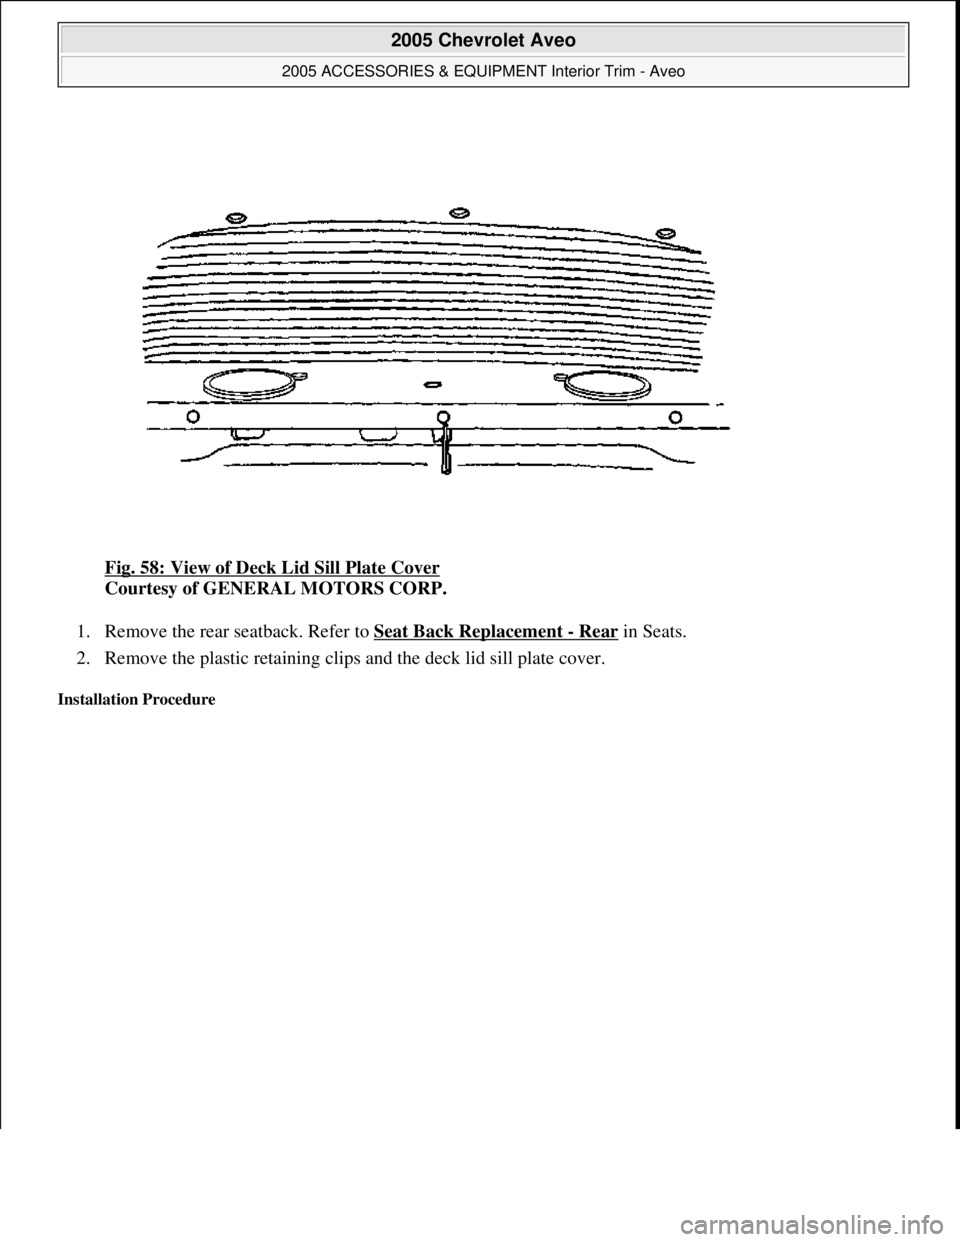
Fig. 58: View of Deck Lid Sill Plate Cover
Courtesy of GENERAL MOTORS CORP.
1. Remove the rear seatback. Refer to Seat Back Replacement
- Rear in Seats.
2. Remove the plastic retaining clips and the deck lid sill plate cover.
Installation Procedure
2005 Chevrolet Aveo
2005 ACCESSORIES & EQUIPMENT Interior Trim - Aveo
Microsoft
Friday, July 31, 2009 1:08:28 PMPage 58 © 2005 Mitchell Repair Information Company, LLC.