instrument cluster CHEVROLET AVEO 2005 1.G Owners Manual
[x] Cancel search | Manufacturer: CHEVROLET, Model Year: 2005, Model line: AVEO, Model: CHEVROLET AVEO 2005 1.GPages: 316, PDF Size: 2.12 MB
Page 97 of 316
Instrument Panel Overview...............................3-4
Hazard Warning Flashers................................3-5
Other Warning Devices...................................3-5
Horn.............................................................3-6
Tilt Wheel.....................................................3-6
Turn Signal/Multifunction Lever.........................3-6
Turn and Lane-Change Signals........................3-7
Headlamp High/Low-Beam Changer..................3-7
Flash-to-Pass.................................................3-7
Windshield Wipers..........................................3-8
Windshield Washer.........................................3-9
Exterior Lamps...............................................3-9
Headlamps on Reminder................................3-10
Daytime Running Lamps (DRL).......................3-10
Fog Lamps..................................................3-11
Instrument Panel Brightness...........................3-11
Dome Lamp.................................................3-12
Accessory Power Outlets...............................3-12
Ashtrays and Cigarette Lighter........................3-13
Climate Controls............................................3-14
Climate Control System.................................3-14
Outlet Adjustment.........................................3-17
Passenger Compartment Air Filter...................3-18Warning Lights, Gages, and Indicators............3-19
Instrument Panel Cluster................................3-20
Speedometer and Odometer...........................3-21
Trip Odometer..............................................3-21
Tachometer.................................................3-21
Safety Belt Reminder Tone............................3-21
Brake System Warning Light..........................3-22
Engine Coolant Temperature Gage..................3-23
Highbeam On Light.......................................3-23
Fuel Gage...................................................3-23
Low Fuel Warning Light.................................3-24
Secondary Information Center (SIC).................3-25
Clock..........................................................3-26
Safety Belt Reminder Light.............................3-26
Airbag Readiness Light..................................3-26
Charging System Light..................................3-27
Anti-Lock Brake System Warning Light.............3-28
Hold Mode Light...........................................3-28
Malfunction Indicator Lamp.............................3-28
Oil Pressure Light.........................................3-31
Fog Lamp Light............................................3-32
Daytime Running Lamps (DRL)
Indicator Light...........................................3-32
Door Ajar Light.............................................3-32
Section 3 Instrument Panel
3-1
Page 101 of 316
The main components of your instrument panel are the
following:
A. Air Outlet. SeeOutlet Adjustment on page 3-17.
B. Instrument Panel Cluster. SeeInstrument Panel
Cluster on page 3-20.
C. Digital Clock and Secondary Information Center.
SeeClock on page 3-26andSecondary Information
Center (SIC) on page 3-25.
D. Hazard Warning Flashers Button. SeeHazard
Warning Flashers on page 3-5.
E. Instrument Panel Brightness Control. SeeInstrument
Panel Brightness on page 3-11.
F. Hood Release. SeeHood Release on page 5-10.
G. Horn. SeeHorn on page 3-6.
H. Audio System. SeeAudio System(s) on page 3-33.
I. Cupholder. SeeCupholder(s) on page 2-34.
J. Ashtray. SeeAshtrays and Cigarette Lighter on
page 3-13.
K. Cigarette Lighter. SeeAshtrays and Cigarette
Lighter on page 3-13.
L. Climate Control System. SeeClimate Control
System on page 3-14.
M. Glove Box. SeeGlove Box on page 2-34.Hazard Warning Flashers
Your hazard warning flashers let you warn others. They
also let police know you have a problem. Your front
and rear turn signal lamps will flash on and off.
The hazard warning
flasher button is located
near the center of the
instrument panel.
Your hazard warning flashers work no matter what
position your key is in, and even if the key is not in.
Press the button to make the front and rear turn signal
lamps flash on and off. Press the button again to
turn the flashers off.
When the hazard warning flashers are on, your turn
signals will not work.
Other Warning Devices
If you carry reflective triangles, you can set them up at
the side of the road about 300 feet (100 m) behind
your vehicle.
3-5
Page 103 of 316
Turn and Lane-Change Signals
The turn signal has two upward (for right) and two
downward (for left) positions. These positions allow you
to signal a turn or a lane change.
To signal a turn, move the lever all the way up or down.
When the turn is finished, the lever will return
automatically.
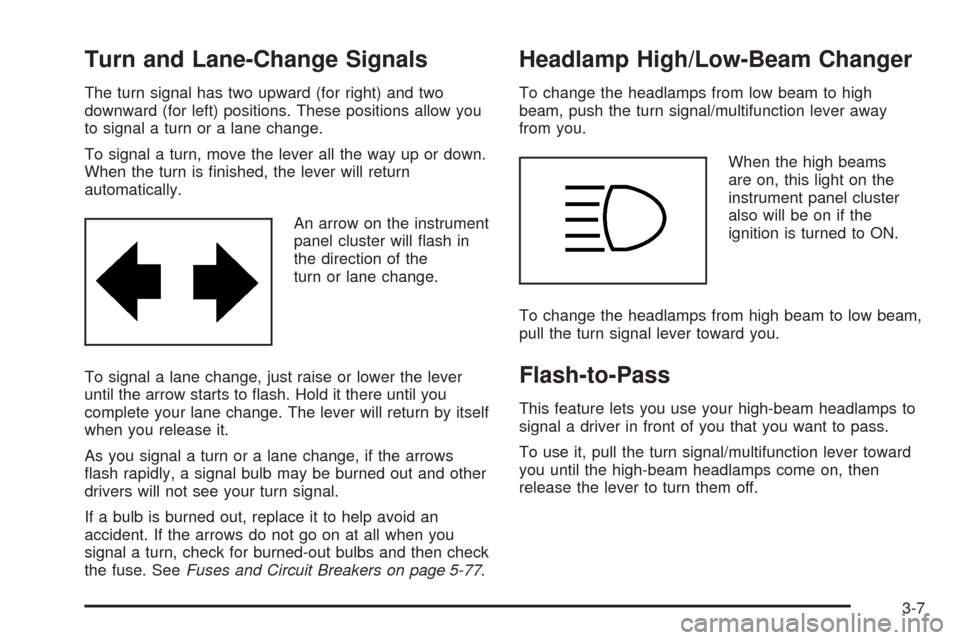
An arrow on the instrument
panel cluster will flash in
the direction of the
turn or lane change.
To signal a lane change, just raise or lower the lever
until the arrow starts to flash. Hold it there until you
complete your lane change. The lever will return by itself
when you release it.
As you signal a turn or a lane change, if the arrows
flash rapidly, a signal bulb may be burned out and other
drivers will not see your turn signal.
If a bulb is burned out, replace it to help avoid an
accident. If the arrows do not go on at all when you
signal a turn, check for burned-out bulbs and then check
the fuse. SeeFuses and Circuit Breakers on page 5-77.
Headlamp High/Low-Beam Changer
To change the headlamps from low beam to high
beam, push the turn signal/multifunction lever away
from you.
When the high beams
are on, this light on the
instrument panel cluster
also will be on if the
ignition is turned to ON.
To change the headlamps from high beam to low beam,
pull the turn signal lever toward you.
Flash-to-Pass
This feature lets you use your high-beam headlamps to
signal a driver in front of you that you want to pass.
To use it, pull the turn signal/multifunction lever toward
you until the high-beam headlamps come on, then
release the lever to turn them off.
3-7
Page 116 of 316
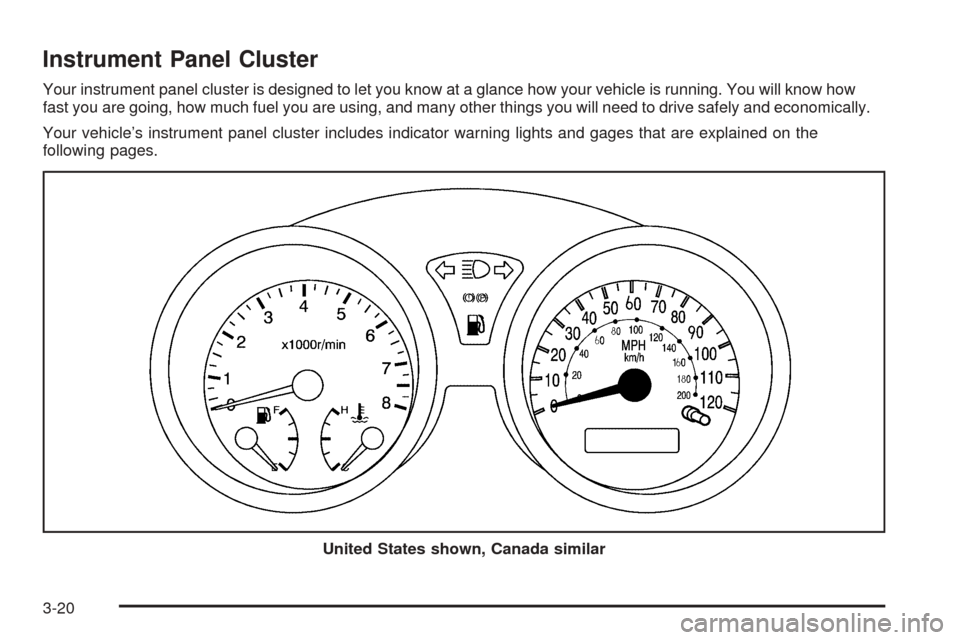
Instrument Panel Cluster
Your instrument panel cluster is designed to let you know at a glance how your vehicle is running. You will know how
fast you are going, how much fuel you are using, and many other things you will need to drive safely and economically.
Your vehicle’s instrument panel cluster includes indicator warning lights and gages that are explained on the
following pages.
United States shown, Canada similar
3-20
Page 122 of 316
Clock
Your vehicle has a digital clock. The clock is located
in the secondary instrument cluster on the center of the
instrument panel, above the center air outlets. When
the ignition is turned to ACC or ON, the time is displayed
in the digital clock. There are two adjusting buttons
for the digital clock:
H (Hour):To go forward one hour, press the H button
once. To go forward more than one hour, press and hold
the button until the correct hour is reached.
M (Minute):To go forward one minute, press the
M button once. To go forward more than one minute,
press and hold the button until the correct minute
is reached.
After disconnecting the battery or replacing the fuse,
reset the clock.
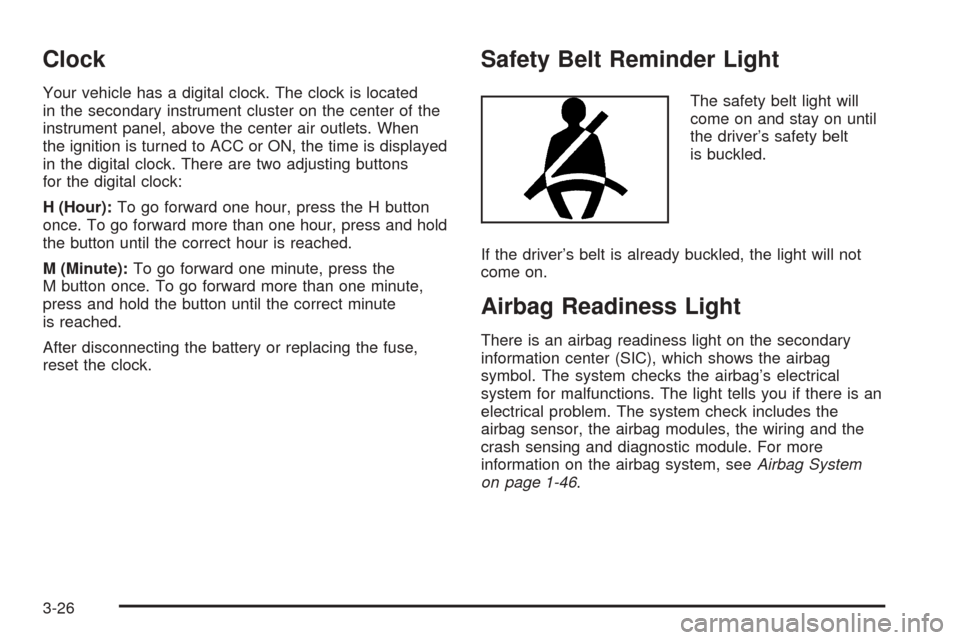
Safety Belt Reminder Light
The safety belt light will
come on and stay on until
the driver’s safety belt
is buckled.
If the driver’s belt is already buckled, the light will not
come on.
Airbag Readiness Light
There is an airbag readiness light on the secondary
information center (SIC), which shows the airbag
symbol. The system checks the airbag’s electrical
system for malfunctions. The light tells you if there is an
electrical problem. The system check includes the
airbag sensor, the airbag modules, the wiring and the
crash sensing and diagnostic module. For more
information on the airbag system, seeAirbag System
on page 1-46.
3-26
Page 191 of 316
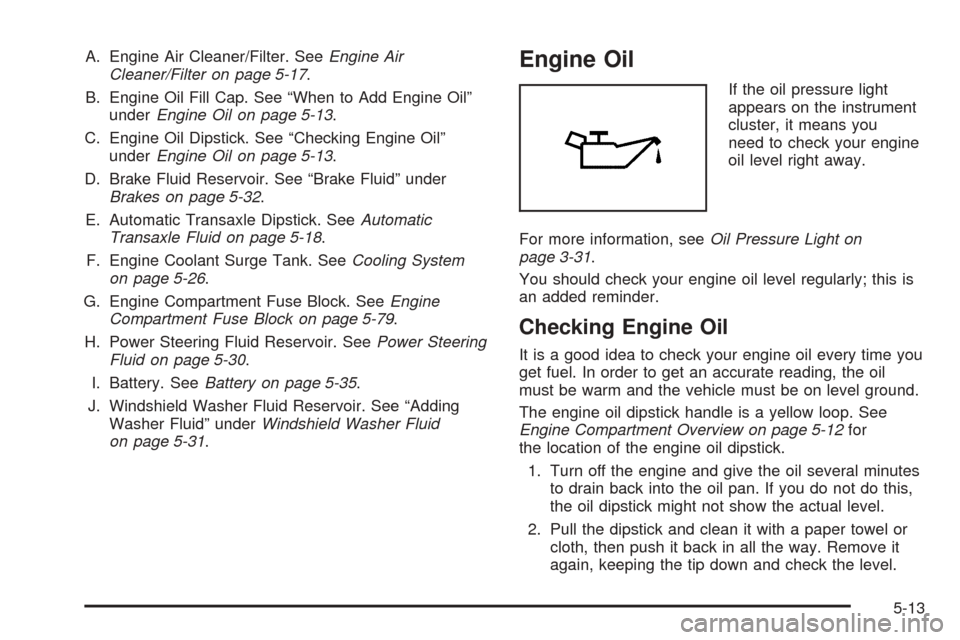
A. Engine Air Cleaner/Filter. SeeEngine Air
Cleaner/Filter on page 5-17.
B. Engine Oil Fill Cap. See “When to Add Engine Oil”
underEngine Oil on page 5-13.
C. Engine Oil Dipstick. See “Checking Engine Oil”
underEngine Oil on page 5-13.
D. Brake Fluid Reservoir. See “Brake Fluid” under
Brakes on page 5-32.
E. Automatic Transaxle Dipstick. SeeAutomatic
Transaxle Fluid on page 5-18.
F. Engine Coolant Surge Tank. SeeCooling System
on page 5-26.
G. Engine Compartment Fuse Block. SeeEngine
Compartment Fuse Block on page 5-79.
H. Power Steering Fluid Reservoir. SeePower Steering
Fluid on page 5-30.
I. Battery. SeeBattery on page 5-35.
J. Windshield Washer Fluid Reservoir. See “Adding
Washer Fluid” underWindshield Washer Fluid
on page 5-31.Engine Oil
If the oil pressure light
appears on the instrument
cluster, it means you
need to check your engine
oil level right away.
For more information, seeOil Pressure Light on
page 3-31.
You should check your engine oil level regularly; this is
an added reminder.
Checking Engine Oil
It is a good idea to check your engine oil every time you
get fuel. In order to get an accurate reading, the oil
must be warm and the vehicle must be on level ground.
The engine oil dipstick handle is a yellow loop. See
Engine Compartment Overview on page 5-12for
the location of the engine oil dipstick.
1. Turn off the engine and give the oil several minutes
to drain back into the oil pan. If you do not do this,
the oil dipstick might not show the actual level.
2. Pull the dipstick and clean it with a paper towel or
cloth, then push it back in all the way. Remove it
again, keeping the tip down and check the level.
5-13
Page 202 of 316
Adding Coolant
If the level falls below the MIN (B) mark, add the proper
coolant mixtureat the surge tank,but only when the
engine is cool. If the surge tank is empty, a special
fill procedure is necessary. SeeCooling System
on page 5-26for instructions on “How to Add Coolant
to the Coolant Surge Tank.”
{CAUTION:
You can be burned if you spill coolant on hot
engine parts. Coolant contains ethylene glycol,
and it will burn if the engine parts are hot
enough. Do not spill coolant on a hot engine.
When replacing the pressure cap, make sure it is
hand-tight.
Coolant Surge Tank Pressure Cap
Notice:If the pressure cap is not tightly installed,
coolant loss and possible engine damage may
occur. Be sure the cap is properly and tightly
secured.
Engine Overheating
You will find a coolant temperature gage on your
vehicle’s instrument panel cluster. SeeEngine Coolant
Temperature Gage on page 3-23.
If Steam Is Coming From Your Engine
{CAUTION:
Steam from an overheated engine can burn
you badly, even if you just open the hood.
Stay away from the engine if you see or hear
steam coming from it. Just turn it off and get
everyone away from the vehicle until it cools
down. Wait until there is no sign of steam or
coolant before you open the hood.
If you keep driving when your engine is
overheated, the liquids in it can catch �re.
You or others could be badly burned. Stop
your engine if it overheats, and get out of
the vehicle until the engine is cool.
5-24
Page 257 of 316
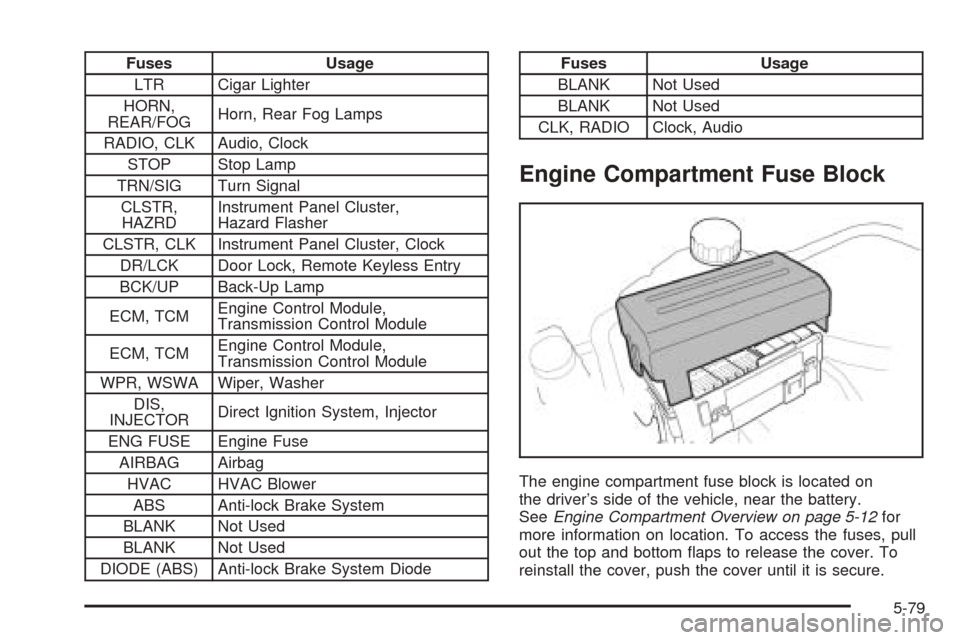
Fuses Usage
LTR Cigar Lighter
HORN,
REAR/FOGHorn, Rear Fog Lamps
RADIO, CLK Audio, Clock
STOP Stop Lamp
TRN/SIG Turn Signal
CLSTR,
HAZRDInstrument Panel Cluster,
Hazard Flasher
CLSTR, CLK Instrument Panel Cluster, Clock
DR/LCK Door Lock, Remote Keyless Entry
BCK/UP Back-Up Lamp
ECM, TCMEngine Control Module,
Transmission Control Module
ECM, TCMEngine Control Module,
Transmission Control Module
WPR, WSWA Wiper, Washer
DIS,
INJECTORDirect Ignition System, Injector
ENG FUSE Engine Fuse
AIRBAG Airbag
HVAC HVAC Blower
ABS Anti-lock Brake System
BLANK Not Used
BLANK Not Used
DIODE (ABS) Anti-lock Brake System DiodeFuses Usage
BLANK Not Used
BLANK Not Used
CLK, RADIO Clock, Audio
Engine Compartment Fuse Block
The engine compartment fuse block is located on
the driver’s side of the vehicle, near the battery.
SeeEngine Compartment Overview on page 5-12for
more information on location. To access the fuses, pull
out the top and bottom flaps to release the cover. To
reinstall the cover, push the cover until it is secure.
5-79
Page 310 of 316
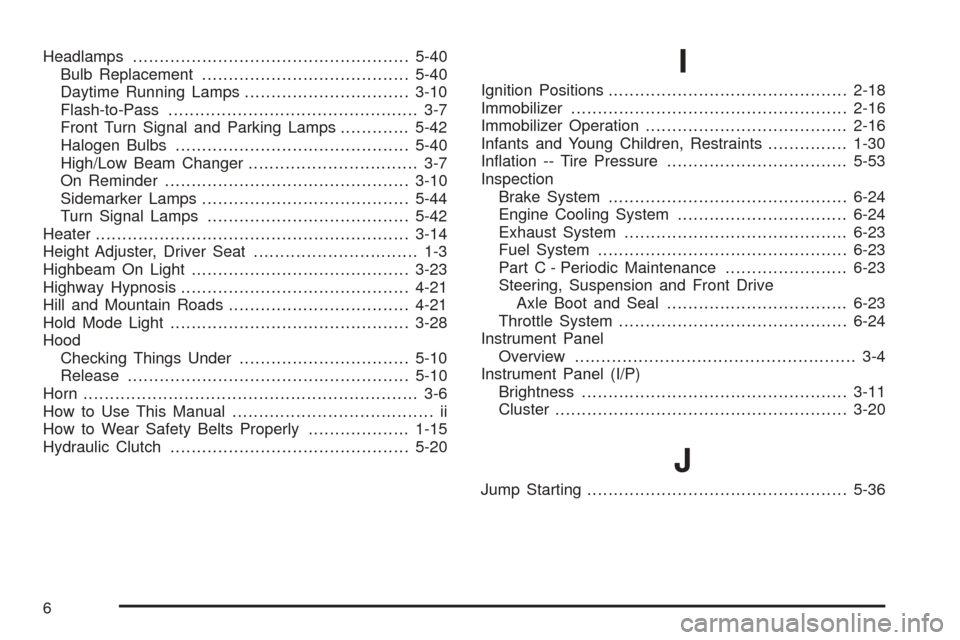
Headlamps....................................................5-40
Bulb Replacement.......................................5-40
Daytime Running Lamps...............................3-10
Flash-to-Pass............................................... 3-7
Front Turn Signal and Parking Lamps.............5-42
Halogen Bulbs............................................5-40
High/Low Beam Changer................................ 3-7
On Reminder..............................................3-10
Sidemarker Lamps.......................................5-44
Turn Signal Lamps......................................5-42
Heater...........................................................3-14
Height Adjuster, Driver Seat............................... 1-3
Highbeam On Light.........................................3-23
Highway Hypnosis...........................................4-21
Hill and Mountain Roads..................................4-21
Hold Mode Light.............................................3-28
Hood
Checking Things Under................................5-10
Release.....................................................5-10
Horn............................................................... 3-6
How to Use This Manual...................................... ii
How to Wear Safety Belts Properly...................1-15
Hydraulic Clutch.............................................5-20I
Ignition Positions.............................................2-18
Immobilizer....................................................2-16
Immobilizer Operation......................................2-16
Infants and Young Children, Restraints...............1-30
Inflation -- Tire Pressure..................................5-53
Inspection
Brake System.............................................6-24
Engine Cooling System................................6-24
Exhaust System..........................................6-23
Fuel System...............................................6-23
Part C - Periodic Maintenance.......................6-23
Steering, Suspension and Front Drive
Axle Boot and Seal..................................6-23
Throttle System...........................................6-24
Instrument Panel
Overview..................................................... 3-4
Instrument Panel (I/P)
Brightness..................................................3-11
Cluster.......................................................3-20
J
Jump Starting.................................................5-36
6