CHEVROLET AVEO 2006 1.G Owners Manual
Manufacturer: CHEVROLET, Model Year: 2006, Model line: AVEO, Model: CHEVROLET AVEO 2006 1.GPages: 362, PDF Size: 2.24 MB
Page 101 of 362
AUTOMATIC OVERDRIVE (D4):This position is for
normal driving.
When operating your vehicle in severe cold conditions,
the transaxle may be prevented from shifting into
D4 gear until the transaxle fluid has warmed up to it’s
operational temperature.
Notice:Driving your vehicle if you notice that it is
moving slowly or not shifting gears as you
increase speed may damage the transaxle. Have
your vehicle serviced right away. You can drive in
SECOND (2) when you are driving less than 35 mph
(55 km/h) and AUTOMATIC OVERDRIVE (D4) for
higher speeds until then.
SECOND (2):This position gives you more power but
lower fuel economy. You can use SECOND (2) on
hills. It can help control your speed as you go down
steep mountain roads, but then you would also want to
use your brakes off and on.
Notice:Do not drive in SECOND (2) at speeds over
65 mph (105 km/h), or you can damage the transaxle.
Use AUTOMATIC OVERDRIVE (D4) as much as
possible. Do not shift into SECOND (2) unless you
are going slower than 65 mph (105 km/h) or you can
damage your engine.FIRST (1):This position gives you even more power
but lower fuel economy than SECOND (2). You can use
it on very steep hills, or in deep snow or mud. If the
shift lever is put in FIRST (1), the transaxle will not shift
into first gear until the vehicle is going slowly enough.
Notice:Spinning the tires or holding the vehicle in
one place on a hill using only the accelerator
pedal may damage the transaxle. If you are stuck,
do not spin the tires. When stopping on a hill,
use the brakes, or parking brake to hold the vehicle
in place.
If there is a malfunction with the automatic transaxle,
the malfunction indicator lamp (MIL) or the HOLD
indicator light will turn on or flash. SeeMalfunction
Indicator Lamp on page 3-34orHold Mode Light
on page 3-34.
Have your vehicle fixed as soon as possible.
2-23
Page 102 of 362
Hold Mode
If your vehicle’s transaxle has hold mode, you can
select this mode to drive with some characteristics of a
manual transaxle. With hold mode turned on, the
automatic transaxle will stay in a specific gear range.
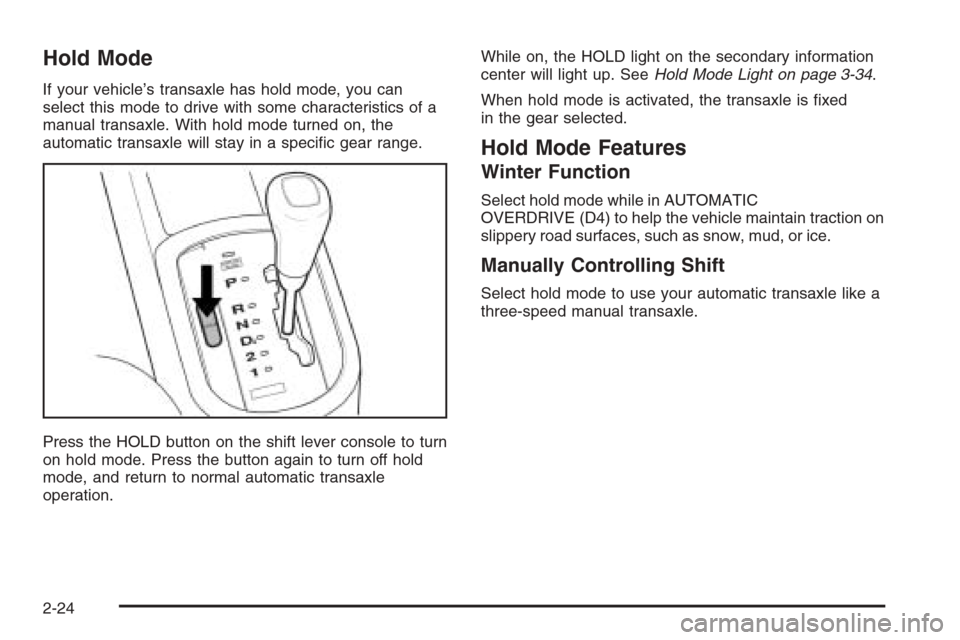
Press the HOLD button on the shift lever console to turn
on hold mode. Press the button again to turn off hold
mode, and return to normal automatic transaxle
operation.While on, the HOLD light on the secondary information
center will light up. SeeHold Mode Light on page 3-34.
When hold mode is activated, the transaxle is fixed
in the gear selected.
Hold Mode Features
Winter Function
Select hold mode while in AUTOMATIC
OVERDRIVE (D4) to help the vehicle maintain traction on
slippery road surfaces, such as snow, mud, or ice.
Manually Controlling Shift
Select hold mode to use your automatic transaxle like a
three-speed manual transaxle.
2-24
Page 103 of 362
Manual Transaxle Operation
Five-Speed
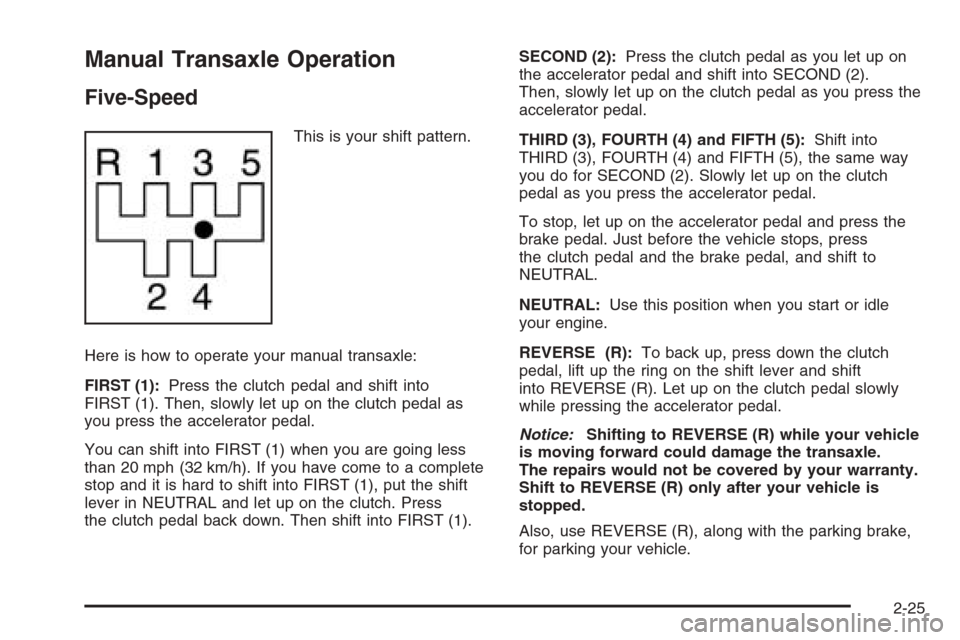
This is your shift pattern.
Here is how to operate your manual transaxle:
FIRST (1):Press the clutch pedal and shift into
FIRST (1). Then, slowly let up on the clutch pedal as
you press the accelerator pedal.
You can shift into FIRST (1) when you are going less
than 20 mph (32 km/h). If you have come to a complete
stop and it is hard to shift into FIRST (1), put the shift
lever in NEUTRAL and let up on the clutch. Press
the clutch pedal back down. Then shift into FIRST (1).SECOND (2):Press the clutch pedal as you let up on
the accelerator pedal and shift into SECOND (2).
Then, slowly let up on the clutch pedal as you press the
accelerator pedal.
THIRD (3), FOURTH (4) and FIFTH (5):Shift into
THIRD (3), FOURTH (4) and FIFTH (5), the same way
you do for SECOND (2). Slowly let up on the clutch
pedal as you press the accelerator pedal.
To stop, let up on the accelerator pedal and press the
brake pedal. Just before the vehicle stops, press
the clutch pedal and the brake pedal, and shift to
NEUTRAL.
NEUTRAL:Use this position when you start or idle
your engine.
REVERSE (R):To back up, press down the clutch
pedal, lift up the ring on the shift lever and shift
into REVERSE (R). Let up on the clutch pedal slowly
while pressing the accelerator pedal.
Notice:Shifting to REVERSE (R) while your vehicle
is moving forward could damage the transaxle.
The repairs would not be covered by your warranty.
Shift to REVERSE (R) only after your vehicle is
stopped.
Also, use REVERSE (R), along with the parking brake,
for parking your vehicle.
2-25
Page 104 of 362
Shift Speeds
{CAUTION:
If you skip a gear when you downshift, you could
lose control of your vehicle. You could injure
yourself or others. Do not shift down more than
one gear at a time when you downshift.
Parking Brake
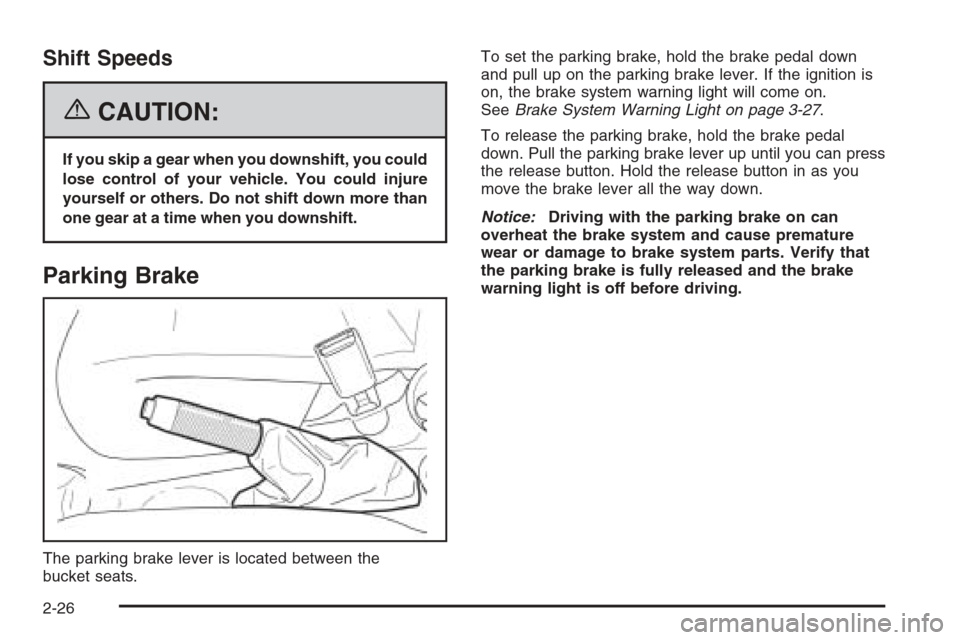
The parking brake lever is located between the
bucket seats.To set the parking brake, hold the brake pedal down
and pull up on the parking brake lever. If the ignition is
on, the brake system warning light will come on.
SeeBrake System Warning Light on page 3-27.
To release the parking brake, hold the brake pedal
down. Pull the parking brake lever up until you can press
the release button. Hold the release button in as you
move the brake lever all the way down.
Notice:Driving with the parking brake on can
overheat the brake system and cause premature
wear or damage to brake system parts. Verify that
the parking brake is fully released and the brake
warning light is off before driving.
2-26
Page 105 of 362
Shifting Into Park (P)
(Automatic Transaxle)
{CAUTION:
It can be dangerous to get out of your vehicle
if the shift lever is not fully in PARK (P) with
the parking brake �rmly set. Your vehicle can
roll. If you have left the engine running, the
vehicle can move suddenly. You or others
could be injured. To be sure your vehicle will
not move, even when you are on fairly level
ground, use the steps that follow.
1. Hold the brake pedal down and set the parking
brake.
2. Move the shift lever into PARK (P) by pushing the
lever toward the passenger side of the vehicle and
then up.
3. Turn the ignition to LOCK.
4. Remove the key and take it with you. If you can
leave your vehicle with the ignition key in your
hand, your vehicle is in PARK (P).
Leaving Your Vehicle With the Engine
Running (Automatic Transaxle)
{CAUTION:
It can be dangerous to leave your vehicle with
the engine running. Your vehicle could move
suddenly if the shift lever is not fully in
PARK (P) with the parking brake �rmly set.
And, if you leave the vehicle with the engine
running, it could overheat and even catch �re.
You or others could be injured. Do not leave
your vehicle with the engine running.
If you have to leave your vehicle with the engine
running, be sure your vehicle is in PARK (P) and your
parking brake is firmly set before you leave it. After you
have moved the shift lever into PARK (P), hold the
regular brake pedal down. Then, see if you can move
the shift lever away from PARK (P). If you can, it means
that the shift lever was not fully locked into PARK (P).
2-27
Page 106 of 362
Torque Lock (Automatic Transaxle)
If you are parking on a hill and you do not shift your
transaxle into PARK (P) properly, the weight of the
vehicle may put too much force on the parking pawl in
the transaxle. You may find it difficult to pull the shift
lever out of PARK (P). This is called “torque lock.”
To prevent torque lock, set the parking brake and then
shift into PARK (P) properly before you leave the
driver’s seat. To find out how, seeShifting Into Park (P)
(Automatic Transaxle) on page 2-27.
When you are ready to drive, move the shift lever out of
PARK (P)beforeyou release the parking brake.
If torque lock does occur, you may need to have another
vehicle push yours a little uphill to take some of the
pressure from the parking pawl in the transaxle, so you
can pull the shift lever out of PARK (P).
Shifting Out of Park (P)
(Automatic Transaxle)
Your automatic transaxle vehicle has an automatic
transaxle shift lock control system. You have to
fully apply your regular brakes before you can shift from
PARK (P) when the ignition is turned to ON. See
Automatic Transaxle Operation on page 2-21.
If you cannot shift out of PARK (P) while holding the
brake pedal down, try this:
1. Set the parking brake.
2. Turn the ignition off and remove the key.
3. Remove the cover over the shift-lock release slot by
prying it off using a small, flat object, like a
screwdriver. The shift-lock release slot is located at
the top of the shift lever.
2-28
Page 107 of 362
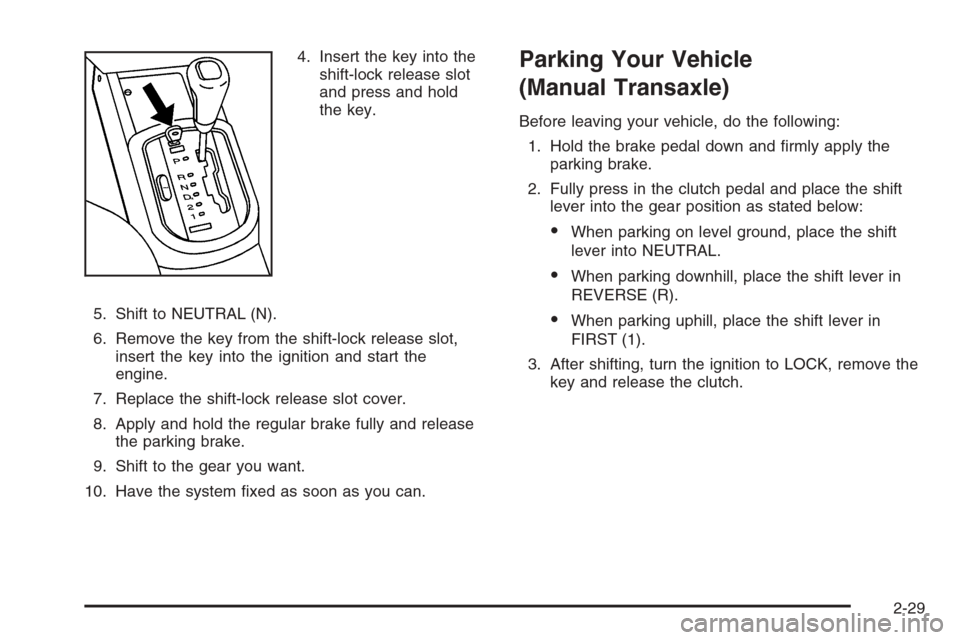
4. Insert the key into the
shift-lock release slot
and press and hold
the key.
5. Shift to NEUTRAL (N).
6. Remove the key from the shift-lock release slot,
insert the key into the ignition and start the
engine.
7. Replace the shift-lock release slot cover.
8. Apply and hold the regular brake fully and release
the parking brake.
9. Shift to the gear you want.
10. Have the system fixed as soon as you can.Parking Your Vehicle
(Manual Transaxle)
Before leaving your vehicle, do the following:
1. Hold the brake pedal down and firmly apply the
parking brake.
2. Fully press in the clutch pedal and place the shift
lever into the gear position as stated below:
•When parking on level ground, place the shift
lever into NEUTRAL.
•When parking downhill, place the shift lever in
REVERSE (R).
•When parking uphill, place the shift lever in
FIRST (1).
3. After shifting, turn the ignition to LOCK, remove the
key and release the clutch.
2-29
Page 108 of 362
Parking Over Things That Burn
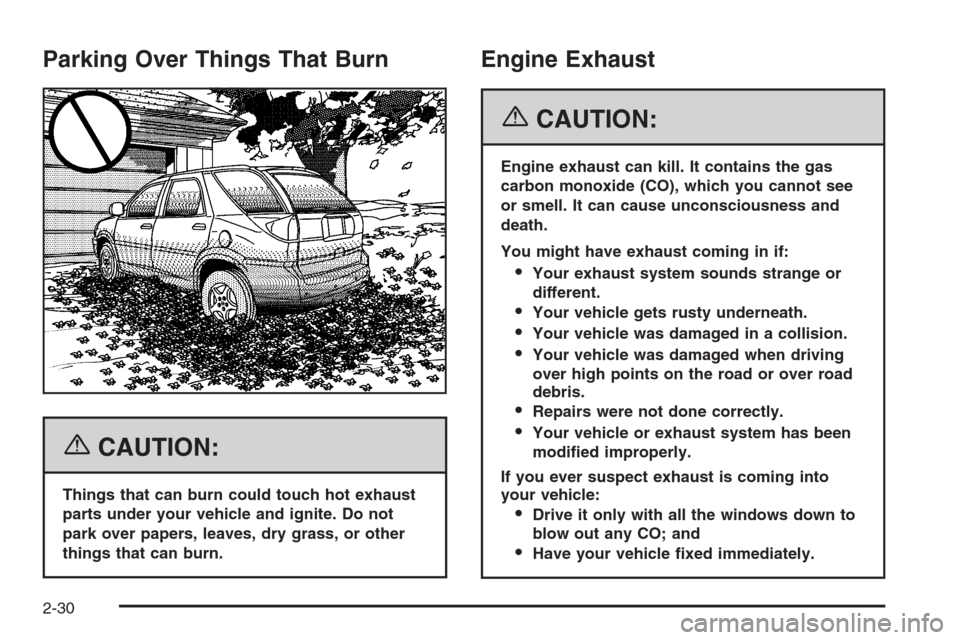
{CAUTION:
Things that can burn could touch hot exhaust
parts under your vehicle and ignite. Do not
park over papers, leaves, dry grass, or other
things that can burn.
Engine Exhaust
{CAUTION:
Engine exhaust can kill. It contains the gas
carbon monoxide (CO), which you cannot see
or smell. It can cause unconsciousness and
death.
You might have exhaust coming in if:
Your exhaust system sounds strange or
different.
Your vehicle gets rusty underneath.
Your vehicle was damaged in a collision.
Your vehicle was damaged when driving
over high points on the road or over road
debris.
Repairs were not done correctly.
Your vehicle or exhaust system has been
modi�ed improperly.
If you ever suspect exhaust is coming into
your vehicle:
Drive it only with all the windows down to
blow out any CO; and
Have your vehicle �xed immediately.
2-30
Page 109 of 362
Running the Engine While Parked
It is better not to park with the engine running. But if you
ever have to, here are some things to know.
{CAUTION:
Idling the engine with the climate control
system off could allow dangerous exhaust into
your vehicle. See the earlier caution under
Engine Exhaust on page 2-30.
Also, idling in a closed-in place can let deadly
carbon monoxide (CO) into your vehicle even if
the climate control fan is at the highest setting.
One place this can happen is a garage.
Exhaust — with CO — can come in easily.
NEVER park in a garage with the engine
running.
Another closed-in place can be a blizzard. See
Winter Driving on page 4-22.
{CAUTION:
It can be dangerous to get out of your vehicle
if the shift lever is not fully in PARK (P) with
the parking brake �rmly set. Your vehicle can
roll. Do not leave your vehicle when the engine
is running unless you have to. If you have left
the engine running, the vehicle can move
suddenly. You or others could be injured. To
be sure your vehicle will not move, even when
you are on fairly level ground, always set your
parking brake and move the shift lever to
PARK (P).
Follow the proper steps to be sure your vehicle will not
move. SeeShifting Into Park (P) (Automatic Transaxle)
on page 2-27.
If you are parking on a hill and if you are pulling a
trailer, also seeTowing a Trailer on page 4-35.
2-31
Page 110 of 362
Mirrors
Manual Rearview Mirror
While sitting in a comfortable driving position, adjust the
mirror so you can see clearly behind your vehicle.
Grip the mirror in the center to move it up or down and
side to side. The control at the bottom of the mirror
is the day/night feature that allows adjustment to
the mirror so that the glare of headlamps from behind is
reduced. Push the control for daytime use; pull it for
night use.
Outside Manual Mirrors
The outside rearview mirrors should be adjusted so you
can see a little of the side of your vehicle when you
are sitting in a comfortable driving position.
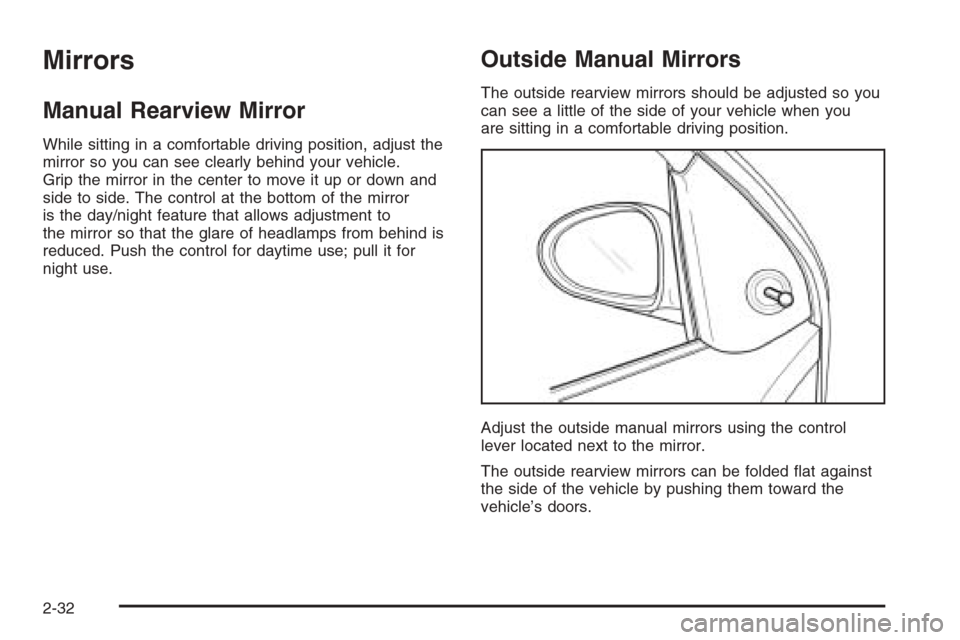
Adjust the outside manual mirrors using the control
lever located next to the mirror.
The outside rearview mirrors can be folded flat against
the side of the vehicle by pushing them toward the
vehicle’s doors.
2-32