CHEVROLET AVEO 2008 1.G Owners Manual
Manufacturer: CHEVROLET, Model Year: 2008, Model line: AVEO, Model: CHEVROLET AVEO 2008 1.GPages: 384, PDF Size: 6.67 MB
Page 341 of 384
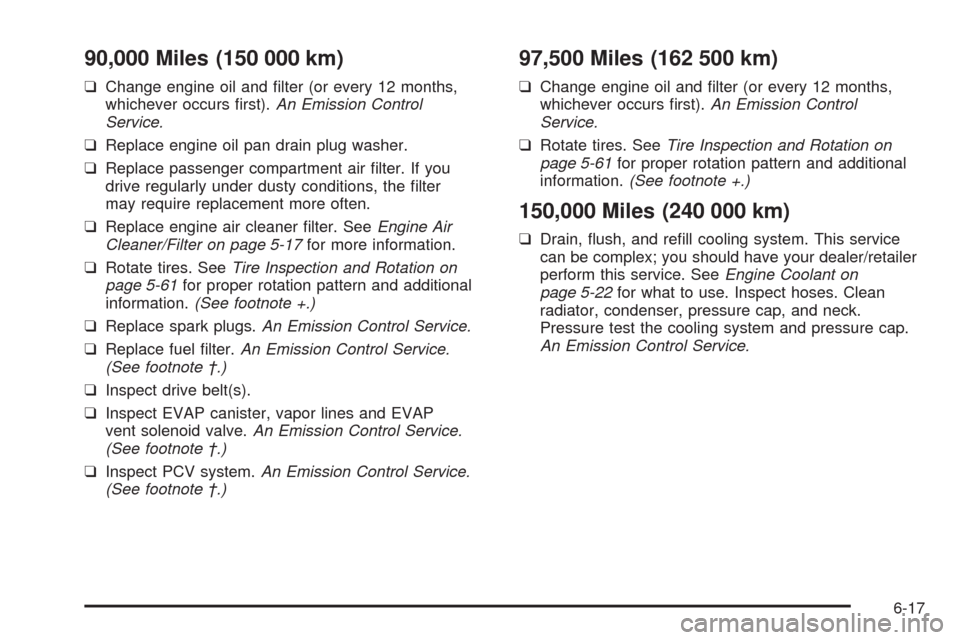
90,000 Miles (150 000 km)
❑Change engine oil and filter (or every 12 months,
whichever occurs first).An Emission Control
Service.
❑Replace engine oil pan drain plug washer.
❑Replace passenger compartment air filter. If you
drive regularly under dusty conditions, the filter
may require replacement more often.
❑Replace engine air cleaner filter. SeeEngine Air
Cleaner/Filter on page 5-17for more information.
❑Rotate tires. SeeTire Inspection and Rotation on
page 5-61for proper rotation pattern and additional
information.(See footnote +.)
❑Replace spark plugs.An Emission Control Service.
❑Replace fuel filter.An Emission Control Service.
(See footnote †.)
❑Inspect drive belt(s).
❑Inspect EVAP canister, vapor lines and EVAP
vent solenoid valve.An Emission Control Service.
(See footnote †.)
❑Inspect PCV system.An Emission Control Service.
(See footnote †.)
97,500 Miles (162 500 km)
❑Change engine oil and filter (or every 12 months,
whichever occurs first).An Emission Control
Service.
❑Rotate tires. SeeTire Inspection and Rotation on
page 5-61for proper rotation pattern and additional
information.(See footnote +.)
150,000 Miles (240 000 km)
❑Drain, flush, and refill cooling system. This service
can be complex; you should have your dealer/retailer
perform this service. SeeEngine Coolant on
page 5-22for what to use. Inspect hoses. Clean
radiator, condenser, pressure cap, and neck.
Pressure test the cooling system and pressure cap.
An Emission Control Service.
6-17
Page 342 of 384
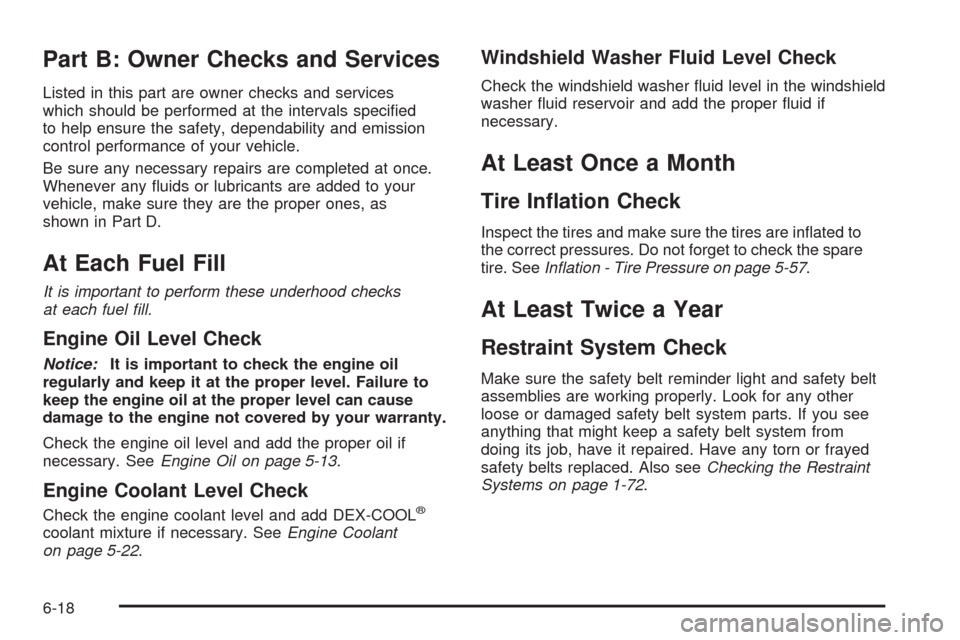
Part B: Owner Checks and Services
Listed in this part are owner checks and services
which should be performed at the intervals specified
to help ensure the safety, dependability and emission
control performance of your vehicle.
Be sure any necessary repairs are completed at once.
Whenever any fluids or lubricants are added to your
vehicle, make sure they are the proper ones, as
shown in Part D.
At Each Fuel Fill
It is important to perform these underhood checks
at each fuel fill.
Engine Oil Level Check
Notice:It is important to check the engine oil
regularly and keep it at the proper level. Failure to
keep the engine oil at the proper level can cause
damage to the engine not covered by your warranty.
Check the engine oil level and add the proper oil if
necessary. SeeEngine Oil on page 5-13.
Engine Coolant Level Check
Check the engine coolant level and add DEX-COOL®
coolant mixture if necessary. SeeEngine Coolant
on page 5-22.
Windshield Washer Fluid Level Check
Check the windshield washer fluid level in the windshield
washer fluid reservoir and add the proper fluid if
necessary.
At Least Once a Month
Tire In�ation Check
Inspect the tires and make sure the tires are inflated to
the correct pressures. Do not forget to check the spare
tire. SeeInflation - Tire Pressure on page 5-57.
At Least Twice a Year
Restraint System Check
Make sure the safety belt reminder light and safety belt
assemblies are working properly. Look for any other
loose or damaged safety belt system parts. If you see
anything that might keep a safety belt system from
doing its job, have it repaired. Have any torn or frayed
safety belts replaced. Also seeChecking the Restraint
Systems on page 1-72.
6-18
Page 343 of 384
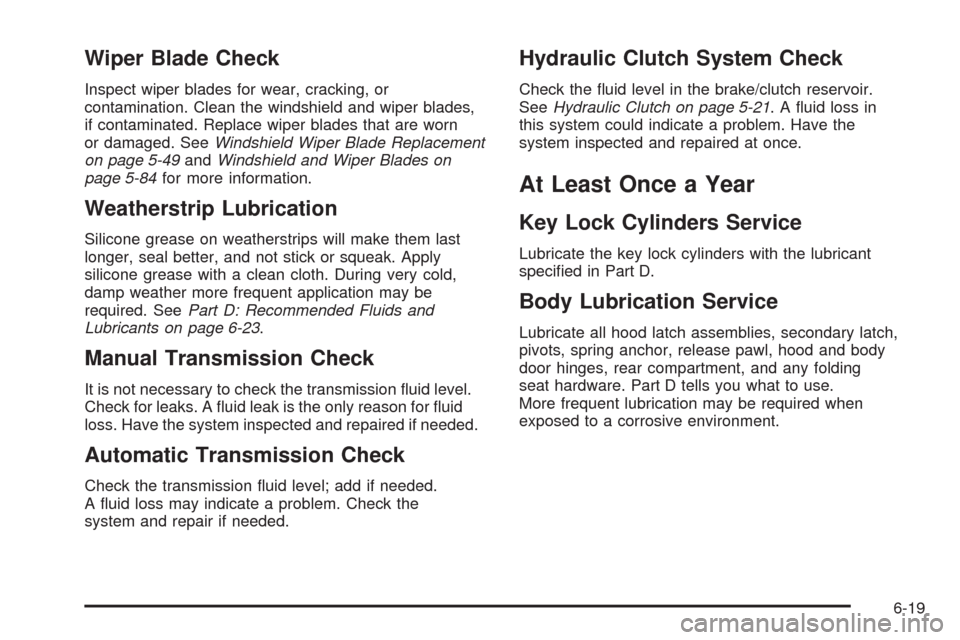
Wiper Blade Check
Inspect wiper blades for wear, cracking, or
contamination. Clean the windshield and wiper blades,
if contaminated. Replace wiper blades that are worn
or damaged. SeeWindshield Wiper Blade Replacement
on page 5-49andWindshield and Wiper Blades on
page 5-84for more information.
Weatherstrip Lubrication
Silicone grease on weatherstrips will make them last
longer, seal better, and not stick or squeak. Apply
silicone grease with a clean cloth. During very cold,
damp weather more frequent application may be
required. SeePart D: Recommended Fluids and
Lubricants on page 6-23.
Manual Transmission Check
It is not necessary to check the transmission fluid level.
Check for leaks. A fluid leak is the only reason for fluid
loss. Have the system inspected and repaired if needed.
Automatic Transmission Check
Check the transmission fluid level; add if needed.
A fluid loss may indicate a problem. Check the
system and repair if needed.
Hydraulic Clutch System Check
Check the fluid level in the brake/clutch reservoir.
SeeHydraulic Clutch on page 5-21. A fluid loss in
this system could indicate a problem. Have the
system inspected and repaired at once.
At Least Once a Year
Key Lock Cylinders Service
Lubricate the key lock cylinders with the lubricant
specified in Part D.
Body Lubrication Service
Lubricate all hood latch assemblies, secondary latch,
pivots, spring anchor, release pawl, hood and body
door hinges, rear compartment, and any folding
seat hardware. Part D tells you what to use.
More frequent lubrication may be required when
exposed to a corrosive environment.
6-19
Page 344 of 384
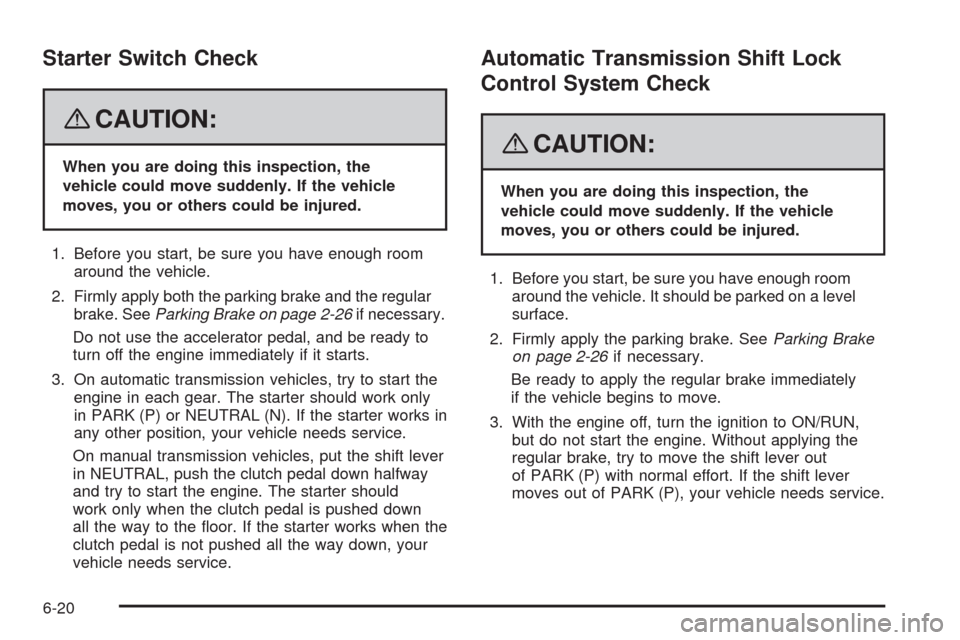
Starter Switch Check
{CAUTION:
When you are doing this inspection, the
vehicle could move suddenly. If the vehicle
moves, you or others could be injured.
1. Before you start, be sure you have enough room
around the vehicle.
2. Firmly apply both the parking brake and the regular
brake. SeeParking Brake on page 2-26if necessary.
Do not use the accelerator pedal, and be ready to
turn off the engine immediately if it starts.
3. On automatic transmission vehicles, try to start the
engine in each gear. The starter should work only
in PARK (P) or NEUTRAL (N). If the starter works in
any other position, your vehicle needs service.
On manual transmission vehicles, put the shift lever
in NEUTRAL, push the clutch pedal down halfway
and try to start the engine. The starter should
work only when the clutch pedal is pushed down
all the way to the floor. If the starter works when the
clutch pedal is not pushed all the way down, your
vehicle needs service.
Automatic Transmission Shift Lock
Control System Check
{CAUTION:
When you are doing this inspection, the
vehicle could move suddenly. If the vehicle
moves, you or others could be injured.
1. Before you start, be sure you have enough room
around the vehicle. It should be parked on a level
surface.
2. Firmly apply the parking brake. SeeParking Brake
on page 2-26if necessary.
Be ready to apply the regular brake immediately
if the vehicle begins to move.
3. With the engine off, turn the ignition to ON/RUN,
but do not start the engine. Without applying the
regular brake, try to move the shift lever out
of PARK (P) with normal effort. If the shift lever
moves out of PARK (P), your vehicle needs service.
6-20
Page 345 of 384
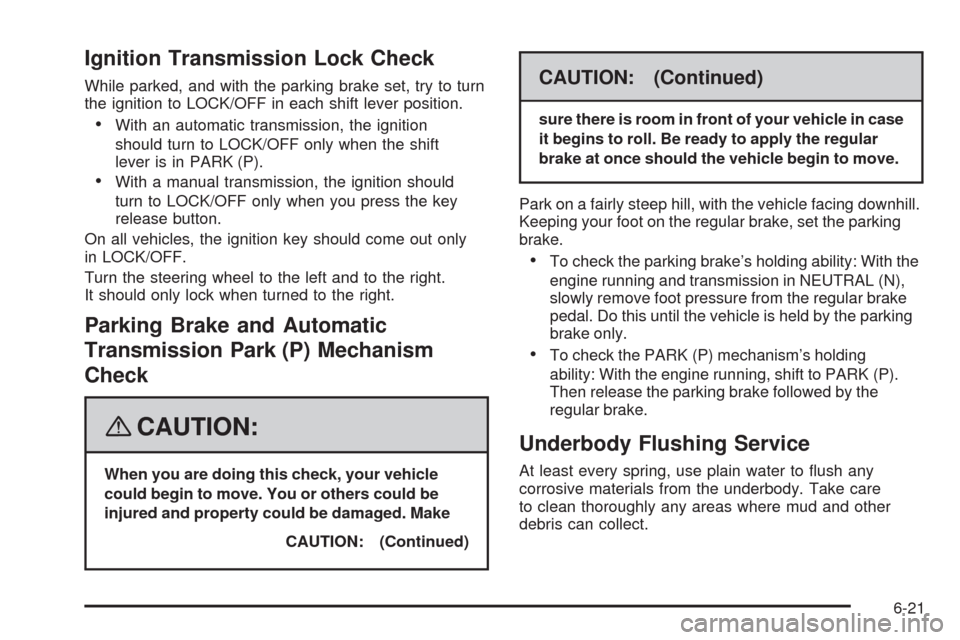
Ignition Transmission Lock Check
While parked, and with the parking brake set, try to turn
the ignition to LOCK/OFF in each shift lever position.
•With an automatic transmission, the ignition
should turn to LOCK/OFF only when the shift
lever is in PARK (P).
•With a manual transmission, the ignition should
turn to LOCK/OFF only when you press the key
release button.
On all vehicles, the ignition key should come out only
in LOCK/OFF.
Turn the steering wheel to the left and to the right.
It should only lock when turned to the right.
Parking Brake and Automatic
Transmission Park (P) Mechanism
Check
{CAUTION:
When you are doing this check, your vehicle
could begin to move. You or others could be
injured and property could be damaged. Make
CAUTION: (Continued)
CAUTION: (Continued)
sure there is room in front of your vehicle in case
it begins to roll. Be ready to apply the regular
brake at once should the vehicle begin to move.
Park on a fairly steep hill, with the vehicle facing downhill.
Keeping your foot on the regular brake, set the parking
brake.
•To check the parking brake’s holding ability: With the
engine running and transmission in NEUTRAL (N),
slowly remove foot pressure from the regular brake
pedal. Do this until the vehicle is held by the parking
brake only.
•To check the PARK (P) mechanism’s holding
ability: With the engine running, shift to PARK (P).
Then release the parking brake followed by the
regular brake.
Underbody Flushing Service
At least every spring, use plain water to flush any
corrosive materials from the underbody. Take care
to clean thoroughly any areas where mud and other
debris can collect.
6-21
Page 346 of 384
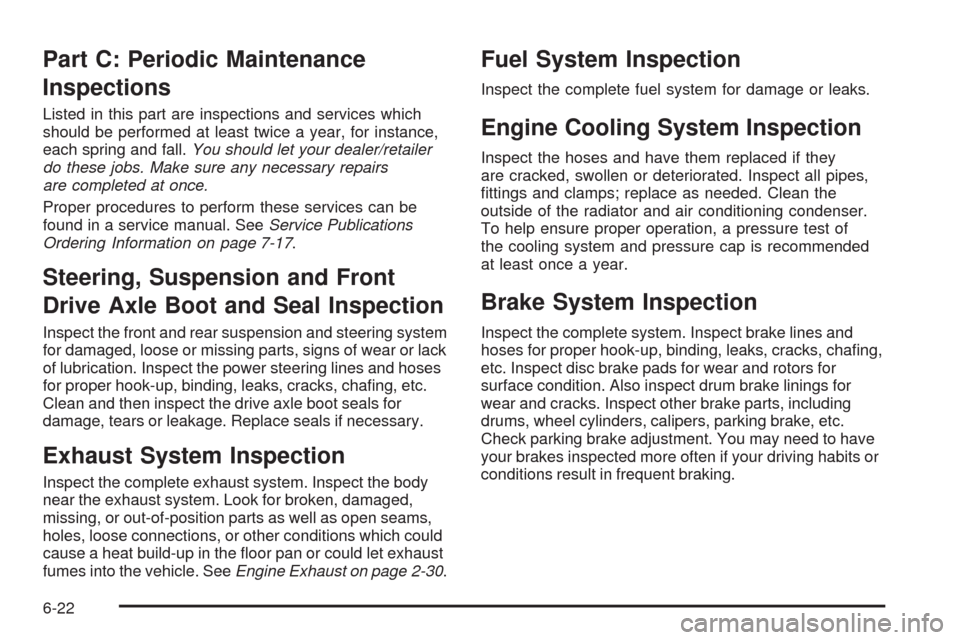
Part C: Periodic Maintenance
Inspections
Listed in this part are inspections and services which
should be performed at least twice a year, for instance,
each spring and fall.You should let your dealer/retailer
do these jobs. Make sure any necessary repairs
are completed at once.
Proper procedures to perform these services can be
found in a service manual. SeeService Publications
Ordering Information on page 7-17.
Steering, Suspension and Front
Drive Axle Boot and Seal Inspection
Inspect the front and rear suspension and steering system
for damaged, loose or missing parts, signs of wear or lack
of lubrication. Inspect the power steering lines and hoses
for proper hook-up, binding, leaks, cracks, chafing, etc.
Clean and then inspect the drive axle boot seals for
damage, tears or leakage. Replace seals if necessary.
Exhaust System Inspection
Inspect the complete exhaust system. Inspect the body
near the exhaust system. Look for broken, damaged,
missing, or out-of-position parts as well as open seams,
holes, loose connections, or other conditions which could
cause a heat build-up in the floor pan or could let exhaust
fumes into the vehicle. SeeEngine Exhaust on page 2-30.
Fuel System Inspection
Inspect the complete fuel system for damage or leaks.
Engine Cooling System Inspection
Inspect the hoses and have them replaced if they
are cracked, swollen or deteriorated. Inspect all pipes,
fittings and clamps; replace as needed. Clean the
outside of the radiator and air conditioning condenser.
To help ensure proper operation, a pressure test of
the cooling system and pressure cap is recommended
at least once a year.
Brake System Inspection
Inspect the complete system. Inspect brake lines and
hoses for proper hook-up, binding, leaks, cracks, chafing,
etc. Inspect disc brake pads for wear and rotors for
surface condition. Also inspect drum brake linings for
wear and cracks. Inspect other brake parts, including
drums, wheel cylinders, calipers, parking brake, etc.
Check parking brake adjustment. You may need to have
your brakes inspected more often if your driving habits or
conditions result in frequent braking.
6-22
Page 347 of 384
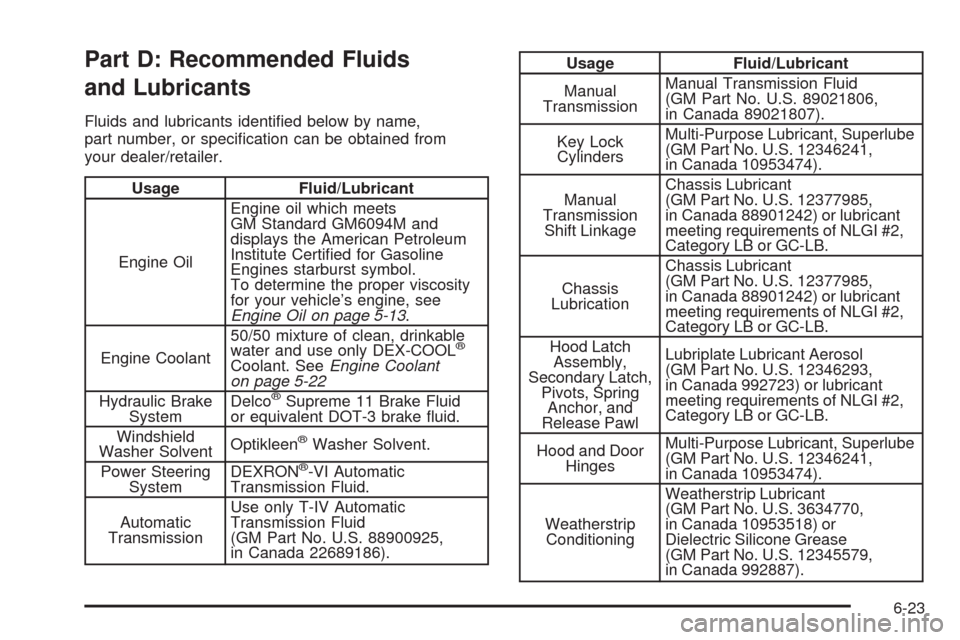
Part D: Recommended Fluids
and Lubricants
Fluids and lubricants identified below by name,
part number, or specification can be obtained from
your dealer/retailer.
Usage Fluid/Lubricant
Engine OilEngine oil which meets
GM Standard GM6094M and
displays the American Petroleum
Institute Certified for Gasoline
Engines starburst symbol.
To determine the proper viscosity
for your vehicle’s engine, see
Engine Oil on page 5-13.
Engine Coolant50/50 mixture of clean, drinkable
water and use only DEX-COOL
®
Coolant. SeeEngine Coolant
on page 5-22
Hydraulic Brake
SystemDelco
®Supreme 11 Brake Fluid
or equivalent DOT-3 brake fluid.
Windshield
Washer SolventOptikleen
®Washer Solvent.
Power Steering
SystemDEXRON
®-VI Automatic
Transmission Fluid.
Automatic
TransmissionUse only T-IV Automatic
Transmission Fluid
(GM Part No. U.S. 88900925,
in Canada 22689186).
Usage Fluid/Lubricant
Manual
TransmissionManual Transmission Fluid
(GM Part No. U.S. 89021806,
in Canada 89021807).
Key Lock
CylindersMulti-Purpose Lubricant, Superlube
(GM Part No. U.S. 12346241,
in Canada 10953474).
Manual
Transmission
Shift LinkageChassis Lubricant
(GM Part No. U.S. 12377985,
in Canada 88901242) or lubricant
meeting requirements of NLGI #2,
Category LB or GC-LB.
Chassis
LubricationChassis Lubricant
(GM Part No. U.S. 12377985,
in Canada 88901242) or lubricant
meeting requirements of NLGI #2,
Category LB or GC-LB.
Hood Latch
Assembly,
Secondary Latch,
Pivots, Spring
Anchor, and
Release PawlLubriplate Lubricant Aerosol
(GM Part No. U.S. 12346293,
in Canada 992723) or lubricant
meeting requirements of NLGI #2,
Category LB or GC-LB.
Hood and Door
HingesMulti-Purpose Lubricant, Superlube
(GM Part No. U.S. 12346241,
in Canada 10953474).
Weatherstrip
ConditioningWeatherstrip Lubricant
(GM Part No. U.S. 3634770,
in Canada 10953518) or
Dielectric Silicone Grease
(GM Part No. U.S. 12345579,
in Canada 992887).
6-23
Page 348 of 384
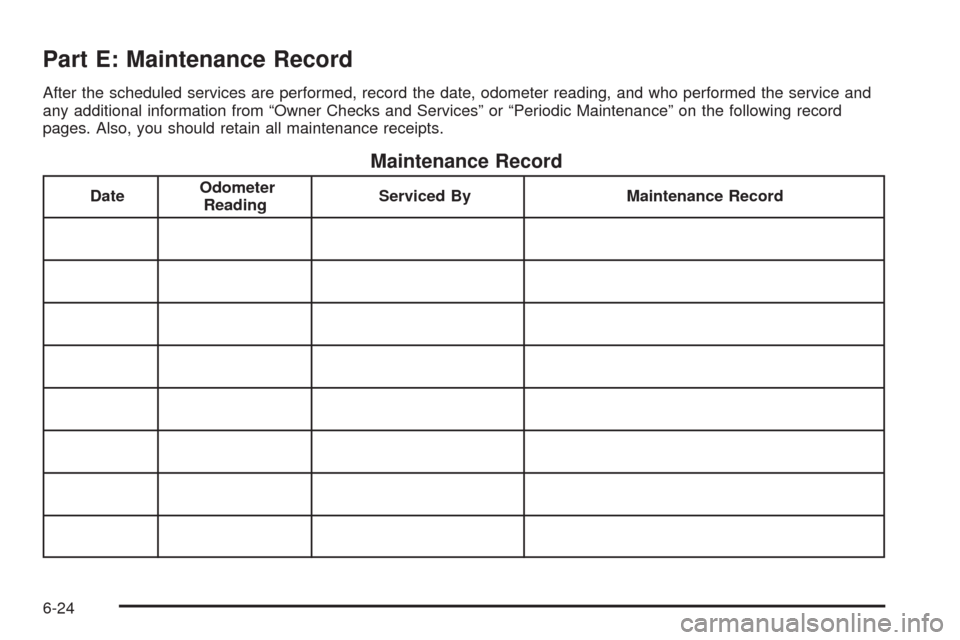
Part E: Maintenance Record
After the scheduled services are performed, record the date, odometer reading, and who performed the service and
any additional information from “Owner Checks and Services” or “Periodic Maintenance” on the following record
pages. Also, you should retain all maintenance receipts.
Maintenance Record
DateOdometer
ReadingServiced By Maintenance Record
6-24
Page 349 of 384
Maintenance Record (cont’d)
DateOdometer
ReadingServiced By Maintenance Record
6-25
Page 350 of 384
Maintenance Record (cont’d)
DateOdometer
ReadingServiced By Maintenance Record
6-26