checking oil CHEVROLET AVEO 2008 1.G Owners Manual
[x] Cancel search | Manufacturer: CHEVROLET, Model Year: 2008, Model line: AVEO, Model: CHEVROLET AVEO 2008 1.GPages: 384, PDF Size: 6.67 MB
Page 223 of 384
Service............................................................5-3
Accessories and Modifications..........................5-3
California Proposition 65 Warning.....................5-4
California Perchlorate Materials Requirements.....5-4
Doing Your Own Service Work.........................5-4
Adding Equipment to the Outside
of Your Vehicle...........................................5-5
Fuel................................................................5-5
Gasoline Octane............................................5-5
Gasoline Specifications....................................5-5
California Fuel...............................................5-6
Additives.......................................................5-6
Fuels in Foreign Countries...............................5-7
Filling the Tank..............................................5-7
Filling a Portable Fuel Container.......................5-9
Checking Things Under the Hood....................5-10
Hood Release..............................................5-10
Engine Compartment Overview.......................5-12
Engine Oil...................................................5-13
Engine Air Cleaner/Filter................................5-17
Automatic Transmission Fluid.........................5-19
Manual Transmission Fluid.............................5-21
Hydraulic Clutch...........................................5-21
Engine Coolant.............................................5-22
Coolant Surge Tank Pressure Cap..................5-25
Engine Overheating.......................................5-25
Cooling System............................................5-26Power Steering Fluid.....................................5-30
Windshield Washer Fluid................................5-31
Brakes........................................................5-32
Battery........................................................5-35
Jump Starting...............................................5-36
Headlamp Aiming...........................................5-40
Bulb Replacement..........................................5-41
Halogen Bulbs
..............................................5-41
Headlamps (Hatchback).................................5-41
Headlamps (Sedan)......................................5-42
Front Turn Signal and Parking Lamps
(Hatchback)..............................................5-43
Front Turn Signal and Parking Lamps (Sedan).....5-44
Turn Signal Lamps (Side)..............................5-45
Center High-Mounted Stoplamp (CHMSL)
(Sedan)...................................................5-46
Taillamps, Turn Signal, Stoplamps and
Back-up Lamps.........................................5-47
License Plate Lamp......................................5-48
Replacement Bulbs.......................................5-48
Windshield Wiper Blade Replacement..............5-49
Tires..............................................................5-50
Tire Sidewall Labeling...................................5-51
Tire Terminology and Definitions.....................5-54
Inflation - Tire Pressure.................................5-57
Tire Pressure Monitor System.........................5-58
Tire Pressure Monitor Operation.....................5-60
Section 5 Service and Appearance Care
5-1
Page 232 of 384
Checking Things Under
the Hood
{CAUTION:
An electric fan under the hood can start up
and injure you even when the engine is not
running. Keep hands, clothing, and tools away
from any underhood electric fan.
{CAUTION:
Things that burn can get on hot engine parts
and start a �re. These include liquids like fuel,
oil, coolant, brake �uid, windshield washer and
other �uids, and plastic or rubber. You or
others could be burned. Be careful not to drop
or spill things that will burn onto a hot engine.
Hood Release
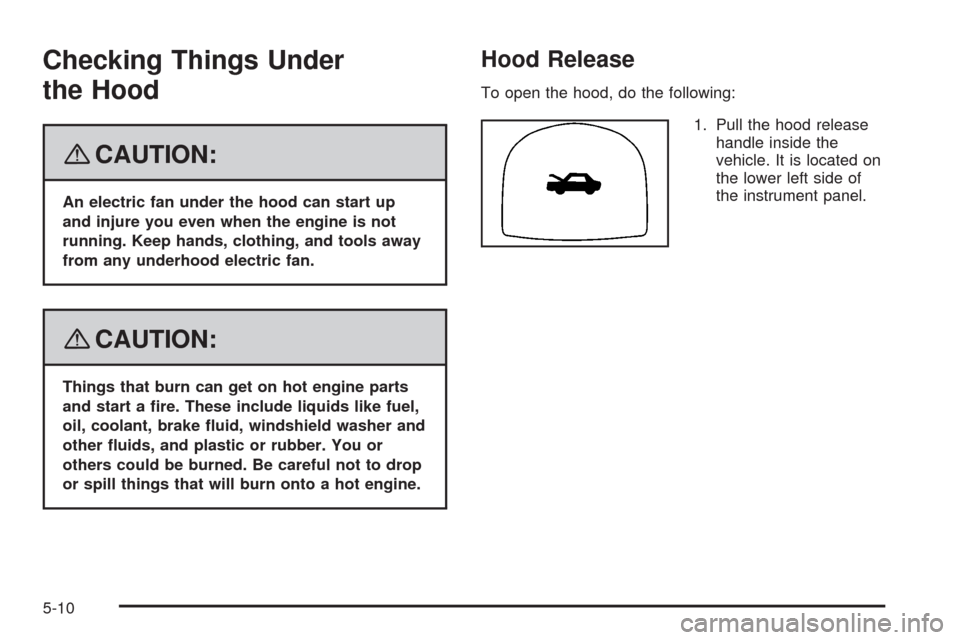
To open the hood, do the following:
1. Pull the hood release
handle inside the
vehicle. It is located on
the lower left side of
the instrument panel.
5-10
Page 235 of 384
A. Engine Air Cleaner/Filter. SeeEngine Air
Cleaner/Filter on page 5-17.
B. Engine Oil Fill Cap. See “When to Add Engine Oil”
underEngine Oil on page 5-13.
C. Engine Oil Dipstick. See “Checking Engine Oil”
underEngine Oil on page 5-13.
D. Brake/Clutch Fluid Reservoir. See “Brake Fluid”
underBrakes on page 5-32andHydraulic Clutch on
page 5-21.
E. Automatic Transmission Dipstick. SeeAutomatic
Transmission Fluid on page 5-19.
F. Engine Coolant Surge Tank. SeeCooling System on
page 5-26.
G. Engine Compartment Fuse Block. SeeEngine
Compartment Fuse Block on page 5-94.
H. Power Steering Fluid Reservoir. SeePower Steering
Fluid on page 5-30.
I. Battery. SeeBattery on page 5-35.
J. Windshield Washer Fluid Reservoir. See “Adding
Washer Fluid” underWindshield Washer Fluid
on page 5-31.Engine Oil
If the engine oil pressure
light comes on, check the
engine oil level right away.
The oil pressure light is on the instrument panel cluster
for sedans. SeeOil Pressure Light on page 3-39.
For hatchbacks, the oil pressure light is on the
Secondary Information Center (SIC). SeeOil Pressure
Light on page 3-52. You should check the engine
oil level regularly; this is an added reminder.
5-13
Page 236 of 384
Checking Engine Oil
It is a good idea to check the engine oil every time you
get fuel. In order to get an accurate reading, the oil
must be warm and the vehicle must be on level ground.
The engine oil dipstick handle is a yellow loop. See
Engine Compartment Overview on page 5-12for
the location of the engine oil dipstick.
1. Turn off the engine and give the oil several minutes
to drain back into the oil pan. If you do not do this,
the oil dipstick might not show the actual level.
2. Pull the dipstick and clean it with a paper towel or
cloth, then push it back in all the way. Remove it
again, keeping the tip down and check the level.
When to Add Engine Oil
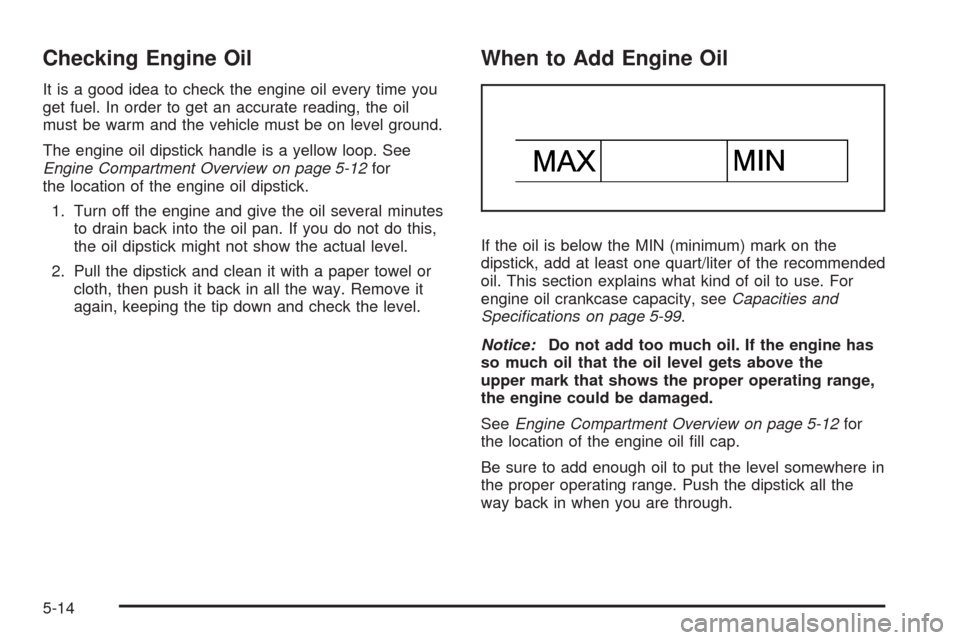
If the oil is below the MIN (minimum) mark on the
dipstick, add at least one quart/liter of the recommended
oil. This section explains what kind of oil to use. For
engine oil crankcase capacity, seeCapacities and
Specifications on page 5-99.
Notice:Do not add too much oil. If the engine has
so much oil that the oil level gets above the
upper mark that shows the proper operating range,
the engine could be damaged.
SeeEngine Compartment Overview on page 5-12for
the location of the engine oil fill cap.
Be sure to add enough oil to put the level somewhere in
the proper operating range. Push the dipstick all the
way back in when you are through.
5-14
Page 342 of 384
Part B: Owner Checks and Services
Listed in this part are owner checks and services
which should be performed at the intervals specified
to help ensure the safety, dependability and emission
control performance of your vehicle.
Be sure any necessary repairs are completed at once.
Whenever any fluids or lubricants are added to your
vehicle, make sure they are the proper ones, as
shown in Part D.
At Each Fuel Fill
It is important to perform these underhood checks
at each fuel fill.
Engine Oil Level Check
Notice:It is important to check the engine oil
regularly and keep it at the proper level. Failure to
keep the engine oil at the proper level can cause
damage to the engine not covered by your warranty.
Check the engine oil level and add the proper oil if
necessary. SeeEngine Oil on page 5-13.
Engine Coolant Level Check
Check the engine coolant level and add DEX-COOL®
coolant mixture if necessary. SeeEngine Coolant
on page 5-22.
Windshield Washer Fluid Level Check
Check the windshield washer fluid level in the windshield
washer fluid reservoir and add the proper fluid if
necessary.
At Least Once a Month
Tire In�ation Check
Inspect the tires and make sure the tires are inflated to
the correct pressures. Do not forget to check the spare
tire. SeeInflation - Tire Pressure on page 5-57.
At Least Twice a Year
Restraint System Check
Make sure the safety belt reminder light and safety belt
assemblies are working properly. Look for any other
loose or damaged safety belt system parts. If you see
anything that might keep a safety belt system from
doing its job, have it repaired. Have any torn or frayed
safety belts replaced. Also seeChecking the Restraint
Systems on page 1-72.
6-18