service schedule CHEVROLET BLAZER 1994 2.G Owners Manual
[x] Cancel search | Manufacturer: CHEVROLET, Model Year: 1994, Model line: BLAZER, Model: CHEVROLET BLAZER 1994 2.GPages: 348, PDF Size: 17.88 MB
Page 6 of 348
Downloaded from www.Manualslib.com manuals search engine Table of Contents
Introduction - How to Use this Manual
This section tells you how to use your manual and includes safety
and vehicle damage warnings and symbols.
Section 1 - Seats and Safety Restraints
This section tells you how to use your seats and safety restraints
properly.
Section 2 - Features & Controls
This section explains how to start and operate your vehicle.
Section 3 - Comfort Controls & Audio Systems
This section tells you how to adjust the ventilation and comfort
controls and how
to operate your audio system.
Section 4 - Your Driving and the Road
Here you’ll find helpful information and tips about the road and \
how
to drive under different conditions.
Section 5 - Problems on the Road
This section tells you what to do if you have a problem while
driving, such as a flat tire or engine overheating.
Section 6 - Service & Appearance Care
Here the manual tells you how to keep your vehicle running
properly and looking good.
Section 7- Scheduled Maintenance Services
This section tells you when to perform vehicle maintenance and
what fluids and lubricants
to use.
Section 8 - Customer Assistance Information
This section tells you how to contact your GM division for
assistance and how
to get service publications. It also gives you
information
on “Reporting Safety Defects” on page 8-4.
Index
Here’s an alphabetical listing of almost every subject in this
manual. You can use
it to quickly find something you want to read.
1v
Page 182 of 348
Downloaded from www.Manualslib.com manuals search engine After Off-Road Driving
Remove any brush or debris that has collected on the underbody, chassis or
under the hood. These accumulations can be a fire hazard.
After operation in mud or sand, have the brake linings cleaned and checked.
These substances can cause glazing and uneven braking. Check
the body
structure, steering, suspension, wheels, tires, and exhaust system for
damage. Also, check the
fuel lines and cooling system for any leakage.
Your vehicle will require more frequent service due
to off-road use. Refer
to the Maintenance Schedule for additional information.
Driving at Night
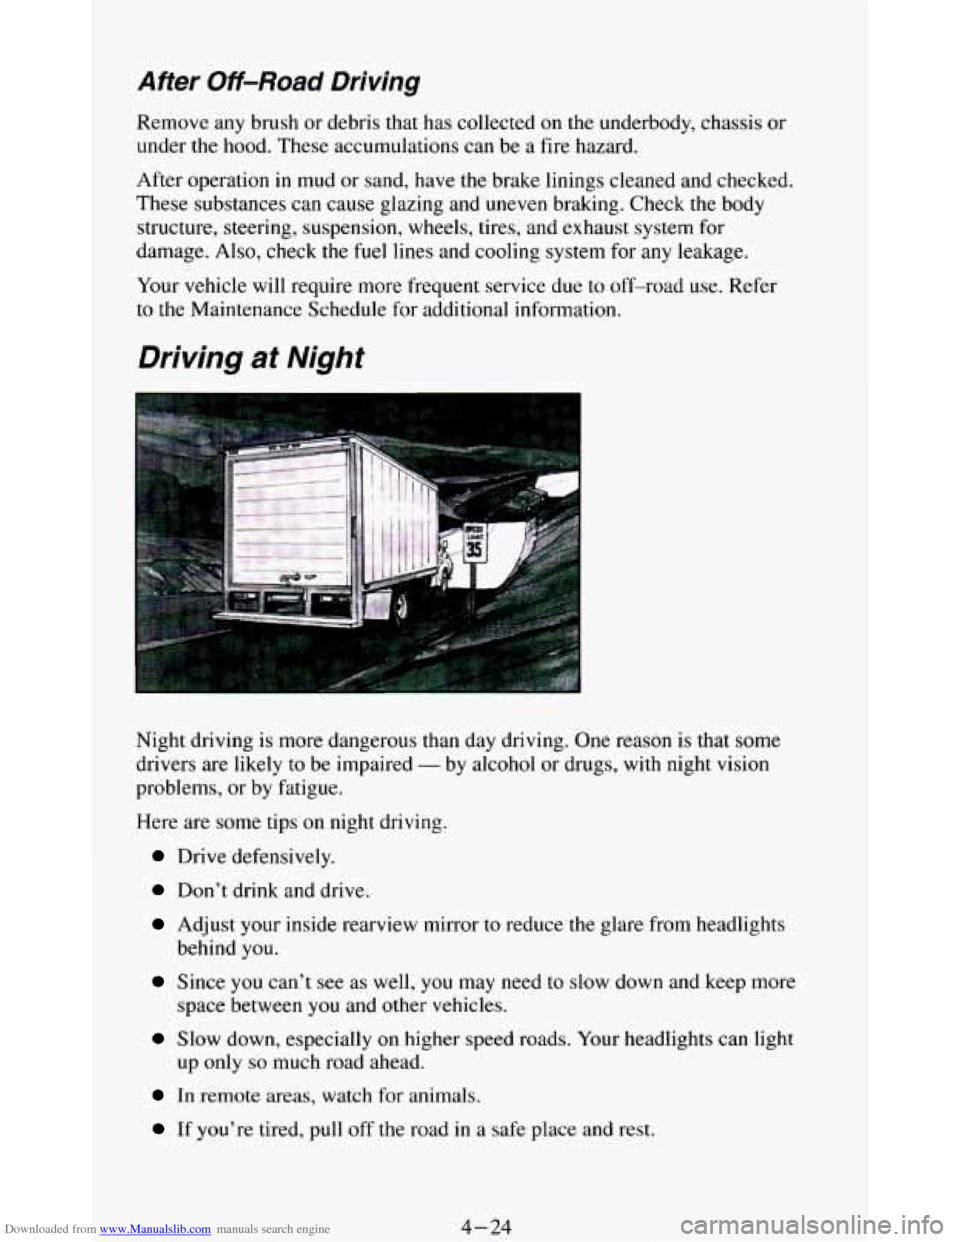
Night driving is more dangerous than day driving. One reason is that some
drivers are likely
to be impaired - by alcohol or drugs, with night vision
problems, or by fatigue.
Here are some tips
on night driving.
Drive defensively.
Don’t drink and drive.
Adjust your inside rearview mirror to reduce the glare from headlights
behind you.
space between
you and other vehicles.
up
only so much road ahead.
Since you can’t see as well, you may need to slow down and keep more
Slow down, especially on higher speed roads. Your headlights can light
In remote areas, watch for animals.
If you’re tired, pull off the road in a safe place and rest.
4-24
Page 202 of 348
Downloaded from www.Manualslib.com manuals search engine Maintenance When Trailer Towing
Your vehicle will need service more often when you’re pulling a trailer. See
the Maintenance Schedule for more on this. Things that are especially
important in trailer operation are automatic transmission fluid (don’t
overfill), engine oil, axle lubricant, belt, cooling system, and brake
adjustment. Each of these is covered
in this manual, and the Index will help
you find them quickly. If you’re trailering,
it’s a good idea to review these
sections before you start your trip.
Check periodically to see that
all hitch nuts and bolts are tight.
Trailer Light Wiring
See “Trailer Wiring Harness” in the Index.
Power Winches
If you wish to use a power winch on your vehicle, only use it when your
vehicle
is stationary or anchored.
! NOTICE:
~ When operating a power winch on your vehicle always leave the \
l transmission in the neutral position. Do not leave an automatic
transmission in
P (Park) or a manual transmission in gear or the
transmission may be damaged.
Use the regular brakes, set the parking brake or block the wheels to keep
your vehicle from rolling.
4-44
Page 250 of 348
Downloaded from www.Manualslib.com manuals search engine Air Cleaner
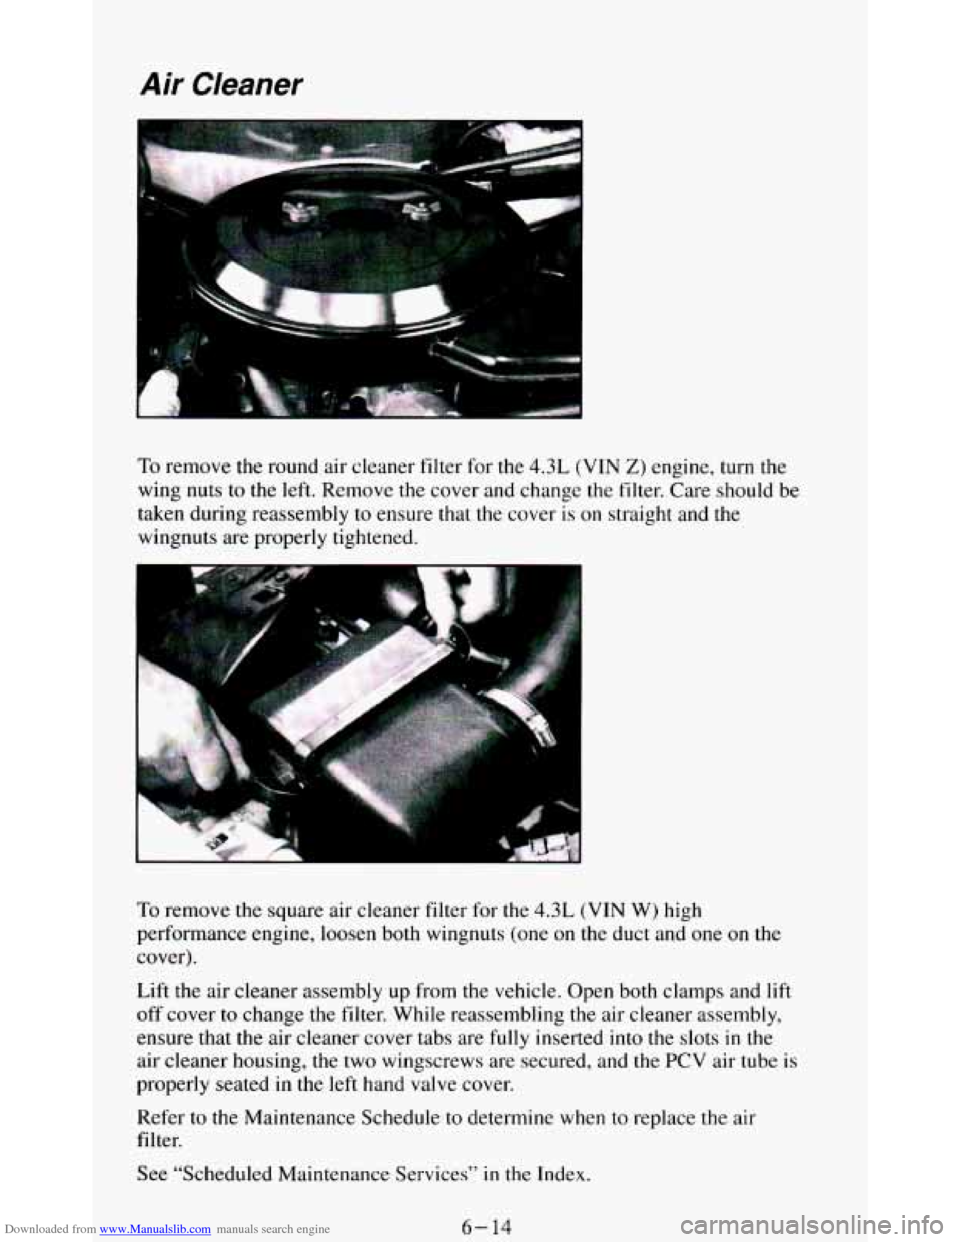
To remove the round air cleaner filter for the 4.3L (VIN Z) engine, turn the
wing nuts to the left. Remove the cover and change the filter. Care should be
taken during reassembly
to ensure that the cover is on straight and the
wingnuts are properly tightened.
I“
a
To remove the square air cleaner filter for the 4.3L (VIN W) high
performance engine, loosen both wingnuts (one
on the duct and one on the
cover).
Lift the air cleaner assembly up from the vehicle. Open both clamps and
lift
off cover to change the filter. While reassembling the air cleaner assembly,
ensure that the air cleaner cover tabs are
fully inserted into the slots in the
air cleaner housing, the two wingscrews are secured, and the PCV air tube is
properly seated
in the left hand valve cover.
Refer to the Maintenance Schedule to determine when
to replace the air
filter.
See “Scheduled Maintenance Services’’
in the Index.
6- 14
Page 251 of 348
Downloaded from www.Manualslib.com manuals search engine NOTICE:
If the air cleaner is off, a backfire can cause a damaging engine
fire. And, dirt can easily get into your engine, which will damage
it. Always have the air cleaner in place when you’re driving.
Automatic Transmission Fluid
When to Check and Change
A good time to check your automatic transmission fluid level is when the
engine
oil is changed. Refer to the Maintenance Schedule to determine
when
to change your fluid. See “Scheduled Maintenance Services” in the
Index.
How to Check
Because this operation can be a little difficult, you may choose to have this
done at a
GM dealership Service Department.
If
you do it yourself, be sure to follow all the instructions here, or you could
get
a false reading on the dipstick.
NOTICE:
Too much or too little fluid can damage your transmission. Too
much can mean that some of the fluid could come out and fall on
hot engine parts or exhaust system, starting
a fire. Be sure to get
an accurate reading if you check your transmission fluid.
6-15
Page 254 of 348
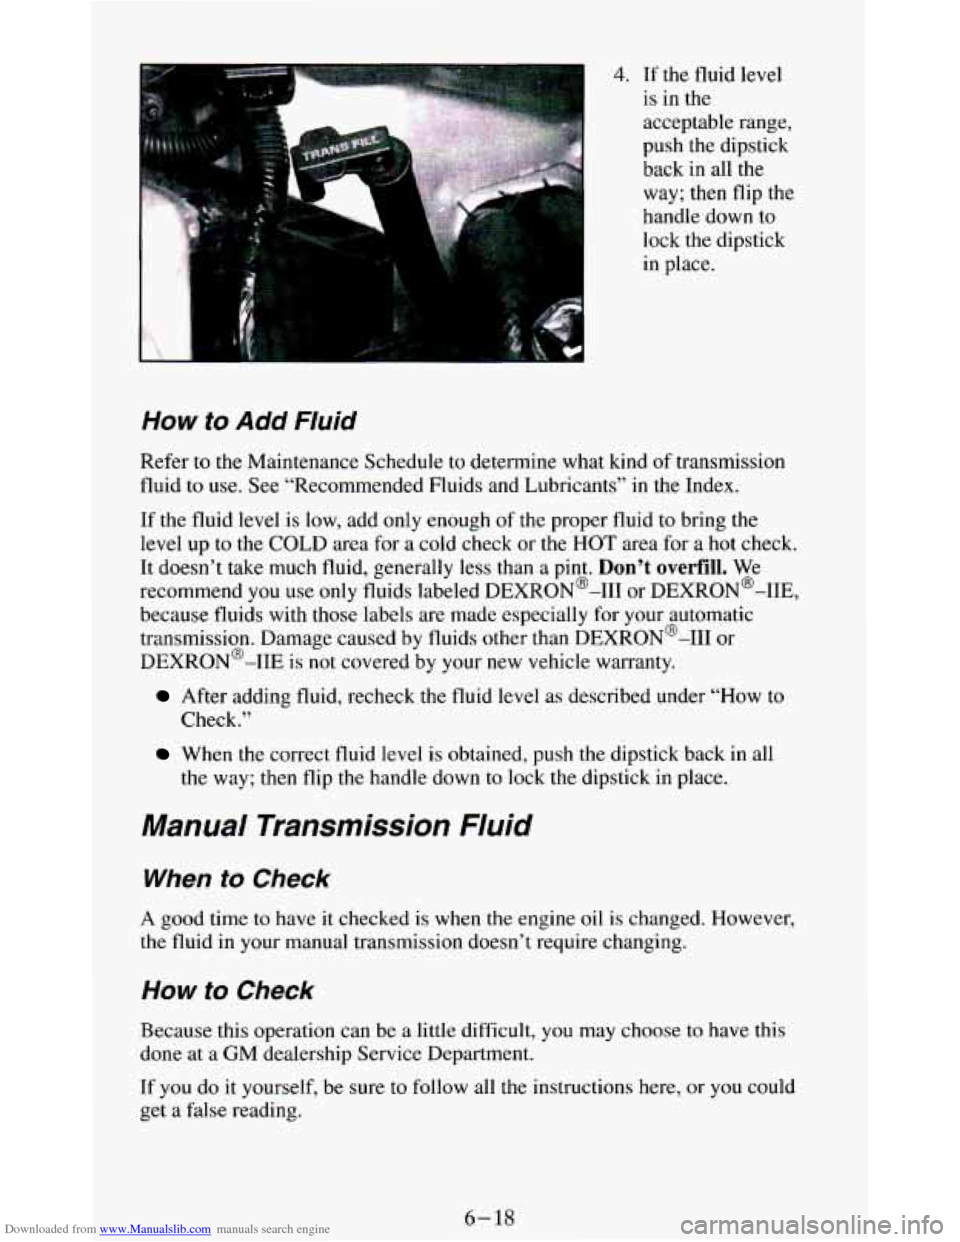
Downloaded from www.Manualslib.com manuals search engine 4. If the fluid level
is in the
acceptable range,
push the dipstick
back in all the
way; then flip
the
handle down to
lock the dipstick
in place.
How to Add Fluid
Refer to the Maintenance Schedule to determine what kind of transmission
fluid to use. See “Recommended Fluids and Lubricants’’
in the Index.
If the fluid level is low, add only enough
of the proper fluid to bring the
level up to the
COLD area for a cold check or the HOT area for a hot check.
It doesn’t take much fluid, generally
less than a pint. Don’t overfill. We
recommend you use only fluids labeled DEXR0N’-I11 or DEXR0N’-IIE,
because fluids with those labels are made especially for your automatic
transmission. Damage caused by fluids other than DEXRON@-I11 or
DEXRON@-IIE
is not covered by your new vehicle warranty.
After adding fluid, recheck the fluid level as described under “How to
Check.”
When the correct fluid level is obtained, push the dipstick back in all
the way; then flip
the handle down to lock the dipstick in place.
Manual Transmission Fluid
When to Check
A good time to have it checked is when the engine oil is changed. However,
the fluid in your manual transmission doesn’t require changing.
How fo Check
Because this operation can be a little difficult, you may choose to have this
done at a
GM dealership Service Department.
If
you do it yourself, be sure to follow all the instructions here, or you could
get a false reading.
6- 18
Page 256 of 348
Downloaded from www.Manualslib.com manuals search engine Hydraulic Clutch
The hydraulic clutch in your vehicle is self-adjusting. A slight amount of
play (114 inch to 1/2 inch) in the pedal is normal.
When to Check and What to Use
A
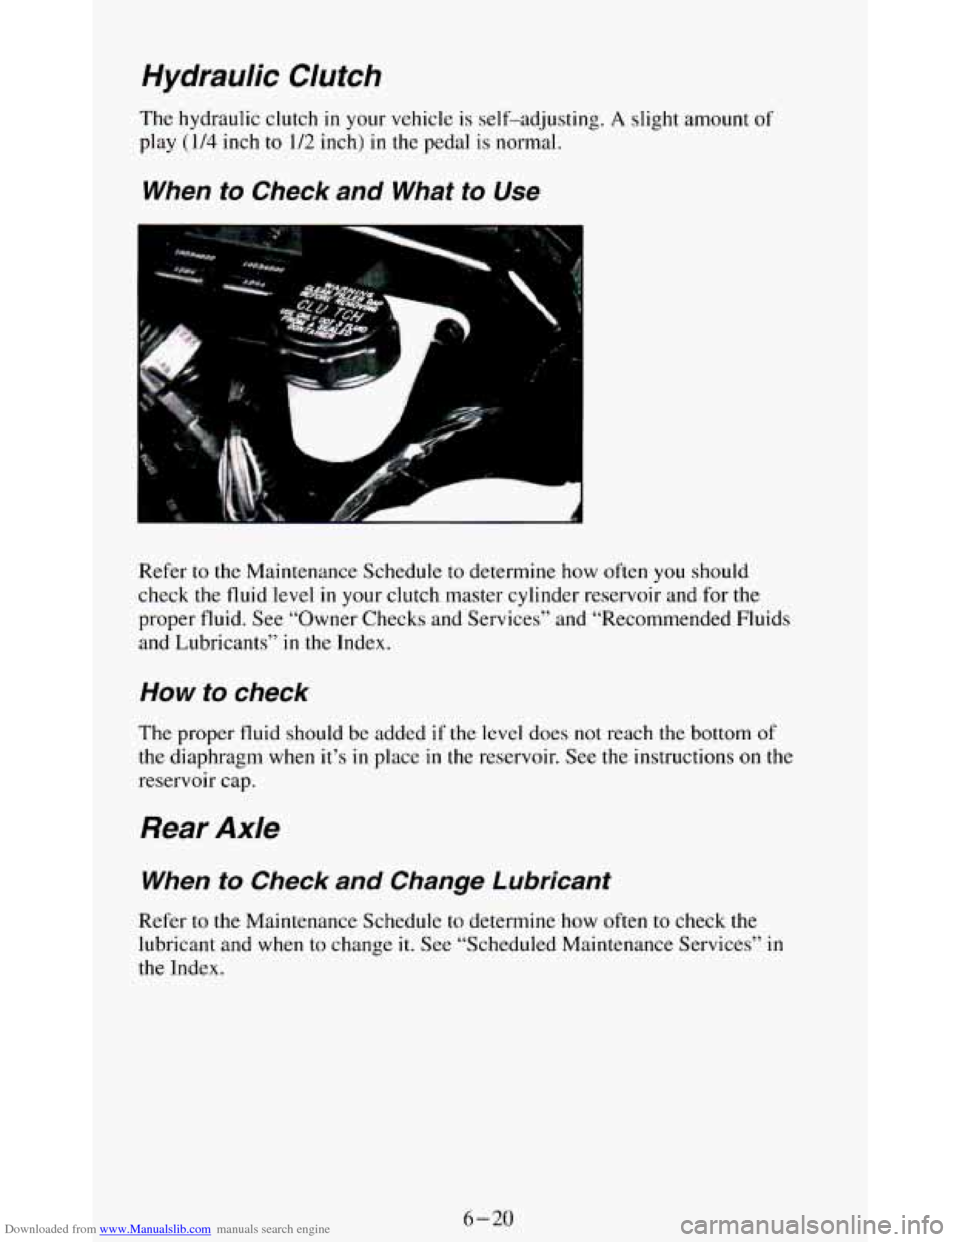
Refer to the Maintenance Schedule to determine how often you should
check
the fluid level in your clutch master cylinder reservoir and for the
proper fluid. See “Owner Checks and Services” and “Recommended Fluids
and Lubricants”
in the Index.
How to check
The proper fluid should be added if the level does not reach the bottom of
the diaphragm when it’s
in place in the reservoir. See the instructions on the
reservoir cap.
Rear Axle
When to Check and Change Lubricant
Refer to the Maintenance Schedule to determine how often to check the
lubricant and when to change
it. See “Scheduled Maintenance Services” in
the Index.
6-20
Page 258 of 348
Downloaded from www.Manualslib.com manuals search engine Wow to Check Lubricant
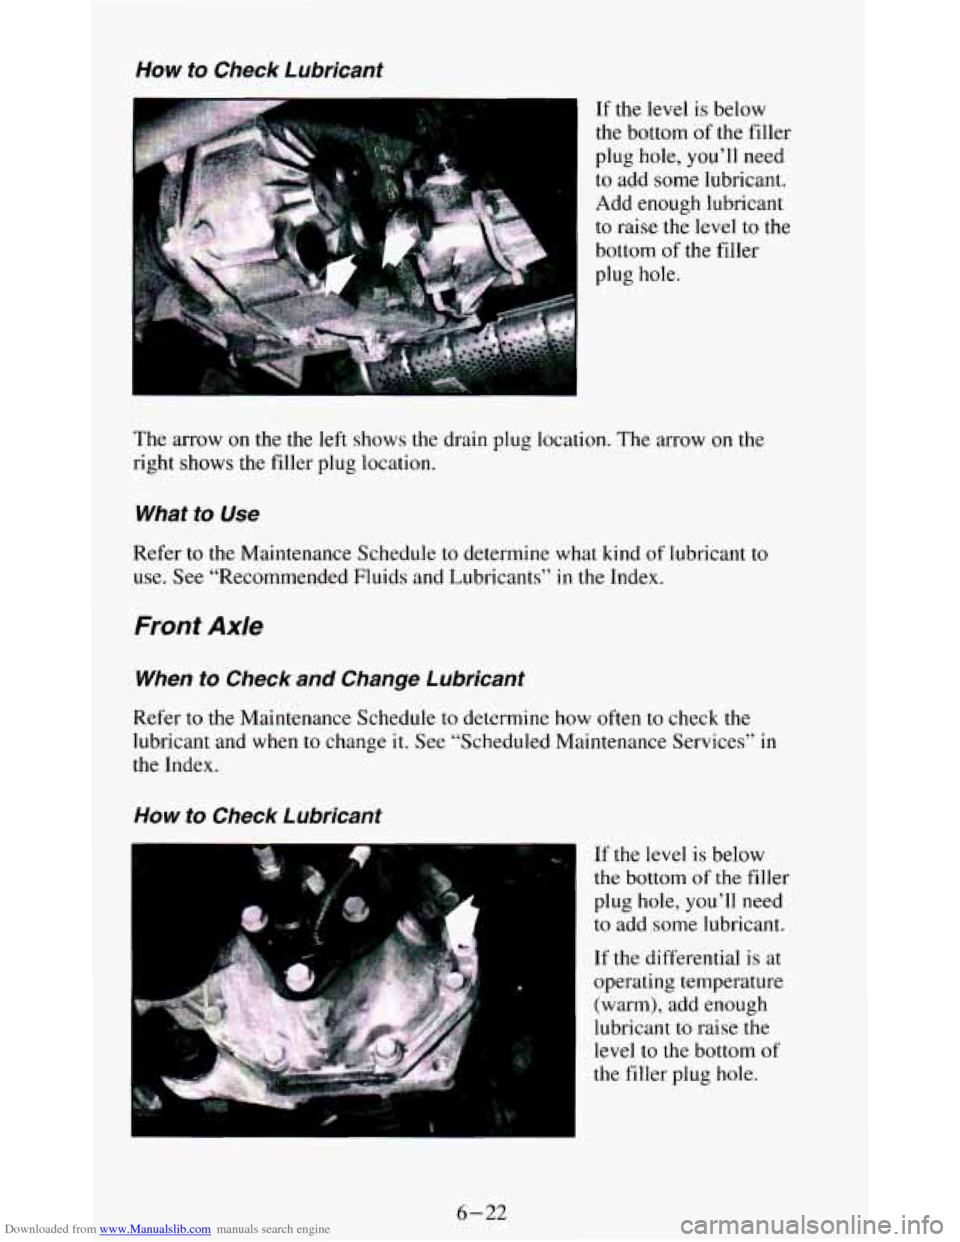
If the level is below
the bottom
of the filler
plug hole, you’ll need
to add some lubricant.
Add enough lubricant
to raise the level to
the
bottom of the filler
plug hole.
The arrow on the the
left shows the drain plug location. The arrow on the
right shows the filler plug location.
What to Use
Refer to the Maintenance Schedule to determine what kind of lubricant to
use. See “Recommended Fluids and Lubricants” in the Index.
Front Axle
When to Check and Change Lubricant
Refer to the Maintenance Schedule to determine how often to check the
lubricant and
when to change it. See “Scheduled Maintenance Services” in
the Index.
How to Check Lubricant
f
, .’ @”,
If the level is below
the bottom
of the filler
plug
hole, you’ll need
to add some lubricant.
If the differential is at
operating temperature
(warm), add enough
lubricant to raise the
level to the bottom of
the filler plug hole.
6-22
Page 273 of 348
Downloaded from www.Manualslib.com manuals search engine Propeller Shaft Slip Splines/Universal Joints
Refer to the Maintenance Schedule to determine how often the slip and
universal joints must be lubricated and what type of lubricant to use.
Body
Normal use of your vehicle will cause metal to metal wear at some points on
the cab and body if they are not lubricated.
For exposed surfaces, such as door checks, door lock bolts, lock s\
triker plates,
dovetail bumper wedges, etc., a
thin film of engine oil should be applied.
Where oil holes are provided
in the body or cab, a dripless oil can be used.
The seat adjusters and seat track should be lubricated with chassis grease.
Door weatherstrips and rubber hood bumpers should be wiped clean with a
wet cloth and lightly coated with a rubber lubricant.
Never use too much of any lubricant and be sure to wipe up any extra
lubricant when
you are finished.
Window regulators and controls are inside the doors. They are lubricated
with a long lasting grease.
If lubrication is required your dealer should
perform this service.
Refer to the Maintenance Schedule to determine how often to lubricate
these items and what type of lubricant to use.
Lock Cylinders
To be sure your locks operate properly, they must be lubricated.
Refer to the Maintenance Schedule to determine how often
to lubricate them
and what type of lubricant to
use.
You should not use penetrating oils because they could wash out the factory
installed lubricant and cause
the lock to bind. De-icers which contain
alcohol could also wash away the lubricant,
so be sure to lubricate the lock
after using a de-icer of this type.
Endgate Handle
The endgate handle pivot points on your vehicle should be lubricated to
keep the handle working smoothly.
Refer to the Maintenance Schedule
to determine how often to lubricate them
and what type of lubricant to use.
6-37
Page 280 of 348
Downloaded from www.Manualslib.com manuals search engine Tire Inspection and Rotation
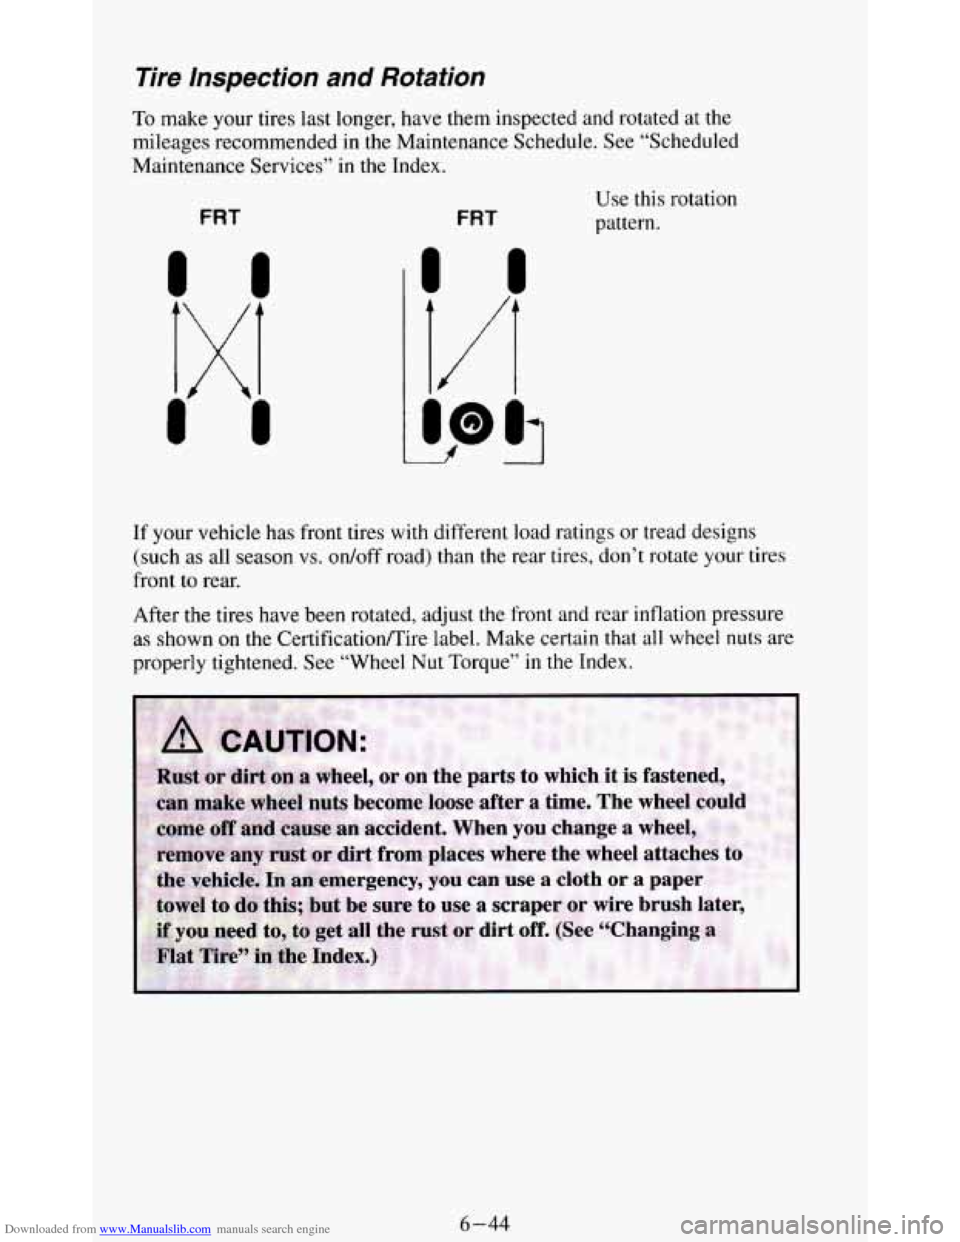
To make your tires last longer, have them inspected and rotated at the
mileages recommended in the Maintenance Schedule.
See “Scheduled
Maintenance Services’’ in the Index.
FRT FRT
Use this rotation
pattern.
U
If your vehicle has front tires with different load ratings or tread designs
(such as all season
vs. on/off road) than the rear tires, don’t rotate your tires
front to rear.
After the tires have been rotated, adjust
the front and rear inflation pressure
as shown on the CertificationEire label. Make certain that all wheel nuts are
properly tightened. See “Wheel
Nut Torque” in the Index.
6-44