warning CHEVROLET BLAZER 1994 2.G Owners Manual
[x] Cancel search | Manufacturer: CHEVROLET, Model Year: 1994, Model line: BLAZER, Model: CHEVROLET BLAZER 1994 2.GPages: 348, PDF Size: 17.88 MB
Page 6 of 348
Downloaded from www.Manualslib.com manuals search engine Table of Contents
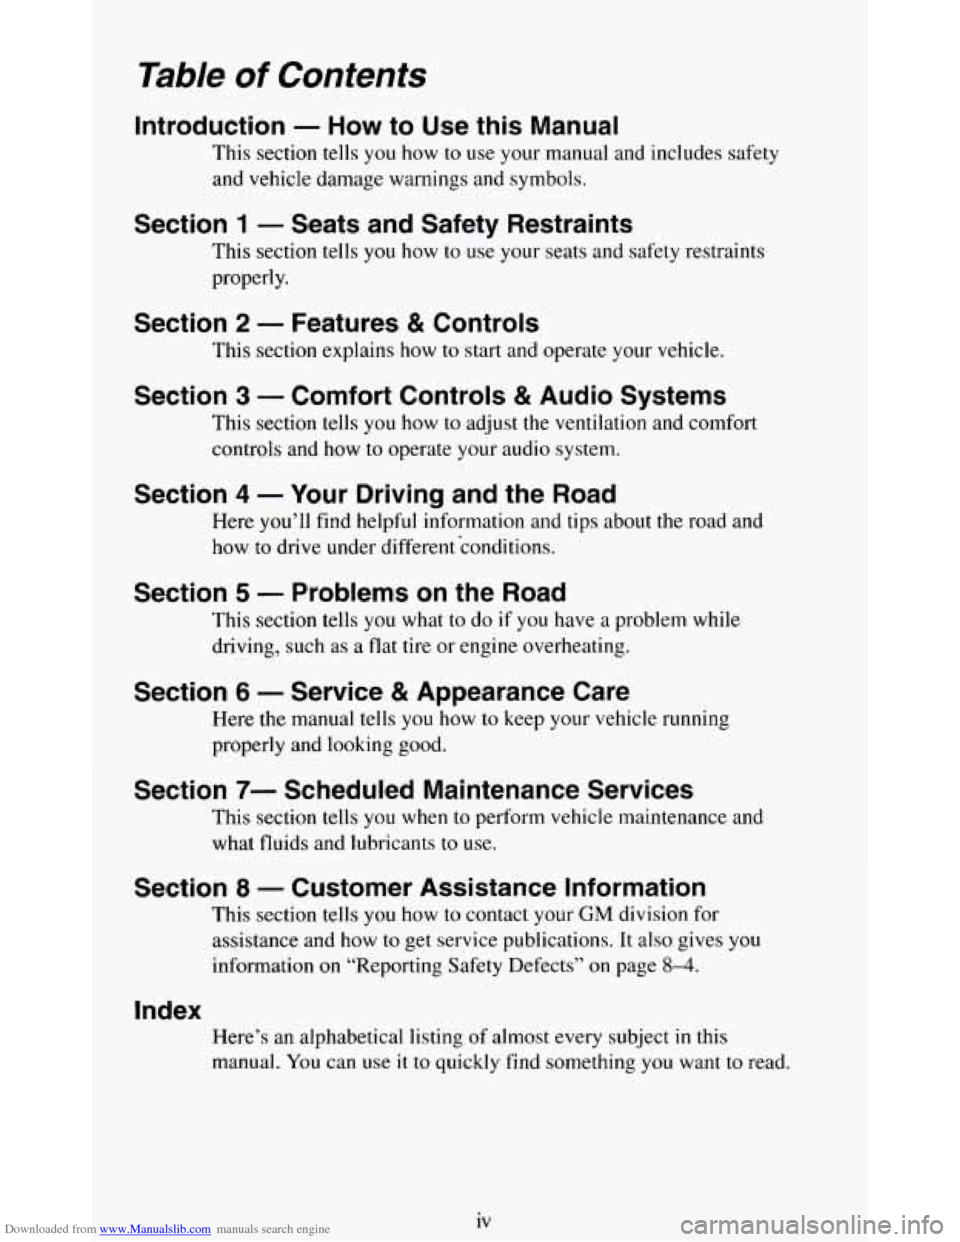
Introduction - How to Use this Manual
This section tells you how to use your manual and includes safety
and vehicle damage warnings and symbols.
Section 1 - Seats and Safety Restraints
This section tells you how to use your seats and safety restraints
properly.
Section 2 - Features & Controls
This section explains how to start and operate your vehicle.
Section 3 - Comfort Controls & Audio Systems
This section tells you how to adjust the ventilation and comfort
controls and how
to operate your audio system.
Section 4 - Your Driving and the Road
Here you’ll find helpful information and tips about the road and \
how
to drive under different conditions.
Section 5 - Problems on the Road
This section tells you what to do if you have a problem while
driving, such as a flat tire or engine overheating.
Section 6 - Service & Appearance Care
Here the manual tells you how to keep your vehicle running
properly and looking good.
Section 7- Scheduled Maintenance Services
This section tells you when to perform vehicle maintenance and
what fluids and lubricants
to use.
Section 8 - Customer Assistance Information
This section tells you how to contact your GM division for
assistance and how
to get service publications. It also gives you
information
on “Reporting Safety Defects” on page 8-4.
Index
Here’s an alphabetical listing of almost every subject in this
manual. You can use
it to quickly find something you want to read.
1v
Page 8 of 348
Downloaded from www.Manualslib.com manuals search engine Safety Warnings and Symbols
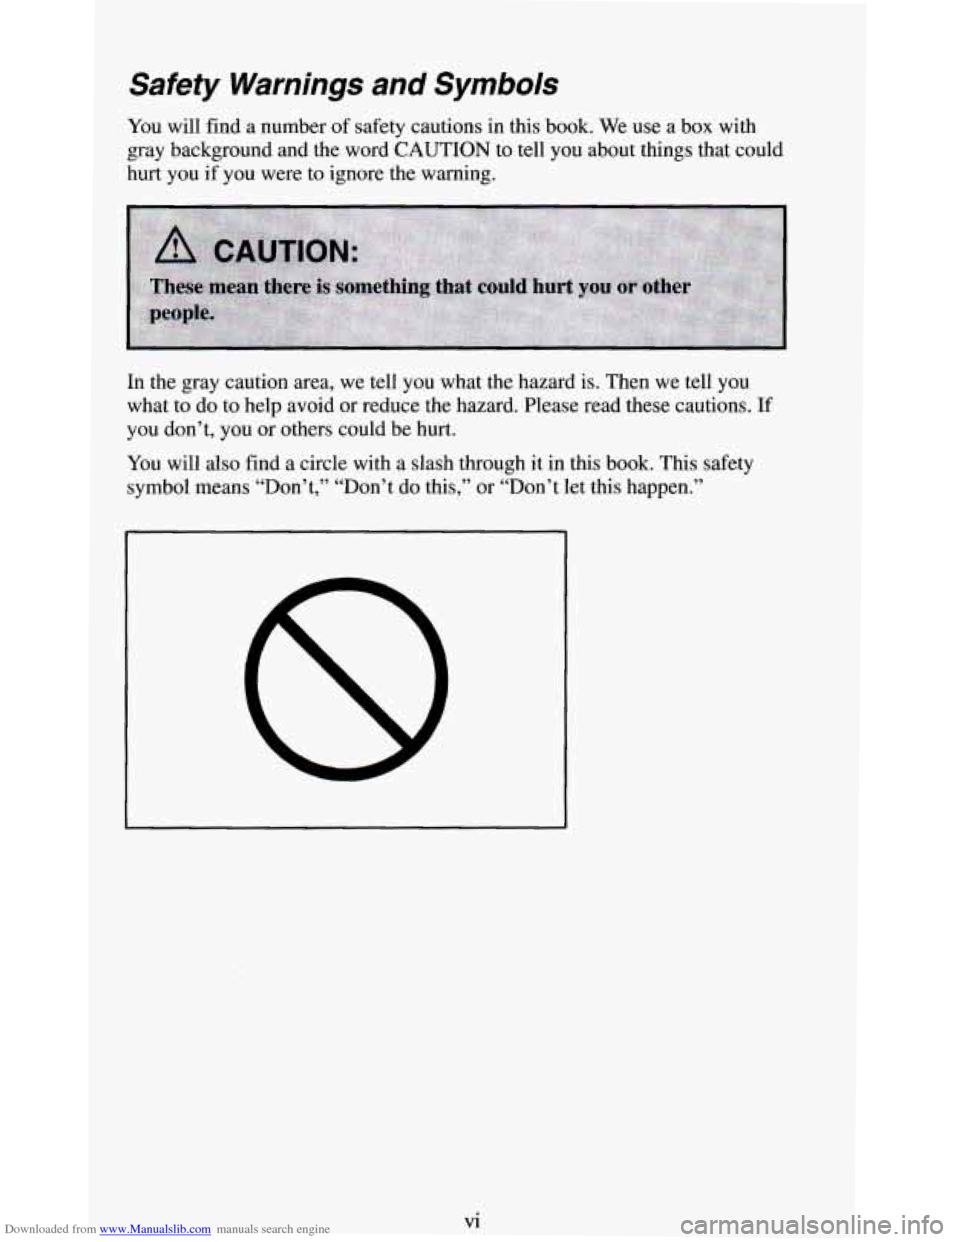
You will find a number of safety cautions in this book. We use a box with
gray background and the word CAUTION to tell you about things that could
hurt you if you were to ignore the warning.
In the gray caution area, we tell you what the hazard is. Then we tell you
what to do to help avoid
or reduce the hazard. Please read these cautions. If
you don’t, you or others could be hurt.
You will also find
a circle with a slash through it in this book. This safety
symbol means “Don’t,’’ “Don’t do this,” or “Don’t let this happen.”
vi
Page 9 of 348
Downloaded from www.Manualslib.com manuals search engine Vehicle Damage Warnings
Also, in this book you will find these notices:
NOTICE:
These mean there is something that could damage your vehicle.
In the notice area, we tell you about something that can damage your
vehicle. Many times, this damage would not be covered by your warranty,
and
it could be costly. But the notice will tell you what to do to help avoid
the damage.
When you read other manuals, you might see CAUTION and NOTICE
warnings in different colors or
in different words.
You’ll also see warning labels
on your vehicle. They use yellow for
cautions, blue for notices and the words CAUTION
or NOTICE.
Vehicle Symbols
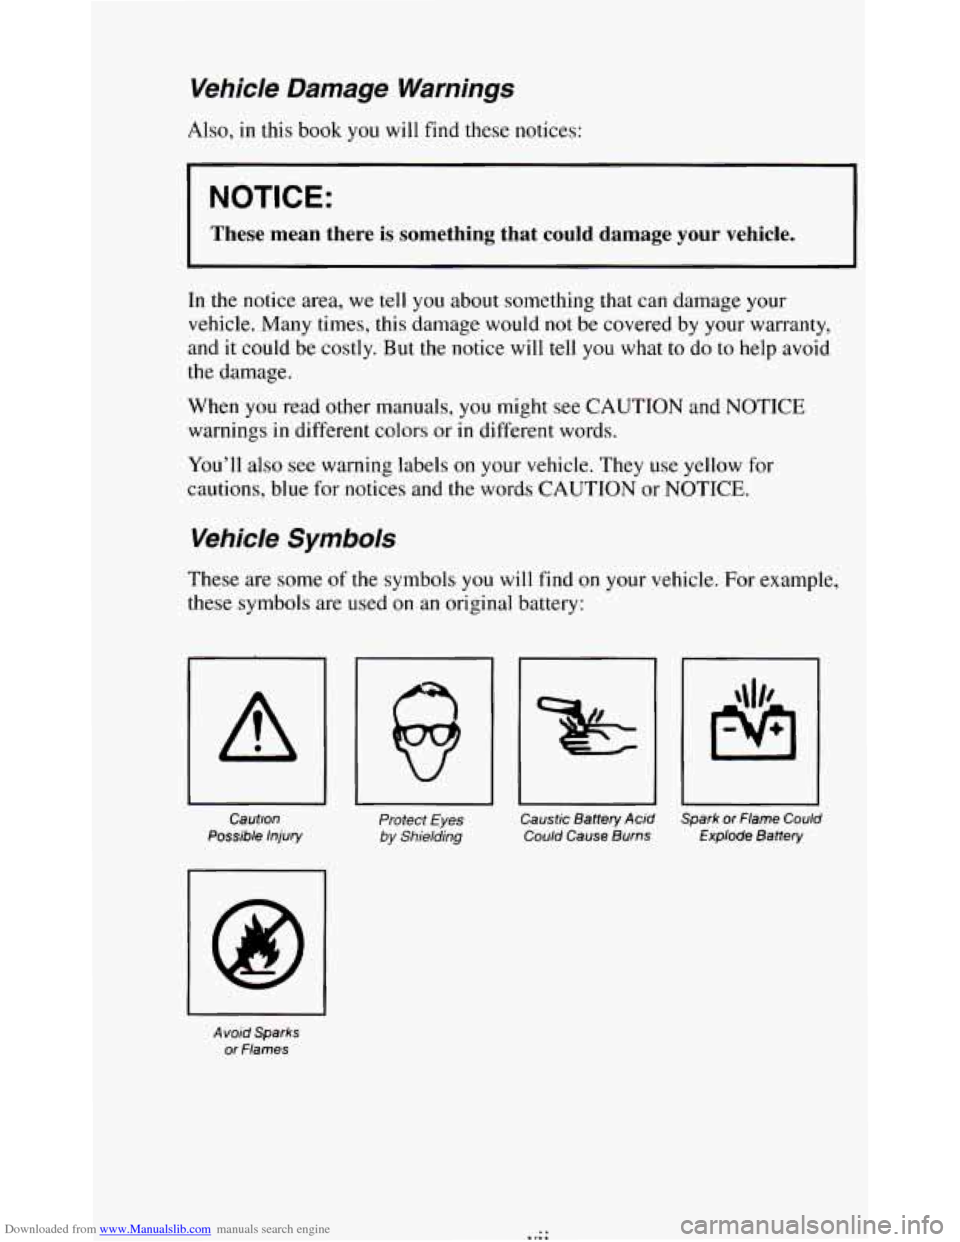
These are some of the symbols you will find on your vehicle. For example,
these symbols are used on an original battery:
Caution
Possible
Injury
Protect Eyes Caustic Battery Acid Spark or Flame Could
by Shielding Could Cause Burns Explode Battery
A void Sparks
or Flames
. r.* ..
Page 10 of 348
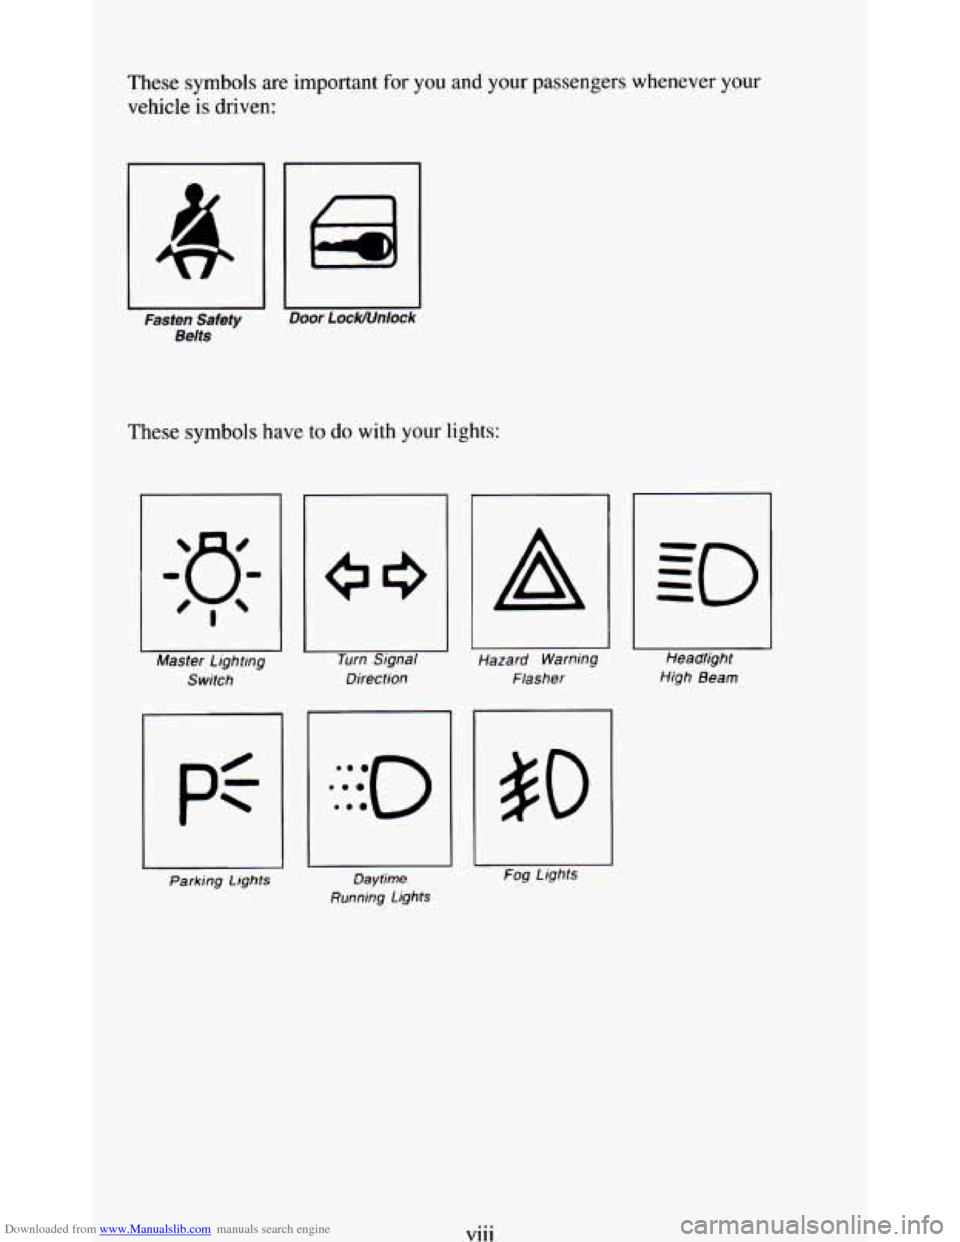
Downloaded from www.Manualslib.com manuals search engine These symbols are important for you and your passengers whenever your
vehicle
is driven:
1 I
Fasfen Safety Door LocWUnlock
Belts
These symbols have to do with your lights:
Master Lighting Turn Signal
Switch Direction
pf
Parking Lights Daytime
Running Lights
A
Hazard Warning
Flasher Headlight
High Beam
$0
fog Lights
v111 . ..
Page 11 of 348
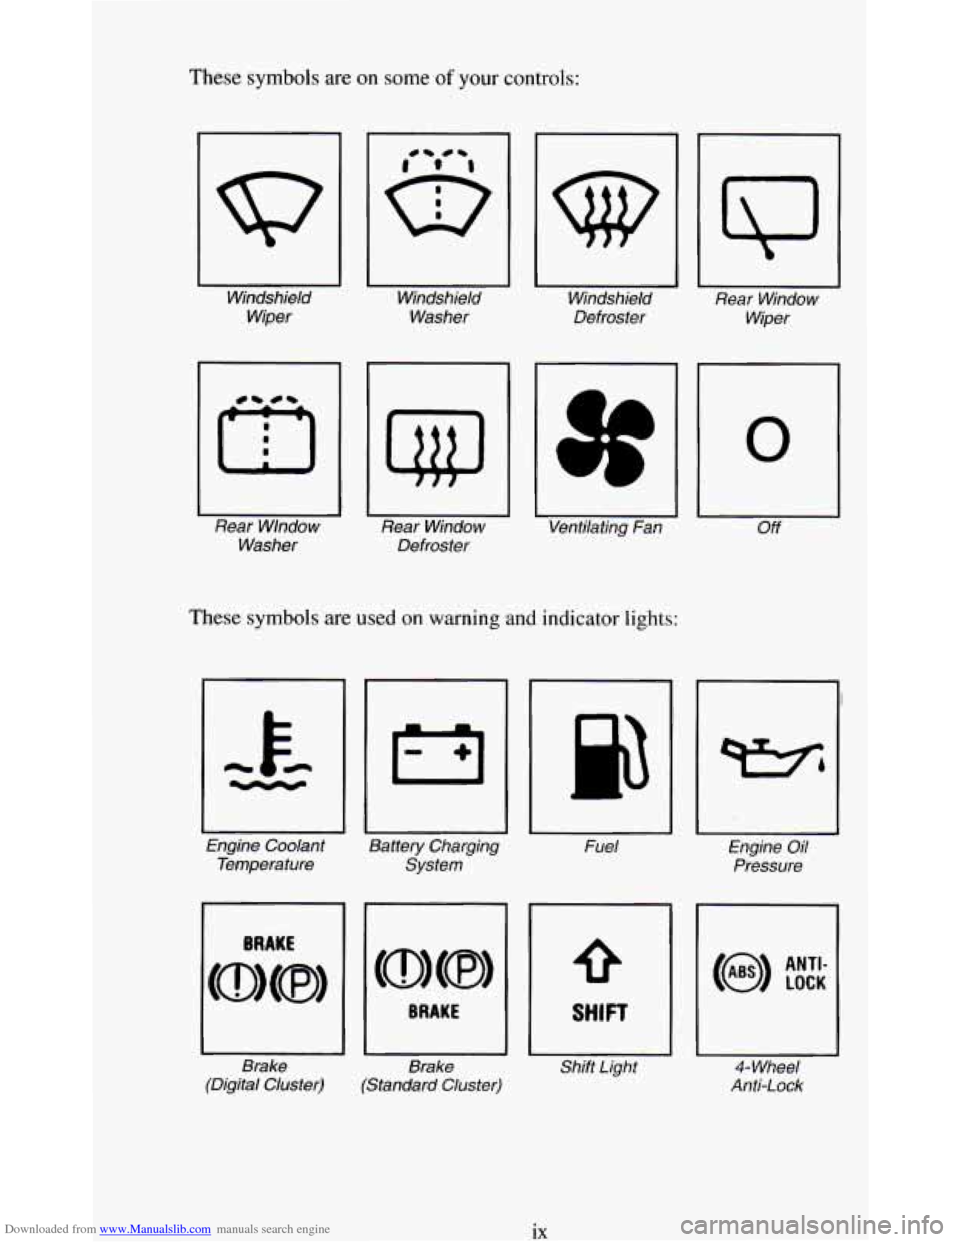
Downloaded from www.Manualslib.com manuals search engine These symbols are on some of your controls:
Windshield Windshield Windshield
Rear Window
Wiper Washer
Defroster
Wiper
Rear Wlndow Rear Window Ventilating Fan
Off
Washer Defroster
These symbols are usea on warning and indicator lights:
0
Engine Coolant
Battery Charging Fuel Engine Oil
Temperature System Pressure
Brake Brake Shift Light
4- Wheel
(Digital Cluster) (Standard Cluster) Anti-Lock
ix
Page 55 of 348
Downloaded from www.Manualslib.com manuals search engine Features & Controls
Section
Here you can learn about the many standard and optional features on your
vehicle, and information on starting, shifting, and braking. Also explained
are the instrument panel and the warning systems
that tell you if everything
is working properly- and what to do if you have a problem.
For explanation of vehicle symbols, refer to "Vehicle Symbols" in the
Introduction.
Keys ..................................................... 2-3
Your Doors and
How They Work . . . . . . . . . . . . . . . . . . . . . . . . . . . . . . 2-5
SideDoors
............................................. 2-5
DoorLocks ...................... ..................... 2-6
Endgate
................................................ 2-8
Keyless
Entry System . . . . . . . . . . . . . . . . . . . . . . . . . . . . . . . . . . . . . . 2-1 1
Theft .................................................... 2-14
New Vehicle Break-In . . . . . . . . . . . . . . . . . . . . . . . . . . . . . . . . . . . . . . 2-15
Ignitionswitch
............................................ 2-15
Starting Your Engine . . . . . . . . . . . . . . . . . . . . . . . . . . . . . . . . . . . . . . . 2-17
Driving Through Deep Standing Water
. . . . . . . . . . . . . . . . . . . . . . 2-19
Automatic Transmission
. . . . . . . . . . . . . . . . . . . . . . . . . . . . . . . . . . . . 2-20
Five-Speed Manual Transmission
. . . . . . . . . . . . . . , , . . . . . . . . . . . . . 2-23
Locking Rear Axle
. . . . . . . . . . . . . . . . . . . . . . . . . . . . . . . . . . . , . . . . . 2-25
ParkingBrake
............................................ 2-25
Parking Over Things That Burn . . . . . . . . . . . . . . . . . . . . . . . . . . . . . . . 2-28
3-1
Page 56 of 348
Downloaded from www.Manualslib.com manuals search engine EngineExhaust ........................................... 2-29
Running Your Engine While You’re Parked
................... 2-30
Four-WheelDrive
......................................... 2-31
Manual Transfer Case
.................................... 2-31
Electronic Transfer Case
.................................. 2-33
Windows
................................................ 2-35
Horn
.................................................... 2-37
Tiltwheel
............................................... 2-37
Turn Signal/Multifunction Lever
.............................. 2-38
Turn Signal and Lane Change Indicator
...................... 2-38
Headlight High-Low Beam
............................... 2-40
Windshield Wipers
...................................... 2-41
Windshield Washer
...................................... 2-42
Rear Window Wiper/Washer
.............................. 2-43
Cruise Control
.......................................... 2-44
Lights
................................................. 2-49
Mirrors
.................................................. 2-53
Accessory Power Outlet
..................................... 2-56
Cigarette LightedAshtrays
................................... 2-57
Storage Compartments
...................................... 2-58
Instrument Cluster ......................................... 2-65
Warning Lights. Gages
and Indicators ....................... 2-67
Luggagecarrier
........................................... 2-78
Trailer Wiring Harness
...................................... 2-80
2-2
Page 79 of 348
Downloaded from www.Manualslib.com manuals search engine Locking Rear Axle
If you have this feature, your rear axle can give you additional traction on
snow, mud, ice, sand or gravel. It works like a standard axle most of the
time, but when one of the rear wheels has no traction and the other does, the
locking feature will allow the wheel with traction
to move the vehicle.
Parking Brake
-
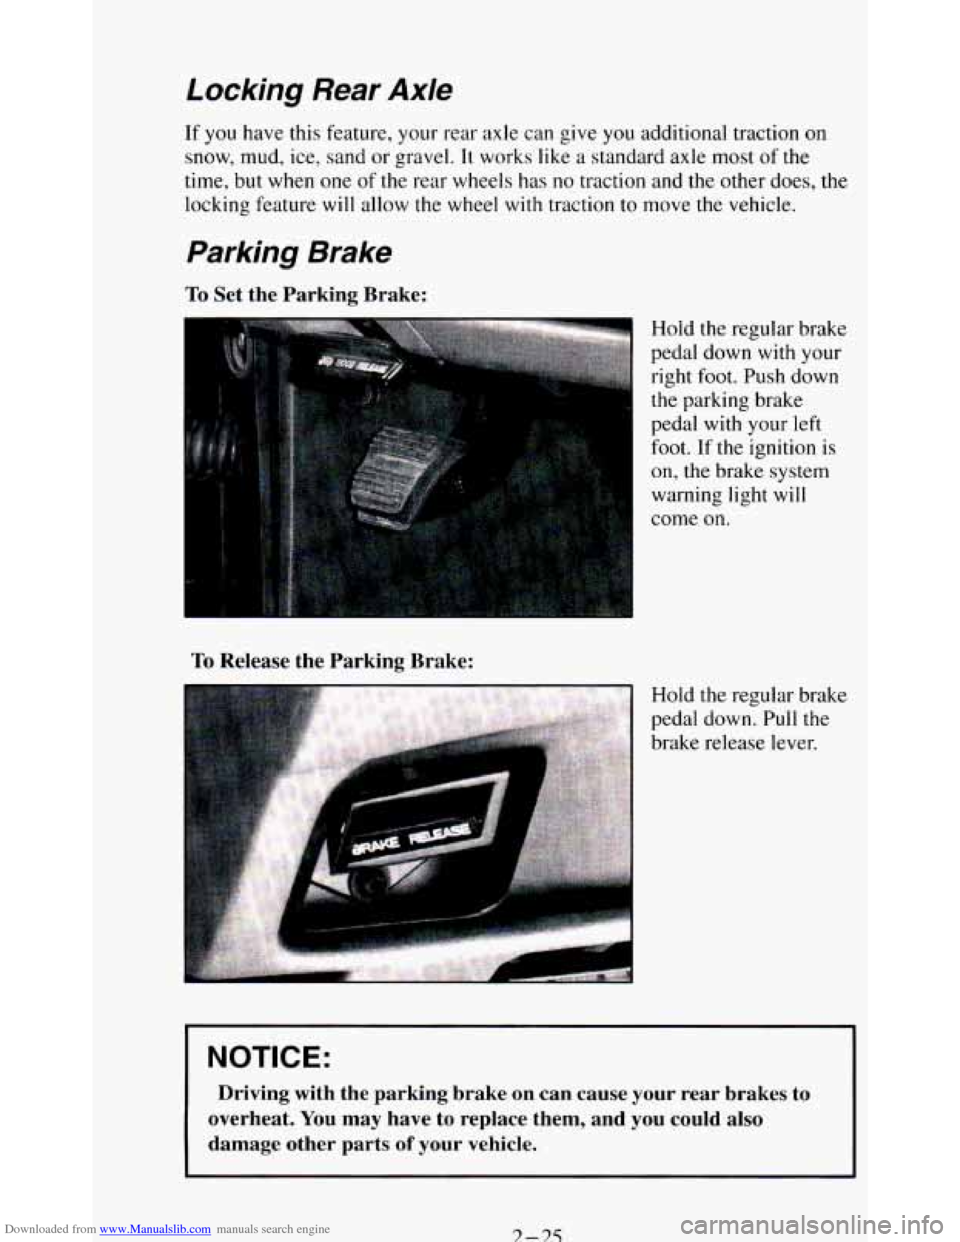
To Set the Parking Brake:
To Release the Parking Brake:
Hold the regular brake
pedal down
with your
right foot. Push down
the parking brake
pedal with your left
foot. If the ignition is
on, the brake system
warning light will
come
on.
Hold the regular brake
pedal down. Pull the
brake release lever.
I NOTICE: I
Driving with the parking brake on can cause your rear brakes to
overheat.
You may have to replace them, and you could also
damage other parts
of your vehicle.
3 -3.5
Page 121 of 348
Downloaded from www.Manualslib.com manuals search engine The trip odometer can tell you how far your vehicle has been driven since
you last set the trip odometer to zero.
Make sure the button is completely
depressed
to reset the trip odometer.
To set the trip odometer on the standard cluster to zero, fully depress the
button near the readout.
The trip odometer on
the digital cluster will appear in place of your regular
odometer when
you press down on the Trip button. To reset the trip
odometer
on the digital cluster, press down on the Reset button. To change
back
to the regular odometer, press down on the Trip button again.
Tachometer
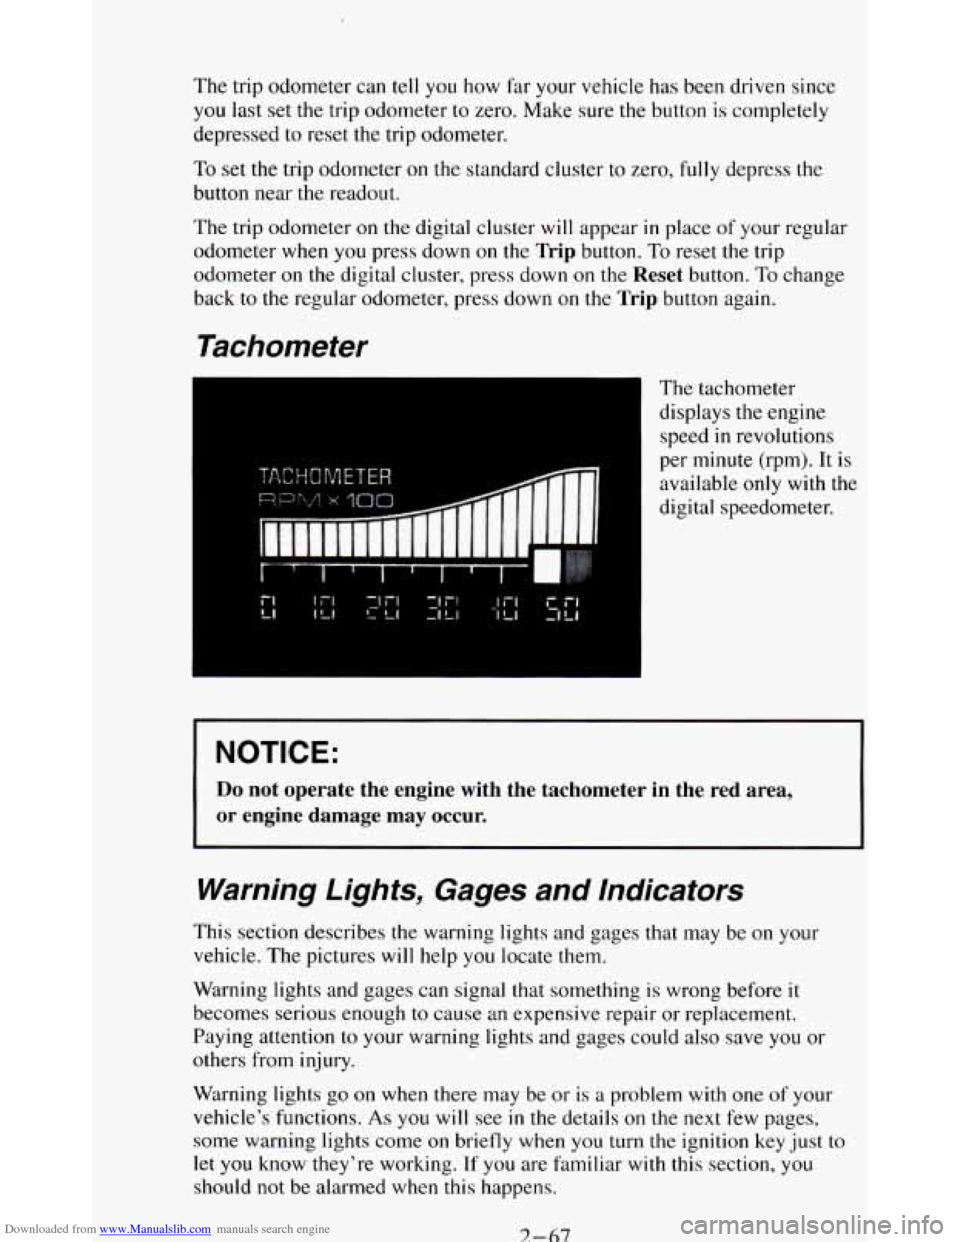
The tachometer
displays the engine
speed
in revolutions
per minute (rpm). It is
available
only with the
digital speedometer.
NOTICE:
Do not operate the engine with the tachometer in the red area,
or engine damage may occur.
Warning Lights, Gages and Indicators
This section describes the warning lights and gages that may be on your
vehicle. The pictures
will help you locate them.
Warning lights and gages can signal that something is wrong before it
becomes serious enough
to cause an expensive repair or replacement.
Paying attention
to your warning lights and gages could also save you or
others from injury.
Warning lights
go on when there may be or is a problem with one of your
vehicle’s functions.
As you will see in the details on the next few pages,
some warning lights come
on briefly when you turn the ignition key just to
let
you know they’re working. If you are familiar with this section, you
should not be alarmed when this happens.
7-67
Page 122 of 348
Downloaded from www.Manualslib.com manuals search engine Gages can indicate when there may be or is a problem with one of your
vehicle’s functions. Often gages and warning lights work together to let you
know when there’s
a problem with your vehicle.
When
one of the warning lights comes on and stays on when you are
driving, or when
one of the gages shows there may be a problem, check the
section that tells you what to do about it. Please follow the manual’s advice.
Waiting
to do repairs can be costly - and even dangerous. So please get to
know your warning lights and gages. They’re a big help.
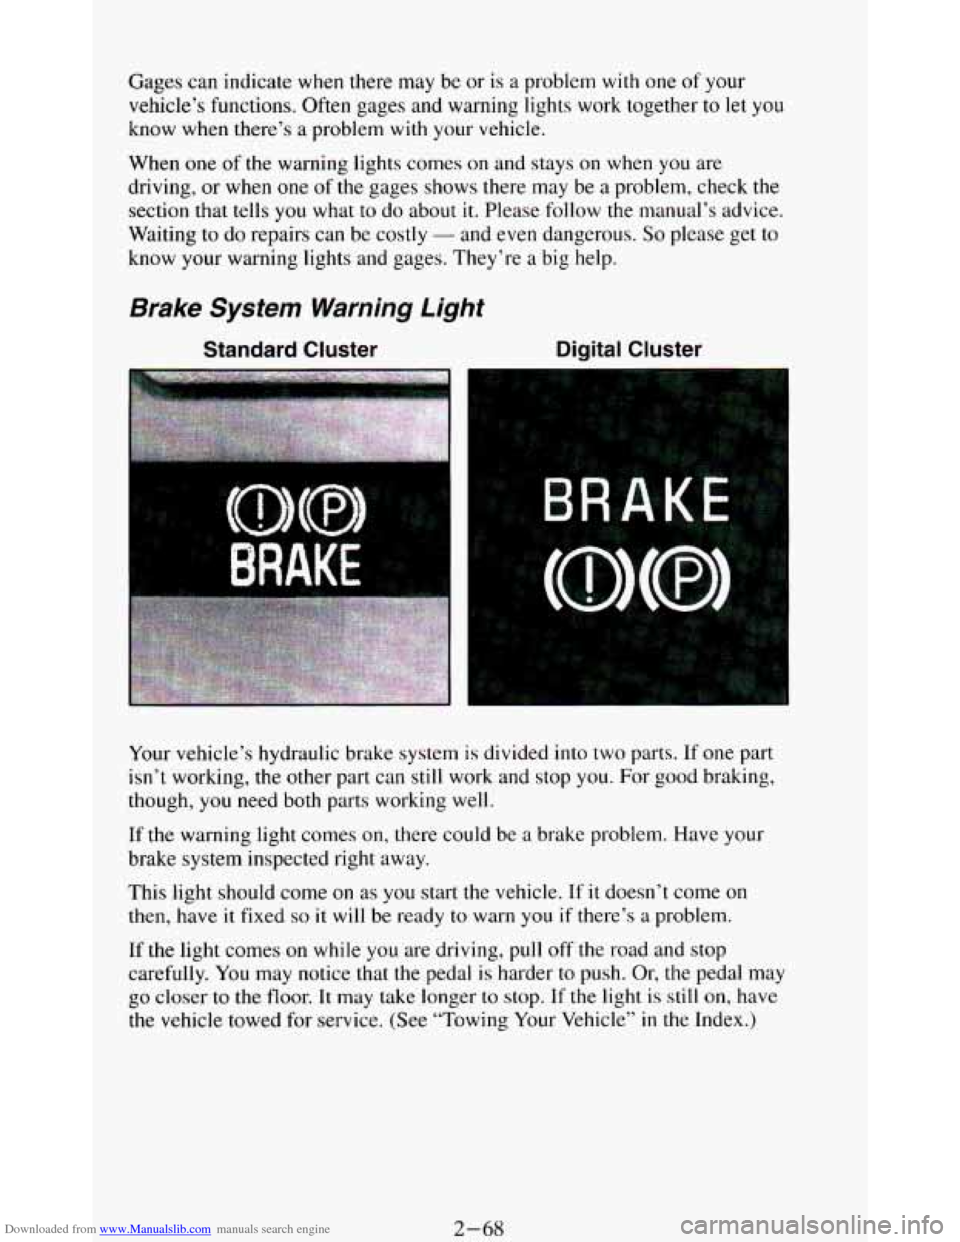
Brake System Warning Light
Standard Cluster Digital Cluster
Your vehicle’s hydraulic brake system is divided into two parts. If one part
isn’t working,
the other part can still work and stop you. For good braking,
though,
you need both parts working well.
If the warning light comes on, there could be a brake problem. Have your
brake system inspected right away.
This light should come
on as you start the vehicle. If it doesn’t come on
then, have it fixed so it will be ready to warn you if there’s a problem.
If
the light comes on while you are driving, pull off the road and stop
carefully.
You may notice that the pedal is harder to push. Or, the pedal may
go closer to the floor. It may take longer to stop. If the light is still on, have
the vehicle towed for service. (See “Towing Your Vehicle’’
in the Index.)
2-68