ABS CHEVROLET BLAZER 1995 2.G Owners Manual
[x] Cancel search | Manufacturer: CHEVROLET, Model Year: 1995, Model line: BLAZER, Model: CHEVROLET BLAZER 1995 2.GPages: 380, PDF Size: 20.04 MB
Page 160 of 380
Downloaded from www.Manualslib.com manuals search engine Anti-Lock Brakes (ABS)
Your vehicle has an advanced electronic braking system that can help you
keep
it under control. When you start your vehicle and begin to drive away,
you may hear a momentary motor
or clicking noise. This is the ABS system
testing itself.
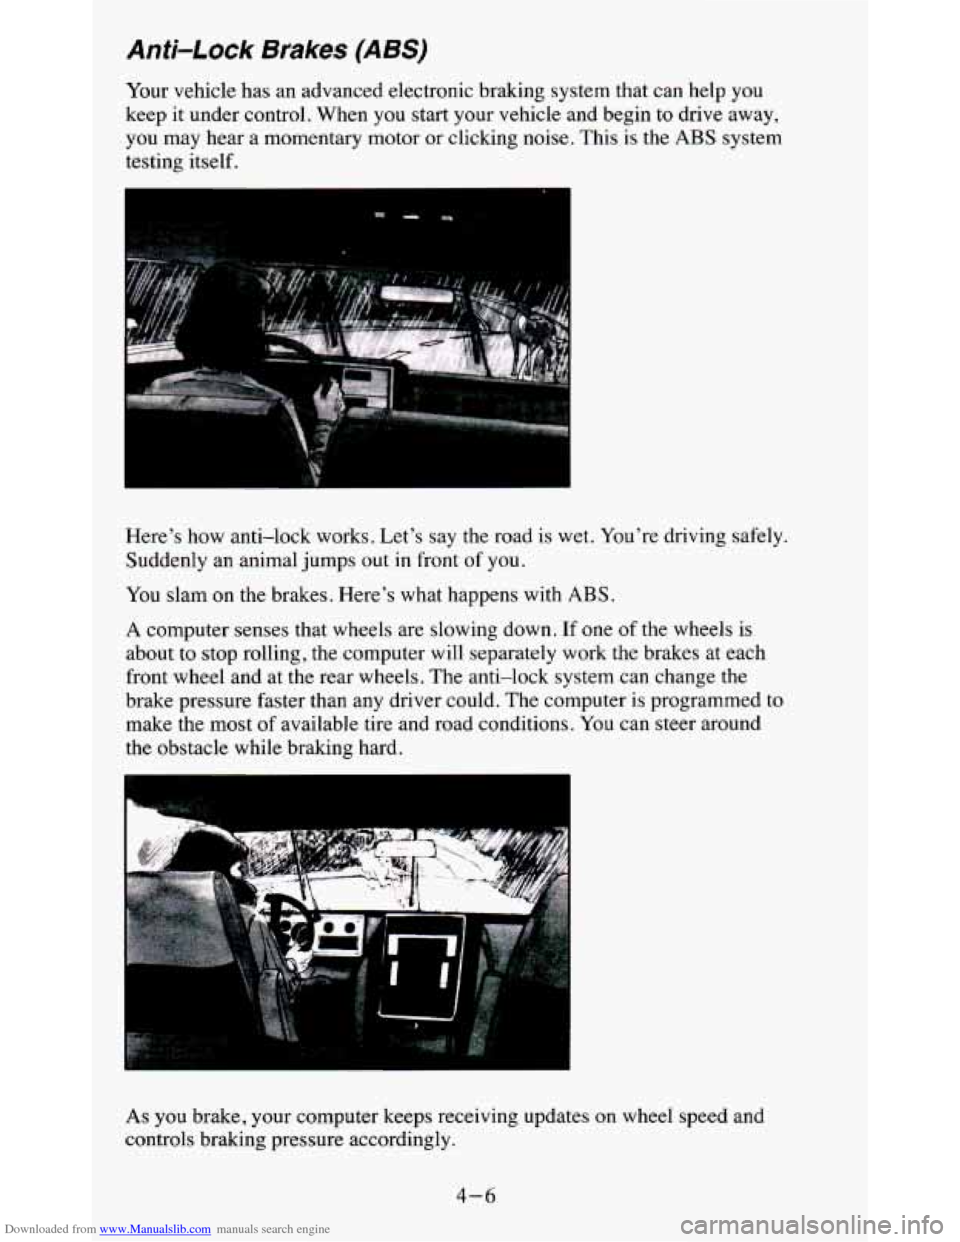
Here’s how anti-lock works. Let’s say the road is wet. You’re driving safely.
Suddenly an animal jumps
out in front of you.
You slam on the brakes. Here’s what happens with ABS.
A
computer senses that wheels are slowing down. If one of the wheels is
about to stop rolling, the computer will separately work the b\
rakes at each
front wheel and at the rear wheels. The anti-lock system can change the
brake pressure faster than any driver could. The computer is programmed to
make the most
of available tire and road conditions. You can steer around
the obstacle while braking hard.
As you brake, your computer keeps receiving updates on wheel speed and\
controls braking pressure accordingly.
4-6
Page 165 of 380
Downloaded from www.Manualslib.com manuals search engine Loss of Control
Let’s review what driving experts say about what happens whe\
n the three
control systems (brakes, steering and acceleration) don’t have enough
friction where the tires meet the road to do what the driver has asked.
In any emergency, don’t give up. Keep trying to steer and constantly seek an
escape route or area
of less danger.
Skidding
In a skid, a driver can lose control of the vehicle. Defensive drivers avoid
most skids by taking reasonable care suited to existing conditions, and by
not “overdriving” those conditions.
But skids are always possible.
The three types of skids correspond to your vehicle’s three control systems.
In the braking skid your wheels aren’t rolling. In the steering or cornering
skid, too much speed or steering in a curve causes tires to slip and lose
cornering force. And in the acceleration skid too much throttle causes the
driving wheels to spin.
A cornering skid and an acceleration skid are best handled by easing your
foot
off the accelerator pedal.
If your vehicle starts to slide, ease your foot off the accelerator pedal and
quickly steer the way you
want the vehicle to go. If you start steering
quickly enough, your vehicle may straighten out. Always be ready for a
second skid if it occurs.
Of course, traction is reduced when water, snow, ice, gravel, or other
material is on the road. For safety, you’ll want to slow down and adjust your
driving to these conditions. It
is important to slow down on slippery
surfaces because stopping distance will be longer and vehicle control more
limited.
While driving on a surface with reduced traction, try your best to avoid
sudden steering, acceleration, or braking (including engine braking by
shifting to a lower gear). Any sudden changes could cause the tires to slide.
You may not realize the surface is slippery until your vehicle is skidding.
Learn to recognize warning clues
- such as enough water, ice or packed
snow on the road to make a “mirrored surface”
- and slow down when you
have any doubt.
Remember: Any anti-lock brake system (ABS) helps avoid only the braking
skid.
4-11
Page 200 of 380
Downloaded from www.Manualslib.com manuals search engine When towing at high altitude on steep uphill grades, consider the following:
Engine coolant will boil at a lower temperature than at normal\
altitudes.
If
you turn your engine off immediately after towing at high altitude on steep
uphill grades, your vehicle may show signs similar
to engine overheating.
To avoid this,
let the engine run while parked (preferably on level ground)
with the automatic transmission in PARK
(P) (or the manual transmission
out of gear and the parking brake applied) for a few minutes before turni\
ng
the engine off. If
you do get the overheat warning, see “Engine
Overheating” in the Index.
Parking on Hills
You really should not park your vehicle, with a trailer attached, \
on a hill. If
something goes wrong, your rig could start
to move. People can be injured,
and both your vehicle and the trailer can be damaged.
But if you ever have
to park your rig on a hill, here’s how to do it:
1. Apply your regular brakes, but don’t shift into PARK (P)
yet, or into
gear for a manual transmission. Then turn your wheels into the curb if \
facing downhill or into traffic if facing uphill.
2. Have someone place chocks under the trailer wheels.
3. When the wheel chocks are in place, release the regular brakes\
until the
chocks absorb the load.
4. Reapply the regular brakes. Then apply your parking brake, and \
then
shift into PARK (P), or REVERSE
(R) for a manual transmission.
5. If you have a four-wheel-drive vehicle with a manual transfer case
shift lever, be sure
the transfer case is in a drive gear - not in
NEUTRAL
(N).
6. Release the parking brake.
4-46
Page 254 of 380
Downloaded from www.Manualslib.com manuals search engine While reassembling the air cleaner assembly, ensure that the air cleaner
cover tabs are fully inserted into the slots in the air cleaner housing. On the
4.3L (VIN W) engine, also make certain that the PCV air tube is properly
seated in the left hand valve cover.
Refer to the Maintenance Schedule to determine
when to redace the air
filter.
See “Scheduled Maintenance Services” in the Index.
NOTICE:
If the air cleaner is off, a backfire can cause a damaging engine
fire. And, dirt can easily get into your engine, which will d\
amage
it. Always have the air cleaner in place when you’re driving.
Automatic Transmission Fluid
-When to Check and Change
A good time to check your automatic transmission fluid level is when the
engine oil is changed. Refer to the Maintenance Schedule to determine
when to change your fluid. See “Scheduled Maintenance Services” in the
Index.
How to Check
Because this operation can be a little difficult, you may choose to have this
done at your GM dealership Service Department.
If you do it yourself, be sure to follow all the instructions here, or you could
get a false reading on the dipstick.
6- 14
Page 308 of 380
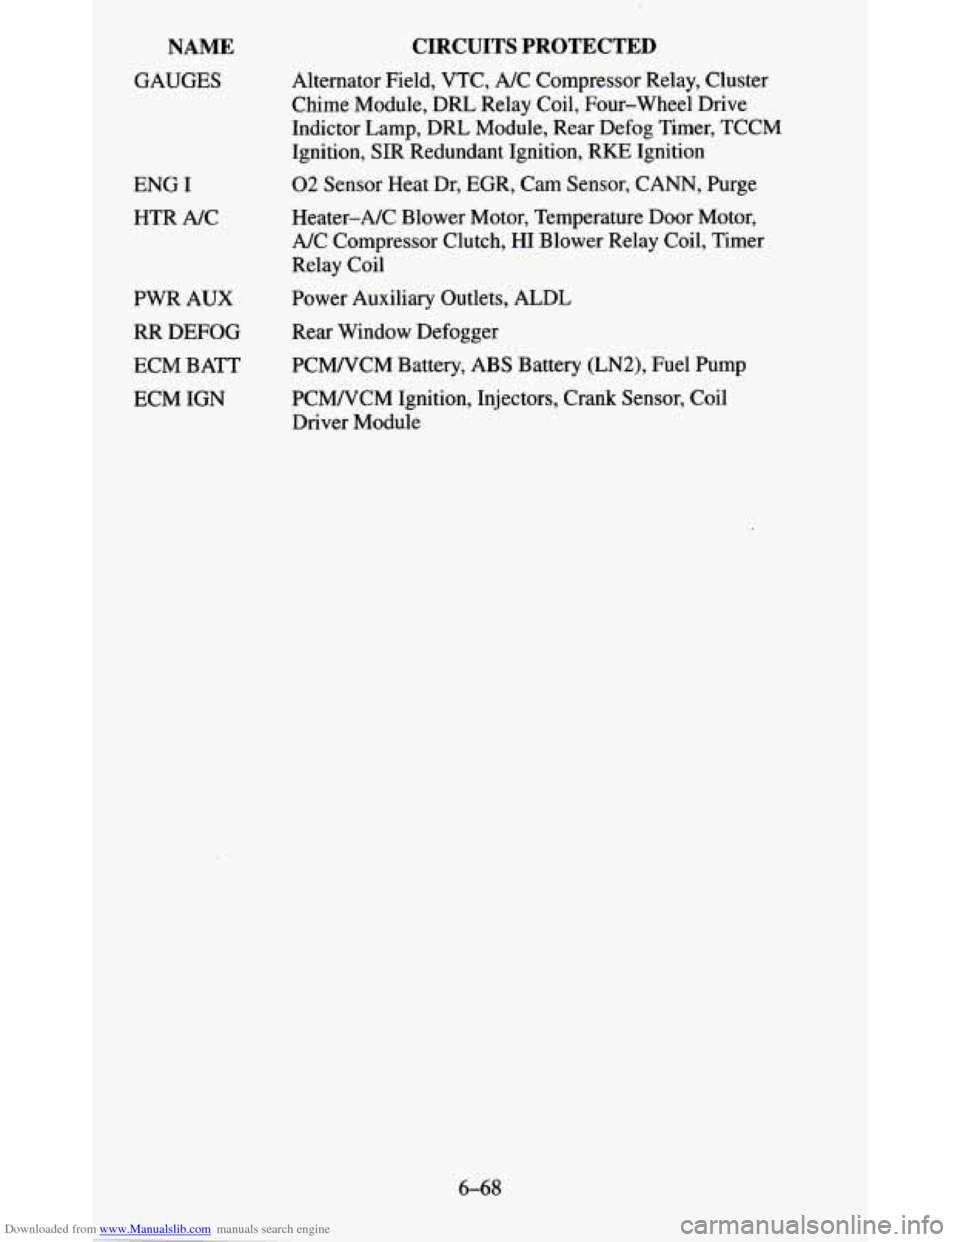
Downloaded from www.Manualslib.com manuals search engine NAME
GAUGES
ENG I HTR NC
PWR AUX
RR DEFOG
ECM BATT
ECM IGN
CIRCUITS PROTECTED
Alternator Field, VTC, A/C Compressor Relay, Cluster
Chime Module, DRL Relay Coil, Four-wheel Drive
Indictor Lamp, DRL Module, Rear Defog Timer, TCCM
Ignition,
SIR Redundant Ignition, RKE Ignition
02 Sensor Heat Dr, EGR, Cam Sensor, CANN, Purge
Heater-A/C Blower Motor, Temperature Door Motor,
A/C Compressor Clutch, HI Blower Relay Coil, Timer
Relay Coil
Power Auxiliary Outlets, ALDL
Rear Window Defogger
PCMNCM Battery, ABS Battery (LN2), Fuel Pump
PCMNCM Ignition, Injectors, Crank Sensor, Coil
Driver Module
6-68