ECO mode CHEVROLET BLAZER 1995 2.G Owners Manual
[x] Cancel search | Manufacturer: CHEVROLET, Model Year: 1995, Model line: BLAZER, Model: CHEVROLET BLAZER 1995 2.GPages: 380, PDF Size: 20.04 MB
Page 30 of 380
Downloaded from www.Manualslib.com manuals search engine regarded as anything more than a supplement to safety belts, and then only\
in moderate to severe frontal or near-frontal collisions.
What will you see after an air bag inflates?
After the air bag inflates, it quickly deflates. This occurs so quickly that
some people may not even realize the air bag inflated. Some compone\
nts of
the air bag module in the steering wheel hub will be hot for a short\
time, but
the part
of the bag that comes into contact with you will not be hot to the
touch. There will be some smoke and dust coming from vents in the deflated
air bag. Air bag inflation will not prevent the driver from seeing\
or from
being able to steer the vehicle, nor will it stop people from leaving
the
vehicle.
The air bag is designed to inflate only once. After it inflates, you’ll
need some new parts for your air bag system. If you don’t get them, the
air bag system won’t be there to help protect
you in another crash. A
new system will include the air bag module and possibly other parts.
The service manual for your vehicle covers the need
to replace other
parts.
information about the air bag system. The module records information
about the readiness of the system, when the sensors are activated and
driver’s safety belt usage at deployment.
Your vehicle is equipped with a diagnostic module, which records
Let only qualified technicians work on your air bag system. Improper
service can mean that your air bag system won’t work properly.
See
your dealer for service.
NOTICE:
If you damage the cover for the driver’s air bag, it may not work
properly. You may have to replace the air bag module. Do not
open or break the air bag cover.
1-20
Page 59 of 380
Downloaded from www.Manualslib.com manuals search engine Operation
When you press UNLOCK, the driver’s door will unlock automatically. If
you press UNLOCK again within five seconds, all doors will unlock. All
doors will lock when LOCK is pressed.
The endgate glass will unlock when the REAR button is pressed. Vehicles
with automatic transmissions must have the transmission in PARK
(P).
Vehicles with manual transmission must have the parking brake engaged.
Matching Transmitter(s) To Your Vehicle
Each key chain transmitter is coded to prevent another transmitter from
unlocking your vehicle.
If a transmitter is lost or stolen, a replacement can
be purchased through your dealer. Remember
to bring any remaining
transmitters with you when you go to your dealer. When the dealer matches
the replacement transmitter to your vehicle, the remaining transmitters must
also be matched. Once the
new transmitter is coded, the lost transmitter will
not unlock your vehicle.
You can match a transmitter to as many different vehicles as you own,
provided they are equipped with
exactly the same model system. (General
Motors offers several different models of these systems on their vehicles.)
Each vehicle can have only two transmitters matched to it.
See your dealer to match transmitters to another vehicle.
Battery Replacement
Under normal use, the batteries in your key chain transmitter should last
about two years.
You can tell the batteries are weak if the transmitter won’t work at the
normal range in any location.
If you have to get close to your vehicle before
the transmitter works, it’s probably time to change the batteries.
2-7
Page 93 of 380
Downloaded from www.Manualslib.com manuals search engine NOTICE:
When using concentrated washer fluid, follow the
manufacturer’s instructions for adding water.
Don’t mix water with ready-to-use washer fluid. Water can
cause the solution to freeze and damage your washer fluid
tank and other parts of the washer system. Also, water
doesn’t clean
as well as washer fluid.
Fill your washer fluid tank only 3/4 full when it’s very cold.
This allows for expansion, which could damage the tank if it is
completely full.
Don’t use radiator antifreeze in your windshield washer. It
can damage your washer system and paint.
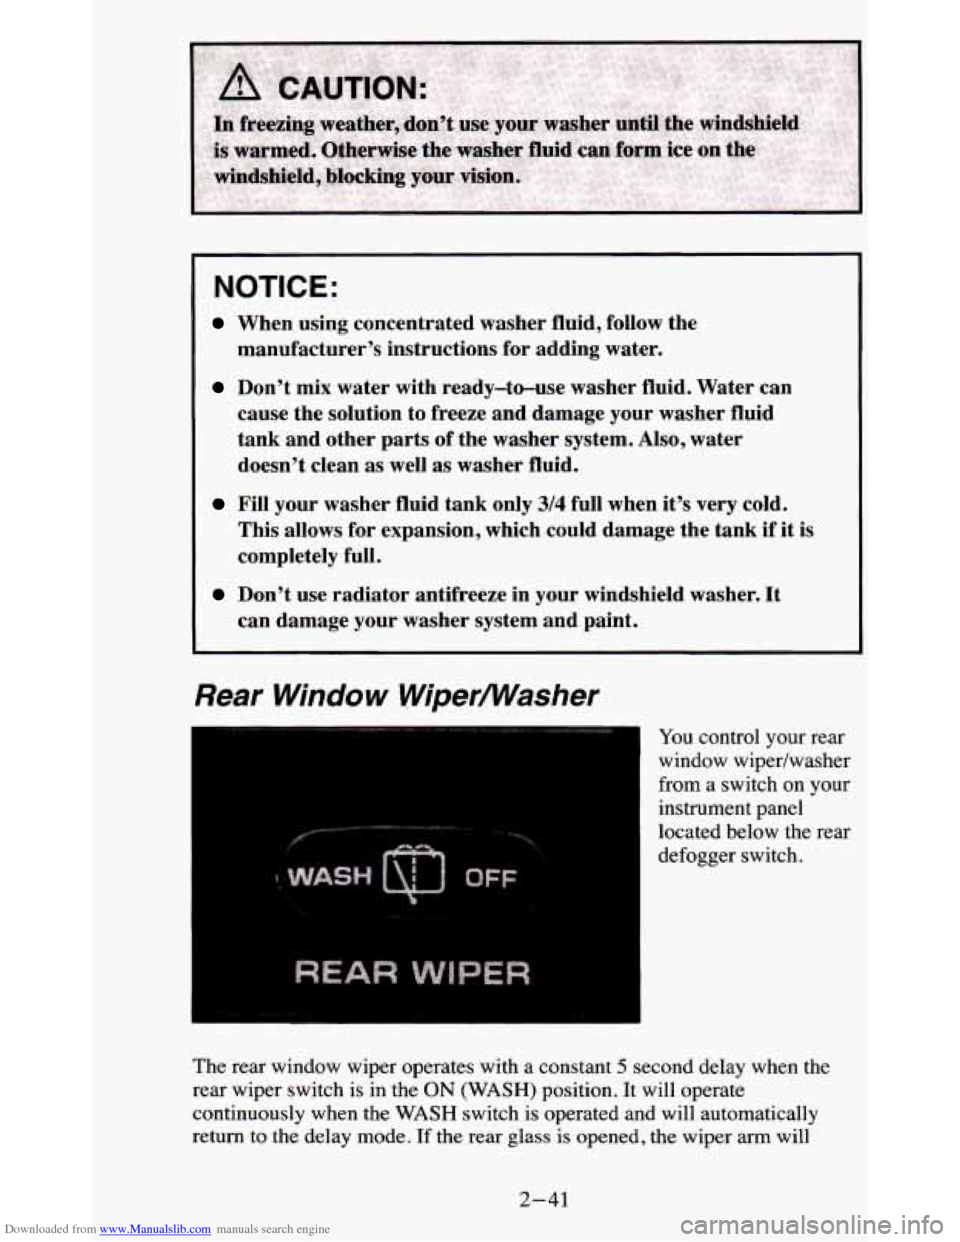
Rear Window WiperMasher
’ You control your rear
window wipedwasher
from a switch on your
instrument panel
located below the rear
defogger switch.
The rear window wiper operates with
a constant 5 second delay when the
rear wiper switch is in the
ON (WASH) position. It will operate
continuously when the
WASH switch is operated and will automatically
return to
the delay mode. If the rear glass is opened, the wiper arm will
2-41
Page 151 of 380
Downloaded from www.Manualslib.com manuals search engine 4. Press the BAND knob and the time appears - indicating that the
disabling sequence was successful.
If the display indicates “SEC”, the
numbers did not match and the unit is still secured.
Disabling The Theft System
1. Press presets 1 and 4 for 5 seconds with ignition on and radio off. The
display will
show “SEC”, indicating the unit is in the secure mode.
2. Press the SET button. The display will show “000”.
3. Enter the first three digits of the code following steps 6 and 7 of the
preceding paragraphs (To Lock the System). The display will show the
numbers as entered.
4. Press the BAND knob. The radio will display “000”.
5. Enter the second three digits of the code. The display will show the
numbers as entered.
6. Press the BAND knob. If the display shows “- - - ”, the disabling
sequence was successful. The numbers matched the user-selected code
or the factory back-up code, and the unit is in the UNSECURED
mode. If the display shows “SEC”, the disabling sequence was
unsuccessful and the numbers did not match either of the codes and the
unit will remain in the SECURED mode.
Understanding Radio Reception
FM stereo will give you the best sound. But FM signals will reach only
about
10 to 40 miles (16 to 65 km). And, tall buildings or hills can interfere
with
FM signals, causing the sound to come and go.
The range for most AM stations is greater than for
FM, especially at night.
The longer range, however, can cause stations to interfere with each other.
AM can pick up noise from things like storms and power lines.
Try reducing
the treble
to reduce this noise if you ever get it.
AM Stereo means the Delco@ system can receive C-QUAM@stereo
broadcasts. Many AM stations around the count use C-QUAM@ to
produce stereo, though some do not. (C-QUAM
2 is a registered trademark
of Motorola, Inc.)
If your DelcoB system can get C-QUAM@, your
“STEREO” light will come on when you’re receiving it.
Be aware that hearing damage from loud noise is almost undetectable until
it is too late. Your hearing can adapt to higher volumes of sound. Sound that
seems normal can be loud and harmful to your hearing. Take precautions by
adjusting the volume control on your radio to a safe sound level before your
hearing adapts to it.
3-17
Page 270 of 380
Downloaded from www.Manualslib.com manuals search engine Replacing Brake System Parts
The braking system on a modern vehicle is complex. Its many parts have to
be
of top quality and work well together if the vehicle is to have really good
braking. Vehicles we design and test have top-quality
GM brake parts in
them, as your vehicle does when it is new. When you replace parts of your
braking system
- for example, when your brake linings wear down and
you have to have new ones put in
- be sure you get new genuine GM
replacement parts. If you don’t, your brakes may no longer work properly.
For example, if someone puts in brake linings that are wrong for your
vehicle, the balance between your front and rear brakes can change
- for
the worse. The braking performance you’ve come to expect can change in
many other ways if someone puts in the wrong replacement brake\
parts.
Battery
Every new vehicle has a Delco Freedom@ battery. You never have to add
water to one of these. When it’s time for a new battery, we recommend a
Delco Freedom@ battery. Get one that has the replacement number shown
on
the original battery’s label.
Vehicle Storage
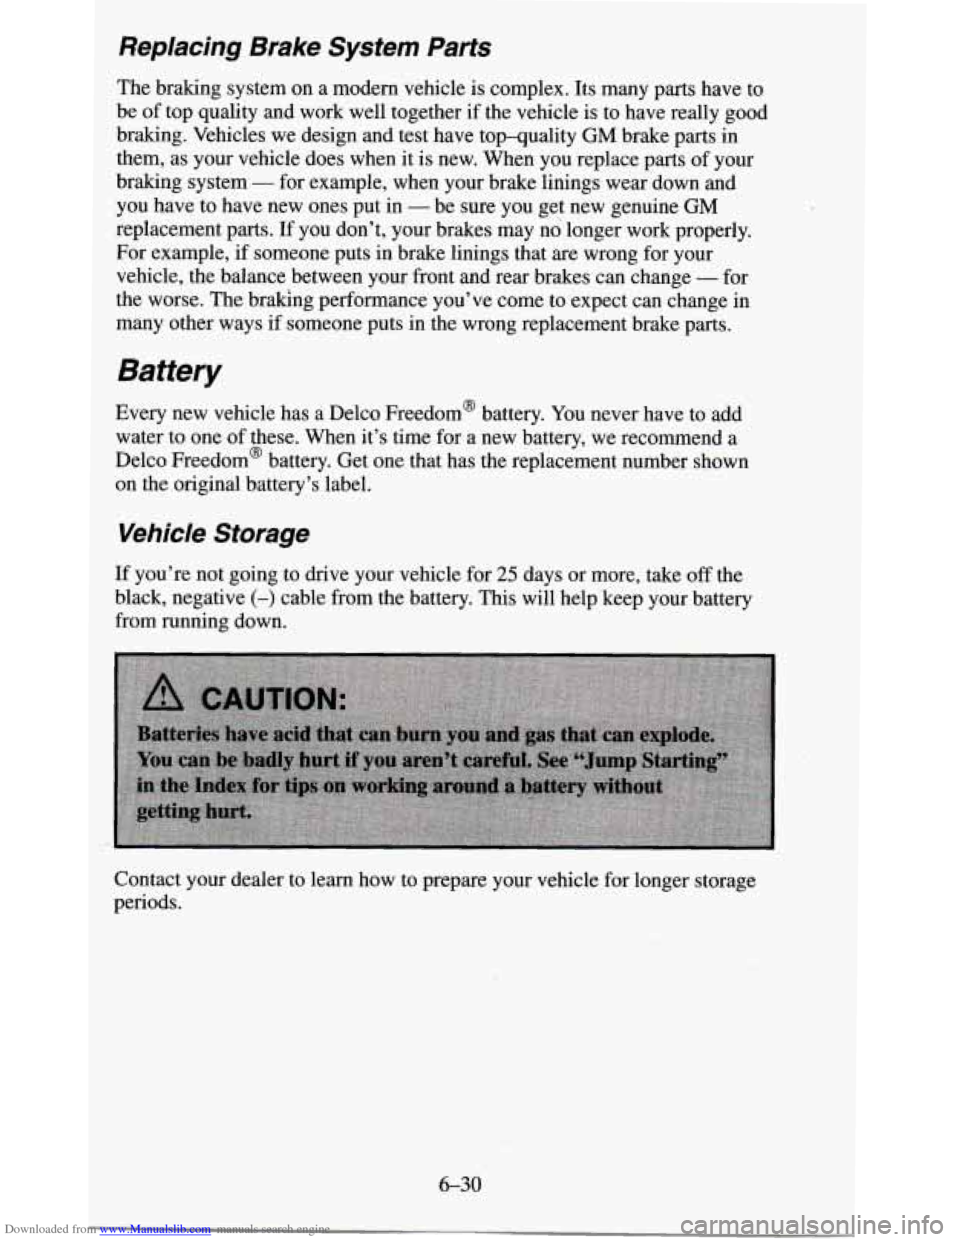
If you’re not going to drive your vehicle for 25 days or more, take off the
black, negative
(-) cable from the battery. This will help keep your battery
from running down.
Contact your dealer to learn how to prepare your vehicle for longer storage
periods.
6-30
Page 375 of 380
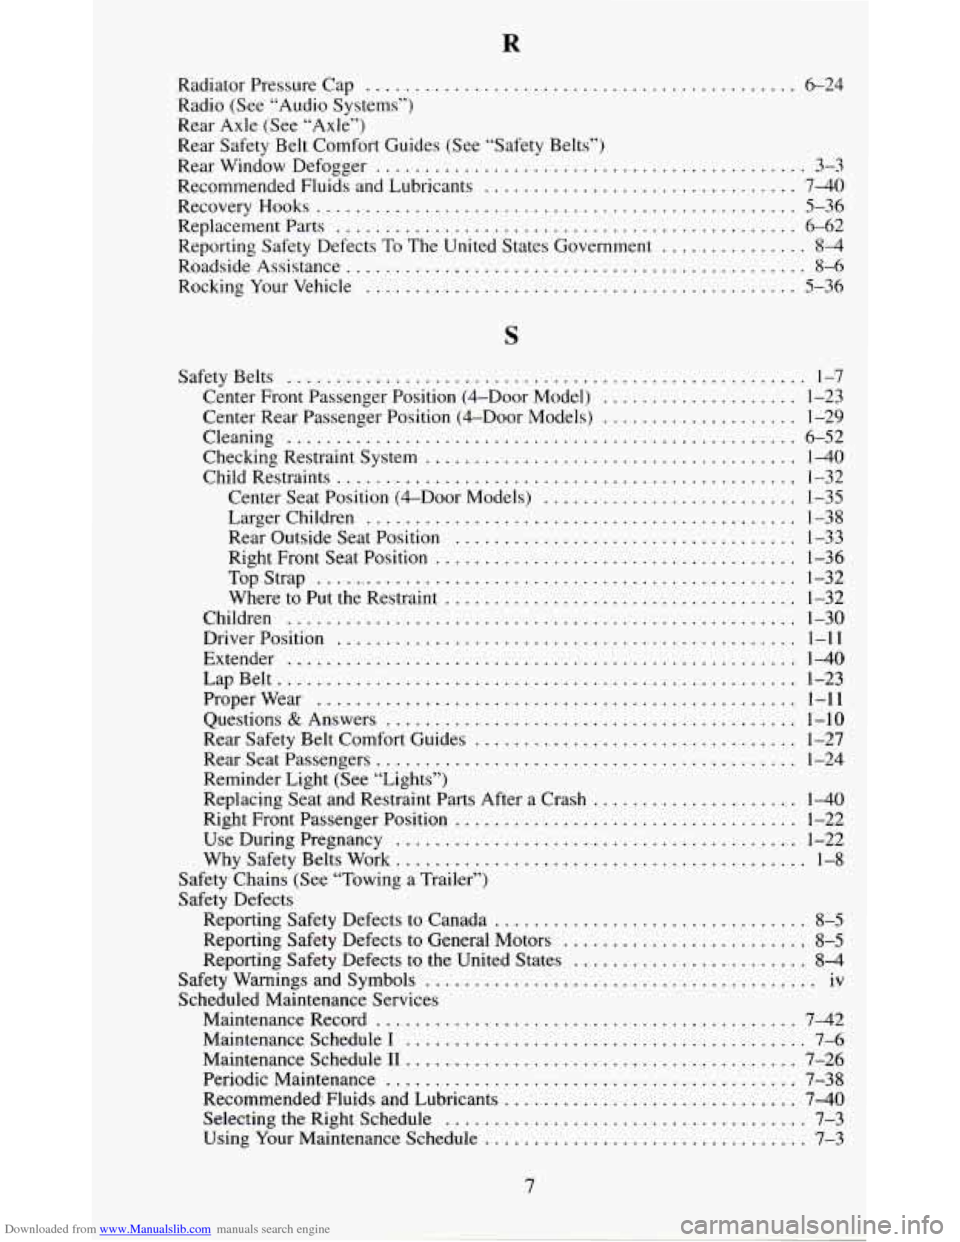
Downloaded from www.Manualslib.com manuals search engine Radiator Pressure Cap ............................................ 6-24
Radio (See “Audio Systems”)
Rear Axle (See “Axle”)
Rear Safety Belt Comfort Guides (See “Safety Belts”)
Rear Window Defogger
............................................ 3-3
Recommended Fluids and Lubricants ................................ 740
Recovery Hooks
................................................. 5-36
Replacement Parts
............................................... 6-62
Reporting Safety Defects
To The United States Government ............... 8-4
Roadside Assistance ............................................... 8-6
RockingYourVehicle
............................................ 5-36
S
SafetyBelts ..................................................... 1-7
Center Front Passenger Position (&Door Model) .................... 1-23
Center Rear Passenger Position (4-Door Models)
.................... 1-29
Cleaning
.................................................... 6-52
Checking Restraint System
...................................... 140
Child Restraints
............................................... 1-32
Center Seat Position (&Door Models)
.......................... 1-35
Larger Children
............................................ 1-38
Right Front Seat Position
..................................... 1-36
Rear Outside Seat Position
................................... 1-33
TopStrap .................................................. 1-32
Where to Put the Restraint
.................................... 1-32
Children
.................................................... 1-30
DriverPosition ............................................... 1-11
Extender
..................................................... 1-40
Properwear ................................................. 1-11
Rear Safety Belt Comfort Guides
................................. 1-27
Reminder Light (See “Lights”)
Replacing Seat and Restraint Parts After a Crash
..................... 1-40
Right Front Passenger Position ................................... 1-22
LapBelt
..................................................... 1-23
Questions
& Answers .......................................... 1-10
RearSeatPassengers ........................................... 1-24
Use During Pregnancy
......................................... 1-22
Why Safety Belts Work
.......................................... 1-8
Safety Chains (See “Towing a Trailer”)
Safety Defects
Reporting Safety Defects to Canada
................................ 8-5
Reporting Safety Defects to General Motors ......................... 8-5
Reporting Safety Defects to the United States ........................ 8-4
Safety Warnings and Symbols
........................................ iv
Scheduled Maintenance Services Maintenance Record
........................................... 7-42
Maintenance Schedule
I ......................................... 7-6
MaintenanceSchedulen
........................................ 7-26
Periodic Maintenance
.......................................... 7-38
Recommended: Fluids and Lubricants
.............................. 7-40
Selecting the Right Schedule
..................................... 7-3
Using Your Maintenance Schedule
................................. 7-3
7
Page 376 of 380
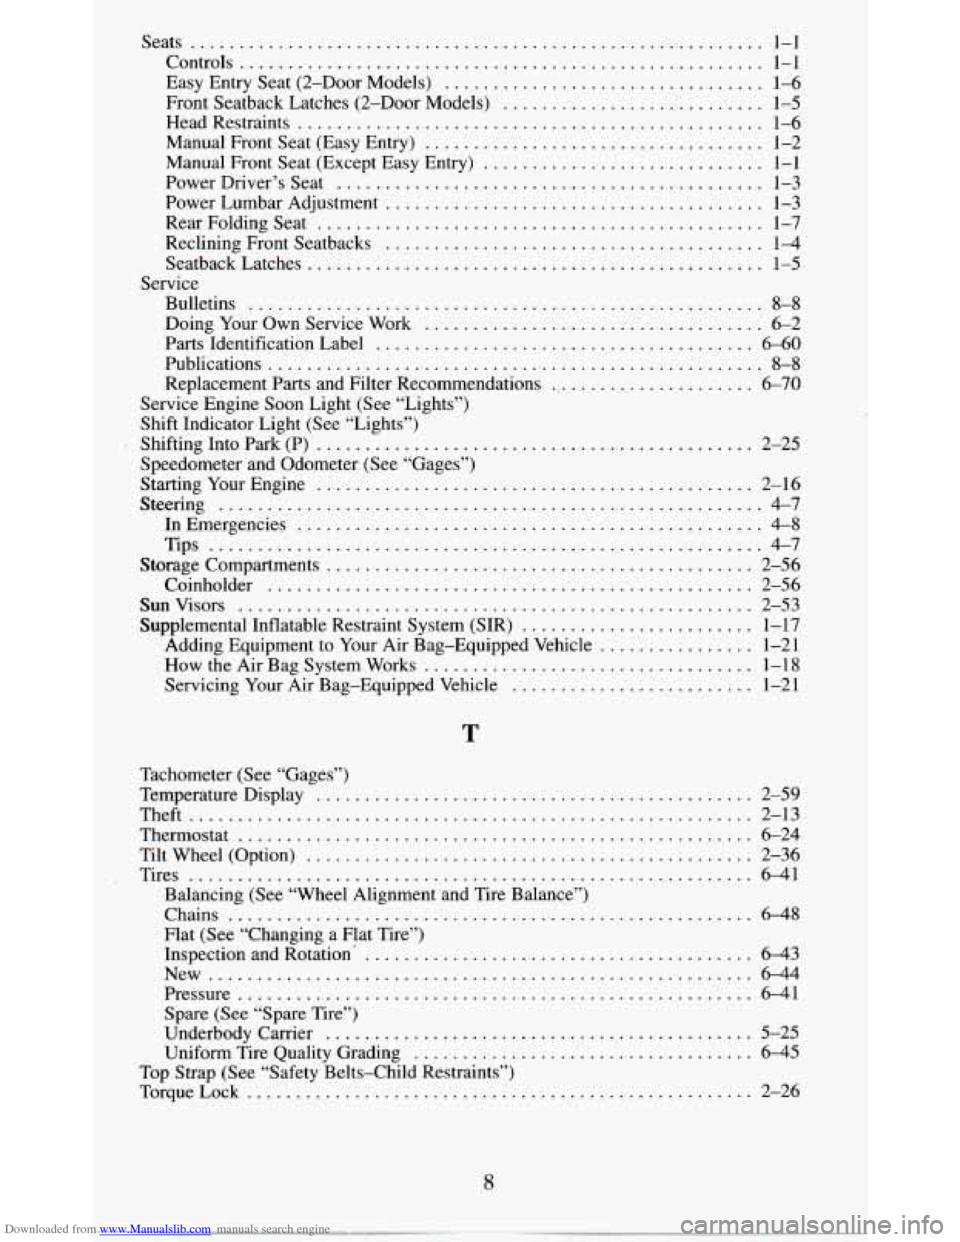
Downloaded from www.Manualslib.com manuals search engine Seats ...........................................................
Controls ......................................................
Easy Entry Seat (2-Door Models) .................................
Front Seatback Latches (2-Door Models) ...........................
Head Restraints ................................................
Manual Front Seat (Easy Entry) ...................................
Manual Front Seat (Except Easy Entry) .............................
Power Driver’s Seat ............................................
Power Lumbar Adjustment .......................................
RearFoldingSeat ..............................................
Reclining Front Seatbacks .......................................
SeatbackLatches ...............................................
Bulletins .....................................................
Service
Doing
Your Own Service Work ...................................
Parts Identification Label ....................................... 6-60
Publications ................................................... 8-8
Replacement Parts and Filter Recommendations ...................... 6-70
Service Engine Soon Light (See “Lights”)
Shift Indicator Light (See “Lights”)
Shifting Into Park (P)
............................................. 2-25
Speedometer and Odometer (See “Gages”)
StartingYourEngine
............................................. 2-16
Steering
........................................................ 4-7
In Emergencies ....................................... -1 ....... 4-8
Tips ......................................................... 4-7
Storage Compartments
............................................ 2-56
Coinholder
.................................................. 2-56
Sunvisors
..................................................... 2-53
Supplemental Inflatable Restraint System (SIR)
........................ 1-17
Adding Equipment to Your Air Bag-Equipped Vehicle
................ 1-21
How the Air Bag System Works .................................. 1-18
Servicing Your Air Bag-Equipped Vehicle
......................... 1-21
1-1
1-1
1-6
1-5
1-6
1-2
1-1
1-3
1-3
1-7
14
1-5
8-8
6-2
T
Tachometer (See “Gages”)
Temperature Display
............................................. 2-59
Theft
.......................................................... 2-13
Thermostat
..................................................... 6-24
Tilt Wheel (Option)
.............................................. 2-36
Tires
.......................................................... 6-41
Balancing (See “Wheel Alignment and Tire Balance”)
Chains
...................................................... 6-48
Flat (See “Changing a Flat Tire”) Inspection and Rotation-
........................................ 6-43
New ........................................................ 6-44
Pressure ..................................................... 6-41
Spare (See “Spare Tire”)
Underbodycarrier
............................................ 5-25
Uniform Tire Quality Grading ................................... 6-45
TorqueLock .................................................... 2-26
Top
Strap (See “Safety Belts-Child Restraints”)
8