oil change CHEVROLET BLAZER 1995 2.G Owners Manual
[x] Cancel search | Manufacturer: CHEVROLET, Model Year: 1995, Model line: BLAZER, Model: CHEVROLET BLAZER 1995 2.GPages: 380, PDF Size: 20.04 MB
Page 128 of 380

Downloaded from www.Manualslib.com manuals search engine Headlamp High Beam Indicator Light
A
This blue high beam
indicator light is
above the engine oil
temperature gage on
the instrument cluster and is on whenever
you use your high
beam headlamps. See
“Headlamp High-Low
Beam Changer” in this
section.
Turn Signal and Lane Change lndicator
This light with the
green arrows is on
both sides
of the
speedometer
on the
instrument cluster.
The turn signal
indicator will come on
whenever you signal a
turn or lane change.
See “Turn and Lane
Change Signal” in this section.
2-76
Page 250 of 380
Downloaded from www.Manualslib.com manuals search engine What Kind of Oil fo Use
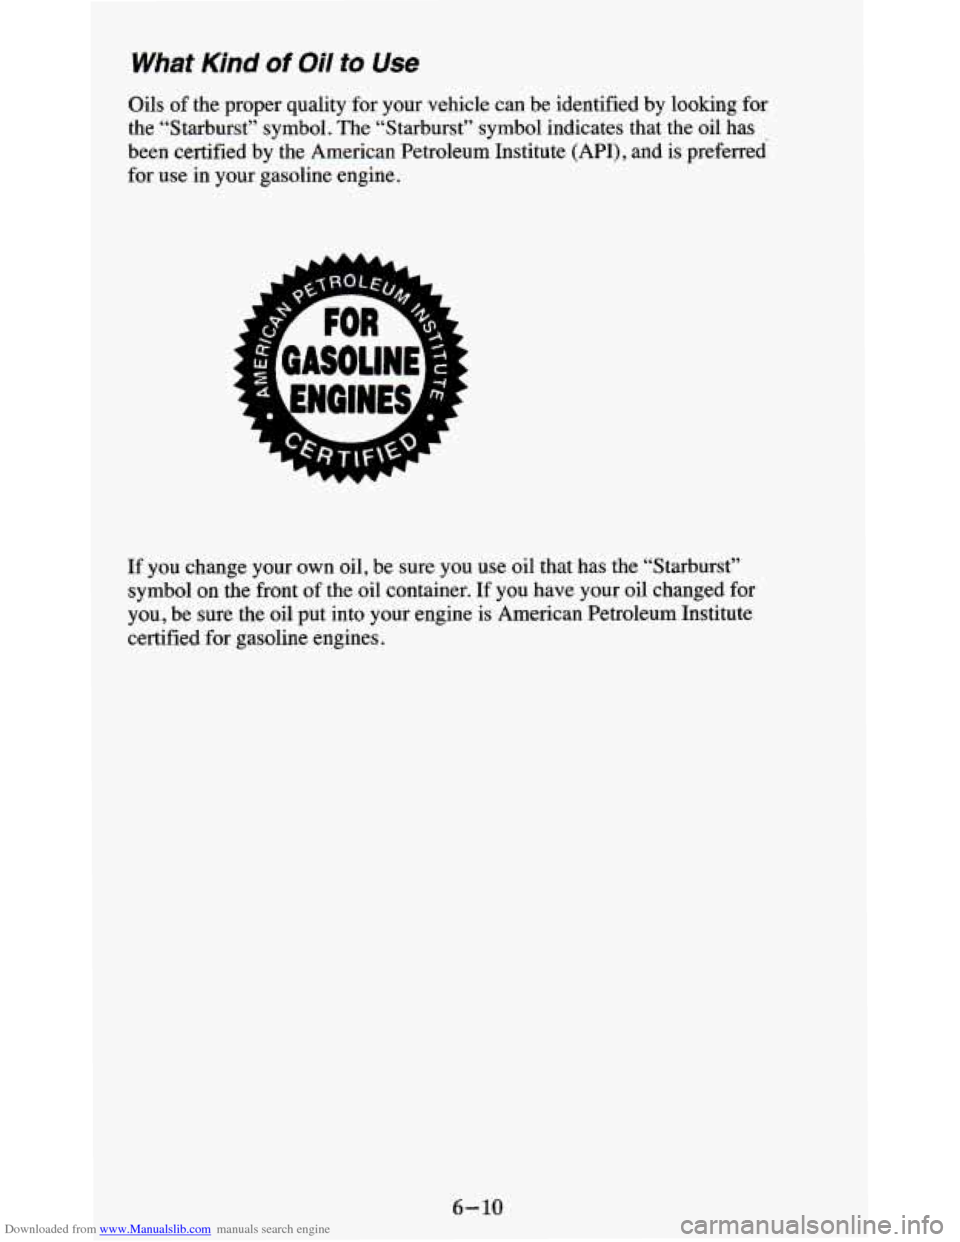
Oils of the proper quality for your vehicle can be identified by looking for
the “Starburst” symbol. The “Starburst” symbol indicates that the oil has
been certified by the American Petroleum Institute (API), and
is preferred
for use in your gasoline engine.
If you change your own oil, be sure you use oil that has the “Starburst”
symbol on the front
of the oil container. If you have your oil changed for
you, be sure the oil put into your engine is American Petroleum Institute
certified for gasoline engines.
6- 10
Page 252 of 380
Downloaded from www.Manualslib.com manuals search engine I NOTICE:
Use only engine oil with the American Petroleum Institute
Certified For Gasoline Engines “Starburst” symbol. Failure \
to
use the proper oil can result in engine damage not covered by\
your warranty.
GM Goodwrench@ oil (in Canada, GM Engine Oil) meets all the
requirements for your vehicle.
Engine Oil Additives
Don’t add anything to your oil. Your GM dealer is ready to advise if you
think something should be added.
When to Change Engine Oil
See if any one of these is true for you:
0 Most trips are less than 5 to 10 miles (8 to 16 km). This is particularly
Most trips include extensive idling (such as frequent driving in stop and
important
when outside temperatures are below freezing.
go traffic).
0 You operate your vehicle in dusty areas or off-road frequently.
0 You frequently tow a trailer or use a carrier on top of your vehicle.
If any one of these is true for your vehicle, then you need to change your oil
and filter every
3,000 miles (5 000 km) or 3 months - whichever comes
first.
If none of them is true, change the oil and filter every 7,500 miles (12 500
km) or 12 months - whichever comes first.
6-12
Page 253 of 380
Downloaded from www.Manualslib.com manuals search engine Four-wheel Drive Remote Oil Filter
If your vehicle has four-wheel drive, you will have a remote oil filter. There
is a special access door in the steering linkage shield assembly located under
the radiator support. Twist the screw to lock or unlock the door.
Engine Coolant Heater
An engine coolant heater can be a big help if you have to park outside in
very cold weather,
0°F (-18 “C) or colder. If your vehicle has this option,
see “Engine Coolant Heater” in
the Index.
What to Do with Used Oil
Did you know that used engine oil contains certain elements that may be
unhealthy for your skin and could even cause cancer? Don’t let used oil stay
on your skin for very long. Clean your skin and nails with soap and water,
or a good hand cleaner. Wash or properly throw away clothing or rags
containing used engine oil. (See the manufacturer’s warnings about the use
and disposal of oil products.)
Used oil can be a real threat to the environment. If you change your own oil,
be sure to drain all free-flowing oil from the filter before disposal. Don’t
ever dispose of oil by putting it in the trash, pouring
it on the ground, into
sewers, or into streams or bodies of water. Instead, recycle it by taking
it to
a place that collects used oil. If you have a problem properly disposing of
your used oil, ask your dealer, a service station or a local recycling center
for help.
Air Cleaner
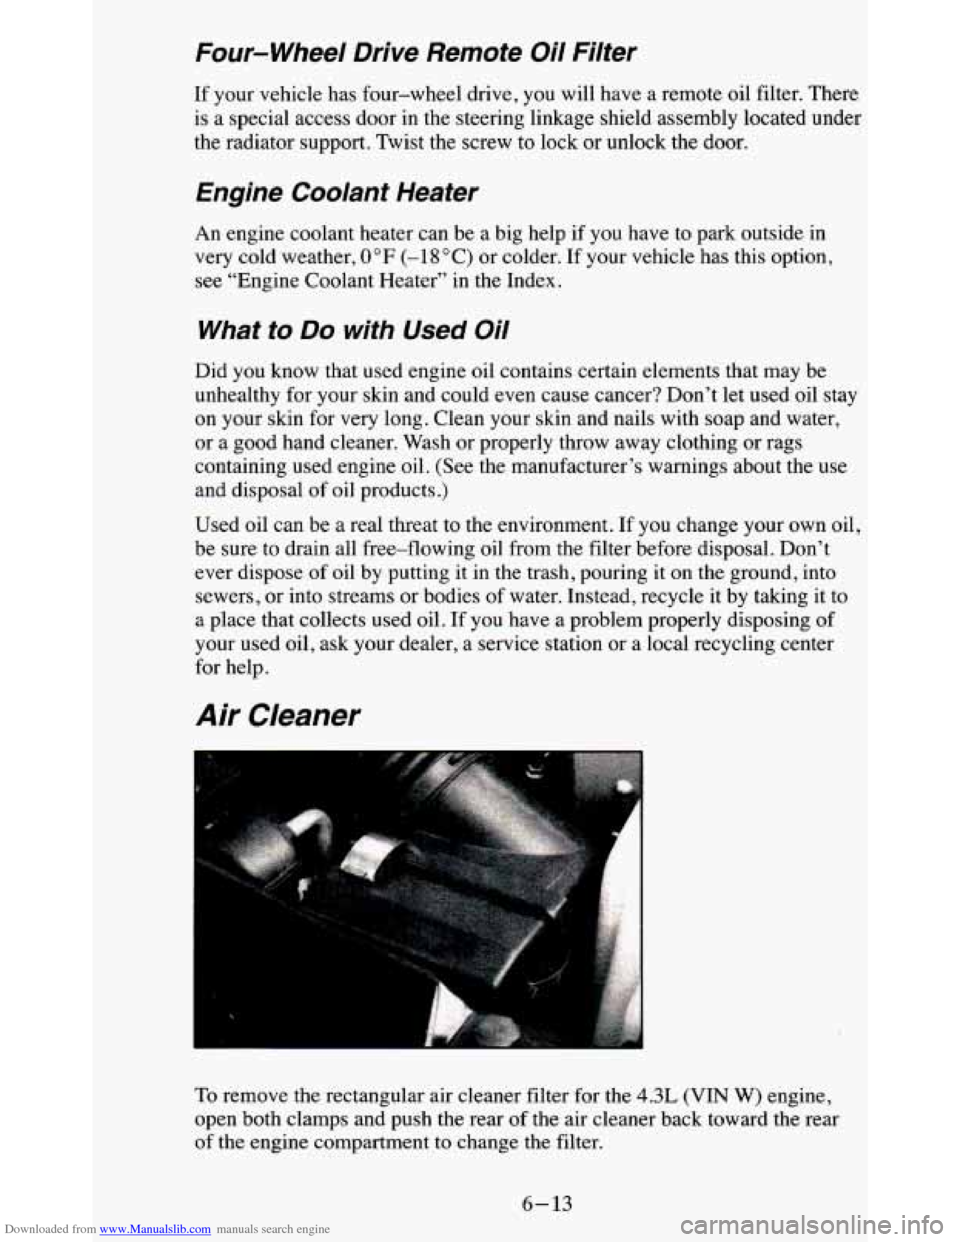
To remove the rectangular air cleaner filter for the 4.3L (VIN W) engine,
open both clamps and push the rear
of the air cleaner back toward the rear
of the engine compartment to change the filter.
6-13
Page 254 of 380
Downloaded from www.Manualslib.com manuals search engine While reassembling the air cleaner assembly, ensure that the air cleaner
cover tabs are fully inserted into the slots in the air cleaner housing. On the
4.3L (VIN W) engine, also make certain that the PCV air tube is properly
seated in the left hand valve cover.
Refer to the Maintenance Schedule to determine
when to redace the air
filter.
See “Scheduled Maintenance Services” in the Index.
NOTICE:
If the air cleaner is off, a backfire can cause a damaging engine
fire. And, dirt can easily get into your engine, which will d\
amage
it. Always have the air cleaner in place when you’re driving.
Automatic Transmission Fluid
-When to Check and Change
A good time to check your automatic transmission fluid level is when the
engine oil is changed. Refer to the Maintenance Schedule to determine
when to change your fluid. See “Scheduled Maintenance Services” in the
Index.
How to Check
Because this operation can be a little difficult, you may choose to have this
done at your GM dealership Service Department.
If you do it yourself, be sure to follow all the instructions here, or you could
get a false reading on the dipstick.
6- 14
Page 257 of 380
Downloaded from www.Manualslib.com manuals search engine How to Add Fluid
Refer to the Maintenance Schedule to determine what kind of transmission
fluid to use. See “Recommended Fluids and Lubricants” in the Index.
Add fluid only after checking the transmission fluid
HOT. (A COLD check
is used only
as a reference.) If the fluid level is low, add only enough of the
proper fluid to bring the level up to the
HOT area for a hot check. It doesn’t
take much fluid, generally less than a int.
Don ’t overfill. We recommend
you use only fluid labeled DEXRON -111, because fluid with that label is
made especially for your automatic transmission. Damage caused by fluid
other than DEXRON@-I11 is not covered by your new vehicle warranty. 8
After adding fluid, recheck the fluid level as described under “How to
Check.”
0 When the correct fluid level is obtained, push the dipstick back in all
the way; then flip the handle down to lock the dipstick in place.
Manual Transmission Fluid
When to Check
A good time to have it checked is when the engine oil is changed. However,
the fluid in your manual transmission doesn’t require changin\
g.
How to Check
Because this operation can be a little difficult, you may choose to have this
done at your GM dealership Service Department.
If you do it yourself, be sure
to follow all the instructions here, or you could
get a false reading.
I NOTICE:
Too much or too little fluid can damage your transmission. Too
much can mean that some of the fluid could come out and fall on
hot engine parts or exhaust system parts, starting
a fire. Be sure
to get an accurate reading if you check your transmission fluid.
Check the fluid level only when your engine is off, the vehicle is parked on
a level place and the transmission is cool enough for you to rest your fingers
on the transmission case.
6-17
Page 313 of 380
Downloaded from www.Manualslib.com manuals search engine Scheduled Maintenance Services
Section
IMPORTANT:
KEEP ENGINE OIL
AT THE PROPER
LEVELAND CHANGE
AS RECOMMENDED
This section covers the maintenance required for your vehicle. Your vehicle
needs these services
to retain its safety, dependability and emission control
performance.
Protection
Plan
Have you purchased the GM Protection Plan? The Plan supplements your
new vehicle warranties. See your GM dealer for details.
Introduction
Your Vehicle and the Environment
Proper vehicle maintenance not only helps to keep your vehicle in good
working condition,
but also helps the environment. All recommended
maintenance procedures are important. Improper vehicle maintenance
or the
removal
of important components can significantly affect the quality of the
air we breathe. Improper fluid levels or even the wrong tire inflation can
increase the level of emissions from your vehicle. To help protect our
environment, and to help keep your vehicle
in good condition, please
maintain your vehicle properly.
7-1
Page 316 of 380
Downloaded from www.Manualslib.com manuals search engine I Schedule I Definition I
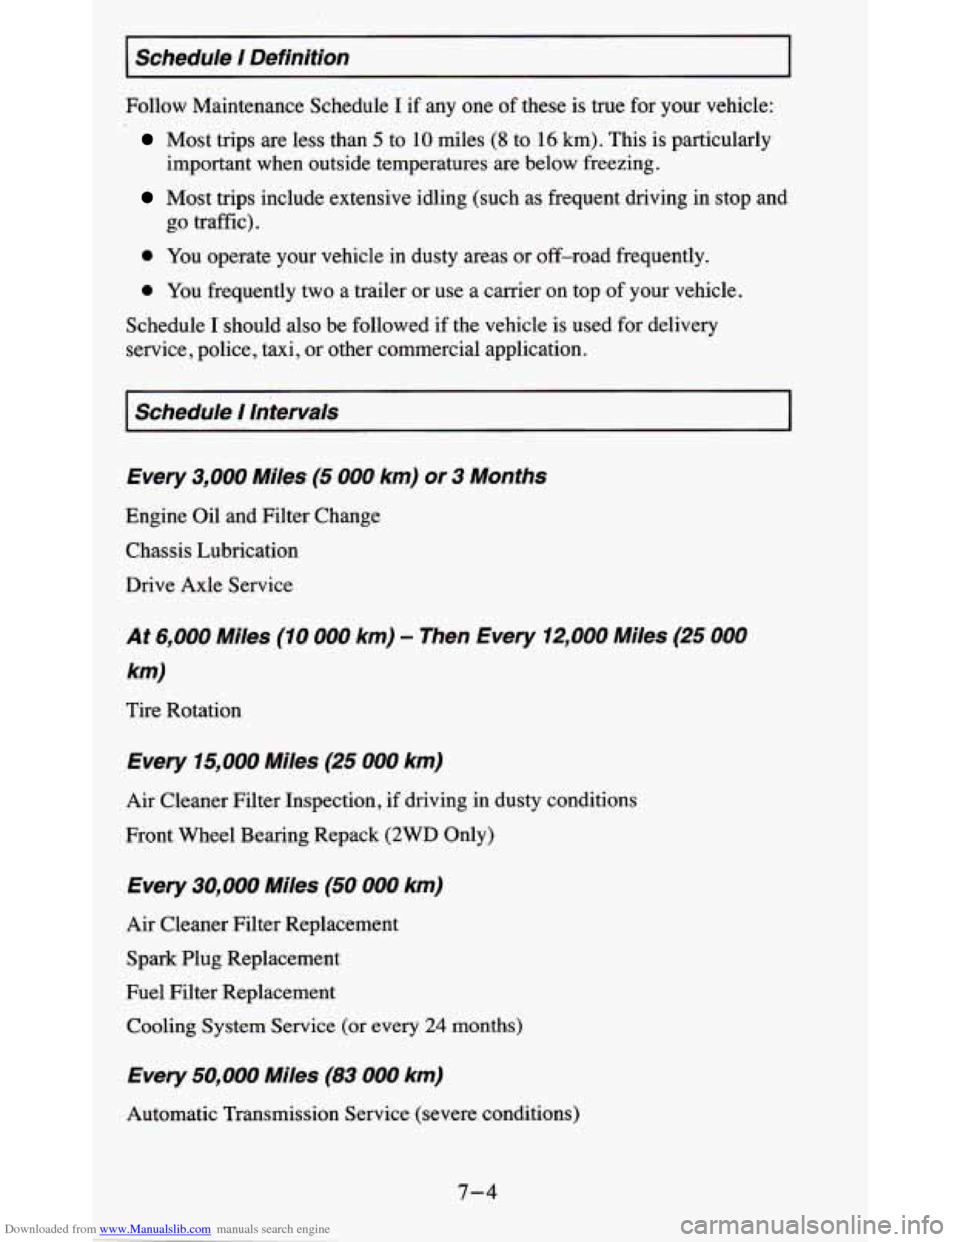
Follow Maintenance Schedule I if any one of these is true for your vehicle:
Most trips are less than 5 to 10 miles (8 to 16 km). This is particularly
important when outside temperatures are below freezing.
Most trips include extensive idling (such as frequent driving \
in stop and
go traffic).
0 You operate your vehicle in dusty areas or off-road frequently.
0 You frequently two a trailer or use a carrier on top of your vehicle.
Schedule
I should also be followed if the vehicle is used for delivery
service, police, taxi, or other commercial application.
I Schedule / Intervals I
Every 3,000 Miles (5 000 km) or 3 Months
Engine Oil and Filter Change
Chassis Lubrication
Drive Axle Service
At 6,000 Miles (10 000 km) - Then Every 12,000 Miles (25 000
km)
Tire Rotation
Every 15,000 Miles (25 000 km)
Air Cleaner Filter Inspection, if driving in dusty conditions
Front Wheel Bearing Repack
(2WD Only)
Every 30,000 Miles (50 000 km)
Air Cleaner Filter Replacement
Spark Plug Replacement
Fuel Filter Replacement
Cooling System Service (or every
24 months)
Every 50,000 Miles (83 000 km)
Automatic Transmission Service (severe conditions)
7-4
Page 317 of 380
Downloaded from www.Manualslib.com manuals search engine Every 60,000 Miles (100 000 km)
Engine Accessory Drive Belt Inspection
Spark Plug Wire Inspection
Engine Timing Check
Fuel Tank, Cap and Lines Inspection
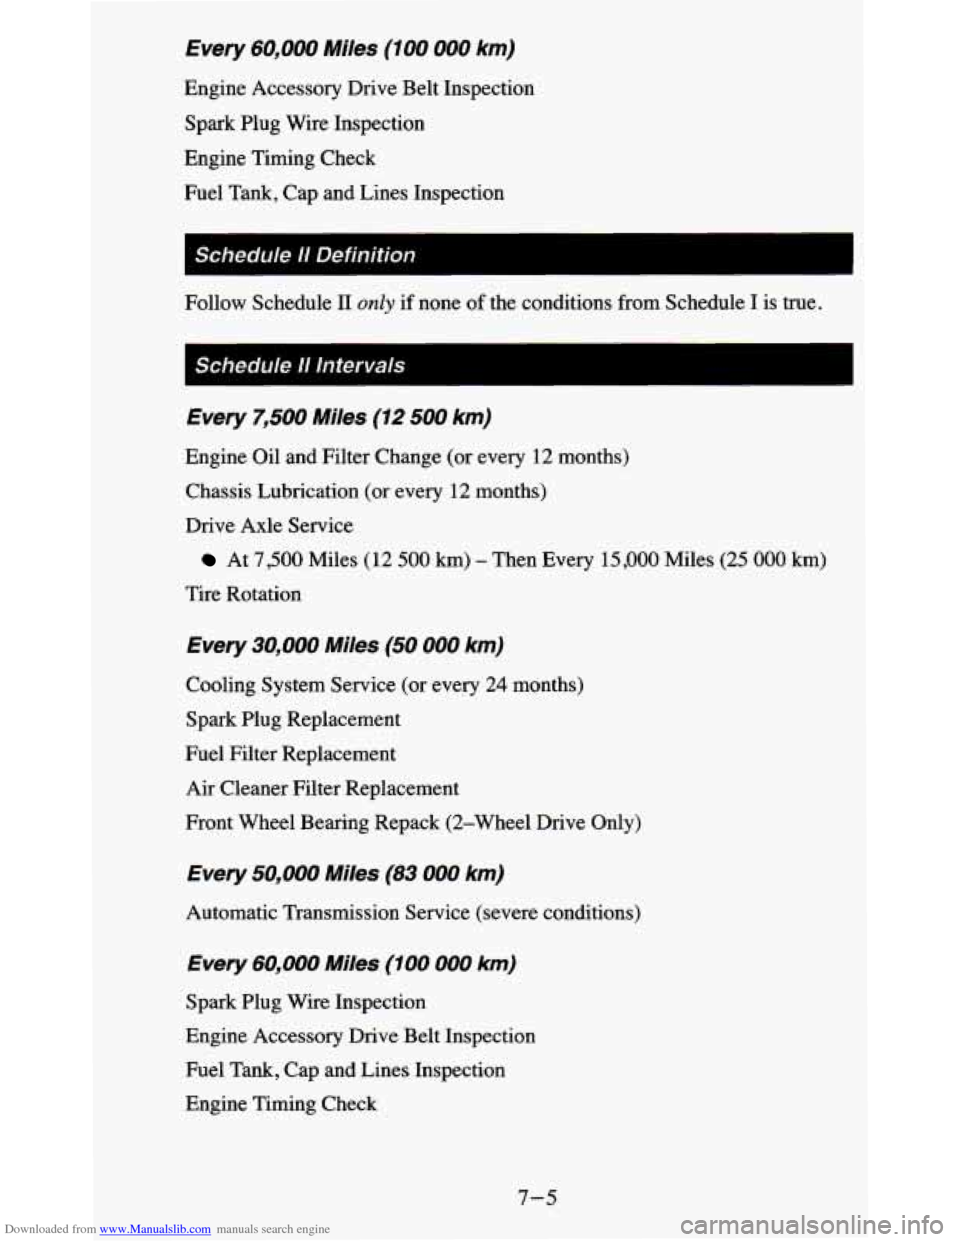
Follow Schedule I1
only if none of the conditions from Schedule I is true.
I Schedule // /nterva/s
Every 7,500 Miles (12 500 km)
Engine Oil and Filter Change (or every 12 months)
Chassis Lubrication (or every 12 months)
Drive Axle Service
At 7,500 Miles ( 12 500 km) - Then Every 15,000 Miles (25 000 km)
Tire Rotation
Every 30,000 Miles (50 000 km)
Cooling System Service (or every 24 months)
Spark Plug Replacement
Fuel Filter Replacement
Air Cleaner Filter Replacement
Front Wheel Bearing Repack (2-Wheel Drive Only)
Every 50,000 Miles (83 000 km)
Automatic Transmission Service (severe conditions)
Every 60,000 Miles (100 000 km)
Spark Plug Wire Inspection
Engine Accessory Drive Belt Inspection
Fuel Tank, Cap and Lines Inspection
Engine Timing Check
7-5
Page 318 of 380
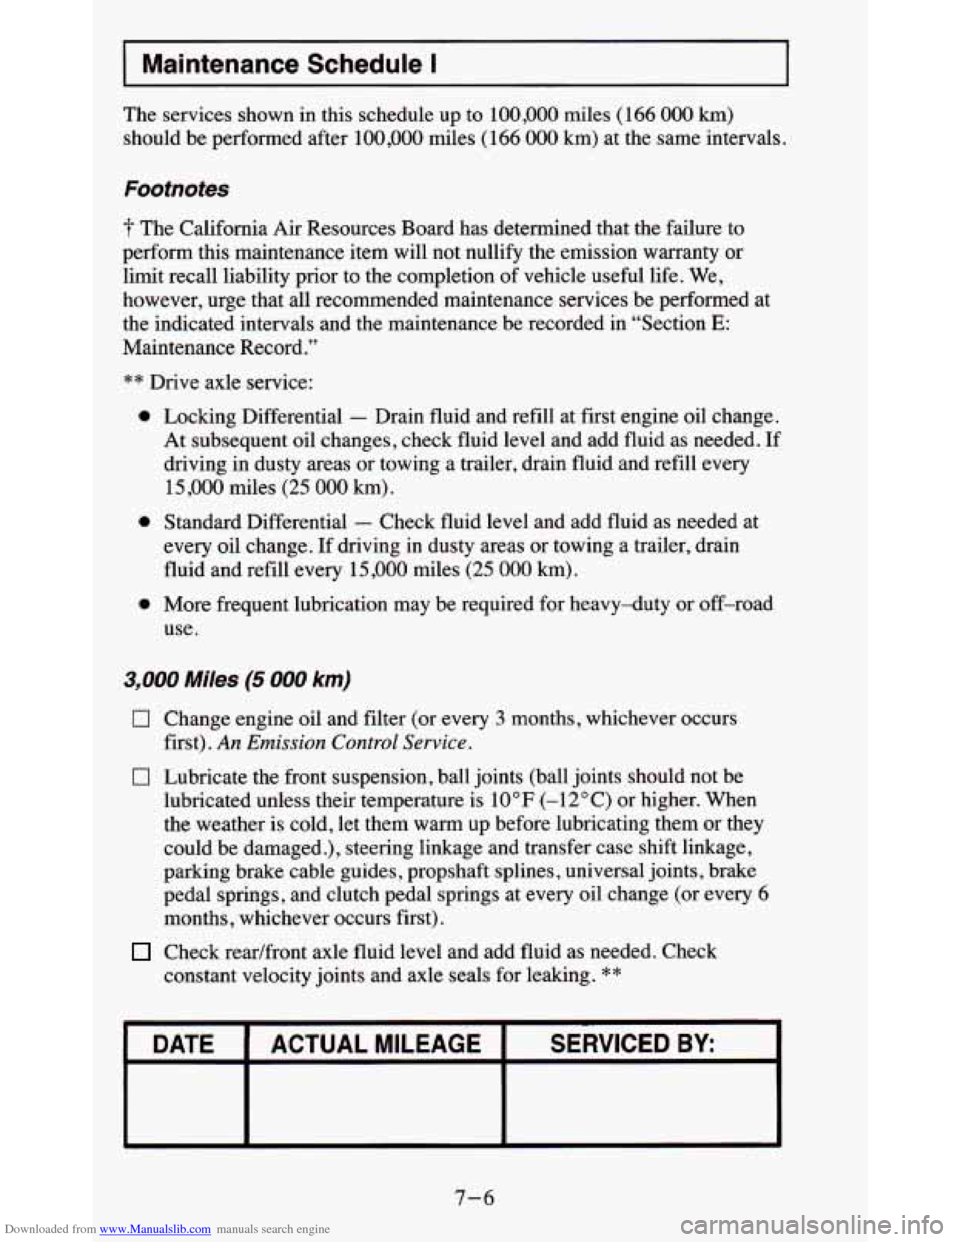
Downloaded from www.Manualslib.com manuals search engine I Maintenance Schedule I
The services shown in this schedule up to 100,000 miles (166 000 km)
should be performed after 100,000 miles (166 000 km) at the same intervals.
Footnotes
? The California Air Resources Board has determined that the failure to
perform this maintenance item will not nullify the emission warranty or
limit recall liability prior to the completion of vehicle useful life. We,
however, urge that all recommended maintenance services be performed at
the indicated intervals and the maintenance be recorded in “\
Section
E:
Maintenance Record.”
** Drive axle service:
0
0
0
Locking Differential - Drain fluid and refill at first engine oil change.
At subsequent oil changes, check fluid level and add fluid as needed.
If
driving in dusty areas or towing a trailer, drain fluid and refill every
15,000 miles (25
000 km).
Standard Differential
- Check fluid level and add fluid as needed at
every oil change. If driving in dusty areas or towing
a trailer, drain
fluid and refill
every 15,000 miles (25 000 km) .
More frequent lubrication may be required for heavy-duty or off-road
use.
3,000 Miles (5 000 km)
0
0
Change engine oil and filter (or every 3 months, whichever occurs
first).
An Emission Control Service.
Lubricate the front suspension, ball joints (ball joints should not be
lubricated unless their temperature is 10°F (-1 2°C) or higher. When
the weather is cold, let them warm up before lubricating them
or they
could be damaged.), steering linkage and transfer case shift linkage,
parking brake cable guides, propshaft splines, universal joints, brake
pedal springs, and clutch pedal springs at every
oil change (or every 6
months
, whichever occurs first).
Check readfront axle fluid level and add fluid as needed. Check
constant velocity joints and axle seals for leaking.
**
I DATE I ACTUALMILEAGE I SERVICED BY:
7-6