traction control CHEVROLET BLAZER 1995 2.G Owners Manual
[x] Cancel search | Manufacturer: CHEVROLET, Model Year: 1995, Model line: BLAZER, Model: CHEVROLET BLAZER 1995 2.GPages: 380, PDF Size: 20.04 MB
Page 84 of 380
Downloaded from www.Manualslib.com manuals search engine Electronic Transfer Case
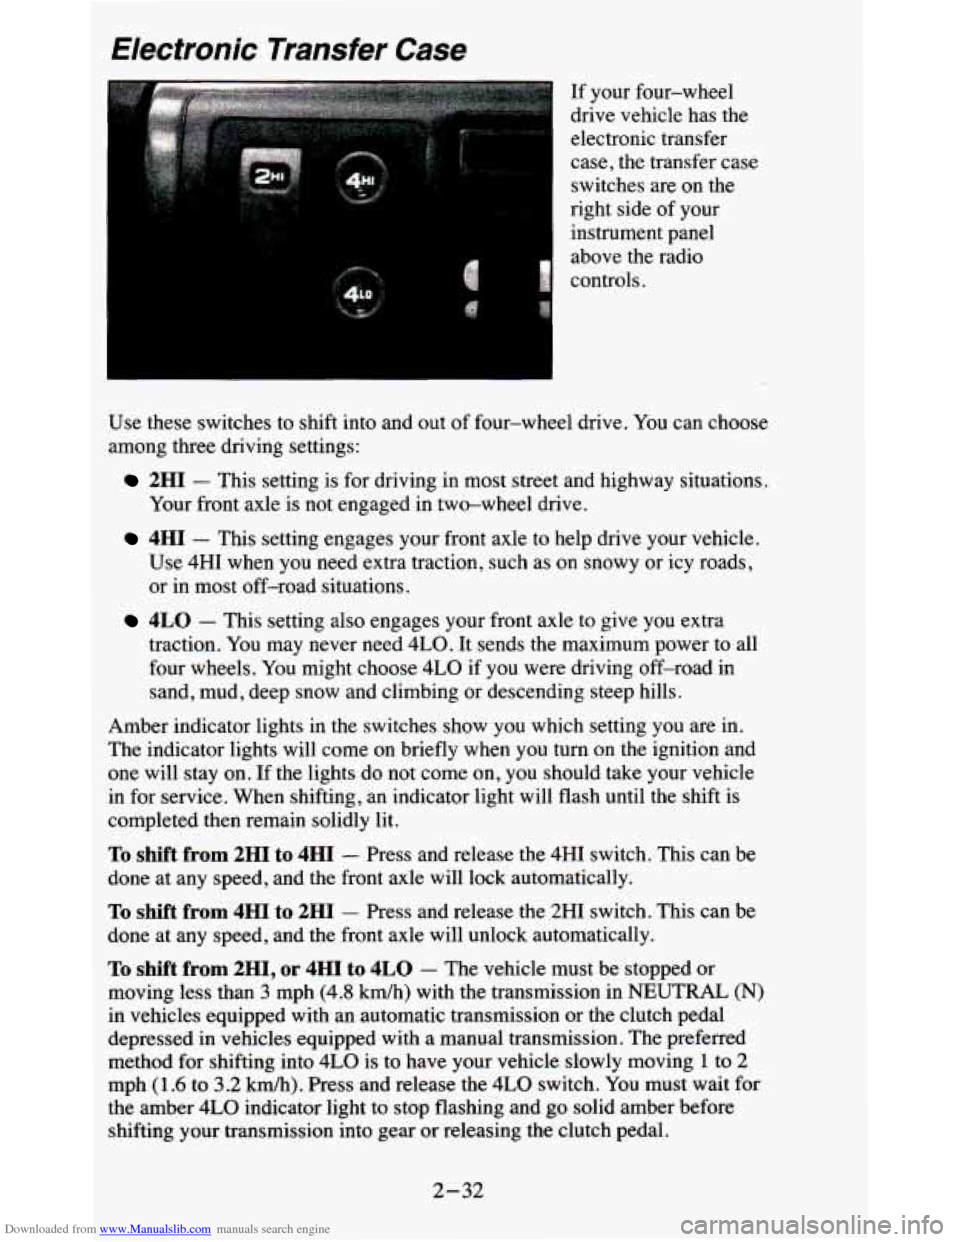
If your four-wheel
drive vehicle has the
electronic transfer
case, the transfer case
switches are on the
right side of your
instrument panel
above
the radio
controls.
Use these switches to shift into and out
of four-wheel drive. You can choose
among three driving settings:
2HI - This setting is for driving in most street and highway situations.
Your front axle is not engaged in two-wheel drive.
4HI - This setting engages your front axle to help drive your vehicle.
Use 4HI when you need extra traction, such as on snowy or icy roads,
or in most off-road situations.
4LO - This setting also engages your front axle to give you extra
traction. You may never need 4LO. It sends the maximum power to all
four wheels. You might choose
4LO if you were driving off-road in
sand, mud, deep snow and climbing or descending steep hills.
Amber indicator lights
in the switches show you which setting you are in.
The indicator lights will come on briefly when you turn on the ignition and
one will stay on. If the lights do not come on,
you should take your vehicle
in for service. When shifting,
an indicator light will flash until the shift is
completed then remain solidly lit.
To shift from 2HI to 4HI - Press and release the 4HI switch. This can be
done at any speed, and the front axle will lock automatically.
To shift from 4HI to 2HI - Press and release the 2HI switch. This can be
done at any speed, and the front axle will unlock automatically.
To shift from 2H1, or 4HI to 4LO - The vehicle must be stopped or
moving less than
3 mph (4.8 km/h) with the transmission in NEUTRAL (N)
in vehicles equipped with an automatic transmission or the clutch pedal
depressed
in vehicles equipped with a manual transmission. The preferred
method for shifting into
4LO is to have your vehicle slowly moving 1 to 2
mph (1.6 to 3.2 km/h). Press and release the 4LO switch. You must wait for
the amber
4LO indicator light to stop flashing and go solid amber before
shifting your transmission into gear or releasing the clutch pedal.
2-32
Page 161 of 380
Downloaded from www.Manualslib.com manuals search engine Remember: Anti-lock doesn’t change the time you need to get \
your foot up to
the brake pedal. If you get too close to the vehicle in front of you, you won’t
have time to apply your brakes if that vehicle suddenly slows \
or stops. Always leave enough room up ahead to stop, even though you have anti\
-lock brakes.
To Use Anti-Lock
Don’t pump the brakes. Just hold the brake pedal down and \
let anti-lock work for you.
You may feel the brakes vibrate, or you may notice some noise,
but this is normal. On vehicles with four-wheel drive, your anti-lock brakes
work at all times
-- whether you are in two-wheel drive or four-wheel drive.
Braking in Emergencies
Use your anti-lock braking system when you need to. With anti-\
lock, you
can steer and brake at the same time. In many emergencies, steering can
help you more than even the very best braking.
Power Steering
If you lose power steering assist because the engine stops or the system is
not functioning, you can steer but it will take much more effort.
Steering lips
Driving on Curves
It’s important to take curves at a reasonable speed.
A lot
of the “driver lost control” accidents mentioned on the news \
happen
on curves. Here’s why:
Experienced driver or beginner, each of us is subject to the same laws of
physics when driving on curves. The traction
of the tires against the road
surface makes it possible
for the vehicle to change its path when you turn
the front wheels. If there’s no traction, inertia will keep the vehicle going in
the same direction.
If you’ve ever tried to steer a vehicle on wet ice, you’ll
understand this.
The traction you can get
in a curve depends on the condition of your tires
and
the road surface, the angle at which the curve is banked, and your
speed. While you’re in a curve, speed is the one factor you can control.
Suppose you’re steering through a sharp curve. Then you suddenly
accelerate. Both control systems
- steering and acceleration - have to do
their work where the tires meet the road. Adding the sudden acceleration
can demand too much
of those places. You can lose control.
4-7
Page 165 of 380
Downloaded from www.Manualslib.com manuals search engine Loss of Control
Let’s review what driving experts say about what happens whe\
n the three
control systems (brakes, steering and acceleration) don’t have enough
friction where the tires meet the road to do what the driver has asked.
In any emergency, don’t give up. Keep trying to steer and constantly seek an
escape route or area
of less danger.
Skidding
In a skid, a driver can lose control of the vehicle. Defensive drivers avoid
most skids by taking reasonable care suited to existing conditions, and by
not “overdriving” those conditions.
But skids are always possible.
The three types of skids correspond to your vehicle’s three control systems.
In the braking skid your wheels aren’t rolling. In the steering or cornering
skid, too much speed or steering in a curve causes tires to slip and lose
cornering force. And in the acceleration skid too much throttle causes the
driving wheels to spin.
A cornering skid and an acceleration skid are best handled by easing your
foot
off the accelerator pedal.
If your vehicle starts to slide, ease your foot off the accelerator pedal and
quickly steer the way you
want the vehicle to go. If you start steering
quickly enough, your vehicle may straighten out. Always be ready for a
second skid if it occurs.
Of course, traction is reduced when water, snow, ice, gravel, or other
material is on the road. For safety, you’ll want to slow down and adjust your
driving to these conditions. It
is important to slow down on slippery
surfaces because stopping distance will be longer and vehicle control more
limited.
While driving on a surface with reduced traction, try your best to avoid
sudden steering, acceleration, or braking (including engine braking by
shifting to a lower gear). Any sudden changes could cause the tires to slide.
You may not realize the surface is slippery until your vehicle is skidding.
Learn to recognize warning clues
- such as enough water, ice or packed
snow on the road to make a “mirrored surface”
- and slow down when you
have any doubt.
Remember: Any anti-lock brake system (ABS) helps avoid only the braking
skid.
4-11
Page 168 of 380
Downloaded from www.Manualslib.com manuals search engine Getting Familiar with Off-Road Driving
It’s a good idea to practice in an area that’s safe and close to home before
you go into the wilderness. Off-road driving does require some new and
different driving skills. Here’s what we mean.
Tune your senses to different kinds
of signals. Your eyes, for example, need
to constantly sweep the terrain for unexpected obstacles. Your ears need to
listen for unusual tire or engine sounds. With your arms, hands, feet, and
body you’ll need to respond to vibrations and vehicle bounce.
Controlling your vehicle
is the key to successful off-road driving. One of
the best ways to control your vehicle is to control your spee\
d. Here are some
things to keep in mind. At higher speeds:
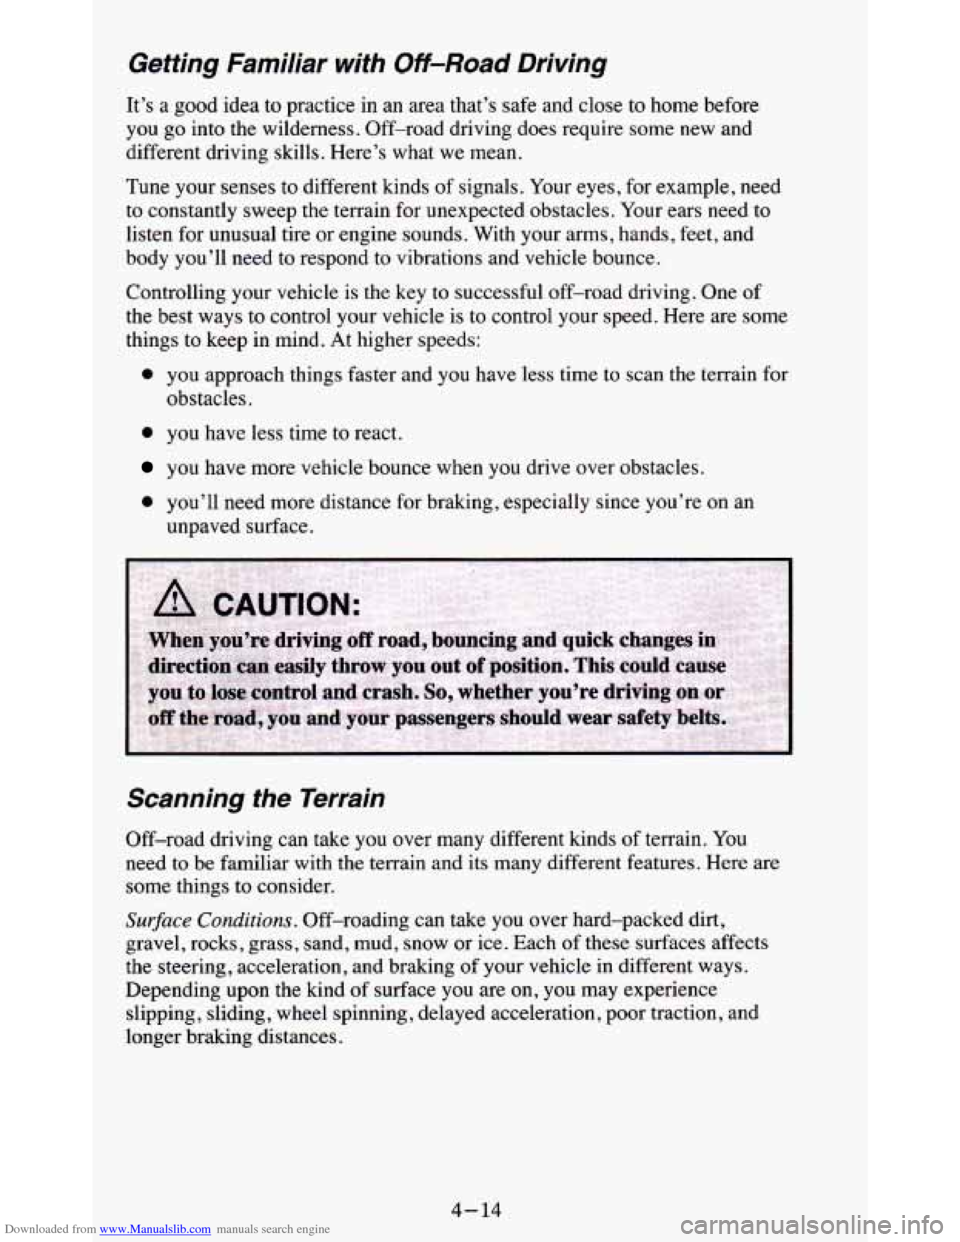
0 you approach things faster and you have less time to scan the terrain for
obstacles.
0 you have less time to react.
you have more vehicle bounce when you drive over obstacles.
0 you’ll need more distance for braking , especially since you’re on an
unpaved surface.
Scanning the Terrain
Off-road driving can take you over many different kinds of terrain. You
need to be familiar with the terrain and its many different features. Here are
some things to consider.
Surface Conditions. Off-roading can take you over hard-packed dirt,
gravel, rocks
, grass, sand, mud, snow or ice. Each of these surfaces affects
the steering, acceleration, and braking
of your vehicle in different ways.
Depending upon the kind of surface you are on, you may experience
slipping, sliding, wheel spinning, delayed acceleration, poor traction
, and
longer braking distances.
4-14
Page 176 of 380
Downloaded from www.Manualslib.com manuals search engine Driving In Mud, Sand, Snow, Or Ice
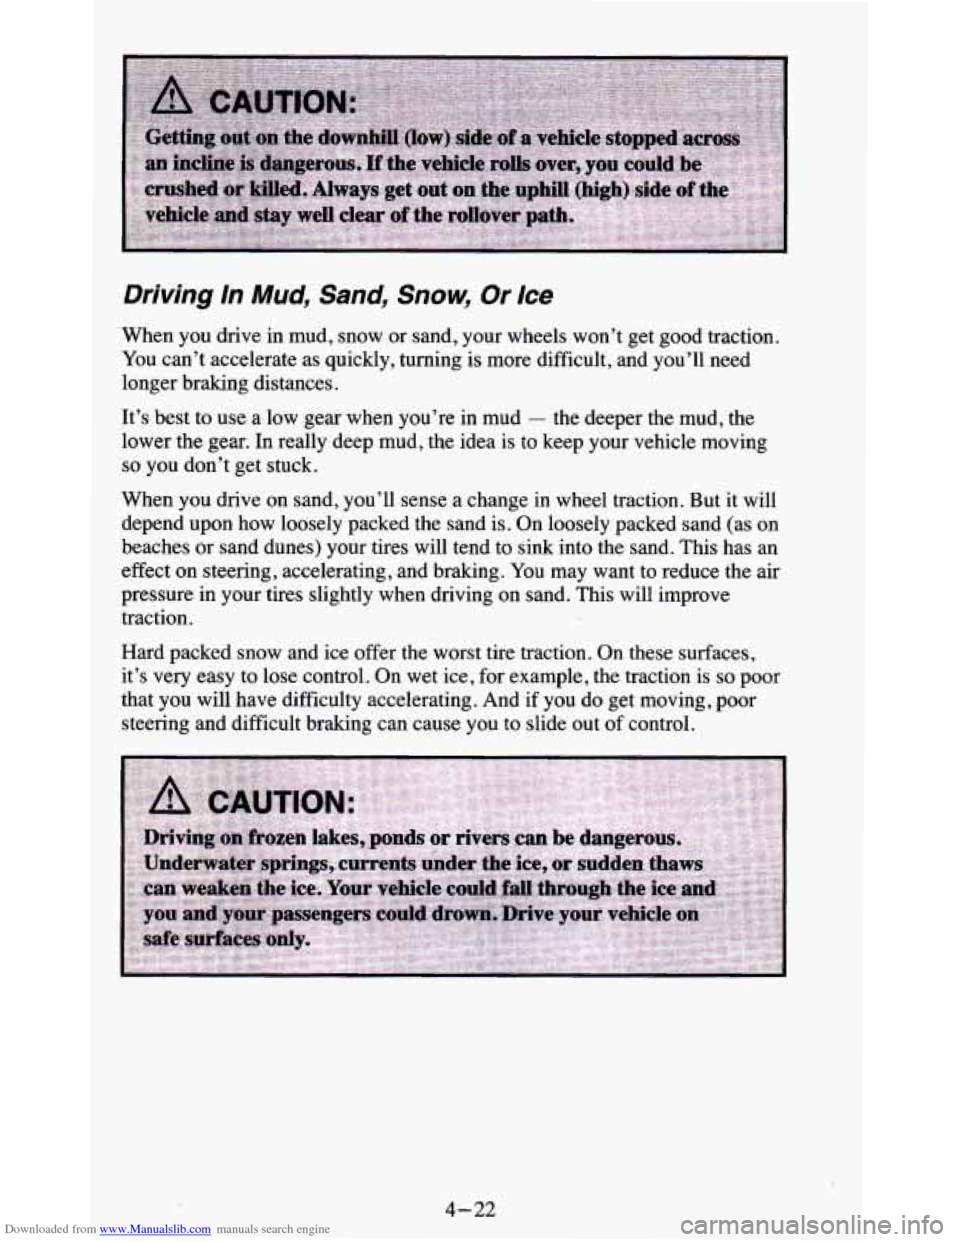
When you drive in mud, snow or sand, your wheels won’t get good traction.
You can’t accelerate as quickly, turning
is more difficult, and you’ll need
longer braking distances.
It’s best to use a low gear when you’re in mud
- the deeper the mud, the
lower the gear. In really deep mud, the idea is to keep your vehicle moving
so you don’t get stuck.
When you drive on sand, you’ll sense a change in wheel traction. But it will
depend upon how loosely packed the sand is. On loosely packed sand (as on
beaches or sand dunes) your tires will tend to sink into the sand. This has an
effect on steering, accelerating, and braking. You may want to reduce
the air
pressure in your tires slightly when driving on sand. This will improve
traction.
Hard packed snow and ice offer the worst tire traction. On th\
ese surfaces,
it’s very easy to lose control. On wet ice, for example, the traction is
so poor
that you will have difficulty accelerating. And if you do get moving, poor
steering and difficult braking can cause you
to slide out of control.
4-22
Page 285 of 380
Downloaded from www.Manualslib.com manuals search engine Uniform Tire Quality Grading
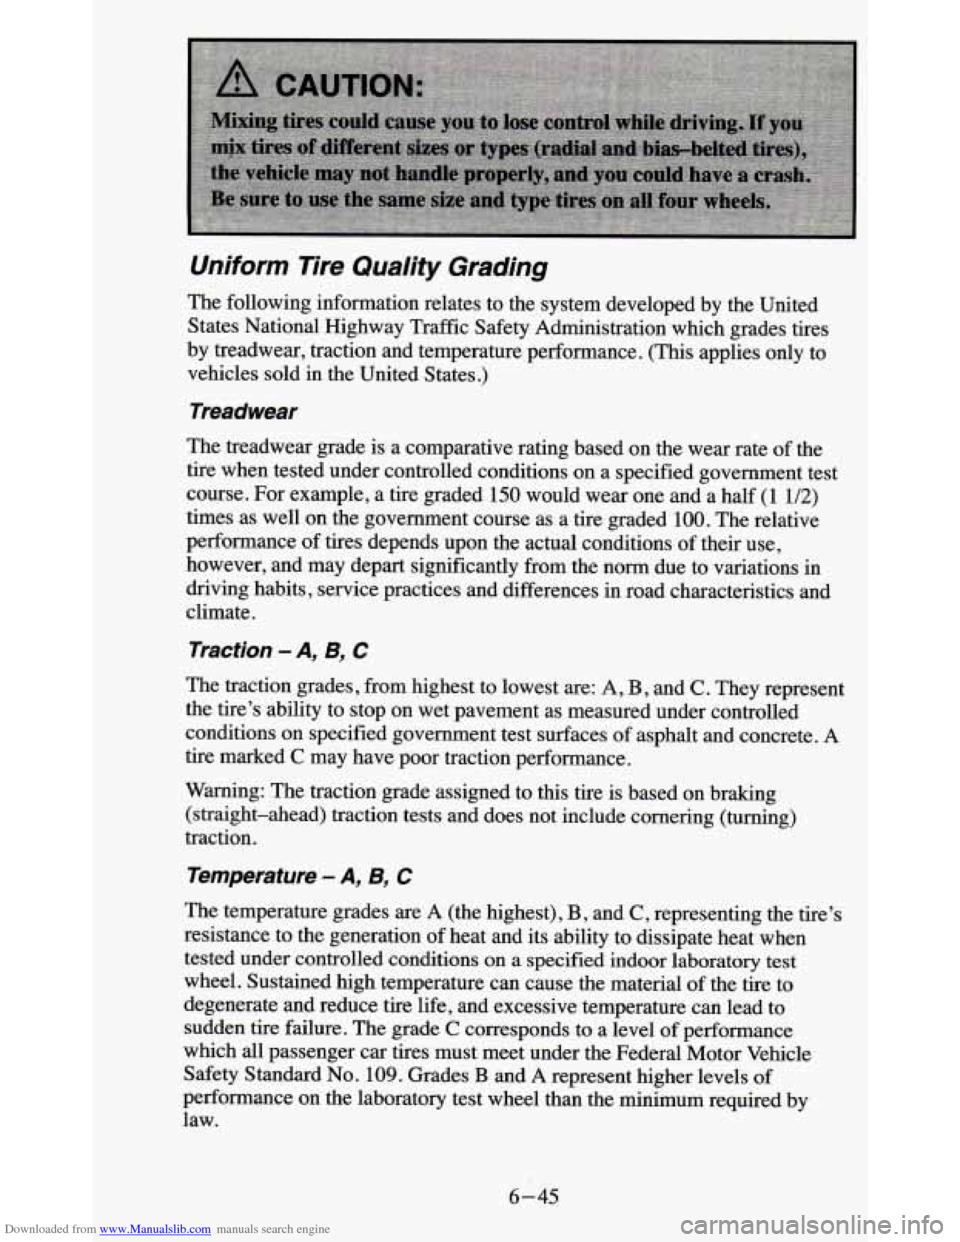
The following information relates to the system developed by the United
States National Highway Traffic Safety Administration which grades tires
by treadwear, traction and temperature performance. (This applies only to
vehicles sold in the United States.)
Treadwear
The treadwear grade is a comparative rating based on the wear rate of the
tire when tested under controlled conditions on a specified government test
course. For example, a tire graded
150 would wear one and a half (1 1/2)
times as well on the government course as a tire graded 100. The relative
performance
of tires depends upon the actual conditions of their use,
however, and may depart significantly from the norm due to variations in
driving habits, service practices and differences in road characteristics and
climate.
Traction -A, B, C
The traction grades, from highest to lowest are: A, B, and C. They represent
the tire’s ability to stop on wet pavement as measured under controlled
conditions on specified government test surfaces of asphalt and concrete.
A
tire marked C may have poor traction performance.
Warning: The traction grade assigned to this
tire is based on braking
(straight-ahead) traction tests and does not include cornering (turning)
traction.
Temperature - A, B, C
The temperature grades are A (the highest), B, and C, representing the tire’s
resistance to the generation of heat and its ability to dissipate heat when
tested under controlled conditions on a specified indoor laboratory test
wheel. Sustained high temperature can cause the material of the tire to
degenerate and reduce tire life, and excessive temperature can lead to
sudden tire failure. The grade
C corresponds to a level of performance
which all passenger car tires must meet under the Federal Motor Vehicle
Safety Standard
No. 109. Grades B and A represent higher levels of
performance on the laboratory test wheel than the minimum required by
law.
6-45