stop start CHEVROLET BLAZER 1995 2.G Owners Manual
[x] Cancel search | Manufacturer: CHEVROLET, Model Year: 1995, Model line: BLAZER, Model: CHEVROLET BLAZER 1995 2.GPages: 380, PDF Size: 20.04 MB
Page 66 of 380
Downloaded from www.Manualslib.com manuals search engine New Vehicle “Break-In”
NOTICE:
Your modern vehicle doesn’t need an elaborate “break-in.” But
it will perform better in the long run
if you follow these
guidelines:
Keep your speed at 55 mph (88 km/h) or less for the first 500
miles (804 km).
Don’t drive at any one speed - fast or slow - for the first
500 miles (804 km). Don’t make full-throttle starts.
Avoid making hard stops for the first 200 miles (322 km) or
so. During this time your new brake linings aren’t yet broken
in. Hard stops with new linings can mean premature wear and
earlier replacement. Follow this “breaking-in” guideline
every time
you get new brake linings.
Don’t tow a trailer during ‘(break-in.” See “Towing a Trailer’’
in the Index for more information.
Ignition Switch
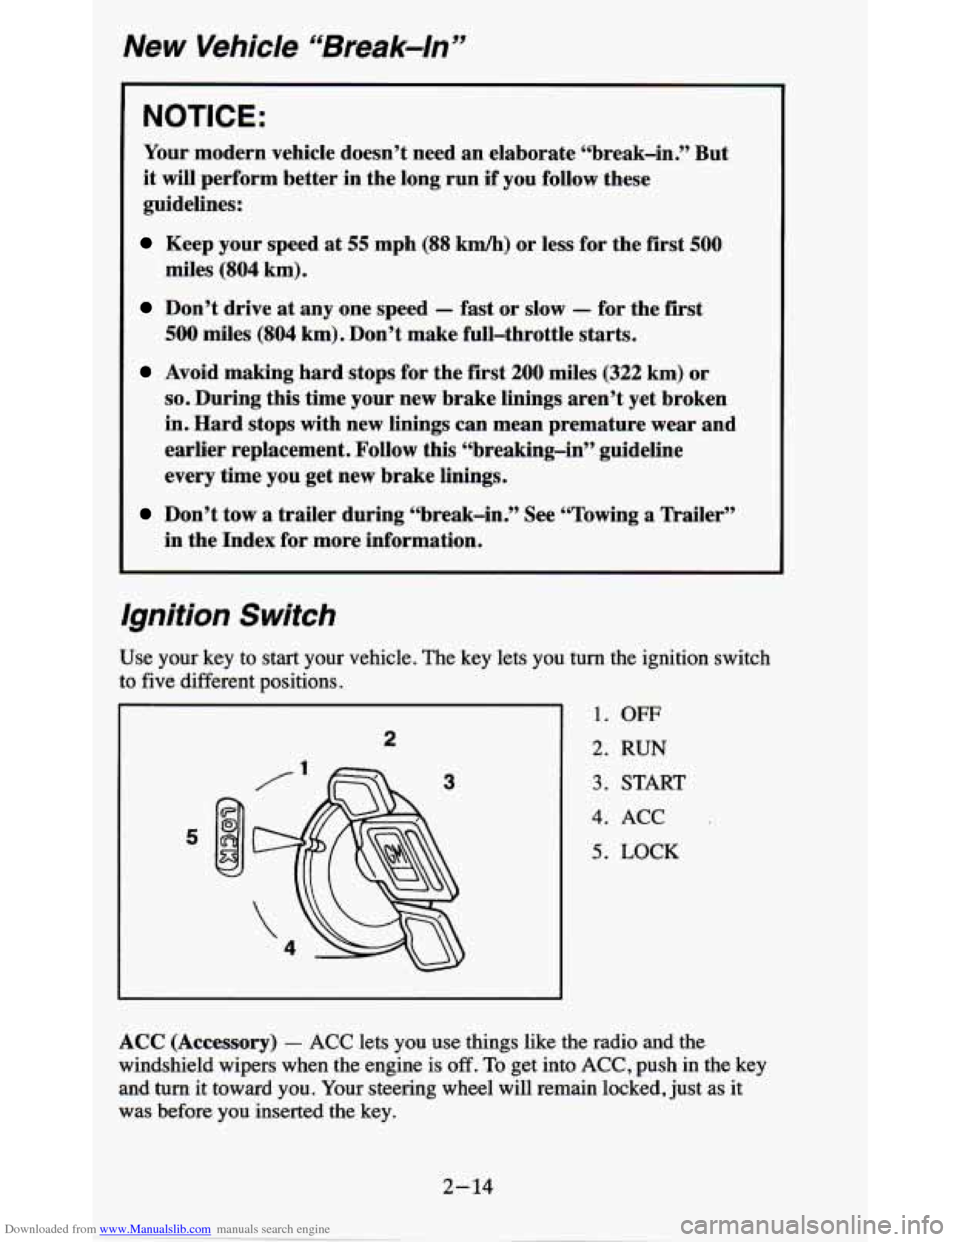
Use your key to start your vehicle. The key lets you turn the ignition switch
to
five different positions.
2
1. OFF
2. RUN
3. START
4. ACC
5. LOCK
ACC (Accessory) - ACC lets you use things like the radio and the
windshield wipers when the engine is
off. To get into ACC, push in the key
and
turn it toward you. Your steering wheel will remain locked, just as it
was before you inserted the key.
Page 68 of 380
Downloaded from www.Manualslib.com manuals search engine Key Release Button
“1
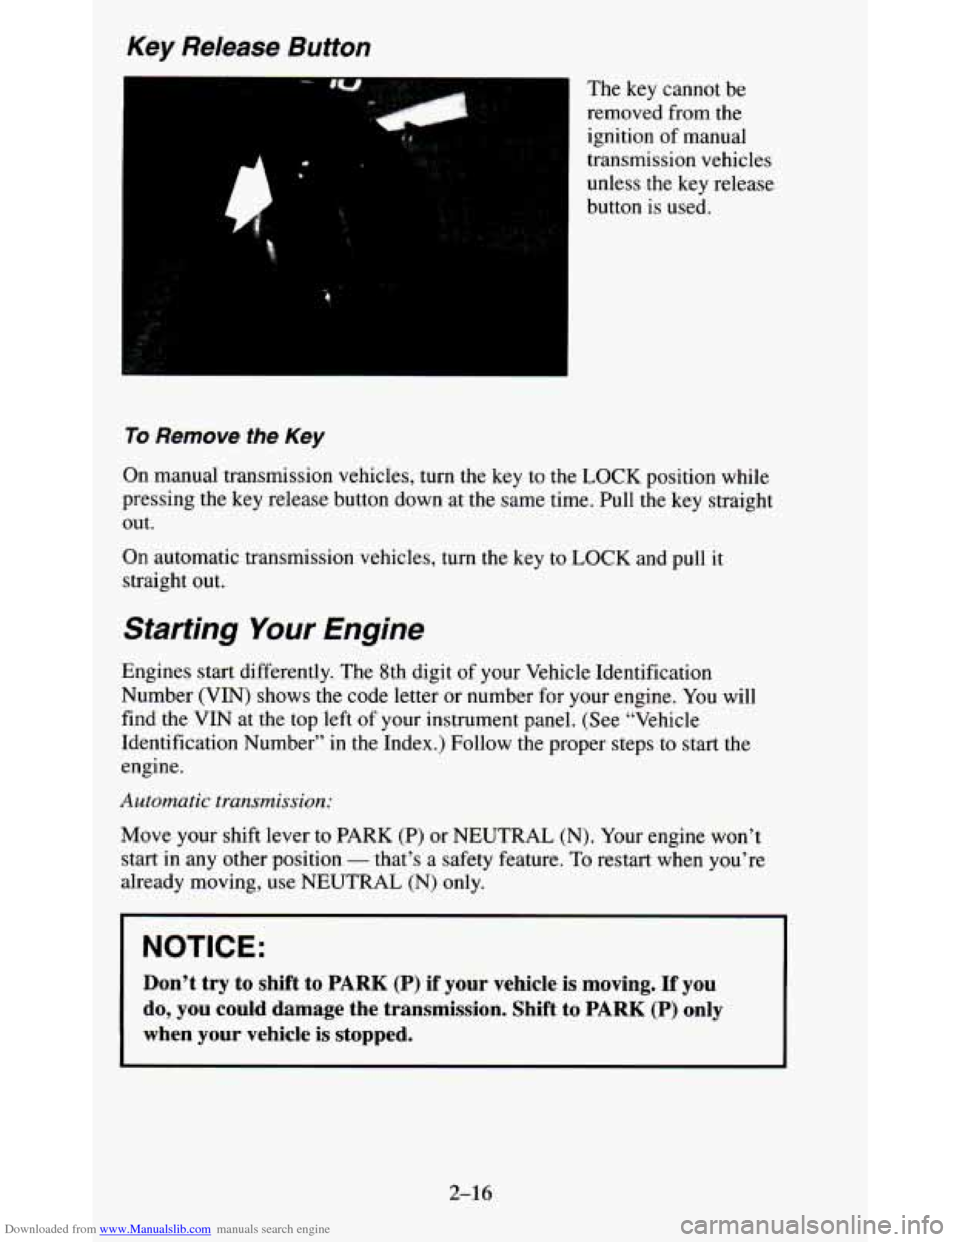
The key cannot be
removed from the
ignition of manual
transmission vehicles
unless the key release
button is used.
To Remove the Key
On manual transmission vehicles, turn the key to the LOCK position while
pressing the key release button down at the same time. Pull t\
he key straight
out.
On automatic transmission vehicles, turn
the key to LOCK and pull it
straight out.
Starting Your Engine
Engines start differently. The 8th digit of your Vehicle Identification
Number
(VIN) shows the code letter or number for your engine. You will
find the VIN at the top left of your instrument panel. (See \
“Vehicle
Identification Number” in the Index.) Follow the proper step\
s
to start the
engine.
Automatic transmission:
Move your shift lever to PARK (P) or NEUTRAL (N). Your engine won’t
start in any other position
- that’s a safety feature. To restart when you’re
already moving, use NEUTRAL
(N) only.
NOTICE:
Don’t try to shift to PARK (P) if your vehicle is moving. If you
do, you could damage the transmission. Shift to
PARK (P) only
when your vehicle is stopped.
2-16
Page 72 of 380
Downloaded from www.Manualslib.com manuals search engine leave your key in the ignition in the OFF position for an extended period for
any reason, it is recommended that you disconnect the battery cable from
the battery
to prevent discharging your battery.
PARK (P) -This locks your rear wheels. It’s the best position to use
when you start your engine because your vehicle can’t move easily.
REVERSE (R) - Use this gear to back up.
NOTICE:
Shifting to REVERSE (R) while your vehicle is moving forward
could damage your transmission. Shift to REVERSE
(R) only
after your vehicle is stopped.
e
To rock your vehicle back and forth to get out of snow, ice or sand
without damaging your transmission, see “If You’re Stuck:
In Sand,
Mud, Ice or Snow’’
in the Index.
NEUTRAL (N) - In this position, your engine doesn’t connect with
the wheels. To restart when you’re already moving, use
NEUTRAL (N)
only. Also, use NEUTRAL (N) when your vehicle is being towed.
2-20
Page 73 of 380
Downloaded from www.Manualslib.com manuals search engine NOTICE:
Damage to your transmission caused by shifting out of PARK
(P) or
NEUTRAL (N) with the engine racing isn’t covered by
your warranty.
OVERDRIVE (0) - This position is for normal driving. If you need
more power for passing, and you’re:
pedal about halfway down.
- Going less than about 35 mph (56 km/h), push your accelerator
- Going about 35 mph (56 kdh) or more, push the accelerator all
the way down.
You’ll shift down
to the next gear and have more power.
OVERDRIVE (a) should not be used when towing a trailer,
carrying
a heavy load, driving on steep hills, or for off-road
driving. Select
DRIVE (D) when operating the vehicle under any
of these conditions.
0 DRIVE (D) - This is like @, but you never go into Overdrive. You
should
use DRIVE (D) when towing a trailer, carrying a heavy load,
driving on steep
hills, or for off-road driving.
SECOND GEAR (2) - This position gives you more power but lower
fuel economy. You
can use SECOND GEAR (2) on hills. It can help
control your speed as you
go down steep mountain roads, but then you
would also want to use your brakes off and on.
If you manually select
SECOND GEAR (2), the transmission will drive
in second gear. You may use this feature for reducing torque to the rear
wheels when
you are trying to start your vehicle from a stop on
slippery road surfaces.
2-21
Page 75 of 380
Downloaded from www.Manualslib.com manuals search engine 0 SECOND GEAR (2) - Press the clutch pedal as you let up on the
accelerator pedal and shift into SECOND GEAR
(2). Then, slowly let
up on
the clutch pedal as you press the accelerator pedal.
0 THIRD, FOURTH AND FIFTH GEARS (3,4 and 5) - Shift into
THIRD GEAR
(3), FOURTH GEAR (4), and FIFTH GEAR (5) the
same way you do for SECOND GEAR
(2). Slowly let up on the clutch
pedal as
you press the accelerator pedal.
Just before the vehicle stops, press the clutch pedal
and the brake pedal,
and shift to
NEUTRAL (N).
To Stop - Let up on the accelerator pedal and press the brake pedal.
NEUTRAL (N) - Use this position when you start or idle your engine.
REVERSE (R) - To back up, press down the clutch pedal, wait about
6 seconds, then shift into REVERSE (R). Then let up on the clutch
pedal slowly while pressing
the accelerator pedal.
NOTICE:
Shift to REVERSE (R) only after your vehicle is stopped.
Shifting to REVERSE (R) while your vehicle is moving could
damage your transmission.
Also, use REVERSE (R), along with the parking brake, for parking
your vehicle.
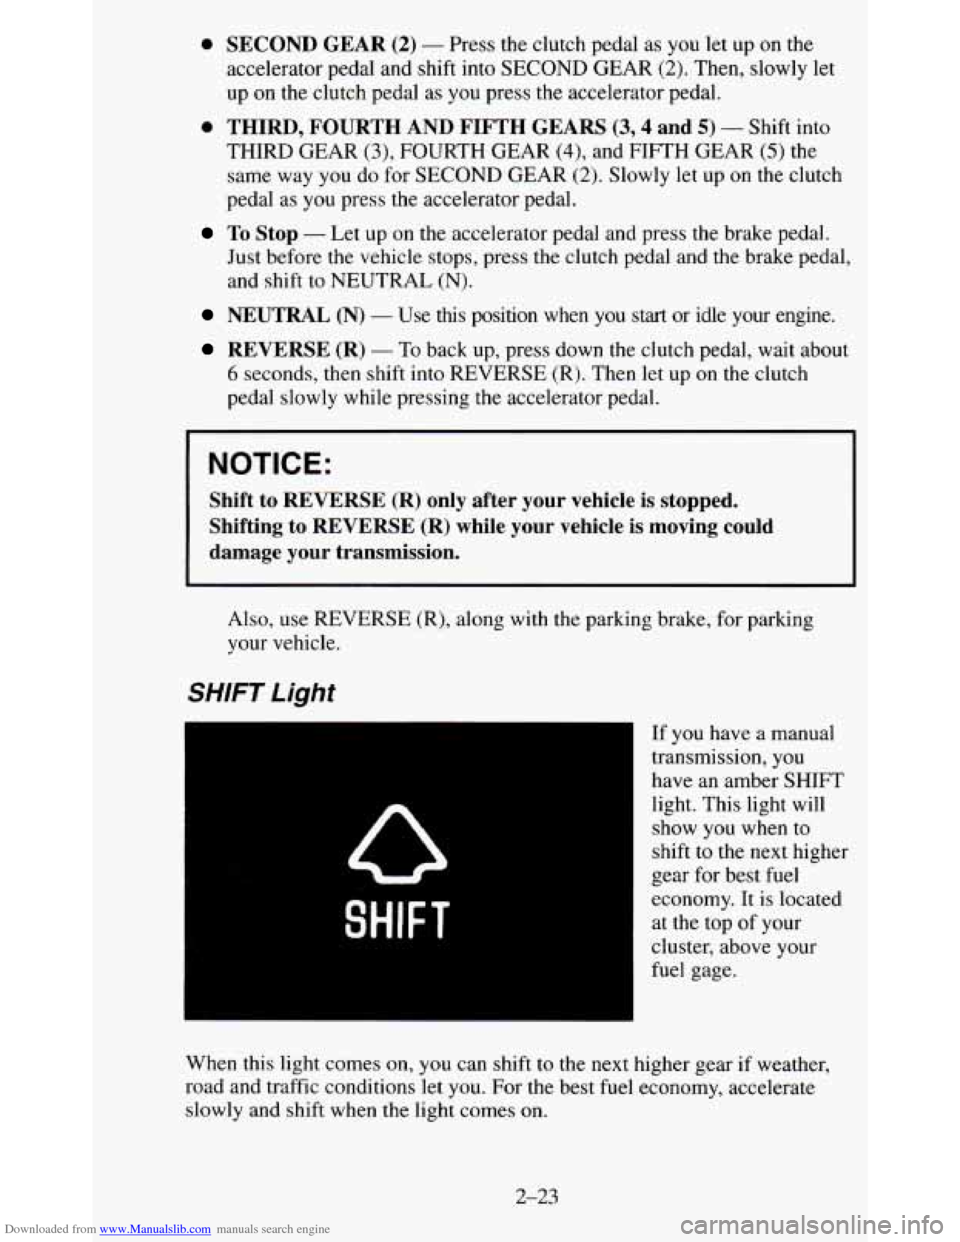
SHIFT Light
SHIFT
If you have a manual
transmission, you
have an amber SHIFT
light. This light will
show you when to
shift to the next higher
gear for best fuel
economy. It is located
at the top of your
cluster, above your
fuel gage.
When this light comes on,
you can shift to the next higher gear if weather,
road and traffic conditions let you. For the best fuel economy, accelerate
slowly and shift when the light comes
on.
2-23
Page 92 of 380
Downloaded from www.Manualslib.com manuals search engine For a single wiping cycle, turn the band to MIST. Hold it there until the
wipers start, then let
go. The wipers will stop after one wipe. If you want
more wipes, hold the band on MIST longer.
You can set the wiper speed for a long or short delay between wipes.
This
can be very useful in light rain or snow. Turn the band to choose the delay
time. The closer to
LO, the shorter the delay.
For steady wiping at low speed, turn the band away from you to the
LO
position. For high speed wiping, turn the band further, to HI. To stop the
wipers
, move the band to the off symbol.
Remember that worn or damaged wiper blades may prevent you from
seeing well enough to drive safely. To avoid damage, be sure to clear ice
and snow from the wiper blades before using them. If they’re frozen to the
windshield, carefully loosen or thaw them.
If your blades do become worn
or damaged, get new blades or blade inserts.
Heavy snow or ice can overload your wipers. The windshield wiper motor is
protected
from overload by a circuit breaker and a fuse. If the motor
overheats due to heavy snow, etc., the wiper
will stop until the motor cools.
Although the circuit is protected from electrical overload, overload due to
heavy snow, etc. may cause wiper linkage damage. Always clear ice and
heavy snow from the windshield before using your windshield wipers.
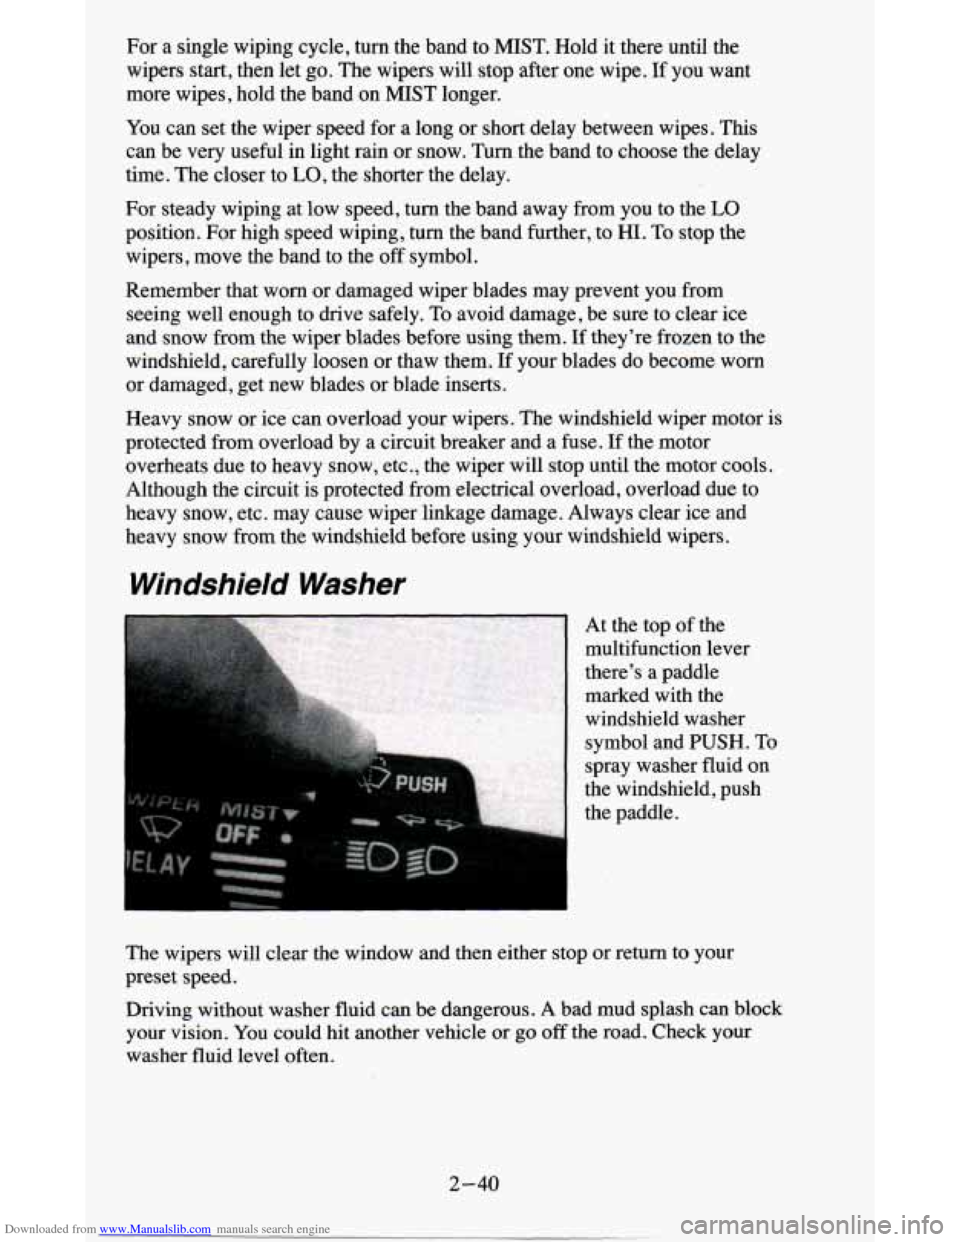
Windshield Washer
At the top of the
multifunction lever
there’s a paddle
marked with the
windshield washer
symbol and PUSH. To
spray washer fluid on
the windshield, push
the paddle.
The wipers will clear the window and then either stop or return to your
preset speed.
Driving without washer fluid can be dangerous. A bad mud splash can block
your vision. You could hit another vehicle or go
off the road. Check your
washer fluid level often.
2-40
Page 115 of 380
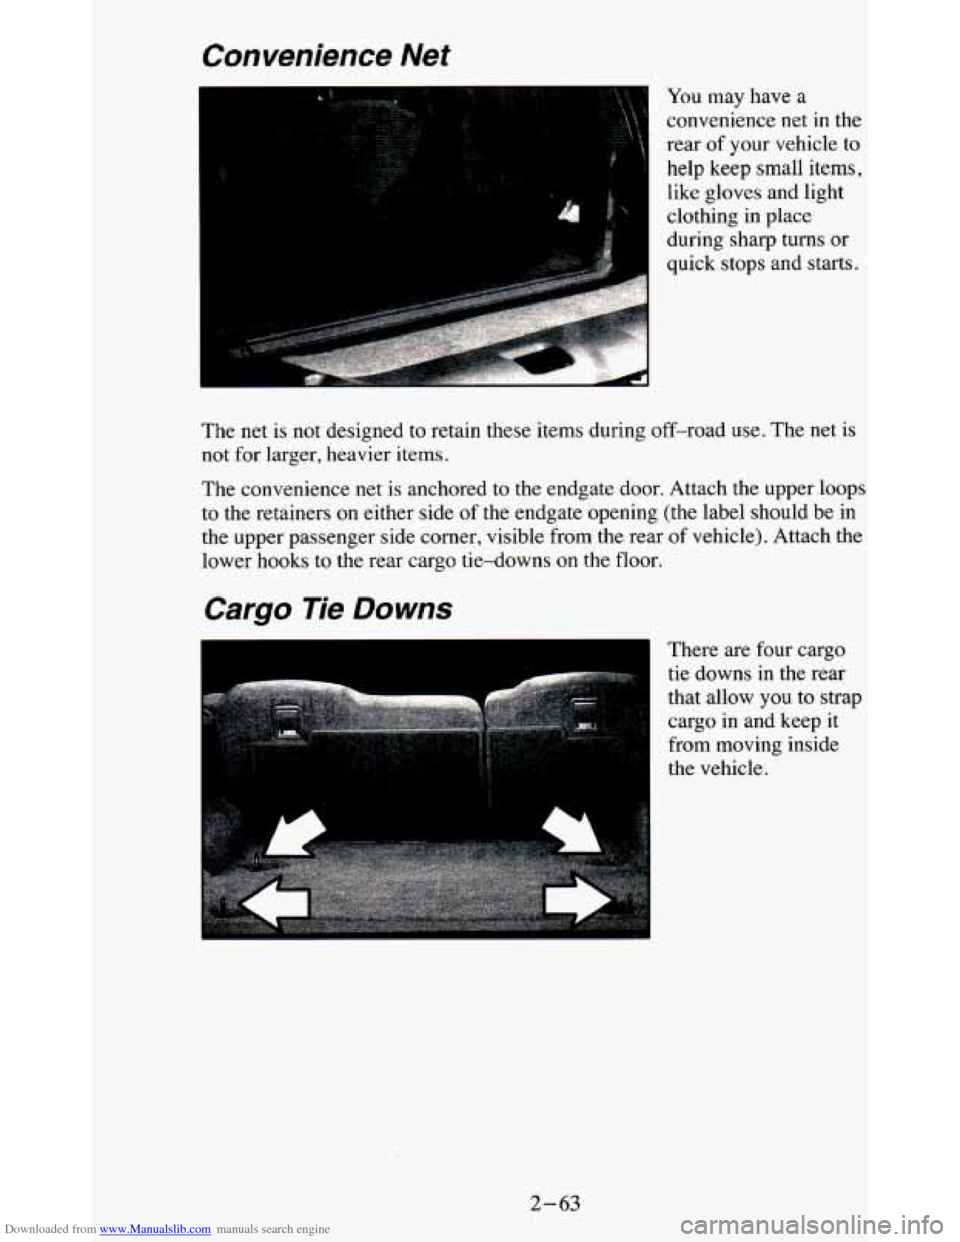
Downloaded from www.Manualslib.com manuals search engine Convenience Net
You may have a
convenience net
in the
rear
of your vehicle to
help keep small items,
like gloves and light
clothing
in place
during sharp turns or
quick stops
and starts.
The net
is not designed to retain these items during off-road use. The net is
not for larger, heavier items.
The convenience net is anchored to the endgate door. Attach the upper loops
to the retainers on either side
of the endgate opening (the label should be in
the upper passenger side corner, visible from the rear of vehicle). Attach the
lower hooks to the rear cargo tie-downs on the floor.
Cargo Tie Downs
There are four cargo
tie downs in the rear
that allow you to strap
cargo in and keep it
from moving inside
the vehicle.
2-63
Page 122 of 380
Downloaded from www.Manualslib.com manuals search engine You will see this light flash for a few seconds when you turn your ignition
to
RUN or START. Then the light should go out. This means the system is
ready.
If the air bag readiness light doesn’t come on when you start your vehicle,
or stays on,
or comes on when you are driving, your air bag system may not
work properly. Have your vehicle serviced right away.
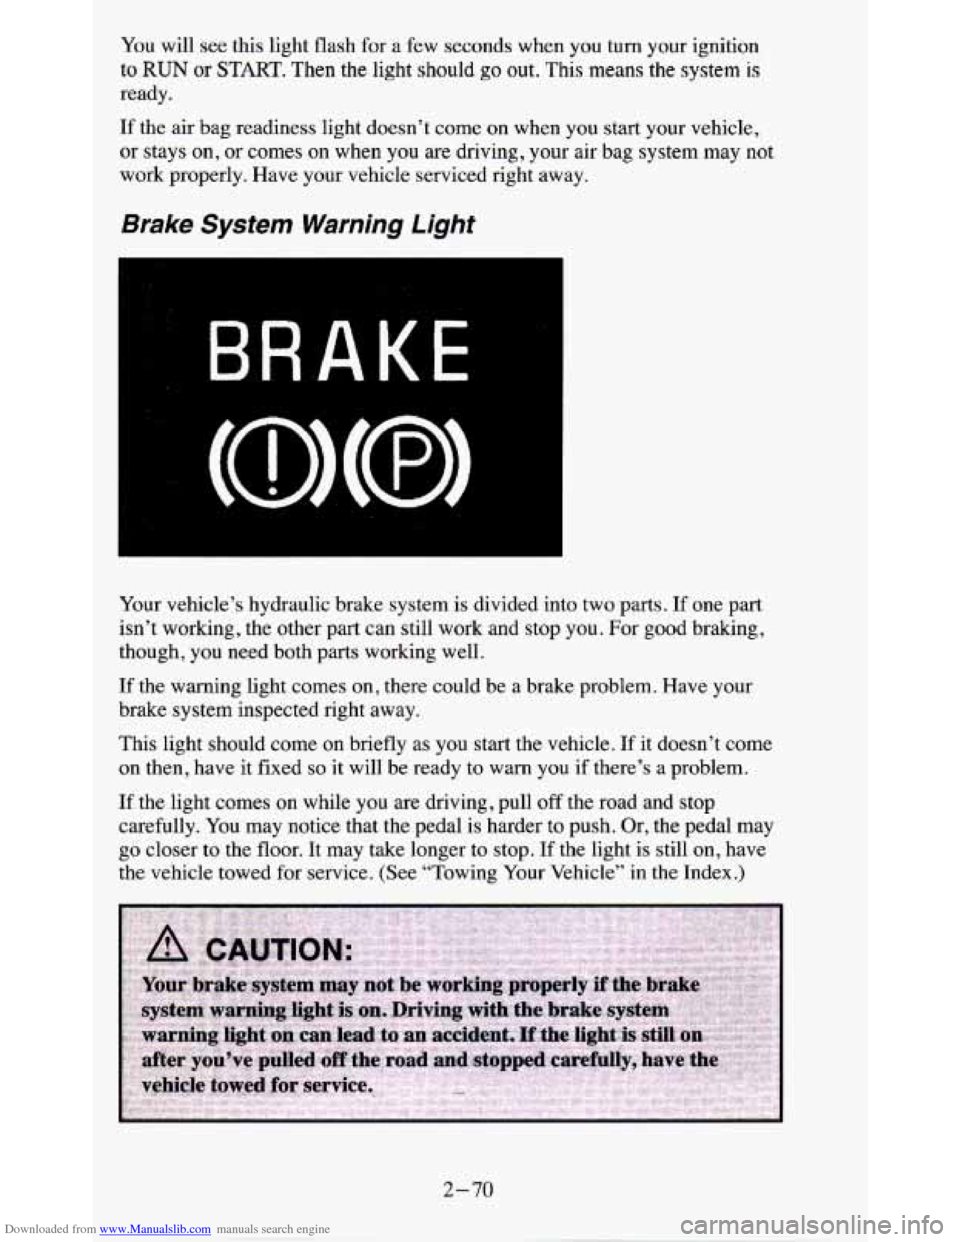
Brake System Warning Light
Your vehicle’s hydraulic brake system is divided into two parts. If one part
isn’t working, the other part can still work and stop
you. For good braking,
though, you need both parts working well.
If the warning light comes on, there could be a brake problem. Have your
brake system inspected right away.
This light should come on briefly
as you start the vehicle. If it doesn’t come
on then, have it fixed
so it will be ready to warn you if there’s a problem.
If the light comes on while you are driving, pull off the road and stop
carefully. You may notice that the pedal
is harder to push. Or, the pedal may
go closer to the floor. It may take longer to stop.
If the light is still on, have
the vehicle towed for service. (See “Towing Your Vehicle” in
the Index.)
2-70
Page 125 of 380
Downloaded from www.Manualslib.com manuals search engine indicated by the system before any problem is apparent, which may prevent
more serious damage to your vehicle, This system is
also designed to assist
your service technician in correctly diagnosing any malfunction.
The
“SERVICE ENGINE SOON” light should come on, as a check to show
you it is working, when the ignition is on and the engine is not running. This
light will also come during
a malfunction in one of two ways:
Light on steady - indicates a system malfunction has been detected.
Drive the vehicle to the dealer for service at your first opportunity.
Light flashing - indicates a misfire has been detected which may
damage the emission control system. The damage may be reduced by
lowering the vehicle speed, reducing the amount of cargo being hauled
or trailered, avoiding hard acceleration, or by avoiding steep uphill
grades.
If these actions are effective, the light will stop flashing and
remain
on steady. Drive the vehicle to a dealer for service. If the light
continues to flash, stop
the vehicle. Wait for a steady light to come on,
then drive the vehicle to a dealer for service.
These following conditions also may cause the “SERVICE ENGINE
SOON’ light to come on:
Low Fuel/Out of Fuel - As the vehicle starts to run out of fuel the
“SERVICE ENGINE SOON” light may come on as a result of an engine
misfire. Filling your gasoline tank should correct this condition. Make sure
to install the gas cap fully. It will require a few driving trips to turn the light
off.
Poor Quality Fuel
- Be sure to fuel your vehicle with quality fuel. Your
engine may not run efficiently
on poor fuel. Poor fuel may cause stalling,
hesitation or misfire. These conditions may
go away when the engine is
warned-up. However, poor quality fuel may cause the “SERVICE ENGINE
SOON’ light to come on.
Have a dealer check the vehicle. If no problems are found, you may want to
change to another brand of fuel.
Driving Through Standing Water
- Driving your vehicle through puddles
of deep standing water may result in a temporary misfire condition. This
condition will usually correct itself shortly after the electric\
al system dries
out. It will require a few driving trips to turn the light off.
2-73
Page 145 of 380
Downloaded from www.Manualslib.com manuals search engine Lower Knob (TUNE-AM-FM) - The lower knob has two functions:
0 Turn it to tune in radio stations.
0 Press it to change between the AM and FM bands.
FADE
- The control ring behind the lower knob adjusts the fronthear
speaker balance.
SEEK - Press the SEEK button to cause the receiver to SEEK the next
higher station and stop.
SCAN
- Press the SCAN button to hear each station for a few seconds.
Push it again
when you reach the station you want to listen to and the radio
will stop scanning.
“SCAN” appears in the display.
Pushbuttons
- The four pushbuttons let you return to favorite stations. To
set the pushbuttons for
up to fourteen favorite stations (7 AM and 7 FM):
1. Tune in the desired station.
2. Push the SET button. “SET” appears in the display for about 5 seconds.
3. Within the 5 seconds, push one of the four pushbuttons. Whenever you
press that button, the preset station will return.
NOTE:
In addition to the four stations set as above, up to three additional stations
may be preset on each band by pressing
two adjoining pushbuttons at the
same time. Then do the following:
1. Tune in the desired station.
2. Press the SET button.
3. Within 5 seconds, press any two adjoining pushbuttons at the same time.
(The station will return when the same
two buttons are pressed again.)
Adjust the Tone
- Use the levers in the upper middle left corner to set the
bass, midrange, and treble until you get the sound
you want. The 60 and 250
levers adjust the bass, 1 K is midrange, and 3 .X and 1 OK control the treble.
We suggest you start with the center lever
(1K) in the midpoint position,
then move the others up until
you get the amount of bass and treble you like.
Am-St Button
- The Am-St button is just below the SEARCH button.
Push this when
you tune to an AM station that broadcasts in stereo. Your
STEREO light will come on when you’re receiving AM stereo. If you push
Am-St and there is
no more noise, it means the station is weak. You’ll hear
the station better if you don’t use Am-St. Just push the Am-St button again
to delete stereo.
AUTO DNR@
- This unit is equipped with an automatic Dynamic Noise
Reduction system. DNR%educes background hiss on AM and
FM radio
broadcasts, as well as on cassette tapes. DNR@is a registered trademark of
National Semiconductor Corporation.
3-11