change time CHEVROLET BLAZER 1995 2.G Owners Manual
[x] Cancel search | Manufacturer: CHEVROLET, Model Year: 1995, Model line: BLAZER, Model: CHEVROLET BLAZER 1995 2.GPages: 380, PDF Size: 20.04 MB
Page 5 of 380
Downloaded from www.Manualslib.com manuals search engine Important Notes to Owners and Drivers
About This Manual
Please keep this manual in your vehicle so it will be there if you ever need it
when you’re on the road. If you sell the vehicle, please leave this manual in
it
so the new owner can use it.
This manual includes the latest information at the time it
was printed. We
reserve the right to make changes in
the product after that time without
further notice. For vehicles first
sold in Canada, substitute the name
“General Motors of Canada Limited” for Chevrolet Motor Division
whenever it appears in this manual.
About Driving Your Blazer
As with other vehicles of this type, failure to operate this vehicle correctly
may result in loss of control or
an accident. Be sure to read the
“on-pavement” and “off-road” driving guidelines in this manual. (See
“Driving Guidelines” and “Off-Road Driving With your Four-wheel Drive
Vehicle” in the Index.)
WE SUPPORT
VOLUNTARY TECHNICIAN
CERTIFICATION
THROUGH
National Institute for
AUTOMOTIVE
SERVICE
EXCELLENCE
iii
Page 59 of 380
Downloaded from www.Manualslib.com manuals search engine Operation
When you press UNLOCK, the driver’s door will unlock automatically. If
you press UNLOCK again within five seconds, all doors will unlock. All
doors will lock when LOCK is pressed.
The endgate glass will unlock when the REAR button is pressed. Vehicles
with automatic transmissions must have the transmission in PARK
(P).
Vehicles with manual transmission must have the parking brake engaged.
Matching Transmitter(s) To Your Vehicle
Each key chain transmitter is coded to prevent another transmitter from
unlocking your vehicle.
If a transmitter is lost or stolen, a replacement can
be purchased through your dealer. Remember
to bring any remaining
transmitters with you when you go to your dealer. When the dealer matches
the replacement transmitter to your vehicle, the remaining transmitters must
also be matched. Once the
new transmitter is coded, the lost transmitter will
not unlock your vehicle.
You can match a transmitter to as many different vehicles as you own,
provided they are equipped with
exactly the same model system. (General
Motors offers several different models of these systems on their vehicles.)
Each vehicle can have only two transmitters matched to it.
See your dealer to match transmitters to another vehicle.
Battery Replacement
Under normal use, the batteries in your key chain transmitter should last
about two years.
You can tell the batteries are weak if the transmitter won’t work at the
normal range in any location.
If you have to get close to your vehicle before
the transmitter works, it’s probably time to change the batteries.
2-7
Page 69 of 380
Downloaded from www.Manualslib.com manuals search engine Manual transmission:
The gear selector should be in neutral. Hold the clutch pedal to the floor and
start the engine. Your vehicle won’t start if the clutch pedal
is not all the
way down
- that’s a safety feature.
To start your V6 engine:
1. Without pushing the accelerator pedal, turn your ignition key to
START. When the engine starts, let
go of the key. The idle speed will
go down as your engine gets warm.
NOTICE:
Holding your key in START for longer than 15 seconds at a time
will cause your battery to be drained much sooner. And the
excessive heat can damage your starter motor.
2. If it doesn’t start right away, hold your key in START. If it doesn’t start
in
10 seconds, push the accelerator pedal all the way down for 5
seconds, or until it starts.
3. If your engine still won’t start, wait 15 seconds to let the starter motor
cool down and do it all again.
When the engine starts, let go
of the key and the accelerator pedal.
NOTICE:
Your engine is designed to work with the electronics in your
vehicle.
If you add electrical parts or accessories, you could
change the
way the fuel injection system operates. Before adding
electrical equipment, check with your dealer.
If you don’t, your
~ engine might not perform properly.
If you ever have to have your vehicle towed, see the part of this
manual that tells how to do it without damaging your vehicle.
See “Towing Your Vehicle” in the Index.
2- 17
Page 76 of 380
Downloaded from www.Manualslib.com manuals search engine While you accelerate, it is normal for the light to go on and off if you
quickly change the position of the accelerator. Ignore the SHIFT light when
you downshift.
Four- Wheel Drive Vehicles Only:
If your vehicle has four-wheel drive and is equipped with a manual
transmission, disregard the shift light when the transfer case is in
4LO.
Locking Rear Axle
If you have this feature, your rear axle can give you additional traction on
snow, mud, ice, sand or gravel. It works like a standard axle most
of the
time, but when one
of the rear wheels has no traction and the other does, the
locking feature will allow
the wheel with traction to move the vehicle.
Parking Brake
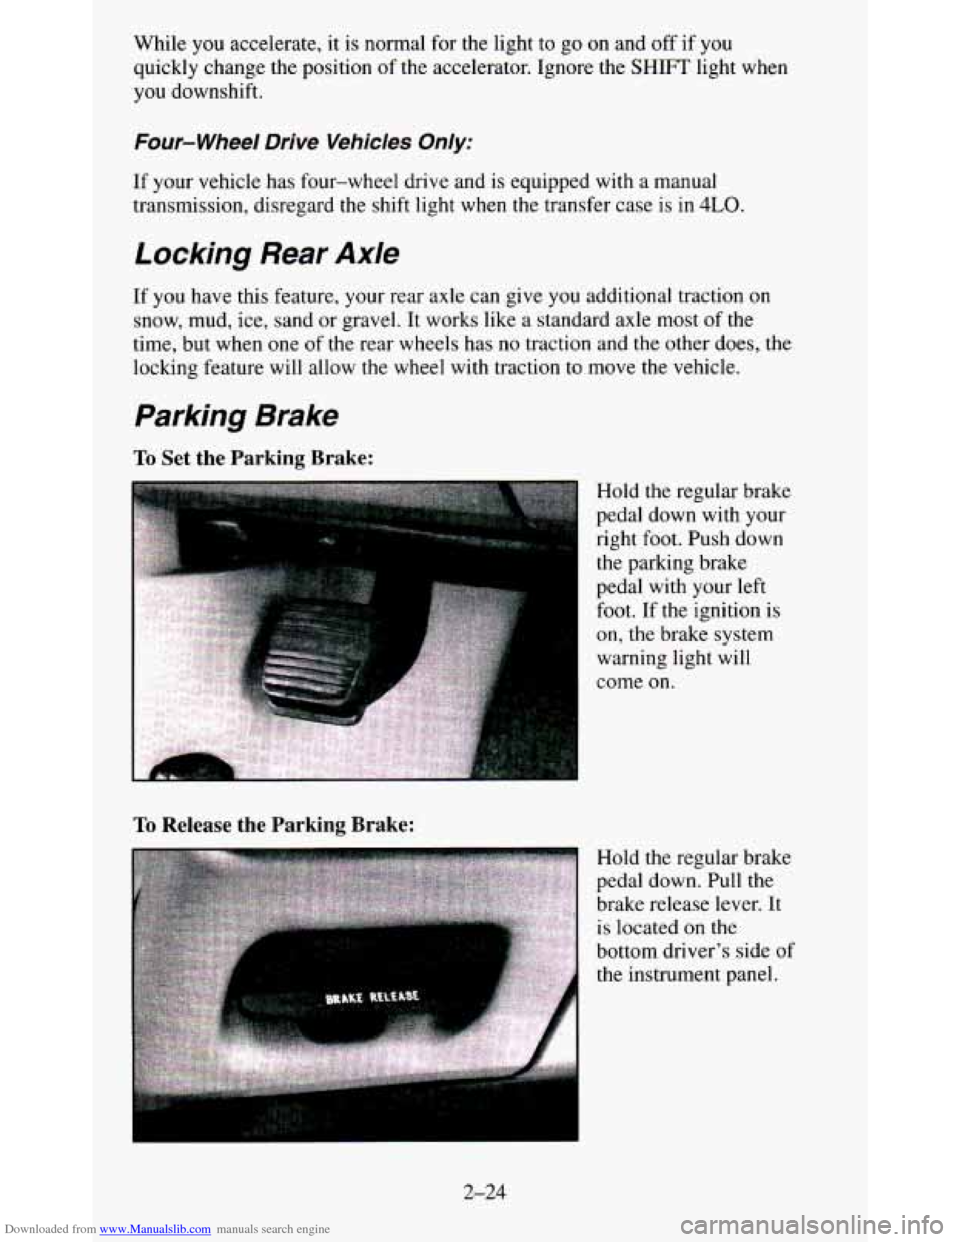
To Set the Parking Brake:
To Release the Parking Brake:
Hold the regular brake
pedal down with your
right
foot. Push down
the parking brake
pedal with your left
foot. If the ignition is
on, the brake system
warning light will
come
on.
Hold the regular brake
pedal down. Pull the
brake release lever. It
is located
on the
bottom driver's side
of
the instrument panel.
2-24
Page 101 of 380
Downloaded from www.Manualslib.com manuals search engine Daytime Running Lamps (DRL) Indicator Light
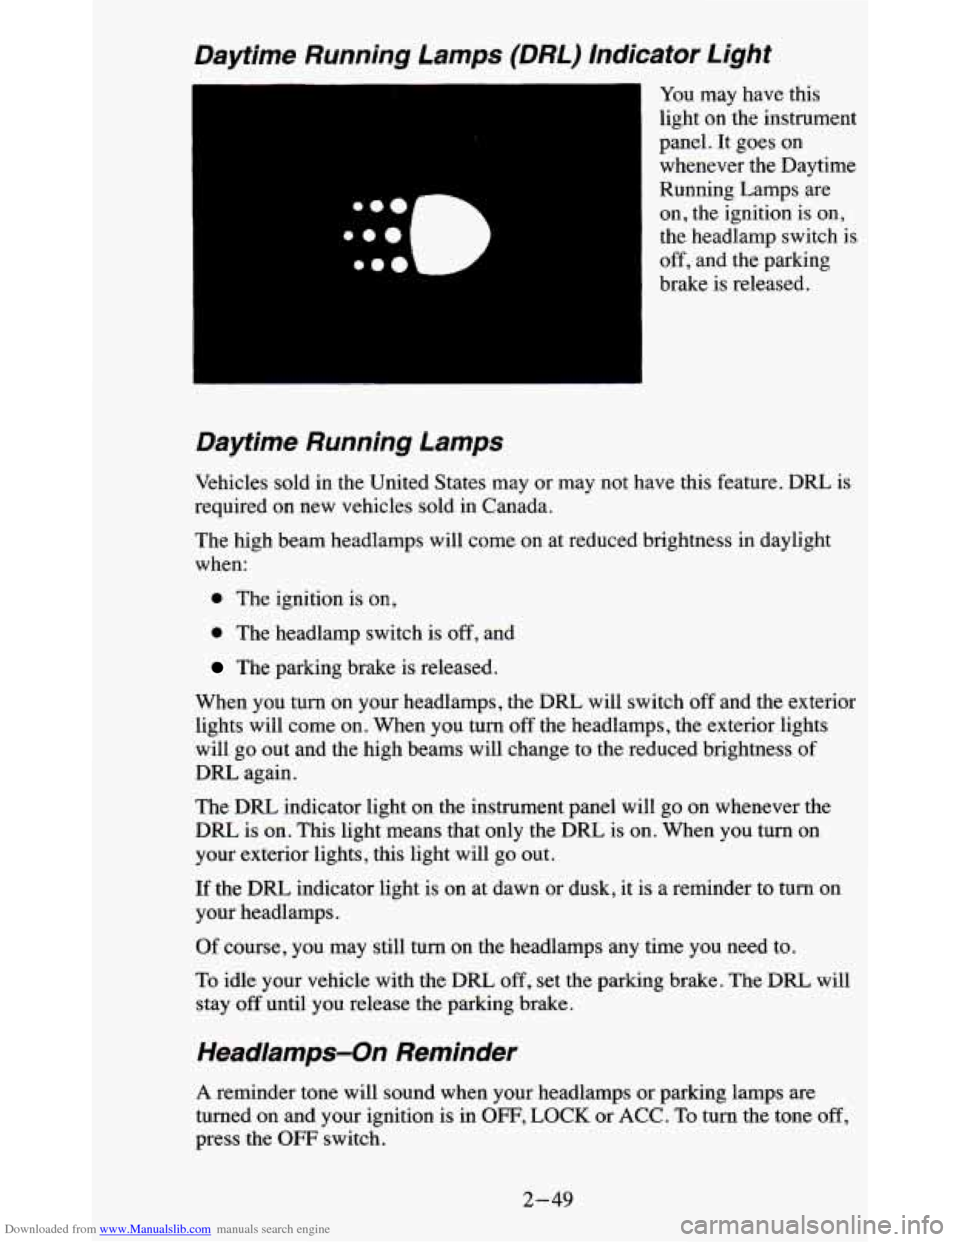
You may have this
light on the instrument
panel. It goes on whenever the Daytime
Running Lamps are
on, the ignition is on,
the headlamp switch is
off, and the parking
brake is released.
Daytime Running Lamps
Vehicles sold in the United States may or may not have this feature. DRL is
required on new vehicles sold in Canada.
The high beam headlamps will come on at reduced brightness in daylight
when:
0 The ignition is on,
0 The headlamp switch is off, and
The parking brake is released.
When you turn on your headlamps, the DRL will switch
off and the exterior
lights will come
on. When you turn off the headlamps, the exterior lights
will go out and the high beams will change to the reduced brightness
of
DRL again.
The
DRL indicator light on the instrument panel will go on whenever the
DRL is
on. This light means that only the DRL is on. When you turn on
your exterior lights, this light will go out.
If the DRL indicator light is on at dawn or dusk, it is a reminder to turn on
your headlamps.
Of course, you may still turn on the headlamps any time you need to.
To idle your vehicle with the
DRL, off, set the parking brake. The DRL will
stay
off until you release the parking brake.
Headlamps-On Reminder
A reminder tone will sound when your headlamps or parking lamps are
turned on and your ignition is in OFF, LOCK or ACC. To turn the tone off,
press the OFF switch.
2-49
Page 140 of 380
Downloaded from www.Manualslib.com manuals search engine How to Operate Your ETP AM-FM Stereo Audio
System
I
.. ..
Q
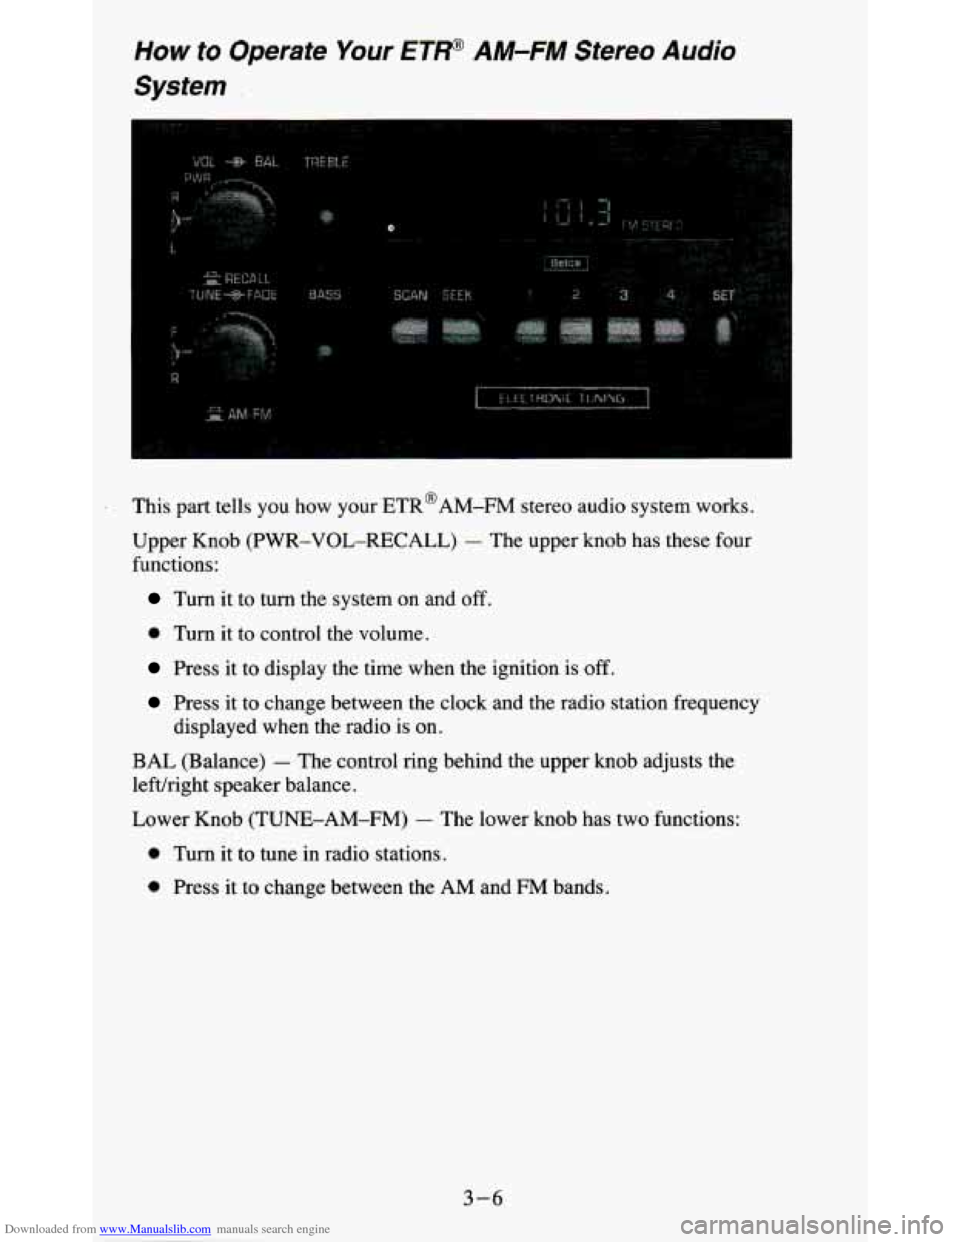
This part tells you how your ETR@AM-FM stereo audio system works.
Upper Knob (PWR-VOL-RECALL)
- The upper knob has these four
functions:
Turn it to turn the system on and off.
0 Turn it to control the volume.
Press it to display the time when the ignition is off.
Press it to change between the clock and the radio station frequency
displayed when the radio is on.
BAL (Balance) - The control ring behind the upper knob adjusts the
lefuright speaker balance.
Lower Knob (TUNE-AM-FM)
- The lower knob has two functions:
0 Turn it to tune in radio stations.
0 Press it to change between the AM and €34 bands.
3-6
Page 142 of 380
Downloaded from www.Manualslib.com manuals search engine How to Operate Your ETP AM-FM Stereo Audio
Cassette System
- __ - __
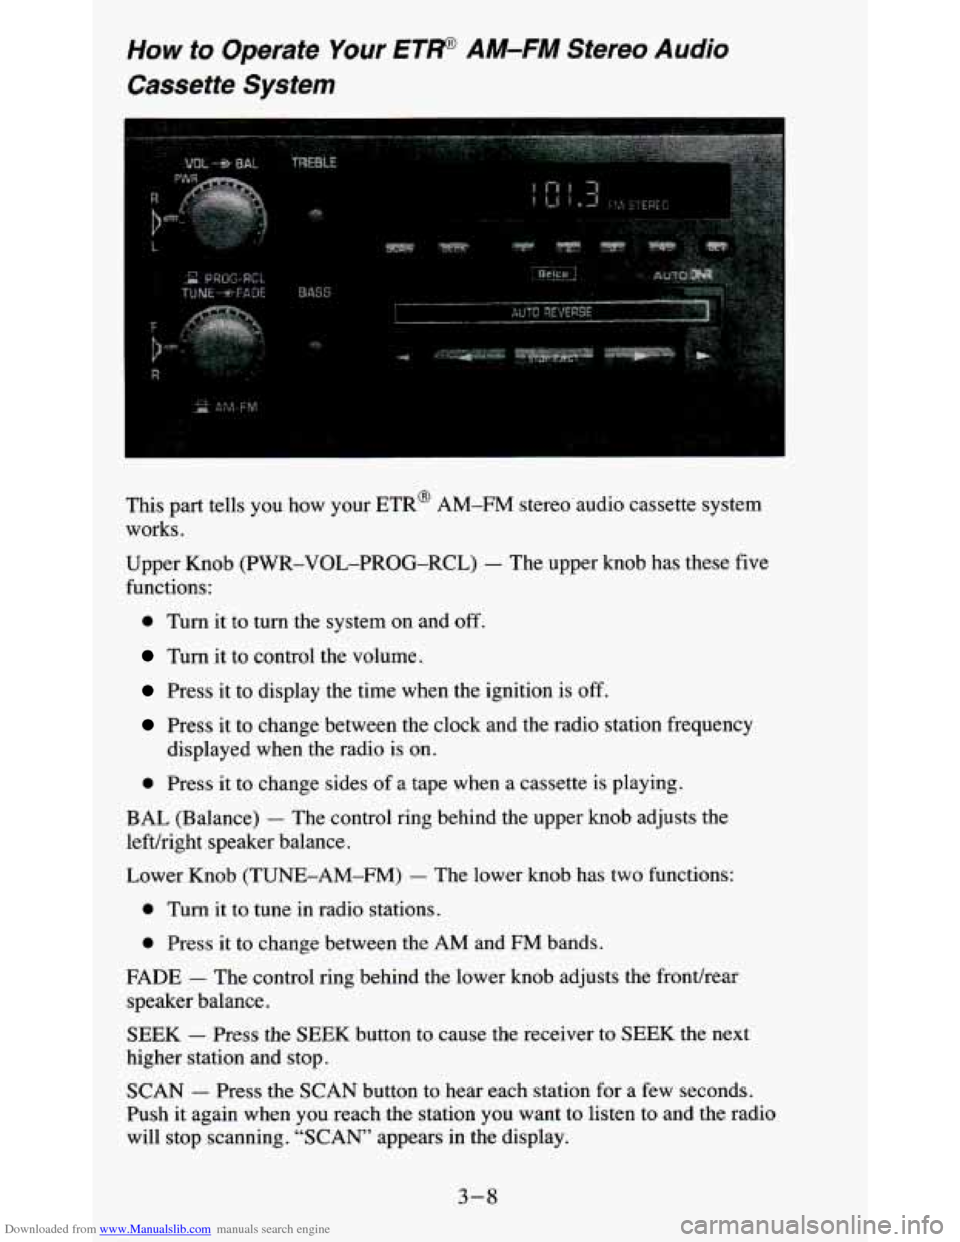
This part tells you how your ETR@ AM-FM stereo audio cassette system
works.
Upper Knob (PWR-VOL-PROG-RCL)
- The upper knob has these five
functions:
0 Turn it to turn the system on and off.
Turn it to control the volume.
Press it to display the time when the ignition is off.
Press it to change between the clock and the radio station fr\
equency
displayed when the radio is
on.
0 Press it to change sides of a tape when a cassette is playing.
BAL (Balance) - The control ring behind the upper knob adjusts the
lefthight speaker balance.
Lower Knob
(TUNE-AM-FM) - The lower knob has two functions:
0 Turn it to tune in radio stations.
0 Press it to change between the AM and FM bands.
FADE - The control ring behind the lower knob adjusts the fronthear
speaker balance.
SEEK - Press the SEEK button to cause the receiver to SEEK the next
higher station and stop.
SCAN - Press the SCAN button to hear each station for a few seconds.
Push it again when
you reach the station you want to listen to and the radio
will stop scanning.
“SCAN” appears in the display.
3-8
Page 144 of 380
Downloaded from www.Manualslib.com manuals search engine PROGRAM - To go from one side of the tape to the other, press the
PWR-VOL-PROCi-RCL knob.
STOP-EJECT
- To remove the tape or stop the tape and switch to radio,
press the STOP-EJECT button.
If “Cln” (Clean) appears on the display when you insert
your cassette tape,
your cassette player needs to be cleaned. It
will still play cassette tapes but it
should be cleaned to prevent damage to your cassette tapes and\
the cassette
tape player. See “Care
of Your Cassette Tape Player’’ later in this section.
After you have cleaned the cassette tape player, press and hol\
d EJECT for
5
seconds to reset the the “Cln” indicator. The radio will display “- - -” to
show the clean feature has been reset.
How to Operate Your ET* AM-FM Stereo Audio
Cassette System wifh Equalizer
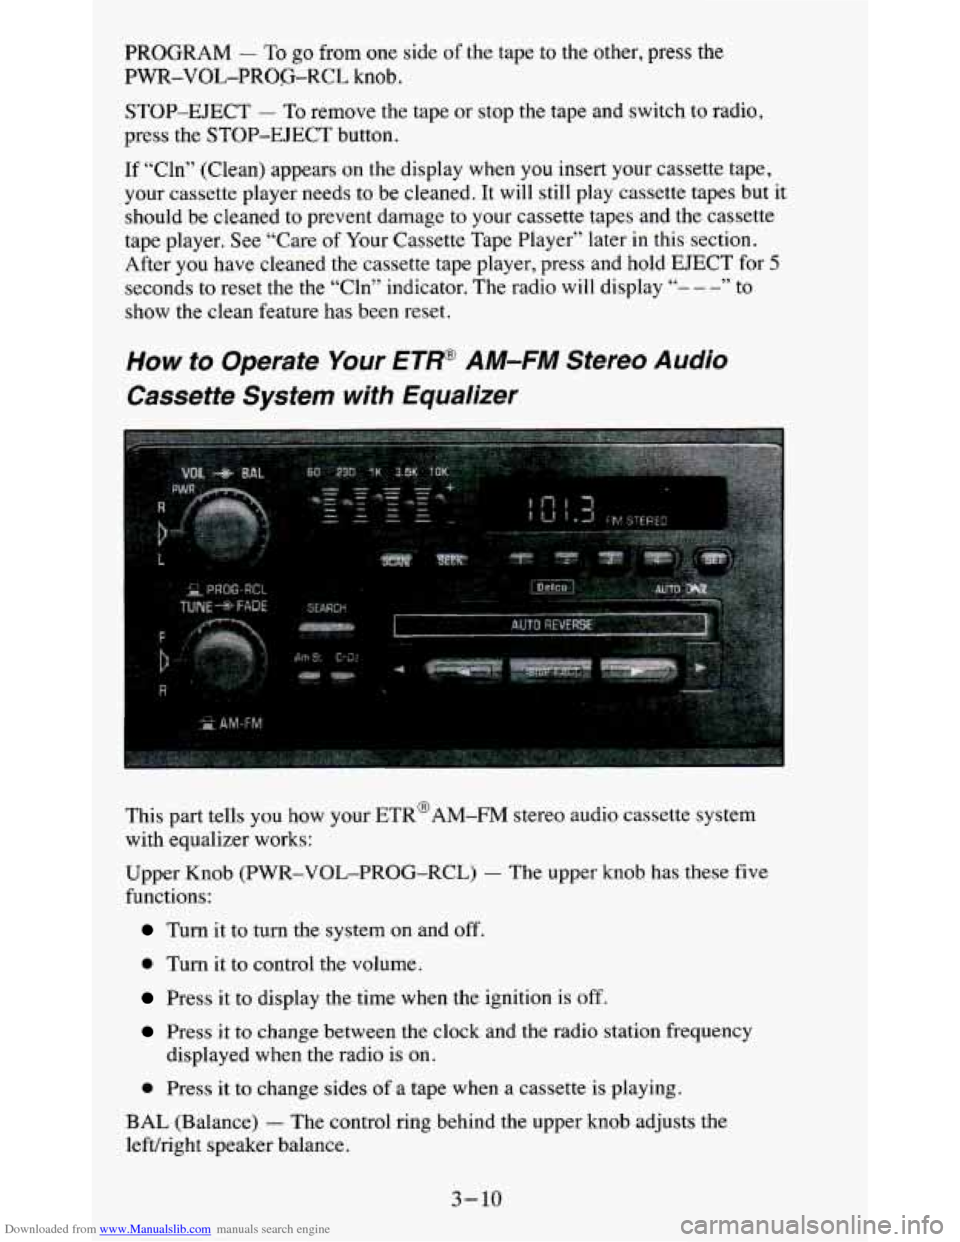
This part tells you how your ETR@AM-FM stereo audio cassette system
with equalizer works:
Upper Knob
(PWR-VOL-PROG-RCL) - The upper knob has these five
functions:
Turn it to turn the system on and off.
0 Turn it to control the volume.
Press it to display the time when the ignition is off.
Press it to change between the clock and the radio station frequency
0 Press it to change sides of a tape when a cassette is playing.
displayed when the radio
is on.
BAL (Balance)
- The control ring behind the upper knob adjusts the
lefvright speaker balance.
3-10
Page 145 of 380
Downloaded from www.Manualslib.com manuals search engine Lower Knob (TUNE-AM-FM) - The lower knob has two functions:
0 Turn it to tune in radio stations.
0 Press it to change between the AM and FM bands.
FADE
- The control ring behind the lower knob adjusts the fronthear
speaker balance.
SEEK - Press the SEEK button to cause the receiver to SEEK the next
higher station and stop.
SCAN
- Press the SCAN button to hear each station for a few seconds.
Push it again
when you reach the station you want to listen to and the radio
will stop scanning.
“SCAN” appears in the display.
Pushbuttons
- The four pushbuttons let you return to favorite stations. To
set the pushbuttons for
up to fourteen favorite stations (7 AM and 7 FM):
1. Tune in the desired station.
2. Push the SET button. “SET” appears in the display for about 5 seconds.
3. Within the 5 seconds, push one of the four pushbuttons. Whenever you
press that button, the preset station will return.
NOTE:
In addition to the four stations set as above, up to three additional stations
may be preset on each band by pressing
two adjoining pushbuttons at the
same time. Then do the following:
1. Tune in the desired station.
2. Press the SET button.
3. Within 5 seconds, press any two adjoining pushbuttons at the same time.
(The station will return when the same
two buttons are pressed again.)
Adjust the Tone
- Use the levers in the upper middle left corner to set the
bass, midrange, and treble until you get the sound
you want. The 60 and 250
levers adjust the bass, 1 K is midrange, and 3 .X and 1 OK control the treble.
We suggest you start with the center lever
(1K) in the midpoint position,
then move the others up until
you get the amount of bass and treble you like.
Am-St Button
- The Am-St button is just below the SEARCH button.
Push this when
you tune to an AM station that broadcasts in stereo. Your
STEREO light will come on when you’re receiving AM stereo. If you push
Am-St and there is
no more noise, it means the station is weak. You’ll hear
the station better if you don’t use Am-St. Just push the Am-St button again
to delete stereo.
AUTO DNR@
- This unit is equipped with an automatic Dynamic Noise
Reduction system. DNR%educes background hiss on AM and
FM radio
broadcasts, as well as on cassette tapes. DNR@is a registered trademark of
National Semiconductor Corporation.
3-11
Page 148 of 380
Downloaded from www.Manualslib.com manuals search engine Pushbuttons - The five pushbuttons let you return to favorite stations.
They are also used
when you play a disc. (See “TO Play A Compact Disc”.)
To set the pushbuttons for
up to ten favorite stations (5 AM and 5 FM):
1. Tune in the desired station.
2. Push the SET button. “SET” is displayed briefly.
3. Within 5 seconds, push one of the five pushbuttons to store the station.
Whenever you press that button, the preset station will return. Repeat
the steps for each of the
5 AM and 5 FM stations.
MUTE
- Press the MUTE button and all sound from the radio or CD
player stops. By pressing the button again sound will begin again.
RCL
- Press the RCL button to change between the clock and the radi\
o
station frequency displayed when the radio is on. RCL may be pressed when
the ignition is
off to see the time.
BASS
- Press the BASS A to increase the bass tones and v BASS to
decrease bass tones. Press the center of the control for a preset BASS
position. The bass level will be displayed briefly when using this control.
TREBLE
- Press the TREB A to increase the treble tones and v TREB to
decrease the treble tones. Press the center of the control for a preset TREB
position. The treble level will be displayed briefly when using this control.
To Play A Compact Disc (CD)
NOTICE:
DO NOT use mini4iscs that are called singles. They won’t eject.
USE FULL-SIZE COMPACT DISCS. If the disc player is very
hot, or if you’re driving on a very rough road, a disc may com\
e
out or just not play.
If you see the word HOT on the display, the
disc player
is too hot to play the disc. Press RCL to make the
word HOT
go off the display. When things get back to normal,
the disc should play again. Press
PWR to turn the system on.
Insert a disc partway into the slot, label side up. The player will pull it in.
Wait a few seconds and the disc should play.
If the disc comes back out, check to see if any of the following are true:
The disc is upside down.
It is dirty, scratched, or wet.
Too much moisture is in the air. (If there is, wait about one hour and try
again.)
3- 14