garage door opener CHEVROLET BLAZER 1997 2.G Owners Manual
[x] Cancel search | Manufacturer: CHEVROLET, Model Year: 1997, Model line: BLAZER, Model: CHEVROLET BLAZER 1997 2.GPages: 402, PDF Size: 21.93 MB
Page 107 of 402
Downloaded from www.Manualslib.com manuals search engine Convex Outside Mirror
Your passenger’s side mirror is convex. A convex
mirror’s surface is curved
so you can see more from the
driver’s seat.
A CAUTION:
A convex mirror can make things (like other
vehicles) look farther away than they really are.
If you cut too sharply into the right lane, you
could hit a vehicle on your right. Check your
inside mirror or glance over your shoulder before
changing lanes.
Storage Compartments
Glove Box
To open your glove box, squeeze the lever at the top of
the glove box and lower the door. Two cup depressions
are provided for your convenience.
but the glove box
should not be open while driving.
Overhead Console (If Equipped)
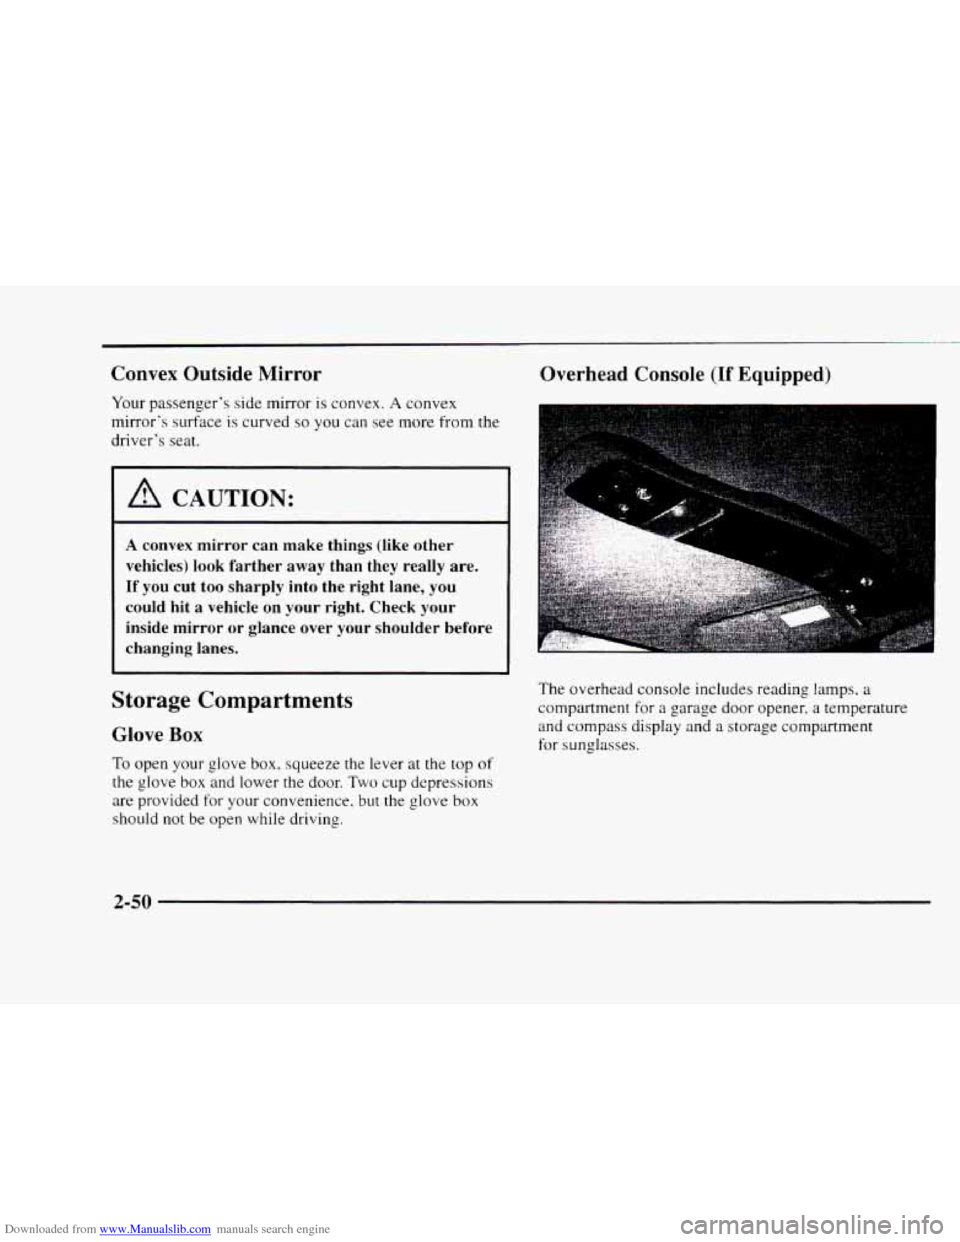
The overhead console includes reading lamps, a
compartment for a garage door opener, a temperature
and compass display and
a storage compartment
for sunglasses.
2-50
Page 108 of 402
Downloaded from www.Manualslib.com manuals search engine Reading Lamps
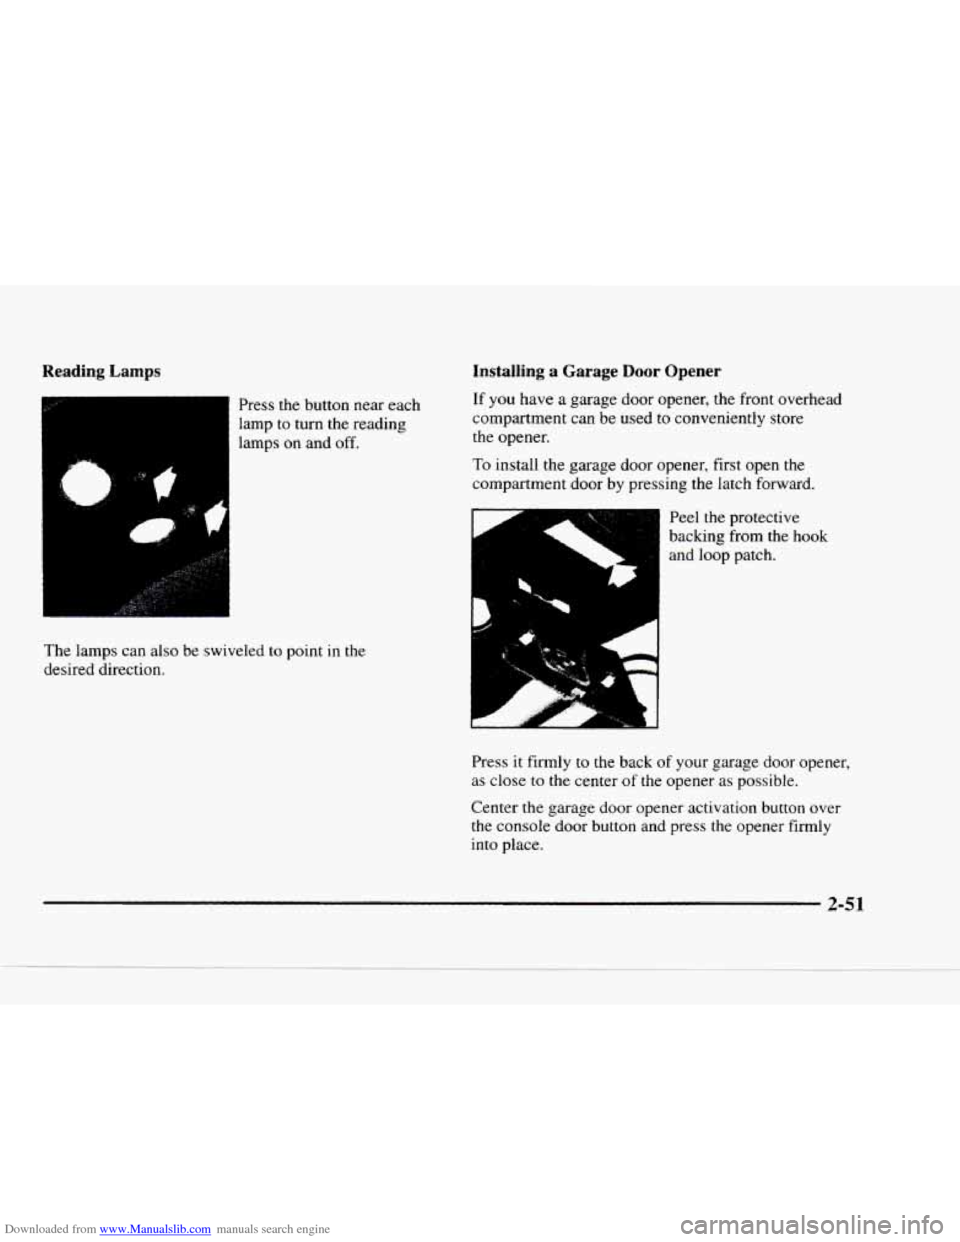
The lamps can also be swiveled to point in the
desired direction.
Installing a Garage Door Opener
If you have a garage door opener, the front overhead
compartment can be used to conveniently store
the opener.
To install the garage door opener, first open the
compartment door by pressing the latch forward.
I Peel the protective
backing from the hook
and
loop patch.
‘I
Press it firmly to the back of your garage door opener,
as close to the center of the opener as possible.
Center the garage door opener activation button over
the console door button and press the opener firmly
into place.
2-51
Page 109 of 402
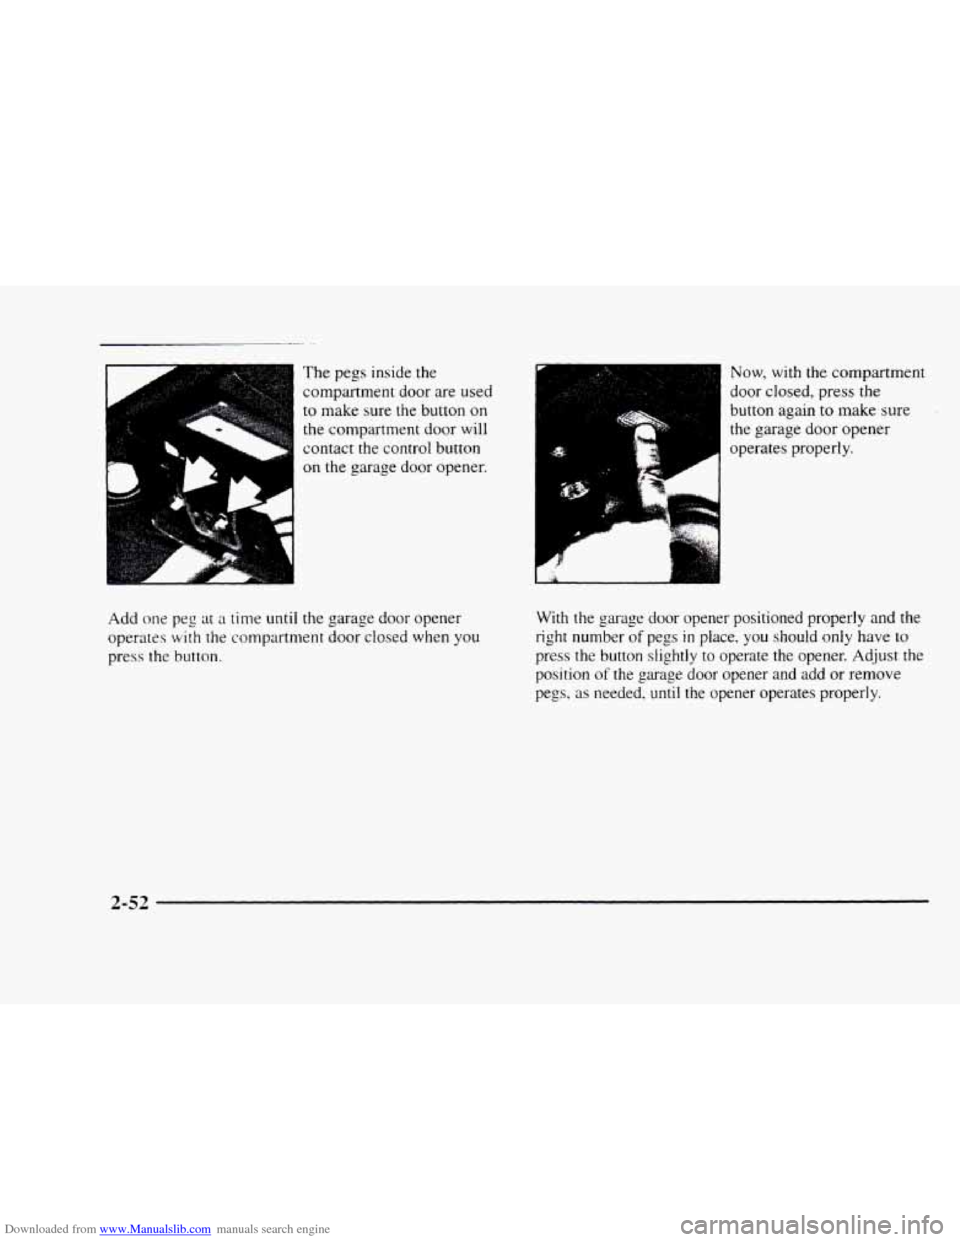
Downloaded from www.Manualslib.com manuals search engine The pegs inside the
compartment door are used
to make sure the button
on
the compartment door will
contact the control button
on the garage door opener.
Add one peg
at a time until the garage door opener
operates
with the compartment door closed when you
press the button.
A
I
Now, with the Compartment
door closed, press
the
button again to make sure
the garage door opener
operates properly.
With the garage door opener positioned properly and the
right number
of pegs in place, you should only have to
press the button slightly to operate the opener. Adjust the
position
of the garage door opener and add or remove
pegs, as needed, until the opener operates properly.
2-52
Page 122 of 402
Downloaded from www.Manualslib.com manuals search engine This device complies with Part 15 of the FCC Rules.
Operation
is subject to the following two conditions:
(1) This device may not cause harmful interference, and
(2) This device must accept any interference received,
including interference
that may cause undesired operation.
Programming the Transmitter
Do not use the transmitter with any garage door opener
that does
not have the “stop and reverse’’ feature. This
includes any garage door opener model manufactured
before April
1, 1982.
Be sure that people crnd objects are clear of the garage
door j~ur are progrmnming!
Your vehicle’s engine should be turned off while
programming
the transmitter. Follow these steps to
program up to three channels:
1. If you have not previously programmed a universal
channel. proceed to Step
2. Otherwise, hold down the
two outside buttons on the universal transmitter until
the
red light begins IO !lash rapidly (approximately
20 seconds). Then release the buttons. This procedure
initialiLes
thc memory and erases any previous
settings tor all three channels.
2. Hold the end of the hand-held transmitter against the
bottom surface of the universal transmitter so that
you can still see the red light.
3. Decide which one of the three channels you want to
program. Using both hands, press
the hand-held
transmitter button and
the desired button on the
universal transmitter. Continue
to hold both buttons
through Step
4.
4. Hold down both buttons until you see the red light
on
the universal transmitter flash rapidly. The rapid
flashing, which could take up
to 90 seconds,
indicates that
the universal transmitter has been
programmed. Release both buttons once
the light
starts to flash rapidly.
11 you have trouble programming the universal
transmitter, make sure that you have followed
the
directions exactly as described and that the battery in the
hand-held transmitter is
not dead. If you still cannot
program
it, rotate the hand-held transmitter end over end
and try again. The universal transmitter may not work
with older garage door openers that
do not meet current
Federal Consumer Safety Standards. If you cannot
program the transmitter after repeated attempLs, consult
your
GM dealer.
Be sure to keep the original hand-held transmitter
in case
you need to erase and reprogram
the universal transmitter.
2-65
Page 123 of 402
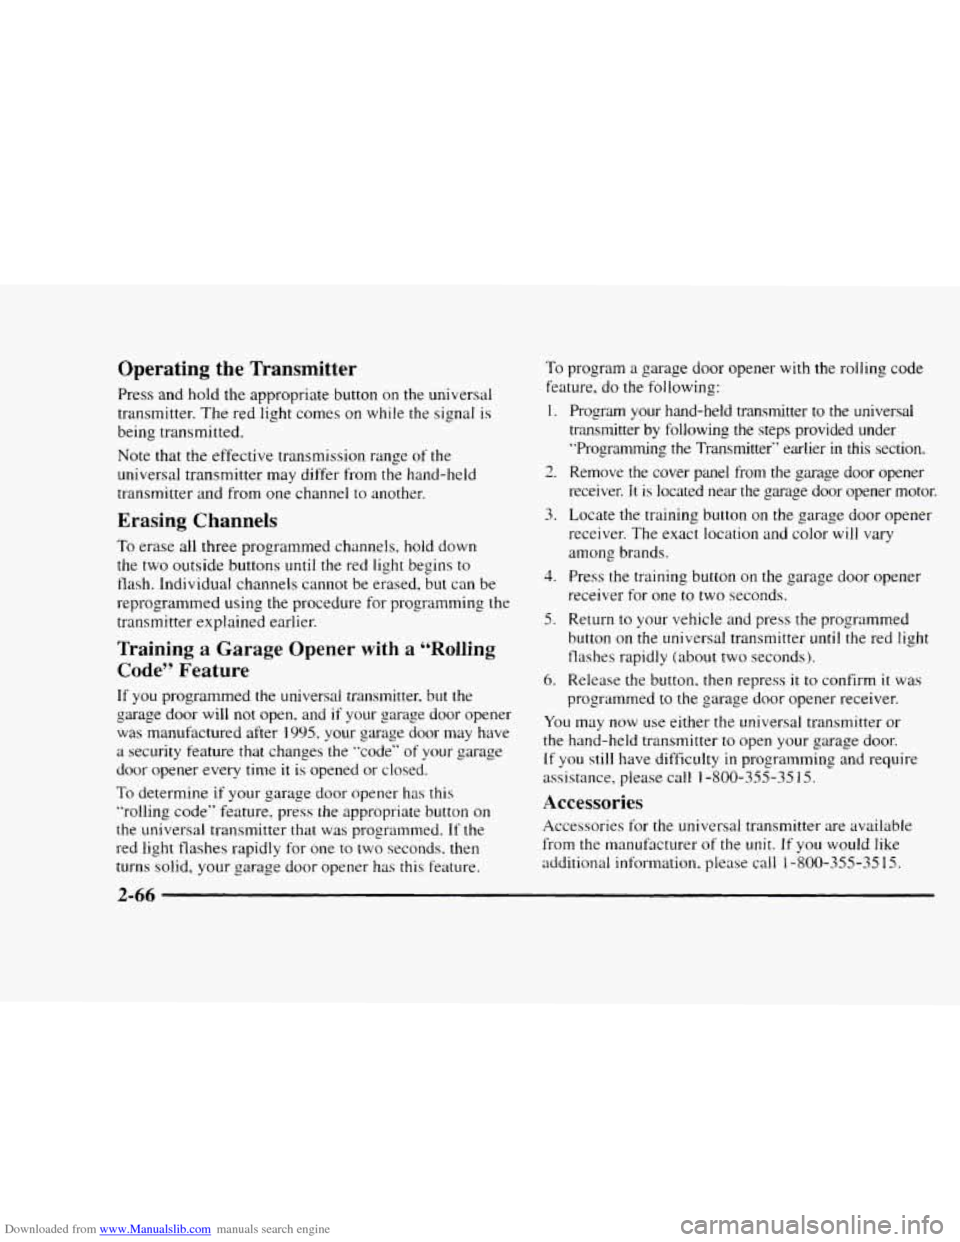
Downloaded from www.Manualslib.com manuals search engine Operating the Transmitter
Press and hold the appropriate button on the universal
transmitter.
The red light comes on while the signal is
being transmitted.
Note
that the effective transmission range of the
universal transmitter may differ from the hand-held
transmitter
and from one channel to another.
Erasing Channels
To erase all three programmed channels. hold down
the two outside buttons
until the red light begins to
flash. Individual channels cannot be erased, but can be
reprogrammed using the procedure for programming the transmitter explained earlier.
Training a Garage Opener with a “Rolling
Code” Feature
If you programmed the universal transmitter, but the
garage door
will not open. and if your garage door opener
was manufactured after
1995, your garage door may have
a security feature that changes the ”code” of your garage
door opener every time
it is opened or closed.
To determine if your garage door opener has this
“rolling code” feature, press the appropriate button on
the universal transmitter that was programmed.
If the
red light flashes rapidly for
one to two seconds. then
turns solid, your ,oarage door opener
has this feature.
To program a garage door opener with the rolling code
feature, do the following:
1.
2.
3.
3.
5.
6.
Program your hand-held transmitter to the universal
transmitter by following the steps provided under
“Programming
the Transmitter“ earlier in this section.
Remove the cover panel from the garage door opener
receiver.
It is located near the garage door opener motor.
Locate the training button on the garage door opener
receiver. The exact location and color will vary
among brands.
Press the training button on the garage door opener
receiver for one to two seconds.
Return to your vehicle and press the programmed
button on the universal transmitter until the red light
flashes rapidly (about two seconds).
Release the button. then repress it to confirm
it was
programmed to
the garage door opener receiver.
You may now use either
the universal transmitter or
the hand-held transmitter to open your garage door.
If you still have difficulty in programming and require
assistance, please
call 1-800-355-35 15.
Accessories
Accessories for the universal transmitter are available
from the manufacturer of the unit.
If you would like
additional information. please call
1-800-355-35 15.
2-66
Page 394 of 402
Downloaded from www.Manualslib.com manuals search engine Garage Door Opener ............................ 2-5 1
GasCap ....................................... 6-5
Gate Ajar Light ................................ 2-81
GearPositions ................................. 2-18
GloveBox .................................... 2-50
Gross Axle Weight Rating ........................ 4-43
Gross Vehicle Weight Rating
...................... 4-42
Guide en Franpis
11
GAWR ....................................... 4-43
.. .................................
GVWR ....................................... 4-42
Halogen Bulbs
................................ 6-33
Hazard Warning Flashers
.......................... 5-2
Head Restraints ................................. 1-6
Headlamps
.................................... 2-45
Bulb Replacement ............................ 6-33
HighLow Beam Changer
...................... 2-39
OnReminder
................................ 2-46
Wiring
..................................... 6-59
Hearing Impaired. Customer Assistance
.............. 8-4
Heating ........................................ 3-3
Highway Hypnosis
.............................. 4-35
Hill and Mountain Roads ......................... 4-35
Hitches. Trailer
................................. 4-48
Horn
......................................... 2-37
Hydraulic Clutch
............................... 6- I9
Check
...................................... 7-47
Hydroplaning .................................. 4-31
Hood
.......................................... 6-6 Ignition
Positions
.............................. 2-13
Inflation. Tire
............................. 6.41. 7.46
Inside Daymight Rearview Mirror
................. 2-49
Inspections
Brake System
................................ 7-51
Exhaust Systems ............................. 7-50
Front Drive Axle Boot Seal
..................... 7-50
Radiator and Heater Hose
...................... 7-50
Steering .................................... 7-50
Throttle Linkage .............................. 7-50
Transfer Case ................................ 7-51
Instrument Panel ............................... 2-67
Cleaning
.................................... 6-52
Cluster
..................................... 2-69
FuseBlock
.................................. 6-59
Interior Lamps
................................. 2-47
Suspension
.................................. 7-50
Jacking Equipment
............................. 5-26
Jump Starting
................................... 5-3
Key in the Ignition ............................. 2-12
Key Lock Cylinders Service ...................... 7-47
Key Release Button
............................. 2-15
Keyless Entry System
............................ 2-6
Keys .......................................... 2-2
9-5
Page 396 of 402
Downloaded from www.Manualslib.com manuals search engine Methanol ...................................... 6-4
Mirrors ....................................... 2-49
Convex Outside .............................. 2-50
Inside Daymight Rearview ..................... 2-49
Outside ..................................... 2-49
Visor Vanity ................................. 2-62
Model Reference ................................. vi
Mountain Roads ................................ 4-35
Multifunction Lever ............................. 2-38
Net. Convenience .............................. 2-57
Neutral
Automatic Transmission
....................... 2- 19
Manual Transmission .......................... 2-22
New Vehicle “Break-In” ......................... 2- 13
Nightvision ................................... 4-28
Normal Maintenance Replacement Parts ............. 6-63
Odometer .................................... 2-68
Off-Road Driving .............................. 4-15
Off-Road Recovery ............................. 4- 1 1
0il.Engine ..................................... 6-9
Opener . Garage Door ............................ 2-51
Ordering Owner and Smite Publications ....... 8- 1 I. 8- 12
Outside Mirror
Manual Adjust ............................... 2-49
Power Remote Control ......................... 2-49
Convex ..................................... 2-50
Overdrive . Automatic Transmission ................ 2-20
Overhead Console .............................. 2-50
Overheating Engine ............................. 5-12
Owner Checks and Services ....................... 7-46
Owner Publications ........................ 8- 1 1. 8. 12
Paint Spotting. Chemical ........................ 6-56
Park
Automatic Transmission
....................... 2-18
Shifting Into ................................. 2-30
Shifting Out of ............................... 2-33
AtNight .................................... 2-12
Brake ...................................... 2-29
Brake Mechanism Check ....................... 7-49
Lots ....................................... 2-12
On Hills with a Trailer ......................... 4-52
Over Things That Burn ........................ 2-34
Your Vehicle. Manual Transmission .............. 2-33
Passing ....................................... 4-12
Payload ....................................... 4-44
Periodic Maintenance Inspections .................. 7-50
Power
Accessory Outlets
............................ 2-63
DoorLocks ................................... 2-5
Remote Control Mirror ........................ 2-49
Steering ..................................... 4-9
Steering Fluid ................................ 6-26
Windows ................................... 2-36
Powerseat ..................................... 1-3
Lumbar Controls .............................. 1-4
Parking