inflation CHEVROLET BLAZER 1998 2.G Owners Manual
[x] Cancel search | Manufacturer: CHEVROLET, Model Year: 1998, Model line: BLAZER, Model: CHEVROLET BLAZER 1998 2.GPages: 416, PDF Size: 22.4 MB
Page 43 of 416
Downloaded from www.Manualslib.com manuals search engine If something is between an occupant and an air
bag, the bag might not inflate properly or it
might force the object into that person. The path
of an inflating air bag must be kept clear. Don’t
put anything between an occupant and an air
bag, and don’t attach
or put anything on the
steering wheel hub or on or near any other air
bag covering.
When should an air bag inflate?
An air bag is designed to inflate in a moderate to severe
frontal or near-frontal crash. The air bag will inflate
only if the impact speed is above the system’s designed
“threshold level.” If your vehicle goes straight into a
wall that doesn’t move or deform, the threshold level is
about
14 to 18 mph (23 to 29 kdh). The threshold level
can vary, however, with specific vehicle design, so that
it can be somewhat above
or below this range. If your
vehicle strikes something that will move or deform, such as
a parked car, the threshold level will be higher. The
air bag is not designed to inflate in rollovers, side
impacts or rear impacts, because inflation would
not
help the occupant.
In any particular crash, no
one can say whether an air
bag
should have inflated simply because of the damage
to a vehicle or because
of what the repair costs were.
Inflation is determined by the angle of the impact and
how quickly the vehicle slows down
in frontal or
near-frontal impacts.
The air bag system is designed to work properly under a
wide range of conditions, including off-road usage.
Observe safe driving speeds, especially
on rough terrain.
As always, wear your safety belt. See “Off-Road
Driving’’
in the Index for more tips on off-road driving.
What makes an air bag inflate?
In an impact of sufficient severity, the air bag sensing
system detects that the vehicle is
in a crash. The sensing
system triggers a release
of gas from the inflator, which
inflates the air bag. The inflator, air bag and related
hardware are all part
of the air bag modules inside the
steering wheel and in the instrument panel in front
of the
right front passenger.
1-27
Page 44 of 416
Downloaded from www.Manualslib.com manuals search engine How does an air bag restrain?
In moderate to severe frontal or near-frontal collisions,
even belted occupants can contact the steering wheel or
the instrument panel. Air bags supplement the protection
provided by safety belts. Air bags distribute the force of
the impact more
evenly over the occupant’s upper body,
stopping
the occupant more gradually. But air bags would
not help you in many types of collisions, including
rollovers, rear impacts and side impacts, primarily
because an occupant’s motion is not toward those air
bags. Air bags should never be regarded as anything more than
a supplement to safety belts, and then only in
moderate to severe frontal or near-frontal collisions.
What will you see after an air bag inflates?
After an air bag inflates, it quickly deflates, so quickly that
some people may not even realize the
air bag inflated.
Some components
of the air bag module -- the steering
wheel hub for the driver’s air bag, or the instrument panel
for the right front passenger’s bag
-- will be hot for a short
time. The parts of the bag that come into contact with you
may be warm, but not too hot to touch. There will be
some smoke and dust coming from vents
in the deflated
air bags. Air bag inflation doesn’t prevent the driver from
seeing or from being able to steer the vehicle, nor does
it
stop people from leaving the vehicle.
When an air bag inflates, there is dust in the air.
This dust could cause breathing problems for
people with a history
of asthma or other
breathing trouble.
To avoid this, everyone in the
vehicle should get out as soon as it is safe to do
so.
If you have breathing problems but can’t get out
of the vehicle after an air bag inflates, then get
fresh air by opening a window or door.
Air bags are designed to inflate only once. After they
inflate, you’ll need some new parts for your air bag
system. If you don’t get them, the air bag system
won’t be there to help protect you in another crash.
A new system will include air bag modules and
possibly other parts. The service manual for your
vehicle covers the need to replace other parts.
Your vehicle is equipped with a diagnostic module,
which records information about the air bag system.
The module records information about the readiness
of the system, when the sensors are activated and
driver’s safety belt usage at deployment.
1-28
Page 222 of 416
Downloaded from www.Manualslib.com manuals search engine Loading Your Vehicle
I, 1
COLD TIRE PRESSURE . - uu
on
00
\SEE FNER’S MANUAL FOR ADDITIONAL INFORMATION. TI I
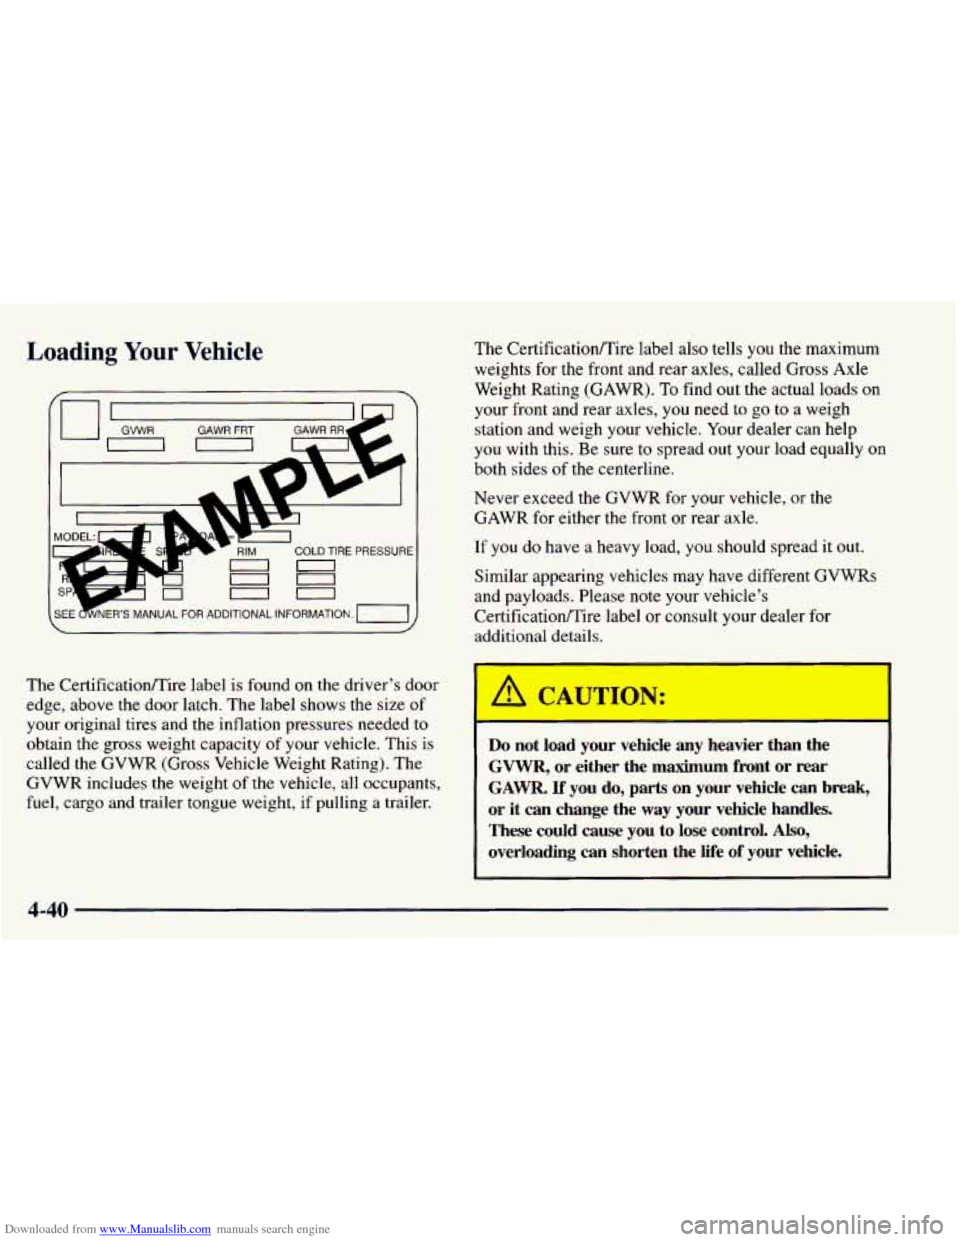
The Certification/Tire label is found on the driver’s door
edge, above the door latch. The label shows the size
of
your original tires and the inflation pressures needed to
obtain the gross weight capacity
of your vehicle. This is
called the GVWR (Gross Vehicle Weight Rating). The
GVWR includes the weight of the vehicle, all occupants,
fuel, cargo and trailer tongue weight, if pulling a trailer. The
Certificatioflire label
also tells you the maximum
weights for the front and rear axles, called Gross Axle
Weight Rating (GAWR).
To find out the actual loads on
your front and rear axles, you need to go to a weigh
station and weigh your vehicle. Your dealer can help
you with this. Be sure to spread out your load equally on
both sides of the centerline.
Never exceed
the GVWR for your vehicle, or the
GAWR for either the front
or rear axle.
If you do have a heavy load,
you should spread it out.
Similar appearing vehicles may have different GVWRs
and payloads. Please note your vehicle’s
CertificationjTire label or consult your dealer for
additional details.
/A CAULON:
Do not load your vehicle any heavier than the
GVWR, or either the maximum front or rear
GAWR. If you do, parts on your vehicle can break,
or it can change the way your vehicle handles.
These could cause you to lose control.
Also,
overloading can shorten the life of your vehicle.
4-40
Page 266 of 416
Downloaded from www.Manualslib.com manuals search engine ’ CAUTION:
Make sure the tire and carrier are secure.
Driving with the tire or carrier unlatched could
injure pedestrians or damage the vehicle.
Compact Spare Tire (If Equipped)
Although the compact spare tire was fully inflated when
your vehicle was new, it can lose air after a time. Check
the inflation pressure regularly. It should be
60 psi
(420 kPa).
After installing the compact spare on your vehicle,
you should stop as soon as possible and make sure
your spare tire
is correctly inflated. The compact
spare
is made to perform well at speeds up to 65 mph
(105 Wh) for distances up to 3,000 miles (5 000 km),
so you can finish your trip and have your full-size tire
repaired or replaced where
you want. Of course, it’s besf
to replace your spare with a full-size tire as soon as you
can. Your spare will last longer and be in good shape in
case you need it again.
NOTICE:
When the compact spare is installed, don’t take
your vehicle through an automatic car wash with
guide rails. The compact spare can get caught on
the rails. That can damage
the tire and wheel,
and maybe other parts
of your vehicle.
Don’t use your compact spare on other vehicles.
And don’t mix your compact spare tire or wheel with
other wheels or tires. They won’t fit. Keep your spare
tire and its wheel together.
NOTICE:
Tire chains won’t fit your compact spare. Using
them can damage your vehicle and can damage
the chains too. Don’t use tire chains on your
compact spare.
5-34
Page 311 of 416
Downloaded from www.Manualslib.com manuals search engine I
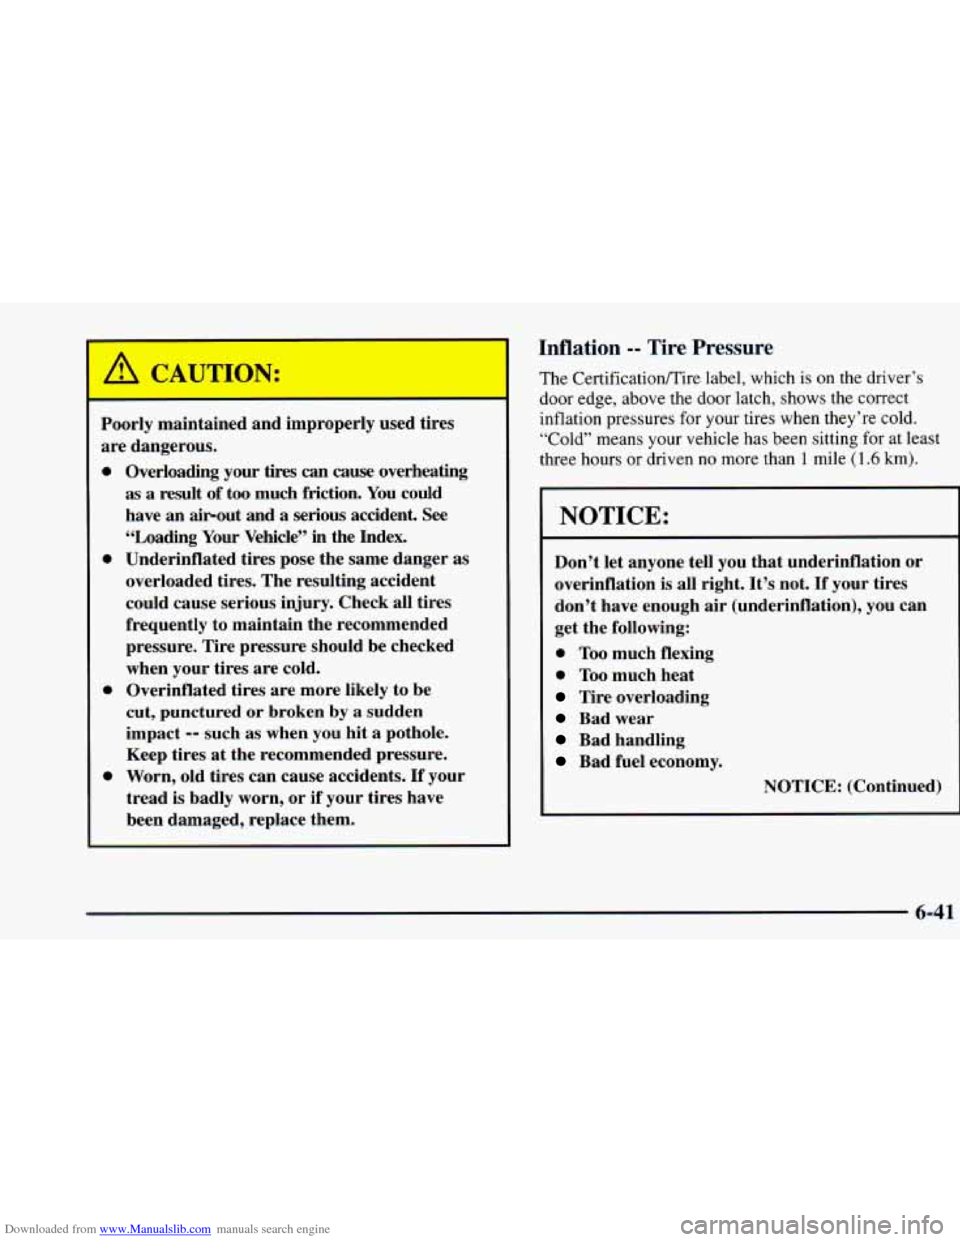
Poorly maintained and improperly used tires are dangerous.
0
0
0
0
Overloading your tires can cause overheating
as a result of too much friction.
You could
have an airout and a serious accident.
See
“Loading Your Vehicle” in the Index.
Underinflated tires pose the same danger as
overloaded tires. The resulting accident
could cause serious injury. Check all tires
frequently to maintain the recommended pressure. Tire pressure should be checked when your tires are cold.
Overinflated tires are more likely to be
cut, punctured or broken by
a sudden
impact
-- such as when you hit a pothole.
Keep tires at the recommended pressure.
Worn, old tires can cause accidents.
If your
tread is badly worn, or if your tires have
been damaged, replace them.
Inflation -- Tire Pressure
The CertificatiodTire label, which is on the driver’s
door edge, above the door latch, shows the correct
inflation pressures for your tires when they’re cold.
“Cold” means your vehicle has been sitting
for at least
three hours or driven
no more than 1 mile (1.6 km).
NOTICE:
Don’t let anyone tell you that underinflation or
overinflation is all right. It’s not.
If your tires
don’t have enough air (underinflation), you can
get the following:
0 Too much flexing
0 Too much heat
Tire overloading
Bad wear
Bad handling
Bad fuel economy.
NOTICE: (Continued)
6-41
Page 312 of 416
Downloaded from www.Manualslib.com manuals search engine I NOTICE: (Continued) I
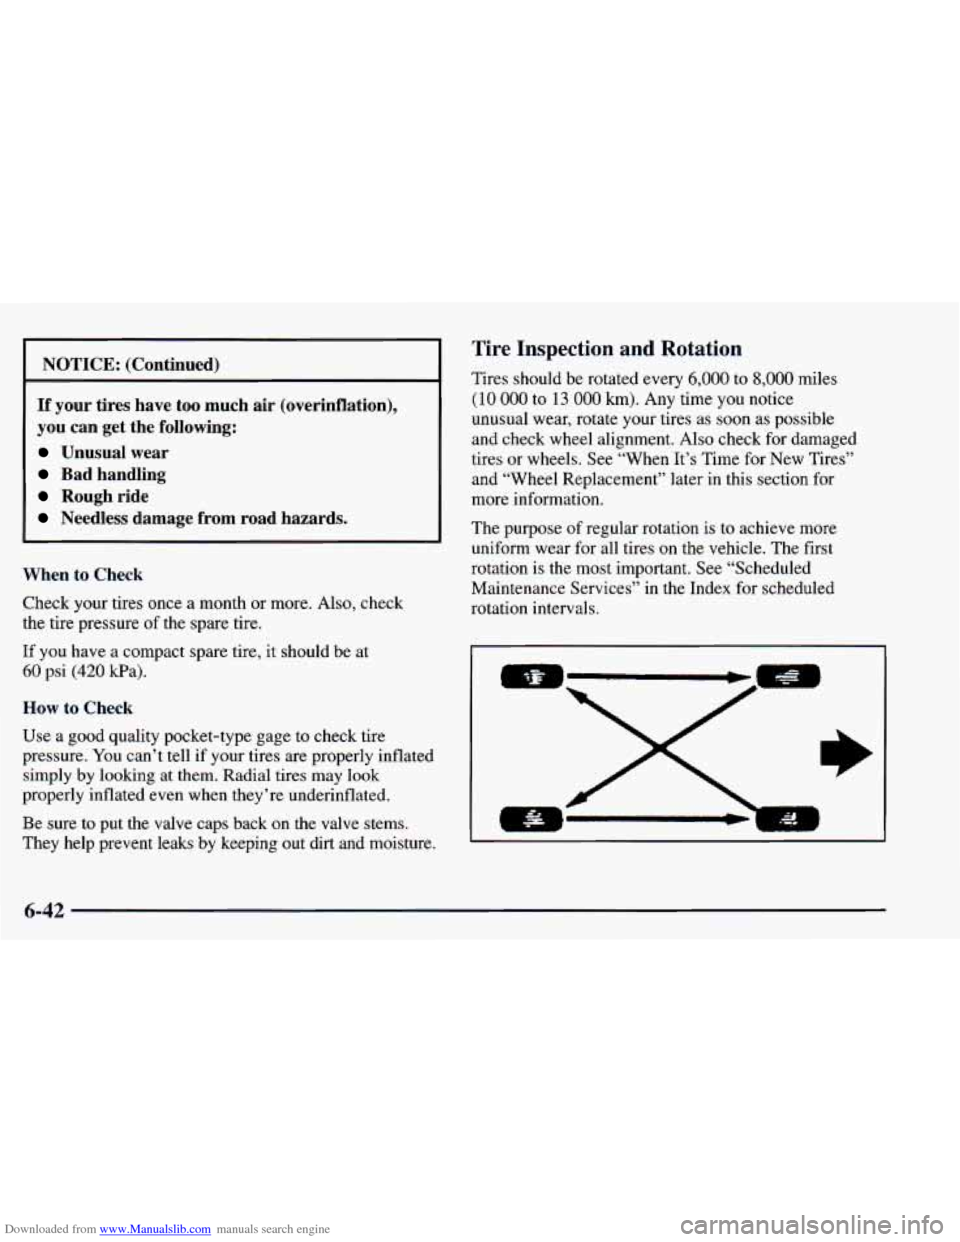
If your tires have too much air (overinflation),
you can get the following:
Unusual wear
Bad handling
Rough ride
Needless damage from road hazards.
When
to Check
Check your tires once a month or more. Also, check
the tire pressure of the spare tire.
If you have a compact spare tire, it should be at
60 psi (420 Wa).
How to Check
Use a good quality pocket-type gage to check tire
pressure. You can’t tell if your tires are properly inflated
simply by looking
at them. Radial tires may look
properly inflated even when they’re underinflated.
Be sure to put the valve caps back on the valve stems.
They help prevent leaks by keeping out dirt and moisture.
Tire Inspection and Rotation
Tires should be rotated every 6,000 to 8,000 miles
(10
000 to 13 000 km). Any time you notice
unusual wear, rotate your tires as soon as possible
and check wheel alignment. Also check for damaged
tires or wheels. See “When It’s Time for New Tires”
and “Wheel Replacement” later in this section for
more information.
The purpose of regular rotation is to achieve more
uniform wear for all tires on the vehicle. The first
rotation is the most important. See “Scheduled
Maintenance Services’’ in the Index for scheduled
rotation intervals.
6-42
Page 313 of 416
Downloaded from www.Manualslib.com manuals search engine 1
Q
i
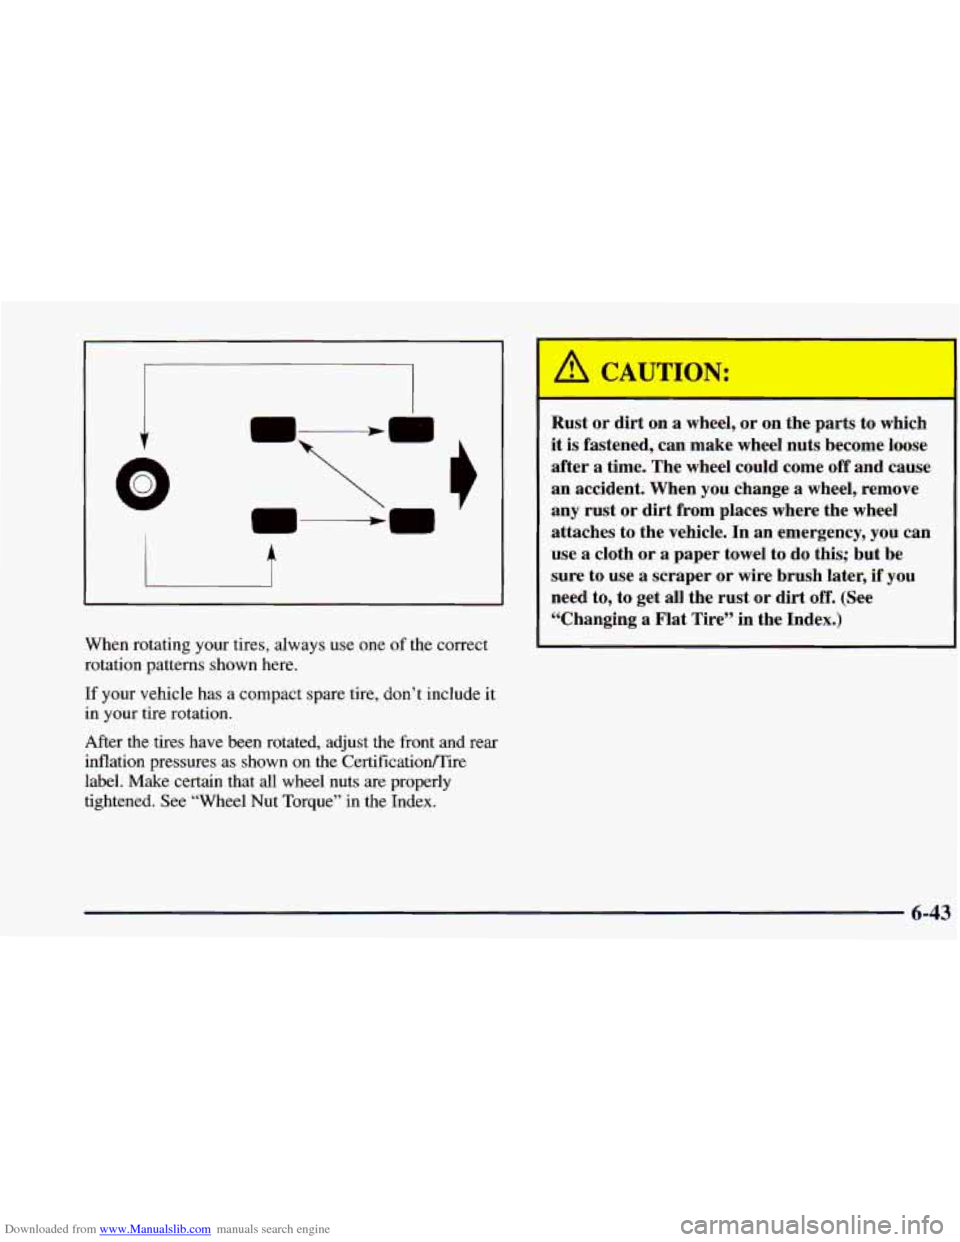
When rotating your tires, always use one of the correct
rotation patterns shown here.
If your vehicle has a compact spare tire, don’t include it
in your tire rotation.
After the tires have been rotated, adjust the front and rear
inflation pressures as shown on the Certificatiomire
label.
Make certain that all wheel nuts are properly
tightened. See “Wheel Nut Torque” in the
Index.
A C. UTION:
Rust or dirt on a wheel, or on the parts to which
it is fastened, can make wheel nuts become loose
after a time. The wheel could come
off and cause
an accident. When you change a wheel, remove
any rust or dirt from places where the wheel
attaches to the vehicle. In an emergency, you can
use
a cloth or a paper towel to do this; but be
sure to use a scraper or wire brush later, if you
need
to, to get all the rust or dirt off. (See
“Changing a Flat Tire” in the Index.)
6-43
Page 316 of 416
Downloaded from www.Manualslib.com manuals search engine Treadwear Temperature -- A, B, C
The treadwear grade is a comparative rating based on
the wear rate of the tire when tested under controlled
conditions
on a specified government test course.
For example, a tire graded
150 would wear one and a
half
(1 1/2) times as well on the government course
as a tire graded
100. The relative performance of tires
depends upon the actual conditions
of their use,
however, and may depart significantly from the norm
due to variations in driving habits, service practices
and differences in road characteristics and climate.
Traction -- A, B, C
The traction grades, from highest to lowest, are A, B,
and C, and they represent the tire’s ability to stop on
wet pavement as measured under controlled conditions
on specified government test surfaces of asphalt and
concrete.
A tire marked C may have poor traction
performance.
Warning: The traction grade assigned to this tire is based
on braking (straight ahead) traction tests and does not
include cornering (turning) traction. The
temperature grades are
A (the highest), B, and C,
representing the tire’s resistance to the generation of
heat and its ability to dissipate heat when tested under
controlled conditions on a specified indoor laboratory
test wheel. Sustained high temperature can cause the material
of the tire to degenerate and reduce tire life,
and excessive temperature can lead to sudden tire
failure. The grade
C corresponds to a level of
performance which all passenger car tires must meet
under the Federal Motor Vehicle Safety Standard
No. 109. Grades B and A represent higher levels of
performance on the laboratory test wheel than the
minimum required by law.
Warning: The temperature grade for this tire is
established for a tire that is properly inflated and not
overloaded. Excessive speed, underinflation, or
excessive loading, either separately or in combination,
can cause heat buildup and possible tire failure.
6-46
Page 338 of 416
Downloaded from www.Manualslib.com manuals search engine IMPORTANT:
KEEP ENGINE OIL
AT THE PROPER
LEVEL AND CHANGE AS
RECOMMENDED
-
El
protection
Plan
Have you purchased the GM Protection Plan? The Plan
supplements
your new vehicle warranties. See your
Warranty and Owner Assistance booklet, or your GM
dealer for details.
Introduction
Your Vehicle and the Environment
Proper vehicle maintenance not only helps to keep your
vehicle in
good working condition, but also helps the
environment. All recommended maintenance procedures
are important. Improper vehicle maintenance can
even
affect the quality of the air we breathe. Improper fluid
levels or the wrong tire inflation can increase the level
of emissions from your vehicle. To help protect our
environment, and to keep your vehicle
in good
condition, please maintain your vehicle properly.
7-2
Page 405 of 416
Downloaded from www.Manualslib.com manuals search engine Bulb Replacement ............................ 6-34
OnReminder
................................ 2-41
Wiring
..................................... 6-59
Hearing Impaired. Customer Assistance
.............. 8-4
Heated Front Seats
............................... 1-5
Heated Outside Mirrors
.......................... 2-46
Heating
........................................ 3-7
Highway Hypnosis
.............................. 4-34
Hill and Mountain Roads
......................... 4-34
Hitches. Trailer
................................. 4-45
Hood
.......................................... 6-8
Horn
......................................... 2-33
Hydraulic Clutch
............................... 6-20
Check
...................................... 7-40
Hydroplaning
.................................. 4-30
HighLow
Beam Changer
...................... 2-35
Ignition Positions
.................................... 2-14
Transmission Lock Check
...................... 7-42
Illuminated Entry
............................... 2-43
Inflation. Tire
............................. 6.41. 7.39
Inside Daymight Rearview Mirror
................. 2-44
Inspections Brakesystem
................................ 7-44
Engine Cooling System
........................ 7-43
Exhaust Systems
............................. 7-43
Front Drive Axle Boot Seal
..................... 7-43
Steering
.................................... 7-43
Suspension
.................................. 7-43
Throttle System
.............................. 7-43
Transfer Case
................................ 7-44
Ignition Transmission Lock Check
................. 7-42 Instrument Panel
............................... 2-64
Cleaning
.................................... 6-52
Cluster
................................ 2.65. 2.66
Fuse Block
.................................. 6-60
Interior Lamps
................................. 2-43
Jacking Equipment
............................. 5-22
Jump Starting
................................... 5-3
Key in the Ignition
............................. 2-12
Key Lock Cylinders Service
...................... 7-40
Key Release Button
............................. 2-15
Keyless Entry System
............................ 2-6
Labels Keys
.......................................... 2-2
Certificatioflire
............................. 4-40
Fuse
.................................. 6.60. 6.62
Safety Belt
.................................. 1-57
Service Parts Identification ..................... 6-58
Vehicle Identification Number
................... 6-58
Lamps
........................................ 2-40
Dome
...................................... 2-43
FrontMap
................................... 2-43
Front Reading
........................... 2.43. 2.47
Interior
..................................... 2-43
OnReminder
................................ 2-41
Latches. Seatback
................................ 1-7
Leaving Your Vehicle
............................. 2-5
Leaving Your Vehicle
with the Engine Running ....... 2-25
Lighter
....................................... 2-57
Lights Air Bag Readiness
....................... 1.25. 2.69
Anti-Lock Brake System Warning ............ 2.72. 4.7