tailgate CHEVROLET BLAZER 2003 2.G Owners Manual
[x] Cancel search | Manufacturer: CHEVROLET, Model Year: 2003, Model line: BLAZER, Model: CHEVROLET BLAZER 2003 2.GPages: 420, PDF Size: 2.94 MB
Page 70 of 420
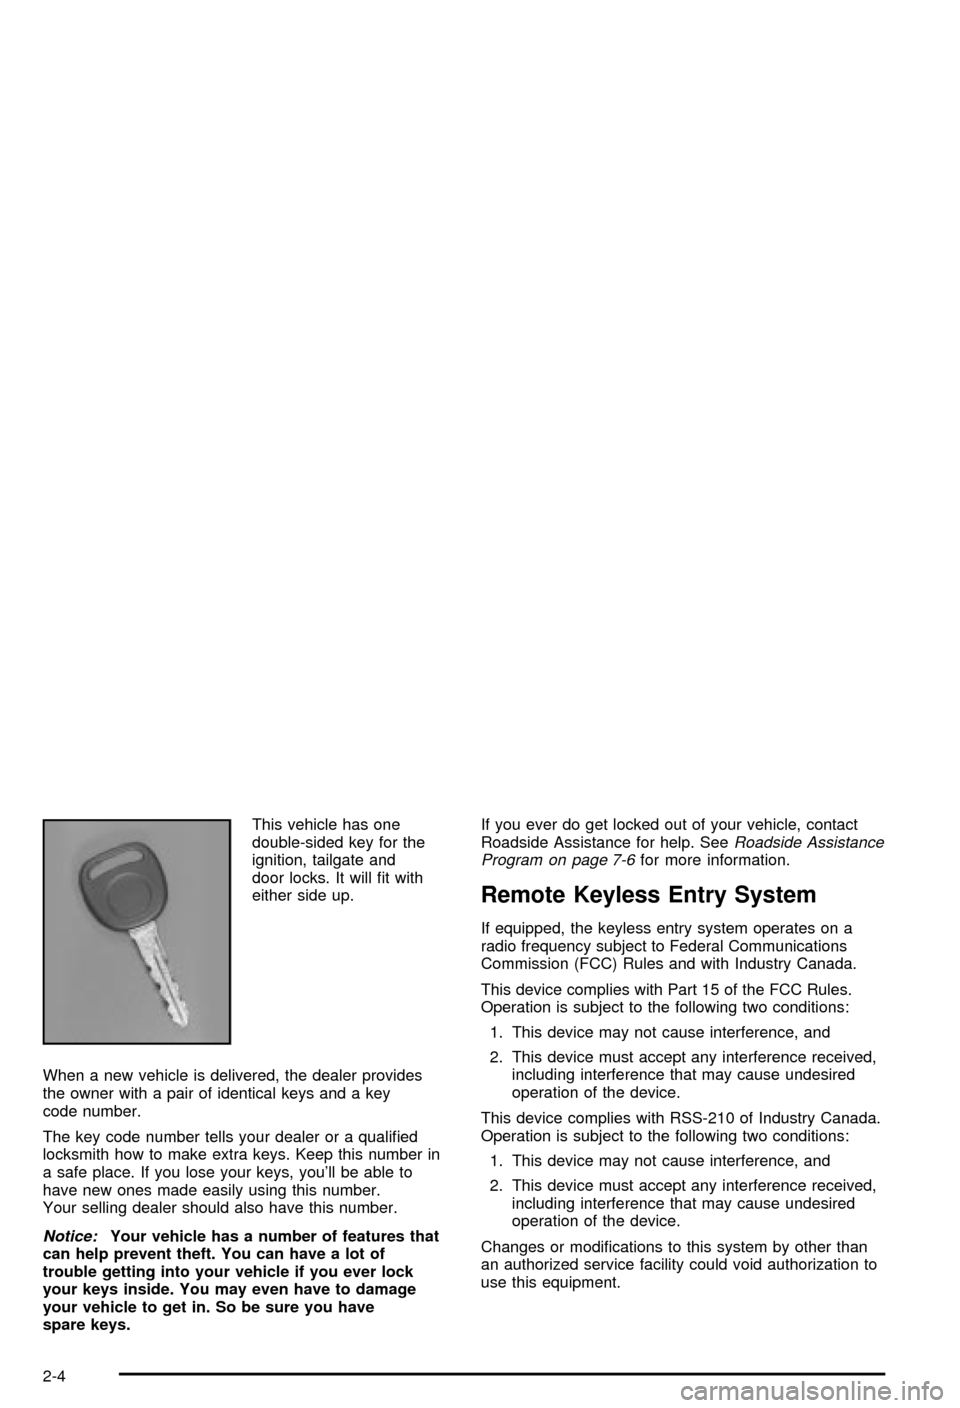
This vehicle has one
double-sided key for the
ignition, tailgate and
door locks. It will ®t with
either side up.
When a new vehicle is delivered, the dealer provides
the owner with a pair of identical keys and a key
code number.
The key code number tells your dealer or a quali®ed
locksmith how to make extra keys. Keep this number in
a safe place. If you lose your keys, you'll be able to
have new ones made easily using this number.
Your selling dealer should also have this number.
Notice:Your vehicle has a number of features that
can help prevent theft. You can have a lot of
trouble getting into your vehicle if you ever lock
your keys inside. You may even have to damage
your vehicle to get in. So be sure you have
spare keys.If you ever do get locked out of your vehicle, contact
Roadside Assistance for help. See
Roadside Assistance
Program on page 7-6for more information.
Remote Keyless Entry System
If equipped, the keyless entry system operates on a
radio frequency subject to Federal Communications
Commission (FCC) Rules and with Industry Canada.
This device complies with Part 15 of the FCC Rules.
Operation is subject to the following two conditions:
1. This device may not cause interference, and
2. This device must accept any interference received,
including interference that may cause undesired
operation of the device.
This device complies with RSS-210 of Industry Canada.
Operation is subject to the following two conditions:
1. This device may not cause interference, and
2. This device must accept any interference received,
including interference that may cause undesired
operation of the device.
Changes or modi®cations to this system by other than
an authorized service facility could void authorization to
use this equipment.
2-4
Page 80 of 420
Tailgate Release
To open a manual lock system from the outside, insert
the key into a lock and turn it counterclockwise to
unlock the liftgate, tailgate and liftglass.
To open a power lock system from the outside, insert
the key into a lock and turn it counterclockwise. All
the doors will then unlock.
If your vehicle is equipped with the keyless entry
system, your vehicle does not have a lock on the
tailgate. It is equipped with a push button to release
the glass.
You may also use the keyless entry system, or the
power door locks (if equipped).
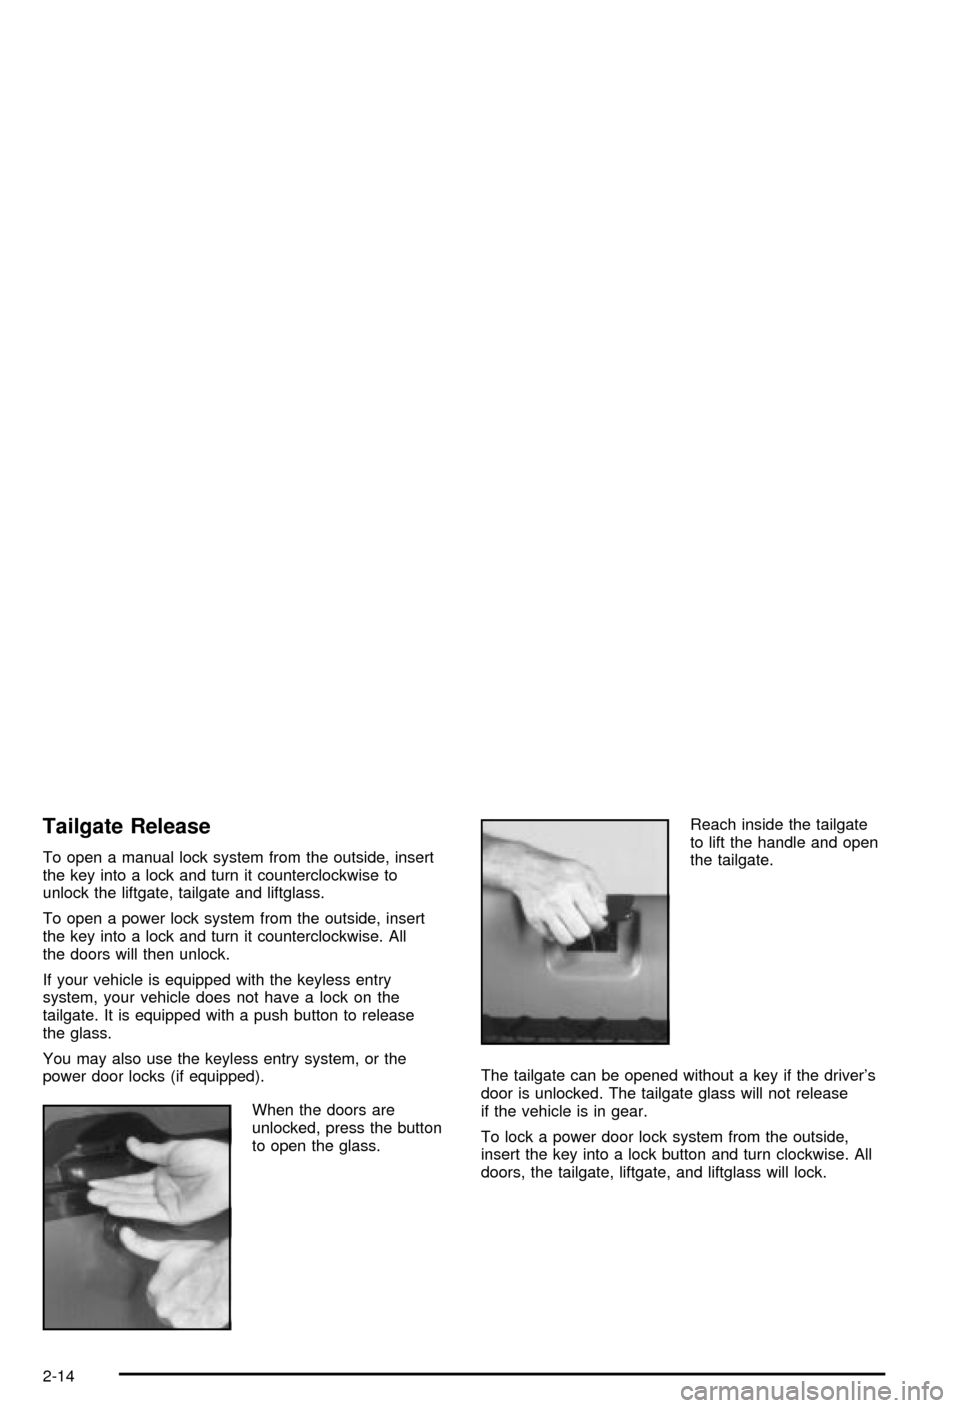
When the doors are
unlocked, press the button
to open the glass.Reach inside the tailgate
to lift the handle and open
the tailgate.
The tailgate can be opened without a key if the driver's
door is unlocked. The tailgate glass will not release
if the vehicle is in gear.
To lock a power door lock system from the outside,
insert the key into a lock button and turn clockwise. All
doors, the tailgate, liftgate, and liftglass will lock.
2-14
Page 81 of 420
Remote Rear Glass Release
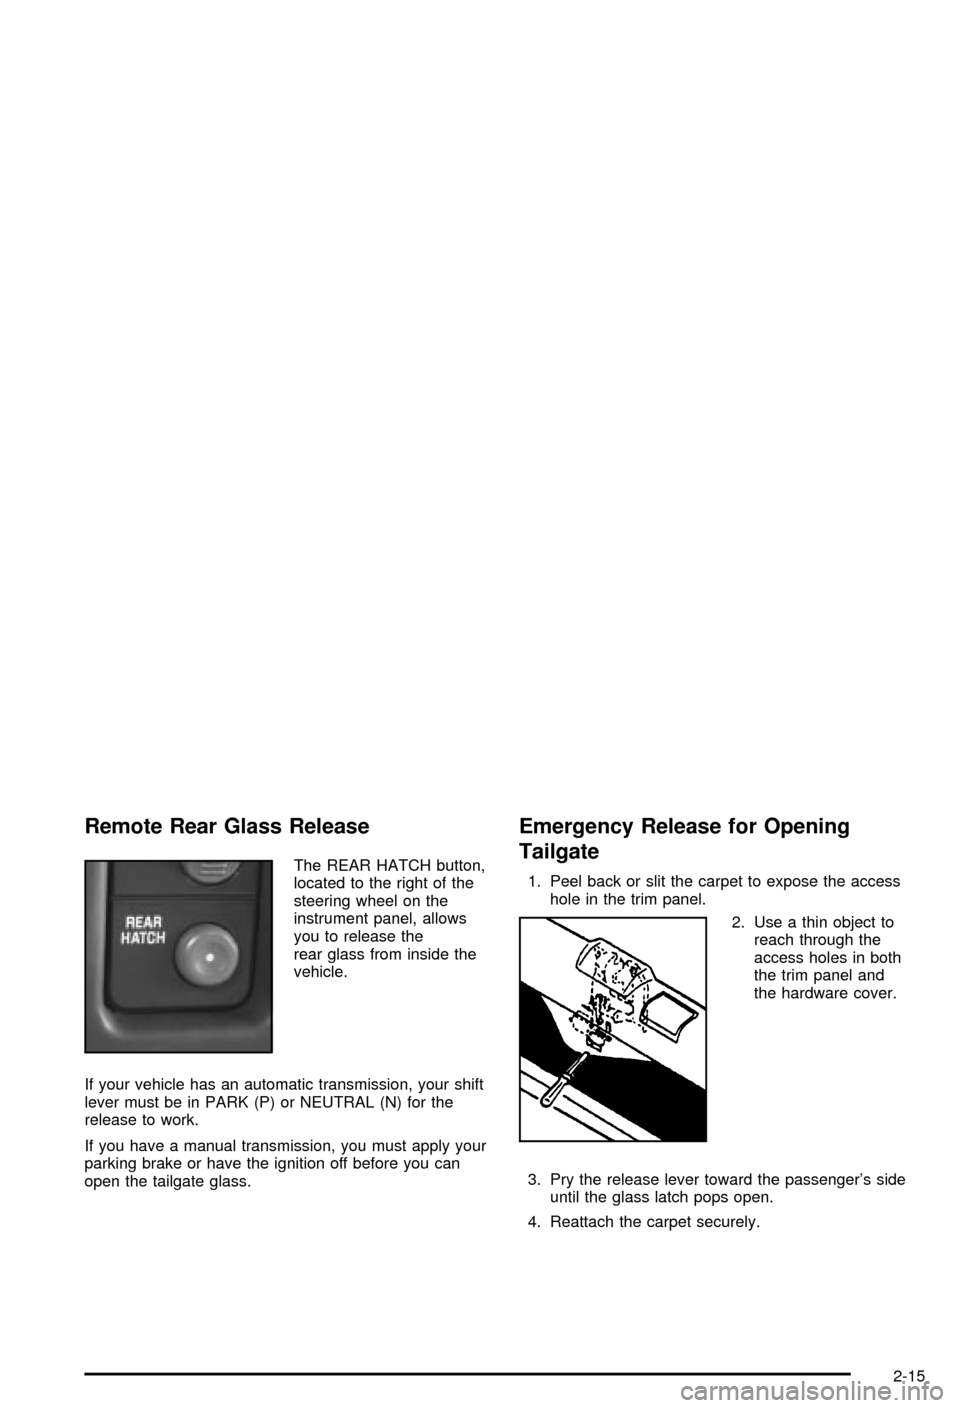
The REAR HATCH button,
located to the right of the
steering wheel on the
instrument panel, allows
you to release the
rear glass from inside the
vehicle.
If your vehicle has an automatic transmission, your shift
lever must be in PARK (P) or NEUTRAL (N) for the
release to work.
If you have a manual transmission, you must apply your
parking brake or have the ignition off before you can
open the tailgate glass.
Emergency Release for Opening
Tailgate
1. Peel back or slit the carpet to expose the access
hole in the trim panel.
2. Use a thin object to
reach through the
access holes in both
the trim panel and
the hardware cover.
3. Pry the release lever toward the passenger's side
until the glass latch pops open.
4. Reattach the carpet securely.
2-15
Page 82 of 420
Tailgate-Mounted Spare
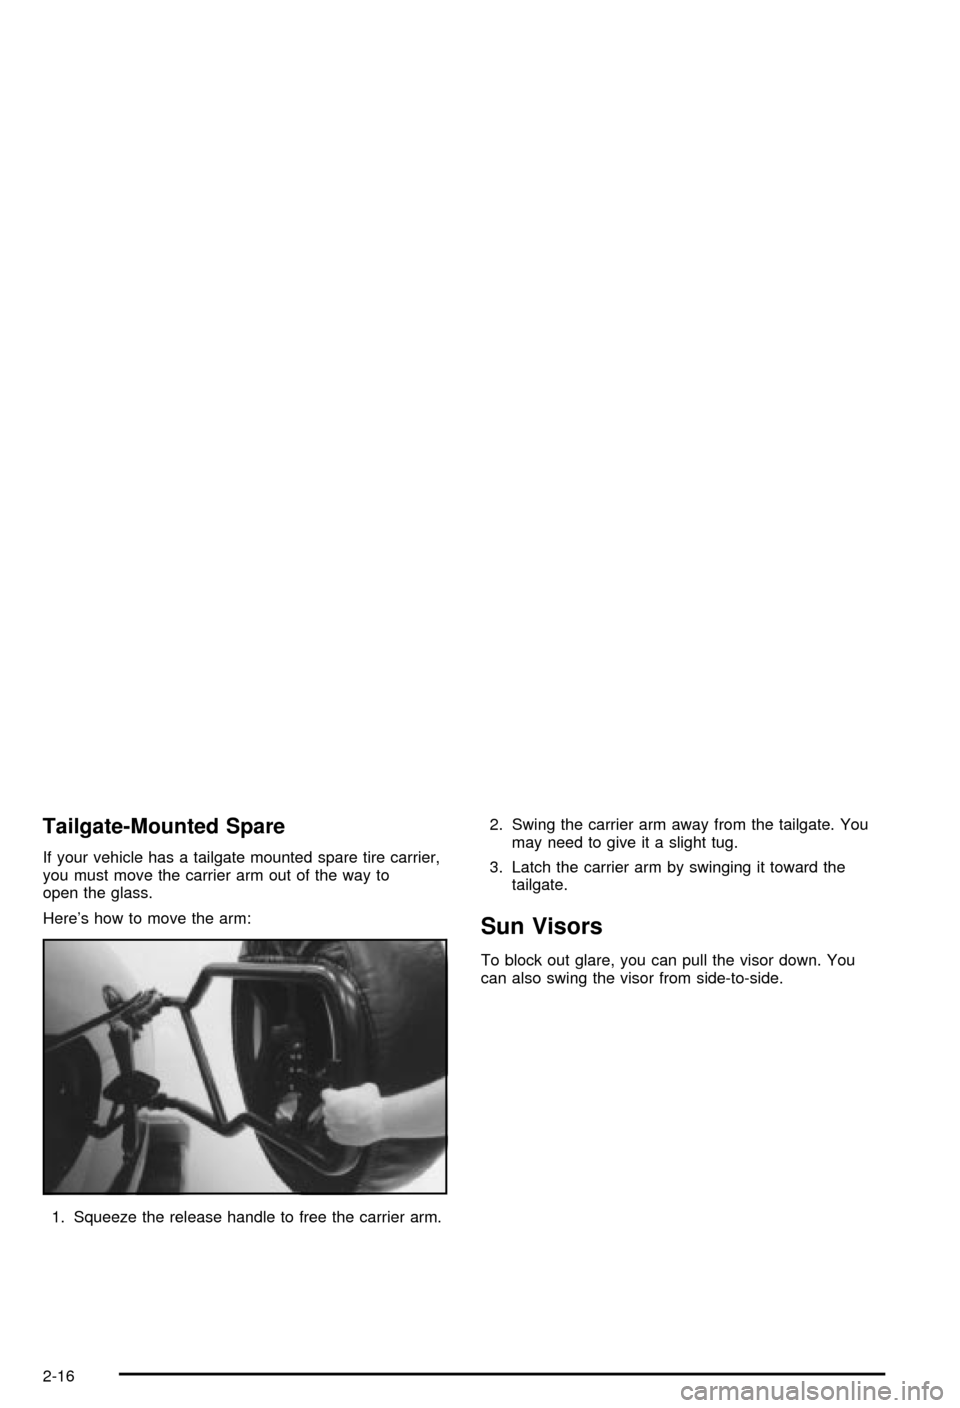
If your vehicle has a tailgate mounted spare tire carrier,
you must move the carrier arm out of the way to
open the glass.
Here's how to move the arm:
1. Squeeze the release handle to free the carrier arm.2. Swing the carrier arm away from the tailgate. You
may need to give it a slight tug.
3. Latch the carrier arm by swinging it toward the
tailgate.
Sun Visors
To block out glare, you can pull the visor down. You
can also swing the visor from side-to-side.
2-16
Page 124 of 420
The net is not designed to retain these items during
off-road use. The net is not for larger, heavier items.
Attach the upper loops to the retainers on both sides of
the tailgate opening. The label should be in the upper
passenger's side corner, visible from the rear of vehicle.
Attach the lower hooks to the rear cargo tie-downs on
the ¯oor.
Cargo Cover
If your vehicle has a cargo cover, you can use it to
cover items in the cargo area of your vehicle.
Grasp the handle and unroll the cover. Latch the posts
into the sockets on the inside trim panel on the
passenger's side of the vehicle to secure it.
{CAUTION:
An improperly stored cargo cover could be
thrown about the vehicle during a collision or
sudden maneuver. You or others could be
injured. If you remove the cover, always store
it in the proper storage location. When you put
it back, always be sure that it is securely
reattached.
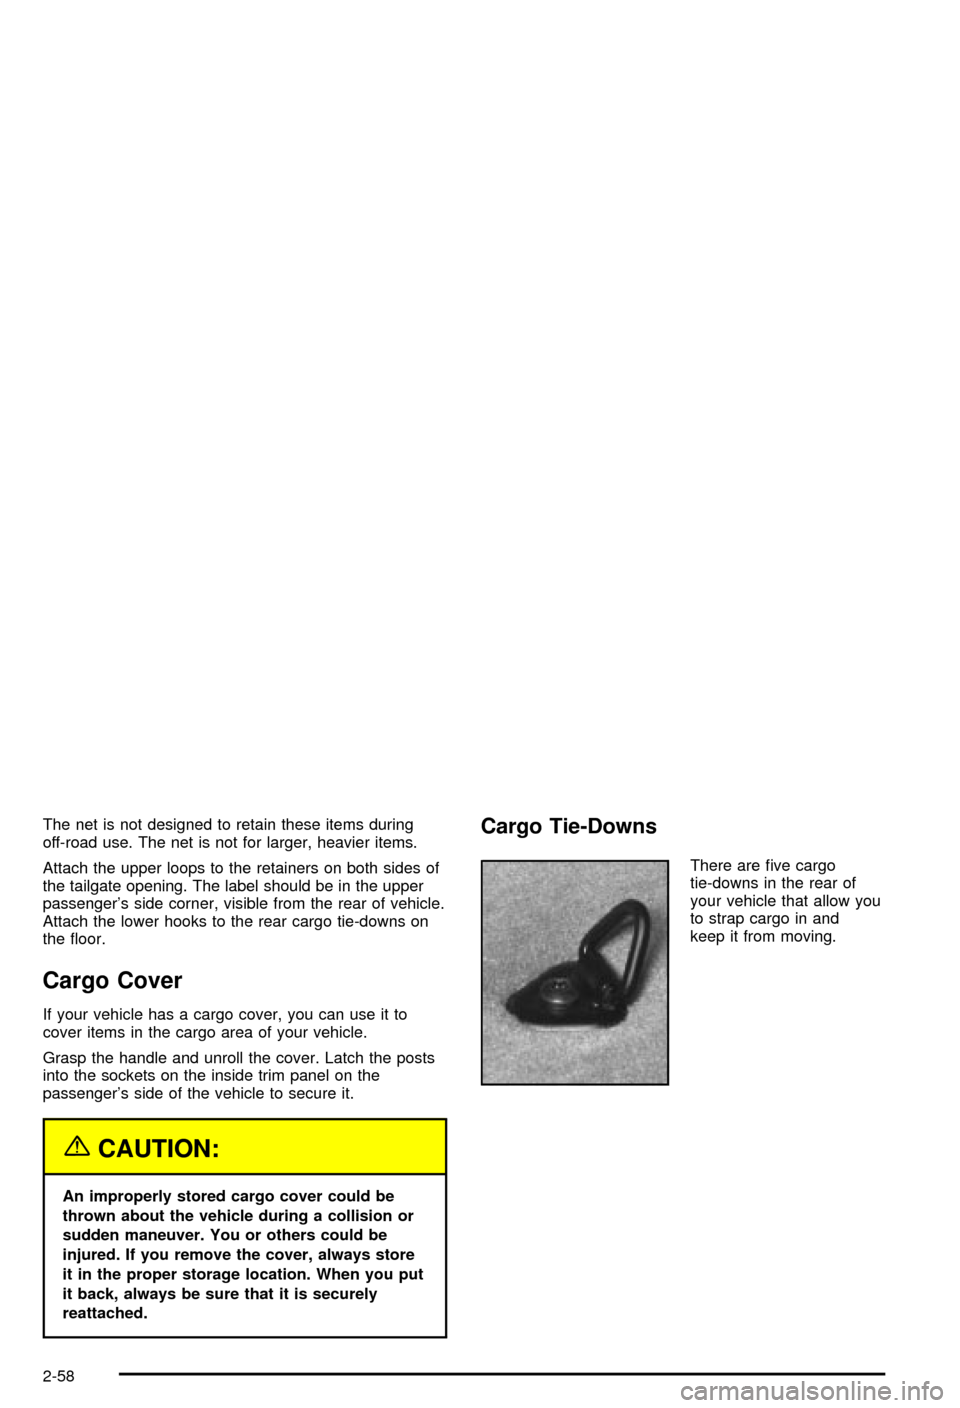
Cargo Tie-Downs
There are ®ve cargo
tie-downs in the rear of
your vehicle that allow you
to strap cargo in and
keep it from moving.
2-58
Page 126 of 420

To increase the space in the convenience system, do
the following:
1. Pull up on the individual partitions (C) to
remove them.. Storage for the partitions is located
in area (E).
2. Fold the collapsible dividers (A) by pulling upward
and folding the dividers toward each other.
To reinstall or rearrange the partitions, push down
gently on the partitions making sure both sides ®t into
the appropriate slots of the collapsible dividers (A).
Located on the top of each collapsible divider (A) are
T-pins designed to hold grocery bags, etc., in an upright
position.
The anchor bracket/cargo tie down plugs (B), located in
the center and on each side of the convenience
system nearest the passenger compartment, are used
to help seal the convenience system. However, the
plugs also cover the anchor bracket/cargo tie-downs. To
remove the plugs, grasp the edges of the plugs and
pull straight out. See
Child Restraint Systems on
page 1-38andTop Strap on page 1-42for more
information on using anchor brackets.There are two cutouts (F) for the rear cargo tie-downs
located near the tailgate sill. In order to access the rear
cargo tie-downs, the cutouts must be removed.
You will also ®nd a soda pop/gallon jug holder (D) on
the passenger side of the convenience system.
Some vehicles do not have this feature, but instead
include a smaller storage area.
To remove the entire convenience system, do the
following:
1. Remove the convenience net if it is in place. See
Convenience Net on page 2-57for more
information. You may also want to remove the
partitions (C) and fold the collapsible dividers (A) to
make the convenience system easier to handle.
2. Grasp the sides of the convenience system and
push the sides together while sliding the unit out
until it clears the sides of the tailgate opening.
To reinstall the convenience system, reverse the
removal procedure.
2-60
Page 131 of 420

A. Air Vents
B. Turn Signal/Multifunction Lever
C. Instrument Panel Cluster
D. Transfer Case Button (If Equipped)
E. Exterior Lamps Control
F. Fog Lamp Button (If Equipped)
G. Brake Release
H. Horn
I. Rear Window Washer/Wiper
J. Rear Tailgate Release
K. Ashtray (If Equipped)
L. Comfort Controls
M. Rear Window Defogger
N. Accessory Power Outlets
O. Audio System
P. Glove BoxHazard Warning Flashers
Your hazard warning ¯ashers let you warn others. They
also let police know you have a problem. Your front
and rear turn signal lamps will ¯ash on and off.
3-3
Page 163 of 420
Tow/Haul Mode Light
This light should come on
when the tow/haul mode
has been selected.
For more information, see ªTow/Haul Modeº under
Towing a Trailer on page 4-54.
Check Gages Warning Light
The CHECK GAGES light
will come on brie¯y when
you are starting the
engine.
If this light comes and stays on while you are driving,
check your coolant temperature and engine oil pressure
gages to see if they are in the warning zones.
Gate Ajar Light
If this light comes on, your
endgate or liftglass is ajar.
Try closing the tailgate
or liftglass again. Never
drive with the tailgate
or liftglass even
partially open.
Fuel Gage
When the ignition is on, the fuel gage tells you about
how much fuel you have remaining.
United StatesCanada
3-35
Page 315 of 420
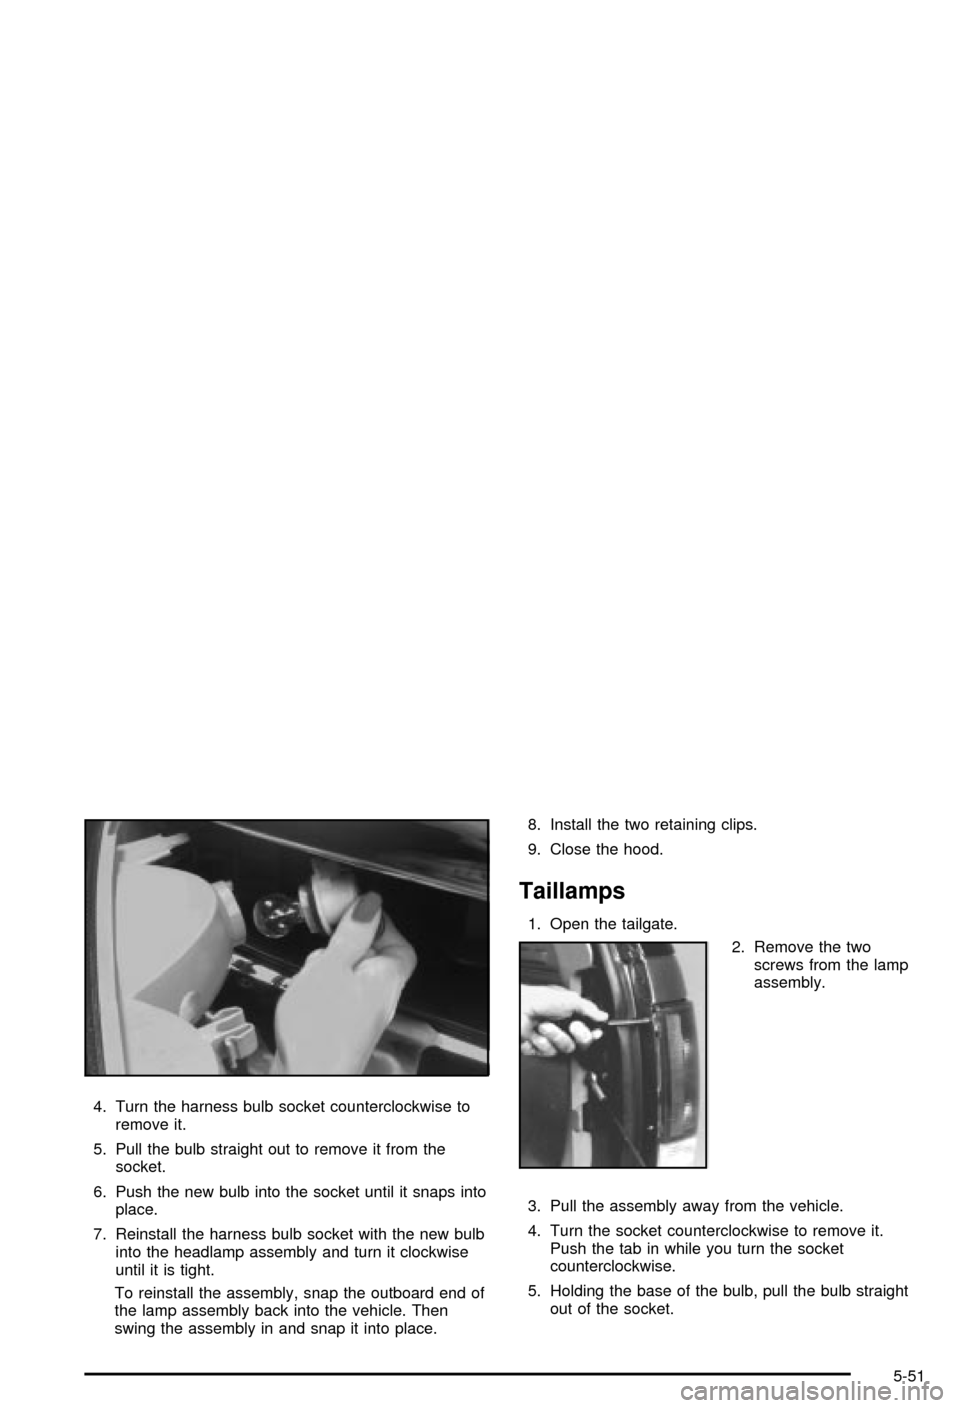
4. Turn the harness bulb socket counterclockwise to
remove it.
5. Pull the bulb straight out to remove it from the
socket.
6. Push the new bulb into the socket until it snaps into
place.
7. Reinstall the harness bulb socket with the new bulb
into the headlamp assembly and turn it clockwise
until it is tight.
To reinstall the assembly, snap the outboard end of
the lamp assembly back into the vehicle. Then
swing the assembly in and snap it into place.8. Install the two retaining clips.
9. Close the hood.
Taillamps
1. Open the tailgate.
2. Remove the two
screws from the lamp
assembly.
3. Pull the assembly away from the vehicle.
4. Turn the socket counterclockwise to remove it.
Push the tab in while you turn the socket
counterclockwise.
5. Holding the base of the bulb, pull the bulb straight
out of the socket.
5-51
Page 316 of 420

6. Push the new bulb straight into the socket until it
clicks.
7. Put the socket into the assembly and turn the
socket clockwise until it locks in place.
8. Install the lamp assembly and tighten the screws.
9. Close the tailgate.
Replacement Bulbs
Lamp Number
Halogen Headlamps, Composite
Low Beam9006 HB4 or
9006LL
Halogen Headlamps, Composite
High Beam9005 HB3
Taillamps 3057
Turn Signal Lamps 3457A
*For replacement bulbs not listed here, please consult
your dealer.
Windshield Wiper Blade
Replacement
Windshield wiper blades should be inspected at least
twice a year for wear and cracking. See ªWiper
Blade Checkº under
Cleaning the Outside of Your
Vehicle on page 5-79for more information.
Replacement blades come in different types and are
removed in different ways. For proper type and length,
see
Normal Maintenance Replacement Parts on
page 5-92.
Notice:Use care when removing or installing a
blade assembly. Accidental bumping can cause the
arm to fall back and strike the windshield.
1. To remove the old wiper blades, lift the wiper arm
until it locks into a vertical position.
5-52