key CHEVROLET CAMARO 1997 4.G Service Manual
[x] Cancel search | Manufacturer: CHEVROLET, Model Year: 1997, Model line: CAMARO, Model: CHEVROLET CAMARO 1997 4.GPages: 404, PDF Size: 20.96 MB
Page 132 of 404
Downloaded from www.Manualslib.com manuals search engine The ASR system warning light may come on for the
following reasons:
If you turn the system off by pressing the switch
located on the instrument panel, the warning light
will come on and stay on and the light
on the switch
will go
out. To turn the system back on, press the
button again. The warning light should go off. (See
“ASR System” in the Index for more information.)
If the temperature of the throttle control begins to rise,
the system will turn off and the warning light will
come
on until the system cools down. The system
does this to prevent damage from overheating.
If the
ASR system warning light comes on and stays on
for an extended period of time when the system is
turned on, your vehicle needs service.
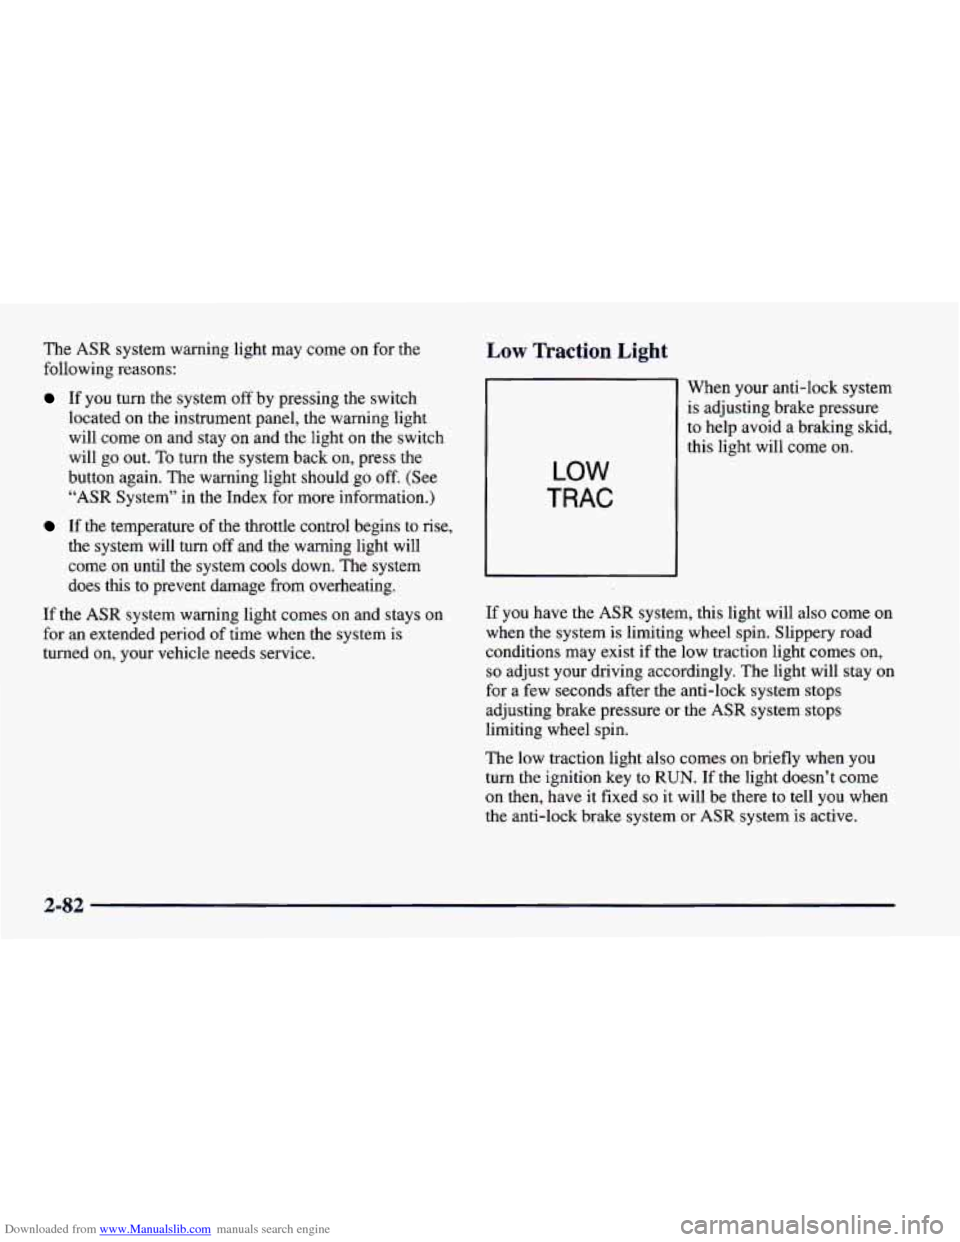
Low Traction Light
When your anti-lock system
is adjusting brake pressure
to help avoid a braking skid,
this light will come on.
LOW
TRAC
If you have the ASR system, this light will also come on
when the system is limiting wheel spin. Slippery road
conditions may exist if the low traction light comes on,
so adjust your driving accordingly. The light will stay on
for a few seconds after the anti-lock system stops
adjusting brake pressure or the
ASR system stops
limiting wheel spin.
The low traction light also comes on briefly when you
turn the ignition key to
RUN. If the light doesn’t come
on then, have it fixed so it will be there to tell you when
the anti-lock brake system or
ASR system is active.
2-82
Page 135 of 404
Downloaded from www.Manualslib.com manuals search engine NOTICE:
If you keep driving your vehicle with this light
on, after a while, your emission controls may not
work as well, your fuel economy may not be as
good and your engine may not run as smoothly.
This could lead to costly repairs that may not be
covered by your warranty.
This light should come on, as a check to show you it is
working, when the ignition is
on and the engine is not
running. If the light doesn’t come
on, have it repaired.
This light will also come
on during a malfunction in one
of two ways:
0
0
Light Flashing -- A misfire condition has been
detected. A misfire increases vehicle emissions and
may damage the emission control system on your
vehicle. Dealer or qualified service center diagnosis
and service is required.
Light On Steady -- An emission control system
malfunction has been detected on your vehicle.
Dealer or qualified service center diagnosis and
service may be required. If
the Light Is Flashing
The following
may prevent more serious damage to
your vehicle:
0 Reducing vehicle speed.
0 Avoiding hard accelerations.
0 Avoiding steep uphill grades.
0 If you are towing a trailer, reduce the amount of
cargo being hauled as soon as it is possible.
If the light stops flashing and remains on steady,
see “If
the Light
Is On Steady” following.
If the light continues to flash, when it is safe to do
so,
stop the vehicle. Find a safe place to park your vehicle.
Turn the key
off, wait at least 10 seconds and restart the
engine. If the light remains on steady, see “If the Light
Is On Steady’’ following. If the light is still flashing,
follow the previous steps, and drive the vehicle
to your
dealer or qualified service center for service.
2-85
Page 167 of 404
Downloaded from www.Manualslib.com manuals search engine Many adults -- by some estimates, nearly half the adult
population
-- choose never to drink alcohol, so they
never drive after drinking. For persons under 2 1, it’s
against the law in every
U.S. state to drink alcohol.
There are good medical, psychological and
developmental reasons for these laws.
The obvious way
to solve this highway safety problem
is for people never to drink alcohol and then drive. But
what if people do? How much is “too much” if the
driver plans to drive? It’s a lot less than many might
think. Although it depends
on each person and situation,
here is some general information on the problem.
The Blood Alcohol Concentration (BAC) of someone
who is drinking depends upon four things:
0 The amount of alcohol consumed
The drinker’s body weight
The amount of food that is consumed before
0 The length of time it has taken the drinker to
According to the American Medical Association, a
180-lb.
(82 kg) person who drinks three 12-ounce
(355 ml) bottles of beer in an hour will end up with a
BAC of about 0.06 percent. The person would reach the
and
during drinking
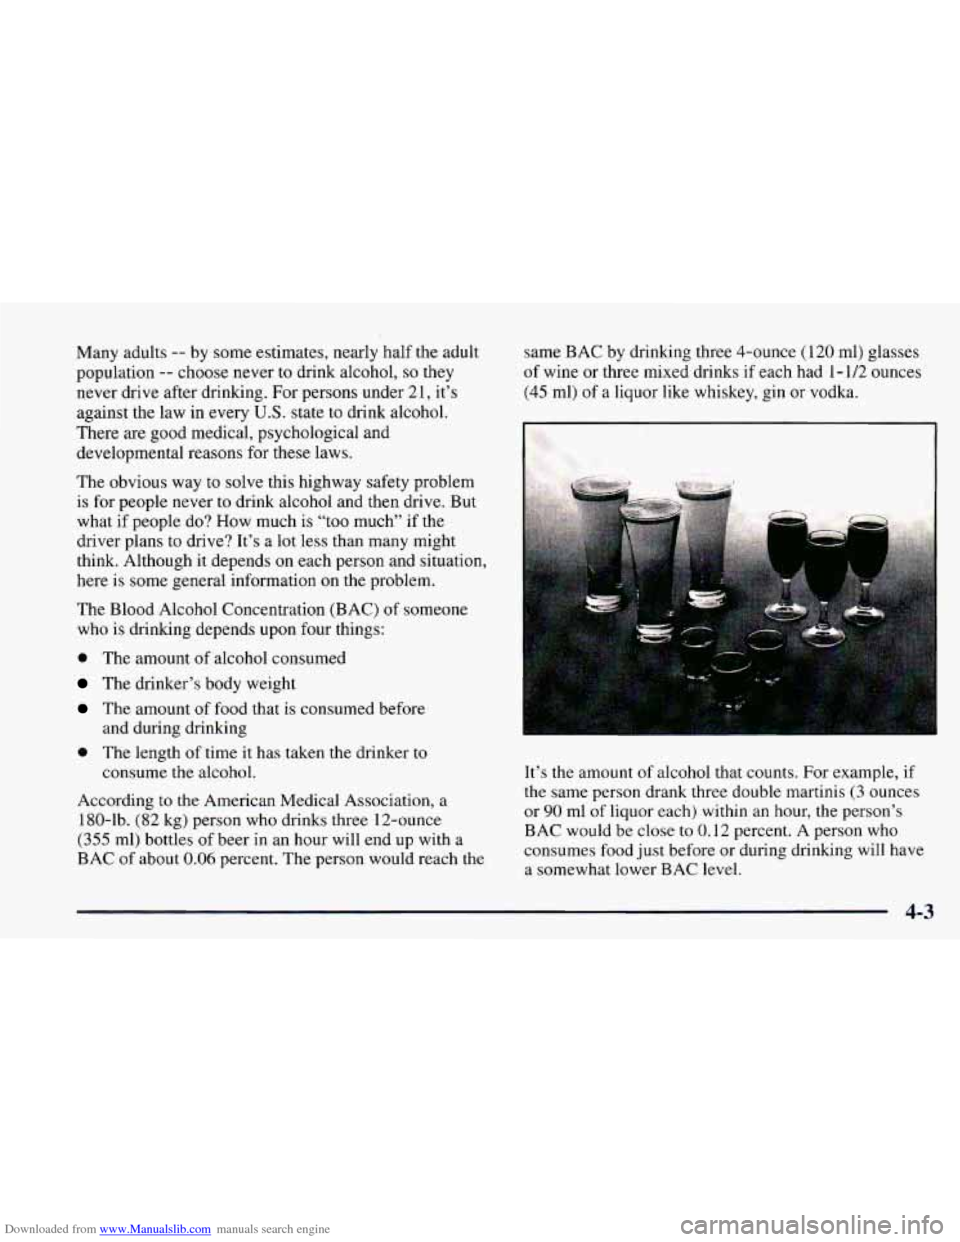
consume the alcohol. same
BAC by
drinking three 4-ounce (120 ml) glasses
of wine or three mixed drinks if each had 1
- 1/2 ounces
(45 ml) of a liquor like whiskey, gin or vodka.
It’s the amount
of alcohol that counts. For example, if
the same person drank three double martinis
(3 ounces
or
90 ml of liquor each) within an hour, the person’s
BAC would be close to 0.12 percent.
A person who
consumes food just before or during drinking will have
a somewhat lower BAC level.
4-3
Page 206 of 404
Downloaded from www.Manualslib.com manuals search engine Hazard Warning Flashers
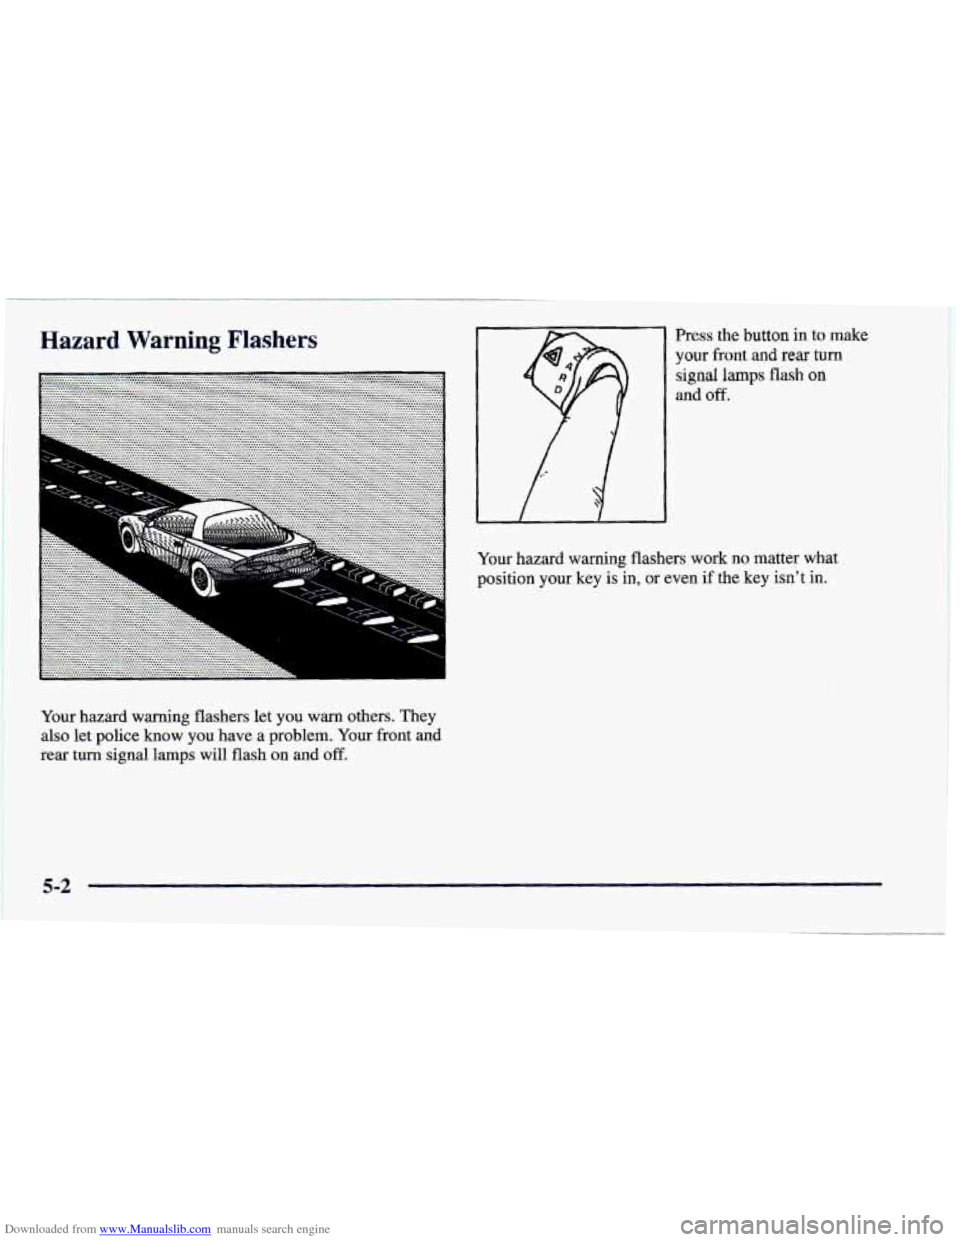
Your hazard warning flashers let you warn others. They
also
let police know you have a problem. Your front and
rear turn signal lamps
will flash on and off.
Press the button in to make
your front and rear turn
signal lamps flash on
and off.
Your hazard warning flashers work no matter what
position your key is in, or even if the key isn’t in.
5-2
Page 213 of 404
Downloaded from www.Manualslib.com manuals search engine A CAUTION:
A vehicle can fall from a car carrier if it isn’t
adequately secured. This can cause a collision,
serious personal injury and vehicle damage. The
vehicle should
be tightly secured with chains or
steel cables before it is transported.
Don’t use substitutes (ropes, leather straps,
canvas webbing, etc.) that can
be cut by sharp
edges underneath the towed vehicle. Always use
T-hooks inserted in the T-hook slots. Never use
J-hooks. They
will damage drivetrain and
suspension components.
When your vehicle is being towed, have the ignition key
turned to the OFF position.
The steering wheel should
be clamped in a straight-ahead position, with
a clamping
device designed for towing service.
Do not use the
vehicle’s steering column lock for this. The transmission
should be
in NEUTRAL (N) and the parking
brake released.
Don’t have your vehicle towed
on the drive wheels,
unless you must.
If the vehicle must be towed on the
drive wheels, be sure to follow the speed and distance
restrictions later in this section or your transmission will
be damaged.
If these limitations must be exceeded, then
the drive wheels have to be supported on
a dolly.
5-9
Page 234 of 404
Downloaded from www.Manualslib.com manuals search engine Removing the Spare Tire and Tools
1
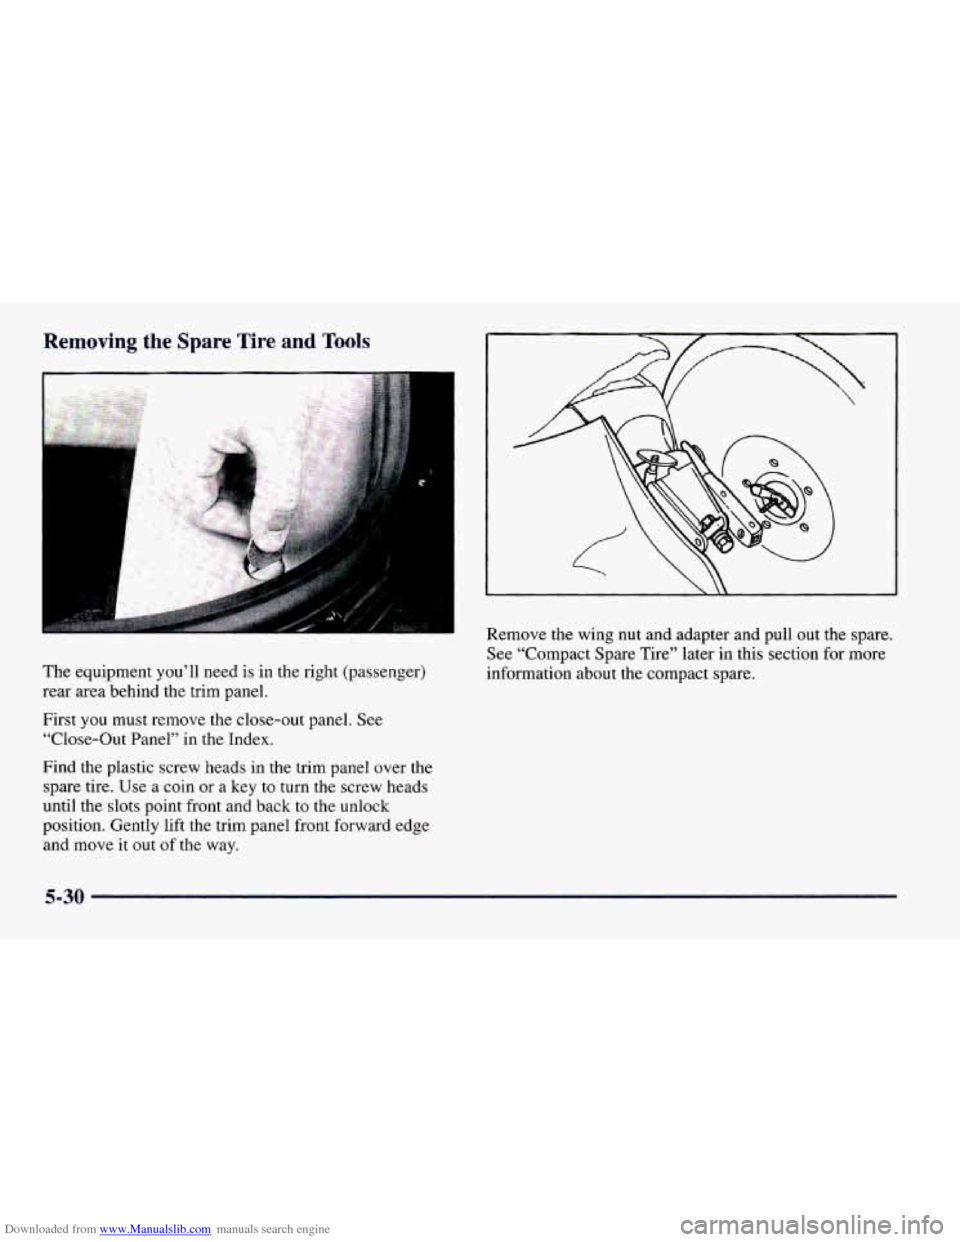
The equipment you’ll need is in the right (passenger)
rear area behind the trim panel.
First
you must remove the close-out panel. See
“Close-Out Panel” in the Index.
Find the plastic screw heads in the trim panel over the
spare tire. Use a coin or a key
to turn the screw heads
until the slots point front and back to the unlock
position. Gently lift the trim panel front forward edge
and move it
out of the way. Remove the wing nut and
adapter and pull out the spare.
See “Compact Spare Tire” later in this section for more
information about the compact spare.
5-30
Page 237 of 404
Downloaded from www.Manualslib.com manuals search engine Removing the Flat Tire and Installing the Spare Tire
1. Using the wheel wrench, loosen all the wheel nuts.
Don’t remove them
yet.
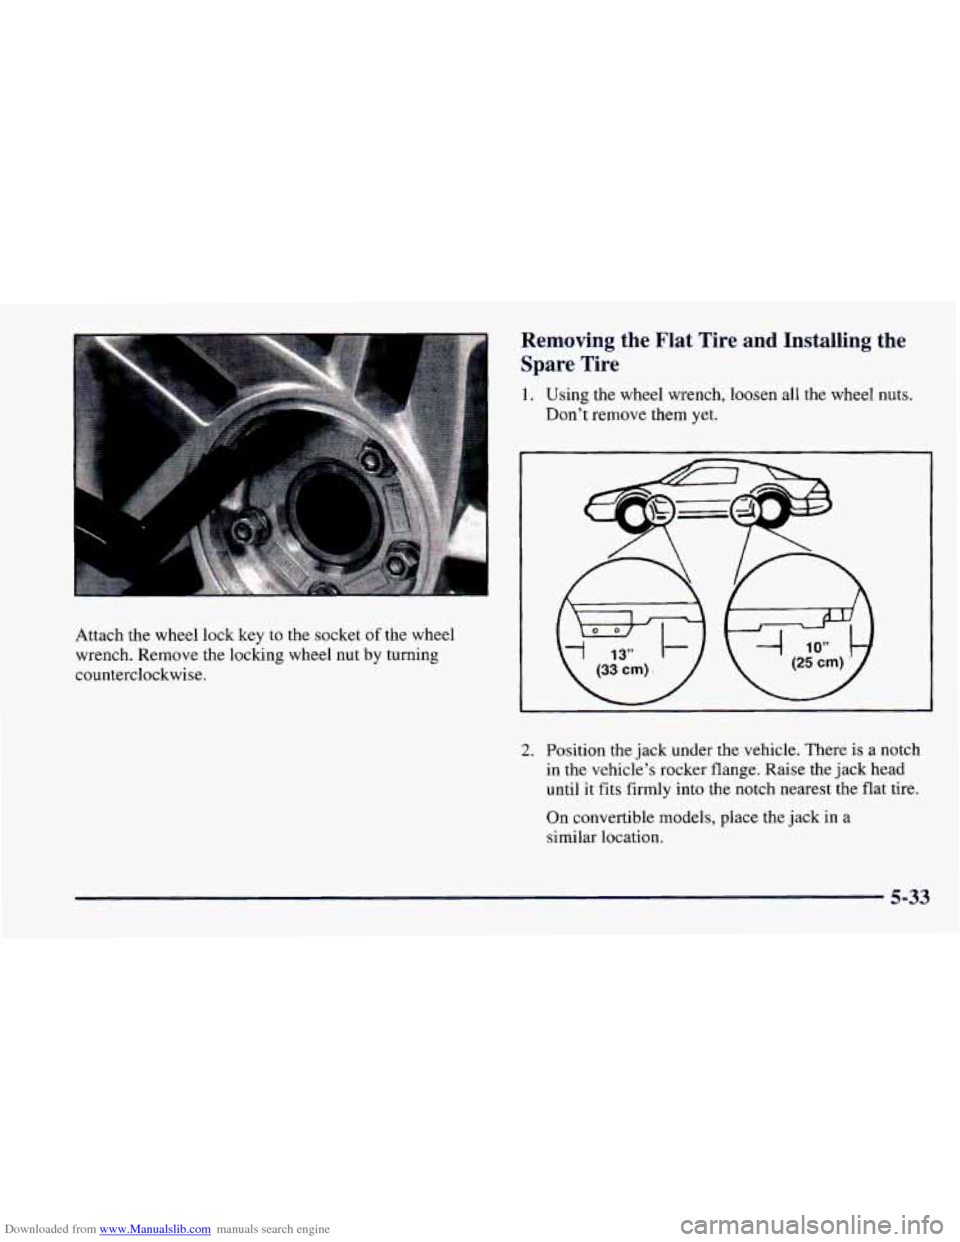
Attach the wheel lock key to the socket of the wheel
wrench. Remove the locking wheel
nut by turning
counterclockwise.
2. Position the jack under the vehicle. There is a notch
in the vehicle’s rocker flange. Raise the jack head
until it fits firmly into the notch nearest the flat tire.
On convertible models, place the jack in a
similar location.
5-33
Page 368 of 404
Downloaded from www.Manualslib.com manuals search engine At Least Twice a Year
Restraint System Check
Make sure the safety belt reminder light and all your
belts, buckles, latch plates, retractors and anchorages are
working properly. Look for any other
loose or damaged
safety belt system parts.
If you see anything that might
keep a safety belt system from doing its job, have it
repaired. Have any torn or frayed safety belts replaced.
Also look for any opened or broken air bag covers, and
have them repaired or replaced. (The air bag system
does not
need regular maintenance.)
Wiper Blade Check
Inspect wiper blades for wear or cracking. Replace blade
inserts that appear worn or damaged or that streak or
miss areas
of the windshield. Also see “Wiper Blades,
Cleaning” in the Index.
Manual Transmission Check
Check the transmission fluid level; add if needed.
See “Manual Transmission’’ in the Index.
A fluid
loss may indicate a problem. Have the system inspected
and repaired
if needed.
Automatic Transmission Check
Check the transmission fluid level; add if needed. See
“Automatic Transmission” in the Index.
A fluid loss
may indicate
a problem. Check the system and repair
if needed.
Hydraulic Clutch System Check
Check the fluid level in the clutch reservoir. See
“Hydraulic Clutch Fluid” in the Index.
A fluid loss in
this system could indicate a problem. Have the system
inspected and repaired
at once.
At Least Once a Year
Key Lock Cylinders Service
Lubricate the key lock cylinders with the lubricant
specified in Part
D.
Body Lubrication Service
Lubricate all hinges and latches, including those for the
hood, rear compartment, console doors and any folding
seat hardware. Part
D tells you what to use. More
frequent lubrication may be required when exposed to a
corrosive environment.
7-44
Page 369 of 404
Downloaded from www.Manualslib.com manuals search engine Starter Switch Check
/d, CAUTION:
m I-
When you are doing this check, the vehicle could
move suddenly. If it does, you
or others could be
injured. Follow the steps below.
1. Before you start, be sure you have enough room
2. Firmly apply both the parking brake (see “Parking around the vehicle.
Brake” in the Index if necessary) and the regular brake.
NOTE:
Do not use the accelerator pedal, and be
ready to turn off the engine immediately if it starts.
3. On automatic transmission vehicles, try to start the
engine in each gear. The starter should work
only in
PARK
(P) or NEUTRAL (N). If the starter works in
any other position, your vehicle needs service.
On manual transmission vehicles, put the shift lever
in NEUTRAL (N), push the clutch down halfway
and try to start the engine. The starter should work
only when the clutch is pushed down all the way to
the floor. If the starter works when the clutch isn’t
pushed all the way down, your vehicle needs service.
Brake-Transmission Shift Interlock (BTSI) Check
(Automatic Transmission)
1 A CAUT’ON:
I-
-
When you are doing this check, the vehicle could
move suddenly. If it does, you
or others could be
injured. Follow the steps below.
1. Before you start, be sure you have enough room
around the vehicle. It should be parked on a
level surface.
2. Firmly apply the parking brake (see “Parking Brake’
in the Index if necessary).
NOTE: Be ready to apply the regular brake
immediately if the vehicle begins to
move.
3. With the engine off, turn the key to the RUN
position, but don’t start
the engine. Without applying
the regular brake, try
to move the shift lever out of
PARK (P) with normal effort. If the shift lever
moves out of PARK (P), your vehicle’s BTSI
needs service.
7-45
Page 370 of 404
Downloaded from www.Manualslib.com manuals search engine Ignition Transmission Lock Check
While parked, and with the parking brake set, try to turn
the ignition key to LOCK in each shift lever position.
With an automatic transmission, the key should turn
to LOCK only when the shift lever is in PARK (P).
LOCK only when the
shift lever is in REVERSE (R).
With a manual transmission, the key should turn to
On vehicles with a key release button, try to turn the key
to LOCK without pressing the button. The key should
turn
to LOCK only when you press the key button.
On all vehicles, the key should come
out only in LOCK.
Parking Brake and Automatic Transmission
PARK (P) MecL--'ym Ck--k
When you are doing this check, your vehicle
could begin to move. You or others could be
injured and property could be damaged. Make
sure there is room in front of your vehicle in case
it begins to roll. Be ready to apply the regular
brake
at once should the vehicle begin to move.
Park on a fairly steep hill, with the vehicle facing
downhill. Keeping your foot on the regular brake, set the
parking brake.
0 To check the parking brake's holding ability:
With
the engine running and transmission in
NEUTRAL (N), slowly remove foot pressure from
the regular brake pedal.
Do this until the vehicle is
held by the parking brake only.
0 To check the PARK (P) mechanism's holding ability:
With the engine running, shift to PARK (P). Then
release all brakes.
Underbody Flushing Service
At least every spring, use plain water to flush any
corrosive materials from the underbody. Take care to
clean thoroughly any areas where mud and other debris
can collect.
7-46