radio controls CHEVROLET CAPTIVA SPORT 2014 Owner's Manual
[x] Cancel search | Manufacturer: CHEVROLET, Model Year: 2014, Model line: CAPTIVA SPORT, Model: CHEVROLET CAPTIVA SPORT 2014Pages: 382, PDF Size: 4.12 MB
Page 1 of 382
Black plate (1,1)Chevrolet Captiva Sport Owner Manual (GMNA-Localizing-U.S./Mexico-
6014141) - 2014 - crc - 8/13/13
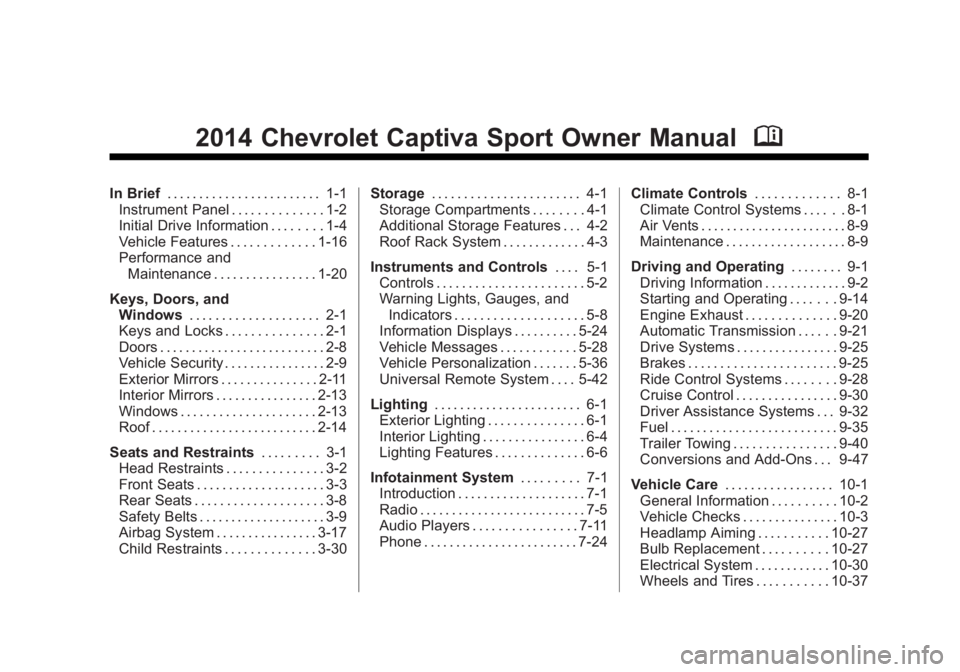
2014 Chevrolet Captiva Sport Owner ManualM
In Brief. . . . . . . . . . . . . . . . . . . . . . . . 1-1
Instrument Panel . . . . . . . . . . . . . . 1-2
Initial Drive Information . . . . . . . . 1-4
Vehicle Features . . . . . . . . . . . . . 1-16
Performance and Maintenance . . . . . . . . . . . . . . . . 1-20
Keys, Doors, and Windows . . . . . . . . . . . . . . . . . . . . 2-1
Keys and Locks . . . . . . . . . . . . . . . 2-1
Doors . . . . . . . . . . . . . . . . . . . . . . . . . . 2-8
Vehicle Security . . . . . . . . . . . . . . . . 2-9
Exterior Mirrors . . . . . . . . . . . . . . . 2-11
Interior Mirrors . . . . . . . . . . . . . . . . 2-13
Windows . . . . . . . . . . . . . . . . . . . . . 2-13
Roof . . . . . . . . . . . . . . . . . . . . . . . . . . 2-14
Seats and Restraints . . . . . . . . . 3-1
Head Restraints . . . . . . . . . . . . . . . 3-2
Front Seats . . . . . . . . . . . . . . . . . . . . 3-3
Rear Seats . . . . . . . . . . . . . . . . . . . . 3-8
Safety Belts . . . . . . . . . . . . . . . . . . . . 3-9
Airbag System . . . . . . . . . . . . . . . . 3-17
Child Restraints . . . . . . . . . . . . . . 3-30 Storage
. . . . . . . . . . . . . . . . . . . . . . . 4-1
Storage Compartments . . . . . . . . 4-1
Additional Storage Features . . . 4-2
Roof Rack System . . . . . . . . . . . . . 4-3
Instruments and Controls . . . . 5-1
Controls . . . . . . . . . . . . . . . . . . . . . . . 5-2
Warning Lights, Gauges, and
Indicators . . . . . . . . . . . . . . . . . . . . 5-8
Information Displays . . . . . . . . . . 5-24
Vehicle Messages . . . . . . . . . . . . 5-28
Vehicle Personalization . . . . . . . 5-36
Universal Remote System . . . . 5-42
Lighting . . . . . . . . . . . . . . . . . . . . . . . 6-1
Exterior Lighting . . . . . . . . . . . . . . . 6-1
Interior Lighting . . . . . . . . . . . . . . . . 6-4
Lighting Features . . . . . . . . . . . . . . 6-6
Infotainment System . . . . . . . . . 7-1
Introduction . . . . . . . . . . . . . . . . . . . . 7-1
Radio . . . . . . . . . . . . . . . . . . . . . . . . . . 7-5
Audio Players . . . . . . . . . . . . . . . . 7-11
Phone . . . . . . . . . . . . . . . . . . . . . . . . 7-24 Climate Controls
. . . . . . . . . . . . . 8-1
Climate Control Systems . . . . . . 8-1
Air Vents . . . . . . . . . . . . . . . . . . . . . . . 8-9
Maintenance . . . . . . . . . . . . . . . . . . . 8-9
Driving and Operating . . . . . . . . 9-1
Driving Information . . . . . . . . . . . . . 9-2
Starting and Operating . . . . . . . 9-14
Engine Exhaust . . . . . . . . . . . . . . 9-20
Automatic Transmission . . . . . . 9-21
Drive Systems . . . . . . . . . . . . . . . . 9-25
Brakes . . . . . . . . . . . . . . . . . . . . . . . 9-25
Ride Control Systems . . . . . . . . 9-28
Cruise Control . . . . . . . . . . . . . . . . 9-30
Driver Assistance Systems . . . 9-32
Fuel . . . . . . . . . . . . . . . . . . . . . . . . . . 9-35
Trailer Towing . . . . . . . . . . . . . . . . 9-40
Conversions and Add-Ons . . . 9-47
Vehicle Care . . . . . . . . . . . . . . . . . 10-1
General Information . . . . . . . . . . 10-2
Vehicle Checks . . . . . . . . . . . . . . . 10-3
Headlamp Aiming . . . . . . . . . . . 10-27
Bulb Replacement . . . . . . . . . . 10-27
Electrical System . . . . . . . . . . . . 10-30
Wheels and Tires . . . . . . . . . . . 10-37
Page 7 of 382
Black plate (1,1)Chevrolet Captiva Sport Owner Manual (GMNA-Localizing-U.S./Mexico-
6014141) - 2014 - crc - 8/13/13
In Brief 1-1
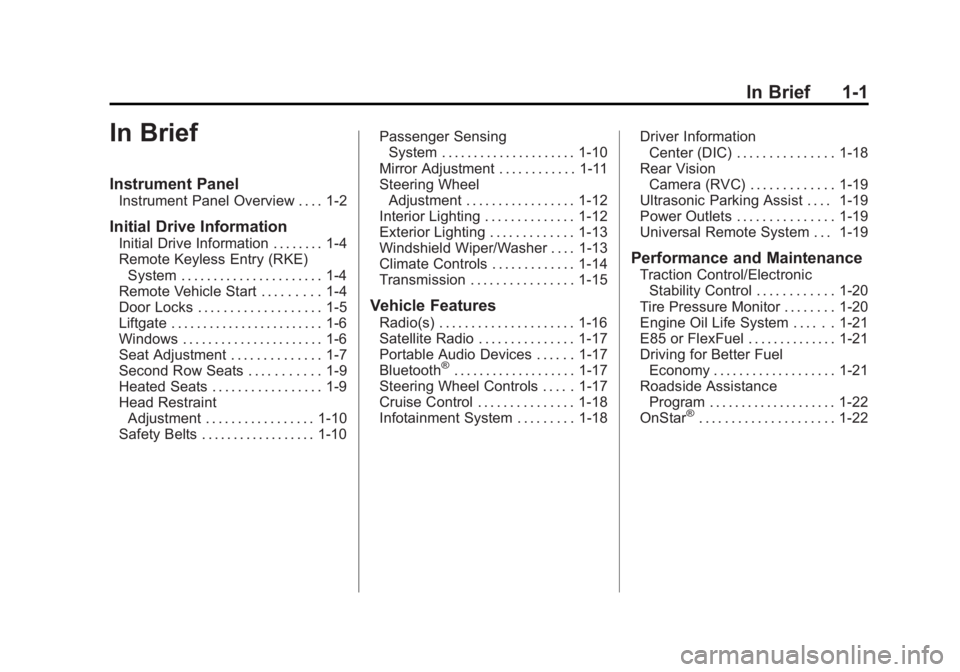
In Brief
Instrument Panel
Instrument Panel Overview . . . . 1-2
Initial Drive Information
Initial Drive Information . . . . . . . . 1-4
Remote Keyless Entry (RKE)System . . . . . . . . . . . . . . . . . . . . . . 1-4
Remote Vehicle Start . . . . . . . . . 1-4
Door Locks . . . . . . . . . . . . . . . . . . . 1-5
Liftgate . . . . . . . . . . . . . . . . . . . . . . . . 1-6
Windows . . . . . . . . . . . . . . . . . . . . . . 1-6
Seat Adjustment . . . . . . . . . . . . . . 1-7
Second Row Seats . . . . . . . . . . . 1-9
Heated Seats . . . . . . . . . . . . . . . . . 1-9
Head Restraint Adjustment . . . . . . . . . . . . . . . . . 1-10
Safety Belts . . . . . . . . . . . . . . . . . . 1-10 Passenger Sensing
System . . . . . . . . . . . . . . . . . . . . . 1-10
Mirror Adjustment . . . . . . . . . . . . 1-11
Steering Wheel Adjustment . . . . . . . . . . . . . . . . . 1-12
Interior Lighting . . . . . . . . . . . . . . 1-12
Exterior Lighting . . . . . . . . . . . . . 1-13
Windshield Wiper/Washer . . . . 1-13
Climate Controls . . . . . . . . . . . . . 1-14
Transmission . . . . . . . . . . . . . . . . 1-15
Vehicle Features
Radio(s) . . . . . . . . . . . . . . . . . . . . . 1-16
Satellite Radio . . . . . . . . . . . . . . . 1-17
Portable Audio Devices . . . . . . 1-17
Bluetooth
®. . . . . . . . . . . . . . . . . . . 1-17
Steering Wheel Controls . . . . . 1-17
Cruise Control . . . . . . . . . . . . . . . 1-18
Infotainment System . . . . . . . . . 1-18 Driver Information
Center (DIC) . . . . . . . . . . . . . . . 1-18
Rear Vision Camera (RVC) . . . . . . . . . . . . . 1-19
Ultrasonic Parking Assist . . . . 1-19
Power Outlets . . . . . . . . . . . . . . . 1-19
Universal Remote System . . . 1-19
Performance and Maintenance
Traction Control/Electronic
Stability Control . . . . . . . . . . . . 1-20
Tire Pressure Monitor . . . . . . . . 1-20
Engine Oil Life System . . . . . . 1-21
E85 or FlexFuel . . . . . . . . . . . . . . 1-21
Driving for Better Fuel Economy . . . . . . . . . . . . . . . . . . . 1-21
Roadside Assistance
Program . . . . . . . . . . . . . . . . . . . . 1-22
OnStar
®. . . . . . . . . . . . . . . . . . . . . 1-22
Page 9 of 382
Black plate (3,1)Chevrolet Captiva Sport Owner Manual (GMNA-Localizing-U.S./Mexico-
6014141) - 2014 - crc - 8/13/13
In Brief 1-3
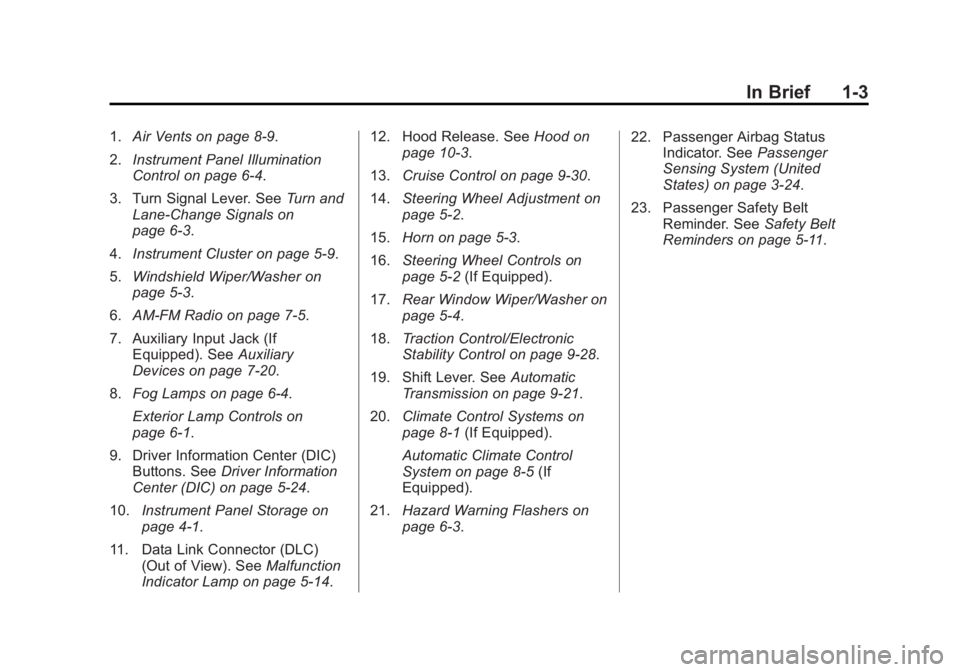
1.Air Vents on page 8-9.
2. Instrument Panel Illumination
Control on page 6-4.
3. Turn Signal Lever. See Turn and
Lane-Change Signals on
page 6-3.
4. Instrument Cluster on page 5-9.
5. Windshield Wiper/Washer on
page 5-3.
6. AM-FM Radio on page 7-5.
7. Auxiliary Input Jack (If Equipped). See Auxiliary
Devices on page 7-20.
8. Fog Lamps on page 6-4.
Exterior Lamp Controls on
page 6-1.
9. Driver Information Center (DIC) Buttons. See Driver Information
Center (DIC) on page 5-24.
10. Instrument Panel Storage on
page 4-1.
11. Data Link Connector (DLC) (Out of View). See Malfunction
Indicator Lamp on page 5-14. 12. Hood Release. See
Hood on
page 10-3.
13. Cruise Control on page 9-30.
14. Steering Wheel Adjustment on
page 5-2.
15. Horn on page 5-3.
16. Steering Wheel Controls on
page 5-2 (If Equipped).
17. Rear Window Wiper/Washer on
page 5-4.
18. Traction Control/Electronic
Stability Control on page 9-28.
19. Shift Lever. See Automatic
Transmission on page 9-21.
20. Climate Control Systems on
page 8-1 (If Equipped).
Automatic Climate Control
System on page 8-5 (If
Equipped).
21. Hazard Warning Flashers on
page 6-3. 22. Passenger Airbag Status
Indicator. See Passenger
Sensing System (United
States) on page 3-24.
23. Passenger Safety Belt Reminder. See Safety Belt
Reminders on page 5-11.
Page 23 of 382
Black plate (17,1)Chevrolet Captiva Sport Owner Manual (GMNA-Localizing-U.S./Mexico-
6014141) - 2014 - crc - 8/13/13
In Brief 1-17
4. Press the softkey below the tabto be changed.
5. Increase or decrease the time or date by turning
fclockwise or
counterclockwise.
See Clock on page 5-6.
Satellite Radio
If equipped, SiriusXM®is a satellite
radio service based in the
48 contiguous United States and
10 Canadian provinces.
SiriusXM satellite radio has a wide
variety of programming and
commercial-free music, coast to
coast, and in digital-quality sound.
A fee is required to receive the
SiriusXM service.
For more information, refer to:
.www.siriusxm.com or call
1-866-635-2349 (U.S.)
.www.xmradio.ca or call
1-877-209-0079 (Canada)
See Satellite Radio on page 7-6.
Portable Audio Devices
The vehicle may have a 3.5 mm
(1/8 in) auxiliary input jack on the
audio faceplate and a USB port in
the center console. Some portable
audio devices such as iPods
®, MP3
players, and USB storage devices
can be connected to the vehicle
using a 3.5 mm (1/8 in) cable or a
USB cable.
See Auxiliary Devices on page 7-20.
Bluetooth®
If equipped with a Bluetooth system,
it allows users with a
Bluetooth-enabled cell phone to
make and receive hands-free calls
using the vehicle’ s audio system
and controls.
The Bluetooth-enabled cell phone
must be paired with the Bluetooth
system before it can be used in the
vehicle. Not all phones will support
all functions. For more information,
see www.gm.com/bluetooth and
Bluetooth on page 7-24.
Steering Wheel Controls
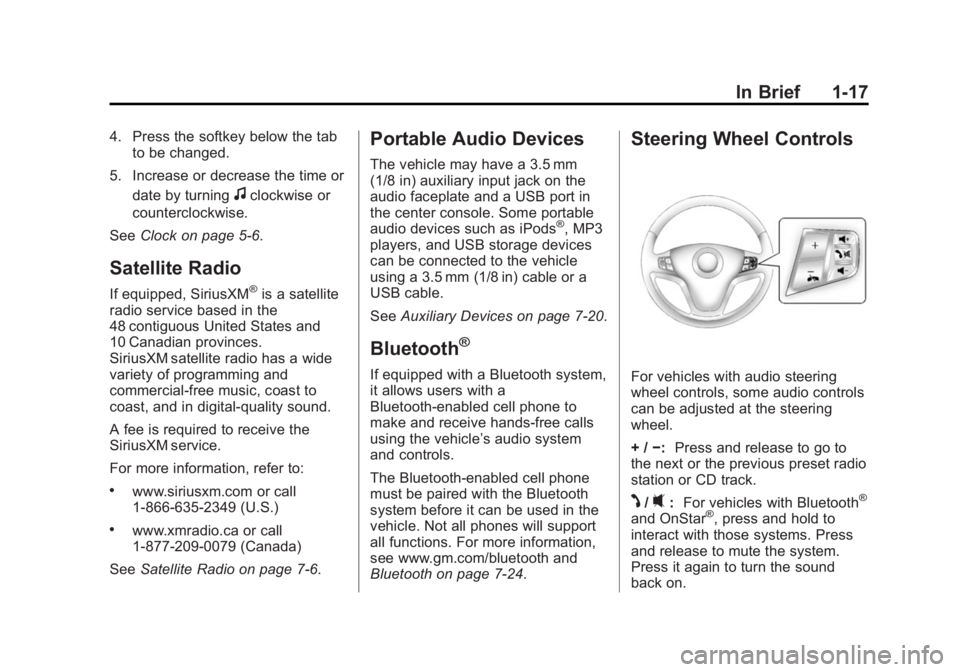
For vehicles with audio steering
wheel controls, some audio controls
can be adjusted at the steering
wheel.
+ / −: Press and release to go to
the next or the previous preset radio
station or CD track.
J/0: For vehicles with Bluetooth®
and OnStar®, press and hold to
interact with those systems. Press
and release to mute the system.
Press it again to turn the sound
back on.
Page 100 of 382
Black plate (2,1)Chevrolet Captiva Sport Owner Manual (GMNA-Localizing-U.S./Mexico-
6014141) - 2014 - crc - 8/13/13
5-2 Instruments and Controls
Tire Messages . . . . . . . . . . . . . . . 5-34
Transmission Messages . . . . . 5-35
Vehicle ReminderMessages . . . . . . . . . . . . . . . . . . 5-36
Vehicle Personalization
Vehicle Personalization . . . . . . 5-36
Universal Remote System
Universal Remote System . . . 5-42
Universal Remote SystemProgramming . . . . . . . . . . . . . . . 5-42
Universal Remote System Operation . . . . . . . . . . . . . . . . . . 5-45
Controls
Steering Wheel
Adjustment
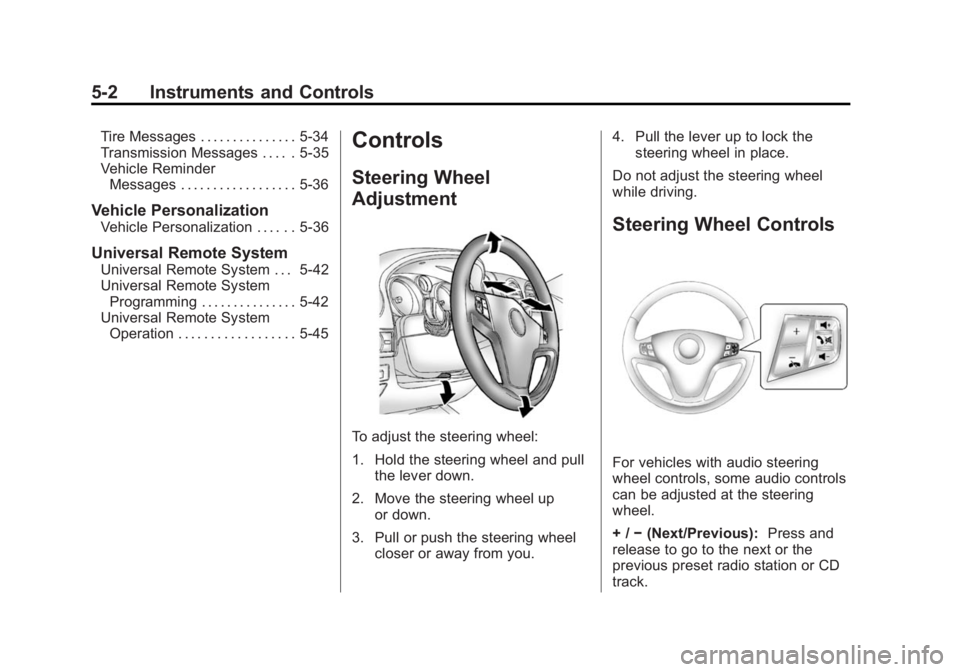
To adjust the steering wheel:
1. Hold the steering wheel and pull
the lever down.
2. Move the steering wheel up or down.
3. Pull or push the steering wheel closer or away from you. 4. Pull the lever up to lock the
steering wheel in place.
Do not adjust the steering wheel
while driving.
Steering Wheel Controls
For vehicles with audio steering
wheel controls, some audio controls
can be adjusted at the steering
wheel.
+ / −(Next/Previous): Press and
release to go to the next or the
previous preset radio station or CD
track.
Page 104 of 382
Black plate (6,1)Chevrolet Captiva Sport Owner Manual (GMNA-Localizing-U.S./Mexico-
6014141) - 2014 - crc - 8/13/13
5-6 Instruments and Controls
note pad holder, or any other
magnetic item. Turn off the vehicle,
move the magnetic item, then turn
on the vehicle and calibrate the
compass.
To calibrate the compass, use the
following procedure:
Compass Calibration Procedure
1. Before calibrating the compass,make sure the compass is set to
the variance zone in which the
vehicle is located. See
“Compass Variance (Zone)
Procedure” earlier in this
section.
Do not operate any switches
such as window, sunroof,
climate controls, seats, etc.
during the calibration procedure.
2. Press the vehicle information button until PRESS
VTO
CALIBRATE COMPASS
displays.
3. Press the set/reset button to start the compass calibration. 4. The DIC will display
CALIBRATING COMPASS:
TURN IN CIRCLES. Drive the
vehicle in tight circles at less
than 8 km/h (5 mph) to complete
the calibration. The DIC will
display COMPASS
CALIBRATION COMPLETE for a
few seconds when the
calibration is complete. The DIC
display will then return to the
previous menu.
Clock
To set the time and date:
1. Turn the ignition key to ACC/ACCESSORY or ON/RUN.
Press
Oto turn the radio on.
2. Press
Hand HR, MIN, MM, DD,
and YYYY (hour, minute, month,
day, and year) display.
3. Press the softkey below any one of the tabs to be changed. 4. To increase the time or date do
one of the following:
.Press the softkey below the
selected tab.
.Press¨SEEK, or\FWD.
.Turnfclockwise.
5. To decrease the time or date do one of the following:
.Press©SEEK orsREV.
.Turnfcounterclockwise.
The date does not automatically
display. To see the date press
H
while the radio is on. The date with
display times out after a few
seconds and goes back to the
normal radio and time display.
Page 112 of 382
Black plate (14,1)Chevrolet Captiva Sport Owner Manual (GMNA-Localizing-U.S./Mexico-
6014141) - 2014 - crc - 8/13/13
5-14 Instruments and Controls
system. Have it checked by your
dealer. Driving while this light is on
could drain the battery.
If a short distance must be driven
with the light on, be sure to turn off
all accessories, such as the radio
and air conditioner.
Malfunction
Indicator Lamp
A computer system called OBD II
(On-Board Diagnostics-Second
Generation) monitors the operation
of the vehicle to ensure emissions
are at acceptable levels, helping to
maintain a clean environment. The
malfunction indicator lamp comes
on when the vehicle is placed in
ON/RUN, as a check to show it is
working. If it does not, have the
vehicle serviced by your dealer. See
Ignition Positions on page 9-15.
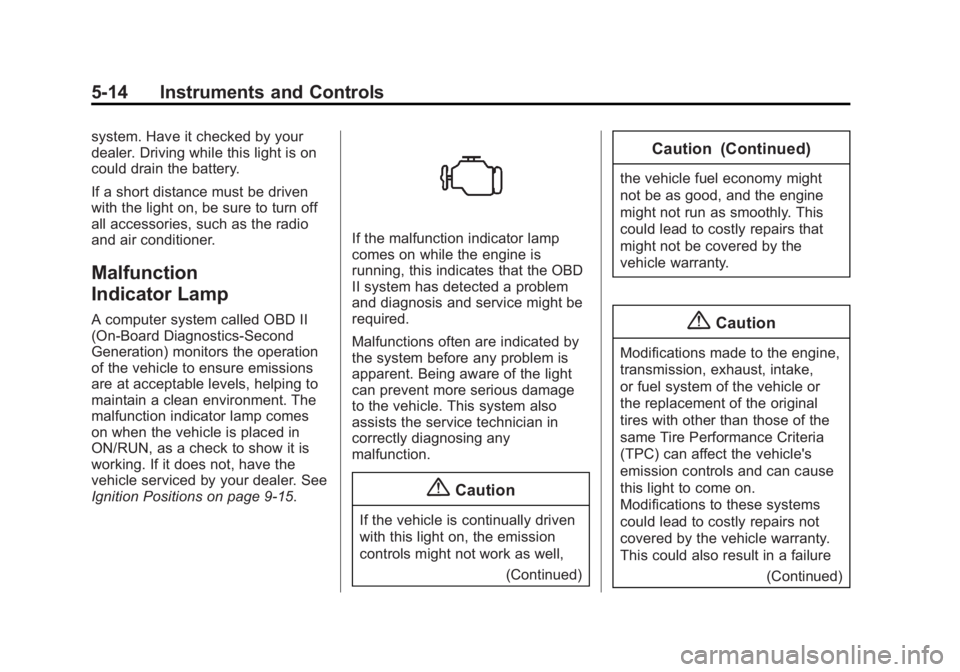
If the malfunction indicator lamp
comes on while the engine is
running, this indicates that the OBD
II system has detected a problem
and diagnosis and service might be
required.
Malfunctions often are indicated by
the system before any problem is
apparent. Being aware of the light
can prevent more serious damage
to the vehicle. This system also
assists the service technician in
correctly diagnosing any
malfunction.
{Caution
If the vehicle is continually driven
with this light on, the emission
controls might not work as well,(Continued)
Caution (Continued)
the vehicle fuel economy might
not be as good, and the engine
might not run as smoothly. This
could lead to costly repairs that
might not be covered by the
vehicle warranty.
{Caution
Modifications made to the engine,
transmission, exhaust, intake,
or fuel system of the vehicle or
the replacement of the original
tires with other than those of the
same Tire Performance Criteria
(TPC) can affect the vehicle's
emission controls and can cause
this light to come on.
Modifications to these systems
could lead to costly repairs not
covered by the vehicle warranty.
This could also result in a failure(Continued)
Page 140 of 382
Black plate (42,1)Chevrolet Captiva Sport Owner Manual (GMNA-Localizing-U.S./Mexico-
6014141) - 2014 - crc - 8/13/13
5-42 Instruments and Controls
If you do not exit, pressingUagain
will return you to the beginning of
the feature settings menu.
Exiting the Feature
Settings Menu
The feature settings menu will be
exited when any of the following
occurs:
.The vehicle is no longer in
ON/RUN.
.The3orTDIC buttons are
pressed.
.The end of the feature settings
menu is reached and exited.
.A 40-second time period has
elapsed with no selection made.
Universal Remote
System
See Radio Frequency Statement on
page 13-15.
Universal Remote System
Programming
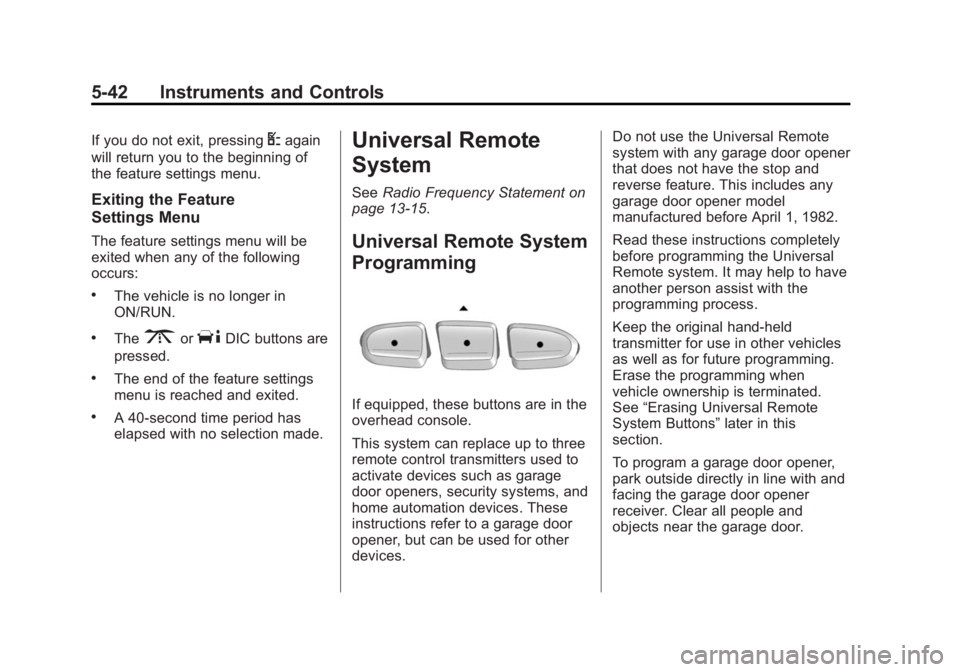
If equipped, these buttons are in the
overhead console.
This system can replace up to three
remote control transmitters used to
activate devices such as garage
door openers, security systems, and
home automation devices. These
instructions refer to a garage door
opener, but can be used for other
devices. Do not use the Universal Remote
system with any garage door opener
that does not have the stop and
reverse feature. This includes any
garage door opener model
manufactured before April 1, 1982.
Read these instructions completely
before programming the Universal
Remote system. It may help to have
another person assist with the
programming process.
Keep the original hand-held
transmitter for use in other vehicles
as well as for future programming.
Erase the programming when
vehicle ownership is terminated.
See
“Erasing Universal Remote
System Buttons” later in this
section.
To program a garage door opener,
park outside directly in line with and
facing the garage door opener
receiver. Clear all people and
objects near the garage door.
Page 141 of 382
Black plate (43,1)Chevrolet Captiva Sport Owner Manual (GMNA-Localizing-U.S./Mexico-
6014141) - 2014 - crc - 8/13/13
Instruments and Controls 5-43
Make sure the hand-held transmitter
has a new battery for quicker and
more accurate transmission of the
radio-frequency signal.
Programming the Universal
Remote System
For questions or help programming
the Universal Remote system, call
1-800-355-3515 or see
www.homelink.com.
Programming involves
time-sensitive actions, and may time
out causing the procedure to be
repeated.
To program up to three devices:
1. Hold the end of the hand-heldtransmitter about 3 to 8 cm (1 to
3 in) away from the Universal
Remote system buttons with the
indicator light in view. The
hand-held transmitter was
supplied by the manufacturer of
the garage door opener receiver. 2. At the same time, press and
hold both the hand-held
transmitter button and one of the
three Universal Remote system
buttons to be used to operate
the garage door. Do not release
either button until the indicator
light changes from a slow to a
rapid flash. Then release both
buttons.
Some garage door openers may
require substitution of Step 2
with the procedure under “Radio
Signals for Canada and Some
Gate Operators” later in this
section.
3. Press and hold the newly programmed Universal Remote
system button for five seconds
while watching the indicator light
and garage door activation.
.If the indicator light stays on
continuously or the garage
door moves when the
button is pressed, then programming is complete.
There is no need to
complete Steps 4–6.
.If the indicator light does
not come on or the garage
door does not move, a
second button press may
be required. For a second
time, press and hold the
newly programmed button
for five seconds. If the light
stays on or the garage door
moves, programming is
complete.
.If the indicator light blinks
rapidly for two seconds,
then changes to a solid light
and the garage door does
not move, continue with
programming Steps 4–6.
Page 142 of 382
Black plate (44,1)Chevrolet Captiva Sport Owner Manual (GMNA-Localizing-U.S./Mexico-
6014141) - 2014 - crc - 8/13/13
5-44 Instruments and Controls
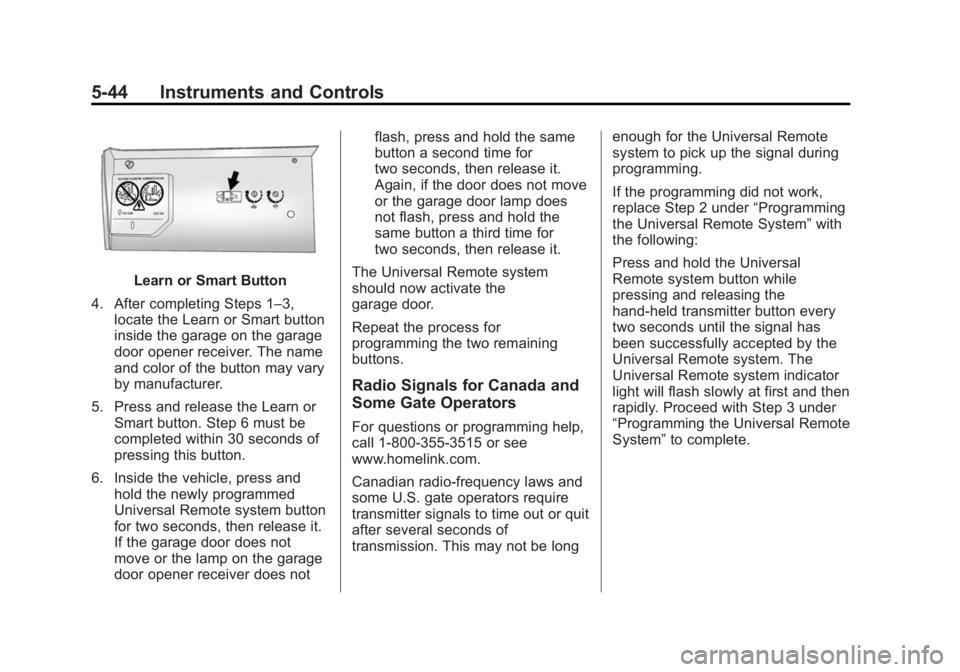
Learn or Smart Button
4. After completing Steps 1–3, locate the Learn or Smart button
inside the garage on the garage
door opener receiver. The name
and color of the button may vary
by manufacturer.
5. Press and release the Learn or Smart button. Step 6 must be
completed within 30 seconds of
pressing this button.
6. Inside the vehicle, press and hold the newly programmed
Universal Remote system button
for two seconds, then release it.
If the garage door does not
move or the lamp on the garage
door opener receiver does not flash, press and hold the same
button a second time for
two seconds, then release it.
Again, if the door does not move
or the garage door lamp does
not flash, press and hold the
same button a third time for
two seconds, then release it.
The Universal Remote system
should now activate the
garage door.
Repeat the process for
programming the two remaining
buttons.
Radio Signals for Canada and
Some Gate Operators
For questions or programming help,
call 1-800-355-3515 or see
www.homelink.com.
Canadian radio-frequency laws and
some U.S. gate operators require
transmitter signals to time out or quit
after several seconds of
transmission. This may not be long enough for the Universal Remote
system to pick up the signal during
programming.
If the programming did not work,
replace Step 2 under
“Programming
the Universal Remote System” with
the following:
Press and hold the Universal
Remote system button while
pressing and releasing the
hand-held transmitter button every
two seconds until the signal has
been successfully accepted by the
Universal Remote system. The
Universal Remote system indicator
light will flash slowly at first and then
rapidly. Proceed with Step 3 under
“Programming the Universal Remote
System” to complete.