CHEVROLET CAVALIER 1993 1.G User Guide
Manufacturer: CHEVROLET, Model Year: 1993, Model line: CAVALIER, Model: CHEVROLET CAVALIER 1993 1.GPages: 308, PDF Size: 15.62 MB
Page 11 of 308
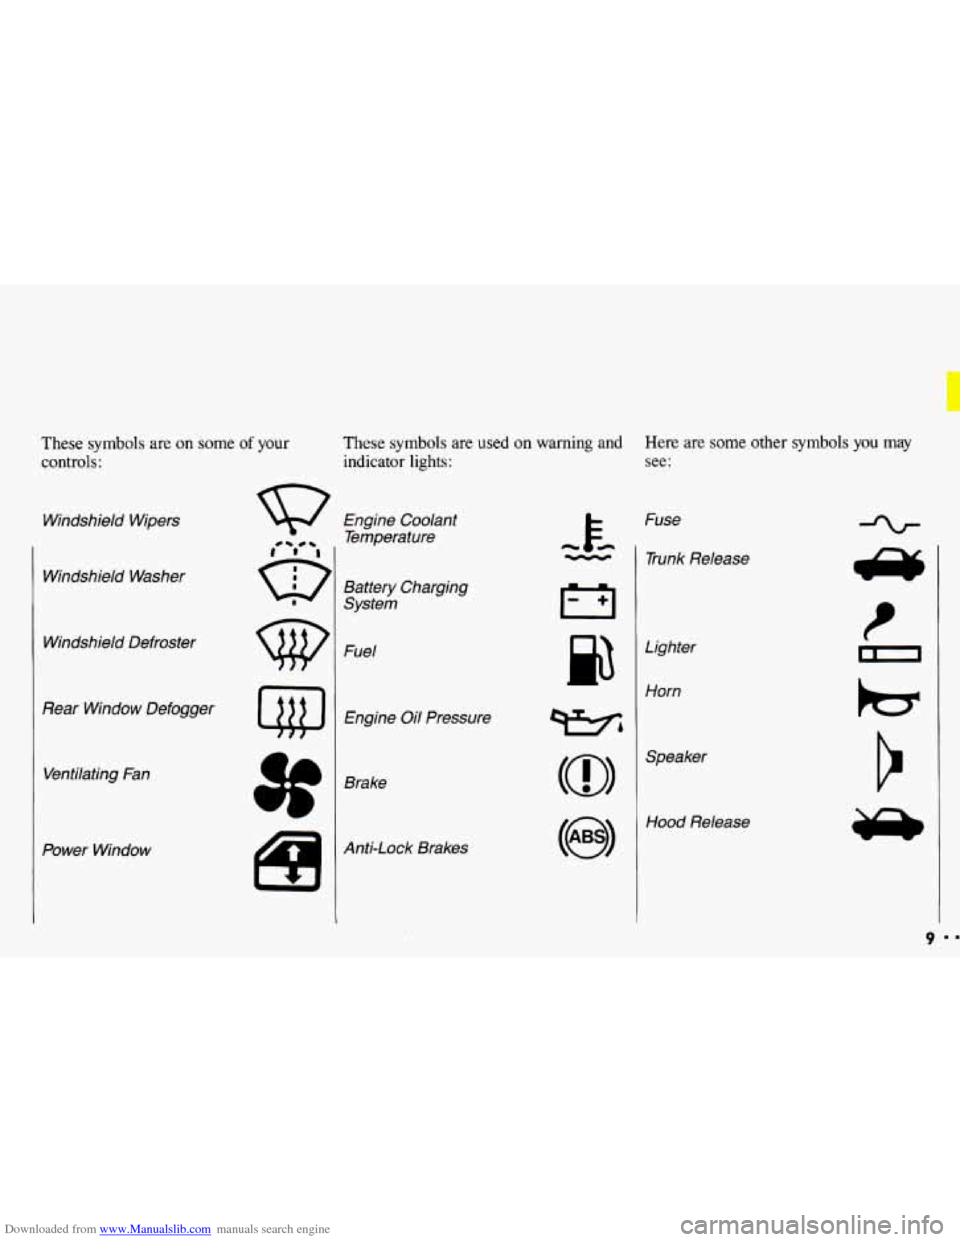
Downloaded from www.Manualslib.com manuals search engine These symbols are on some of your
controls:
Windshield Wipers
Windshield Washer
Windshield Defroster
Rear Window Defogger Ventilating Fan
Power Window
These symbols are used on warning and Here are some other symbols you may
indicator lights: see:
Engine Coolant
Temperature
Battery Charging
System
Fuel
Engine Oil Pressure
Brake
Anti-Lock Brakes Fuse
- 1 Trunk Release
cc
Lighter
Horn
wbl
(@I
Hood Release
9
Page 12 of 308
Downloaded from www.Manualslib.com manuals search engine Notes
Page 13 of 308
Downloaded from www.Manualslib.com manuals search engine .
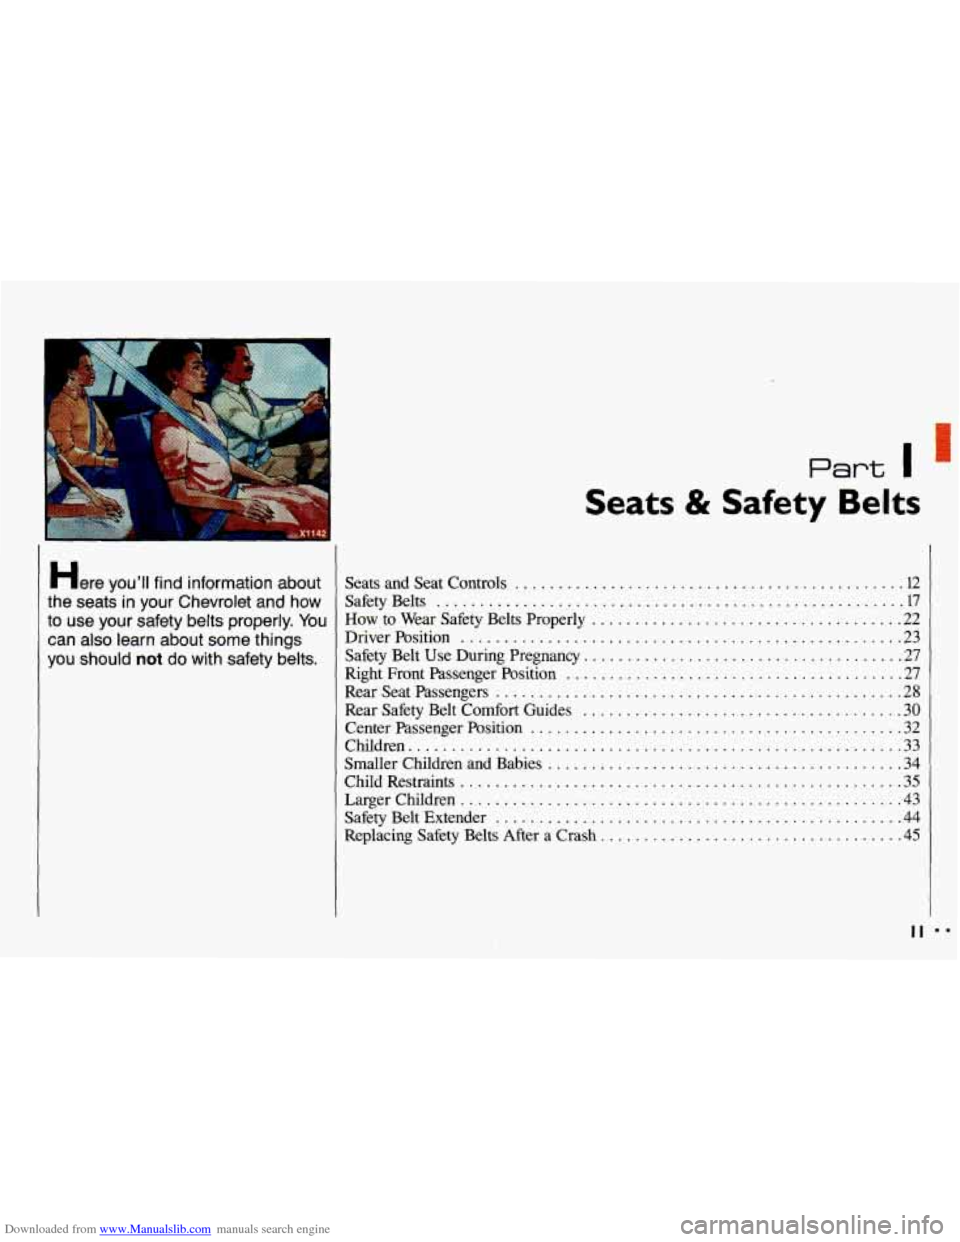
Here YOU’II find information about
the seats in your Chevrolet and how
to use your safety belts properly
. You
can also learn about some things
you should
not do with safety belts .
Part I
I
Seats & Safety Belts
Seats and Seat Controls ............................................. 12
SafetyBelts ...................................................... 17
How. to Wear Safety Belts Properly .................................... 22
DriverPosition ................................................... 23
Safety Belt Use During Pregnancy ..................................... 27
Right Front Passenger Position
....................................... 27
Rear Safety Belt
Comfort Guides ..................................... 30
Center Passenger Position
........................................... 32
Children
......................................................... 33
Smaller Children and Babies
......................................... 34
Child Restraints
................................................... 35
LargerChildren ................................................... 43
SafetyBeltExtender ............................................... 44
Replacing Safety Belts After a Crash
................................... 45
RearSeatPassengers ............................................... 28
II mm
Page 14 of 308
Downloaded from www.Manualslib.com manuals search engine Seats & Safety Belts
Seats and Seat Controls
This section tells you about the seats-
how to adjust them-and
also about
reclining seatbacks and head restraints.
I2
Manual Front Seat
IC"
I , You can lose control of the
- b vehicle if you try to adjust a
manual driver's seat while the
vehicle is moving. The sudden
movement could startle and
confuse you, or make
you push a
pedal when you don't want to.
Adjust the driver's seat only when
the vehicle is not moving.
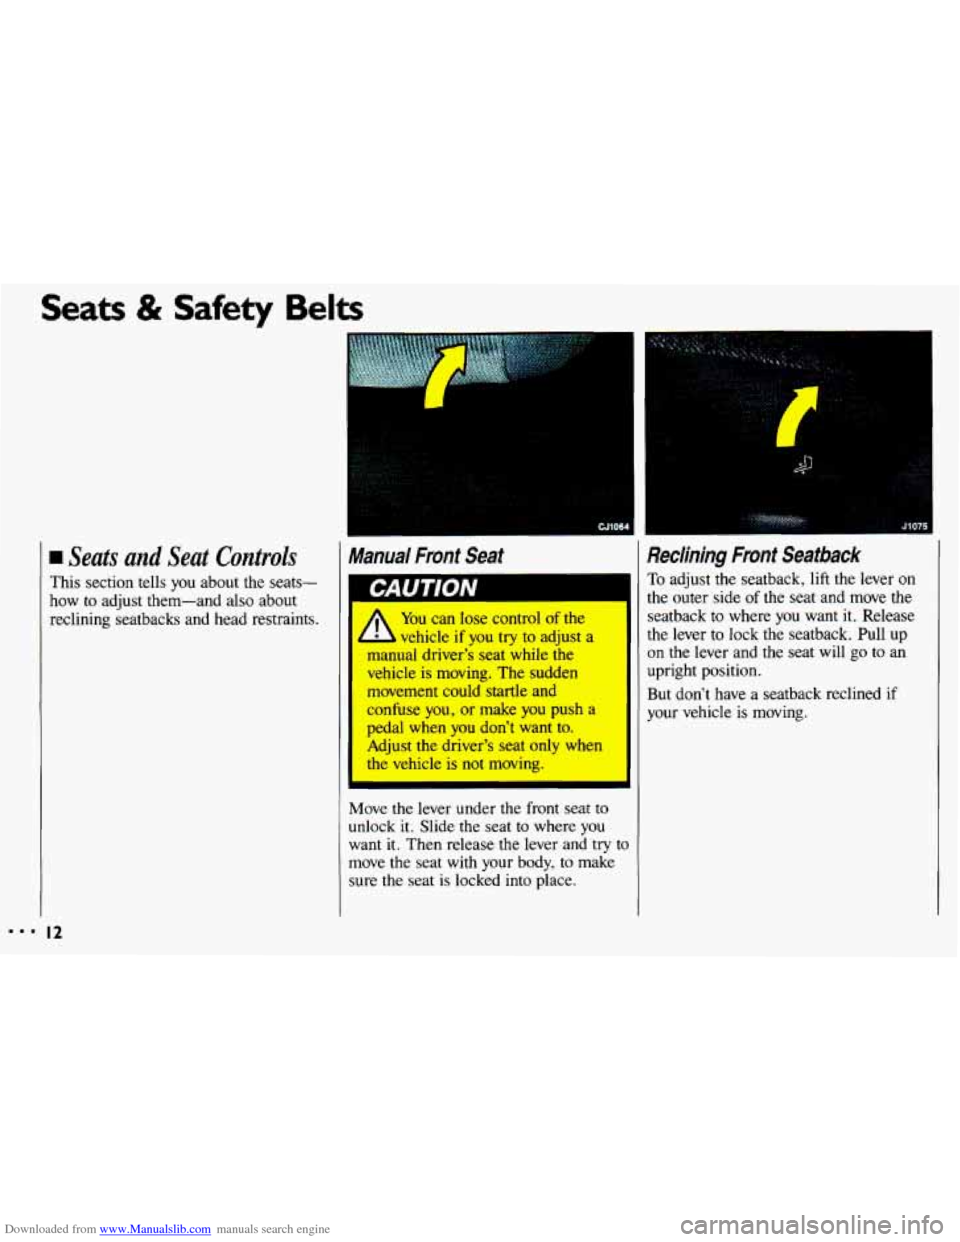
Move
the lever under the front seat to
unlock it. Slide the seat to where you
want
it. Then release the lever and try tc
move the seat with your body, to make
sure the seat is locked into place.
1
,
1
1
3
Reclining Front Seatback
To adjust the seatback, lift the lever on
the outer side
of the seat and move the
seatback
to where you want it. Release
the lever
to lock the seatback. Pull up
on the lever and the seat will go to an
upright position.
But don't have a seatback reclined if
-Jour vehicle is moving.
Page 15 of 308
Downloaded from www.Manualslib.com manuals search engine I
9u I lVlV
A
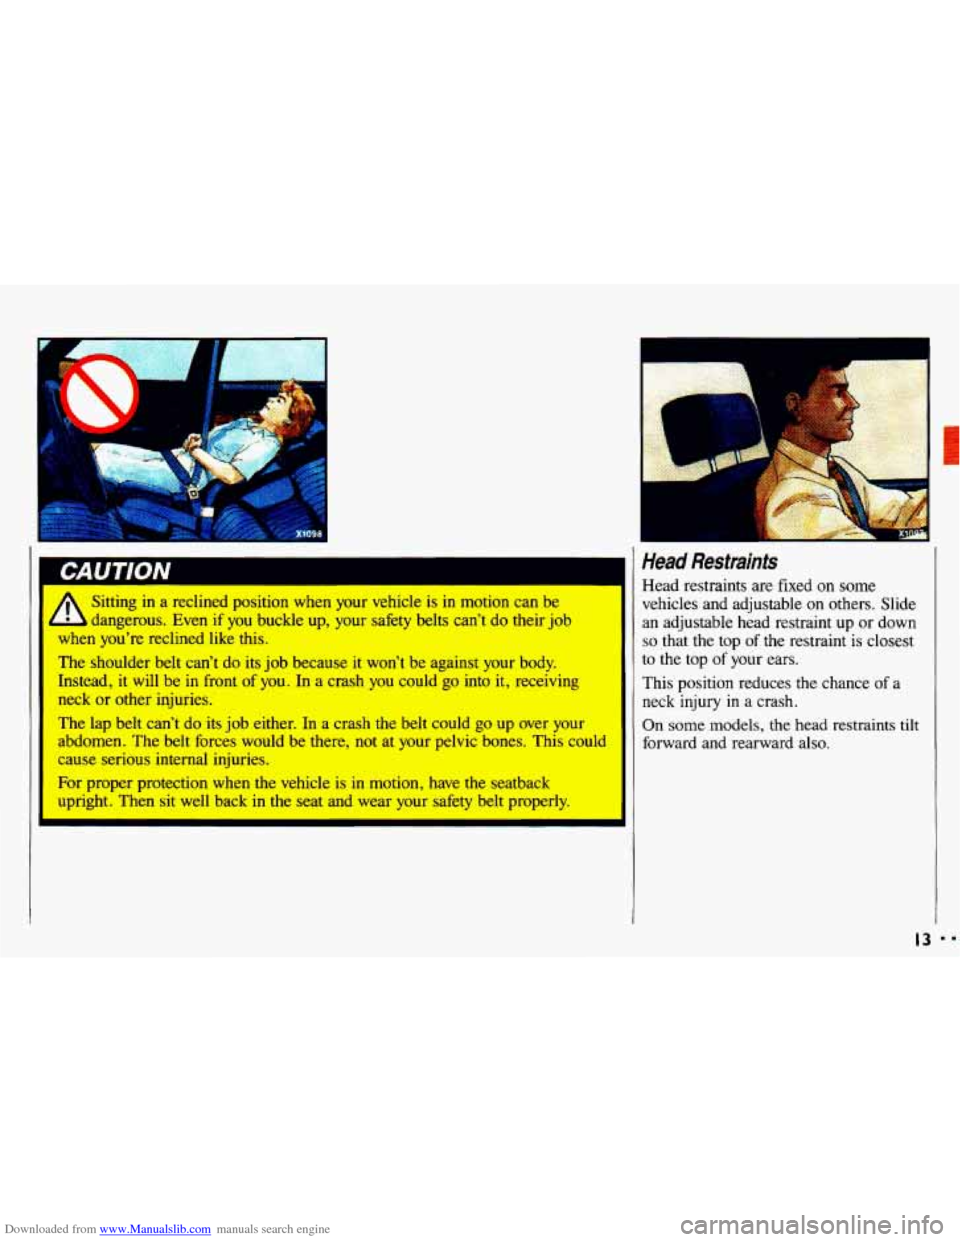
Sitting in a reclined position when your vehicle is in motion can be
dangerous. Even
if you buckle up, your safety belts can’t do their job
when you’re reclined like this.
The shoulder belt can’t do
its job because it won’t be against your body.
Instead, it will be
in front of you. In a crash you could go into it, receiving
neck
or other injuries.
The lap belt can’t do its job either. In
a crash the belt could go up over your
abdomen. The belt forces would be there, not at your pelvic bones.
This could
cause serious internal injuries.
For proper protection when the vehicle
is in motion, have the seatback
upright. Then sit well back in the seat and wear your safety belt properly.
Head Restraints
Head restraints are fixed on some
vehicles and adjustable on others. Slide
an adjustable head restraint up or down
so that the top of the restraint is closest
to the top
of your ears.
This position reduces
the chance of a
neck
injury in a crash.
On some models, the head restraints tilt
forward and rearward also.
L
13 DD
Page 16 of 308
Downloaded from www.Manualslib.com manuals search engine ...
Seats & Safety Belts
Mama/ 4- Way Adjustab/e Driver’s
Seat
(OPTION)
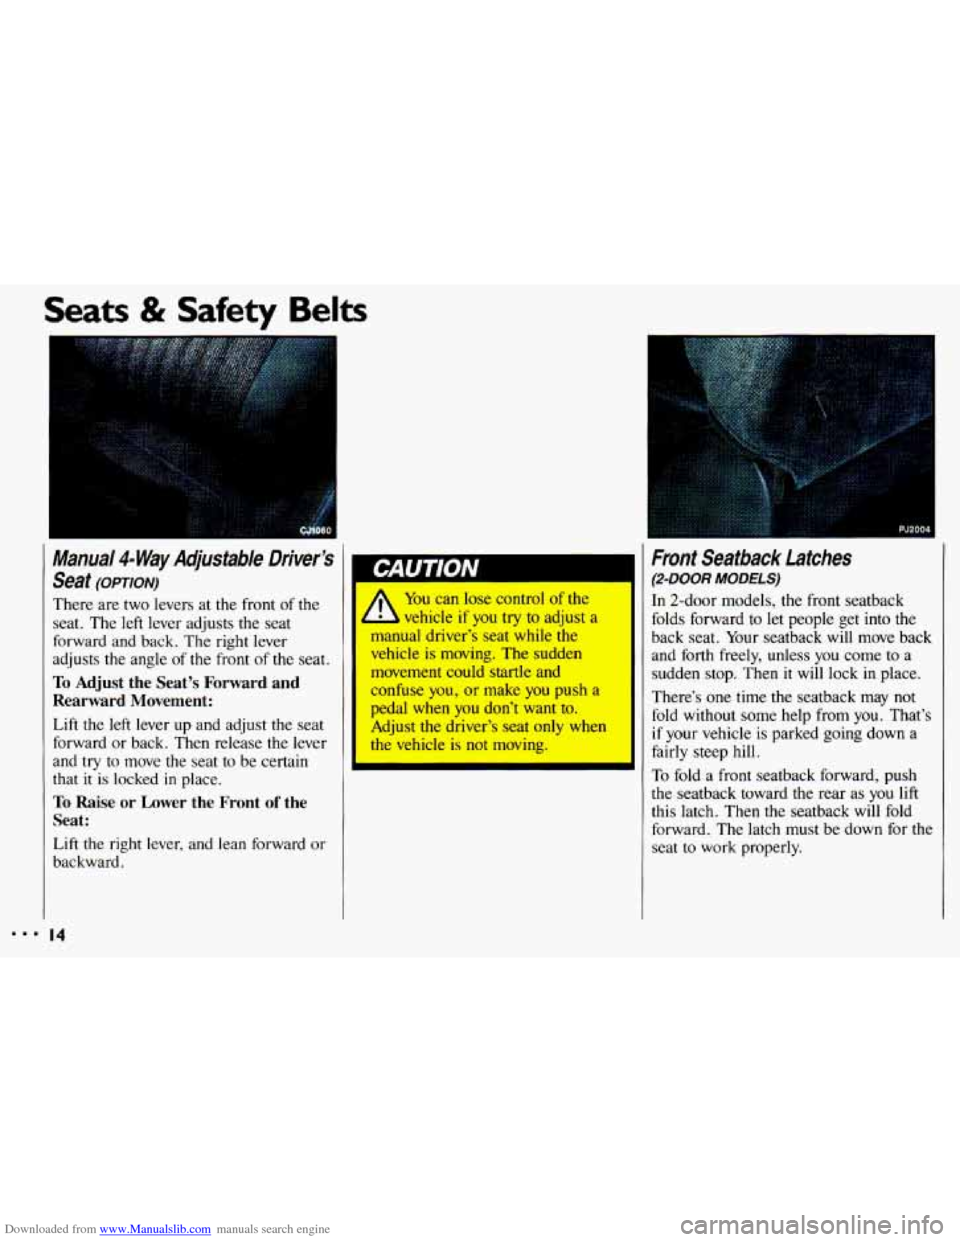
There are two levers at the front of the
seat. The left lever adjusts the seat
forward and back. The right lever
adjusts
the angle of the front of the seat.
To Adjust the Seat’s Forward and
Rearward Movement:
Lift the left lever up and adjust the seat
forward or back. Then release the lever
and
try to move the seat to be certain
that
it is locked in place.
To Raise or Lower the Front of the
Seat:
Lift the right lever, and lean forward or
backward.
14
You can lose control of the
b vehicle if you try to adjust a
manual driver’s seat while the
vehicle
is moving. The sudden
movement could startle and
confuse you, or make you push a
pedal when you don’t want to.
Adjust the driver’s seat only when
the vehicle is not moving.
I
I
I Front Seatback Latches
(2-DOOR MODELS)
In 2-door models, the front seatback
folds forward
to let people get into the
back seat. Your seatback will move back
and
forth freely, unless you come to a
sudden stop. Then it will lock
in place.
There’s one time the seatback may
not
fold without some help from you. That’s
if your vehicle is parked going down a
fairly steep hill.
To fold a front seatback forward, push
the seatback toward the rear as you
lift
this latch. Then the seatback will fold
forward. The latch must be down for the
seat
to work properly.
Page 17 of 308
Downloaded from www.Manualslib.com manuals search engine If the seatback isn’t locked, it
4 L could move forward in a
sudden
stop or crash. That could
cause injury
to the person sitting
there. Always press rearward on
the seatback to be sure it is locked.
Easy-Entry Seat
(RS 2-DOOR AND 2-24 MODELS)
The right front seat of your vehicle
makes it easy to get
in and out of the
rear seat.
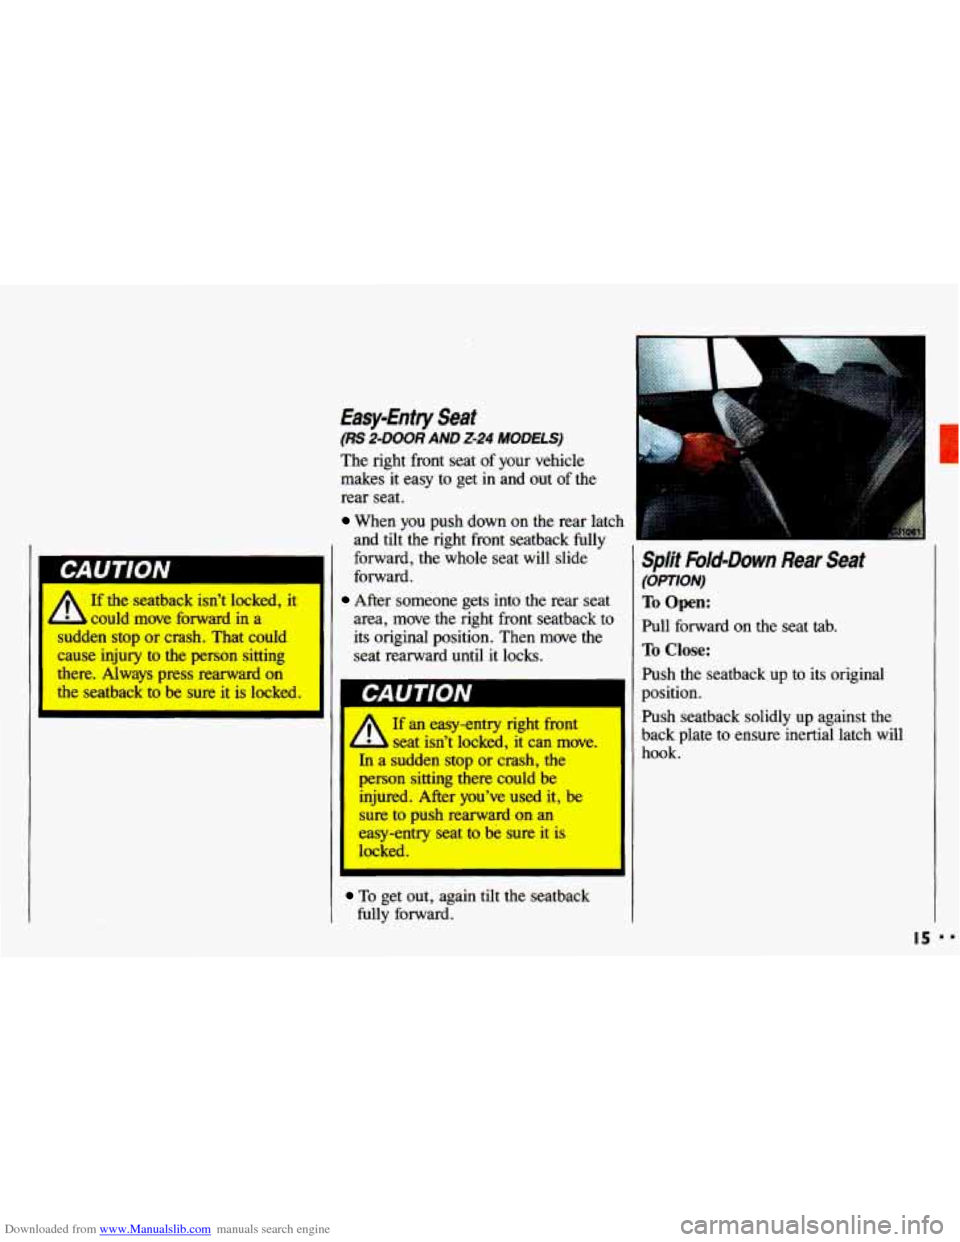
When you push down on the rear latch
and tilt the right front seatback fully
forward, the whole seat will slide
forward.
After someone gets into the rear seat
area, move the right front seatback to
its original position. Then move the
seat rearward until it locks.
If an easyentry right front
b seat isn’t locked, it can move.
In a sudden stop or crash, the
person sitting there could be
injured, After you’ve used it, be
sure to push rearward on an
easy-entry seat to be sure it is
locked.
To get out, again tilt the seatback
fully forward.
Split Fbld-Down Rear Seat
(OPTION)
To Open:
Pull forward on the seat tab.
To Close:
Push the seatback up to its original
position.
Push seatback solidly up against the
back plate to ensure inertial latch will
hook.
Page 18 of 308
Downloaded from www.Manualslib.com manuals search engine ...
Seats & Safety Belts
Folding Rear Wagon Seats
To add more cargo room, your rear
seatback can be easily folded down. Be
sure to check your seatback latches now
and then by pushing the seatback back
and forth. If they do not latch properly,
have them checked by your dealer.
Remember to keep safety belts clear of
seat hinges and latches
so they are not
damaged when you raise and lower the
seatback.
&
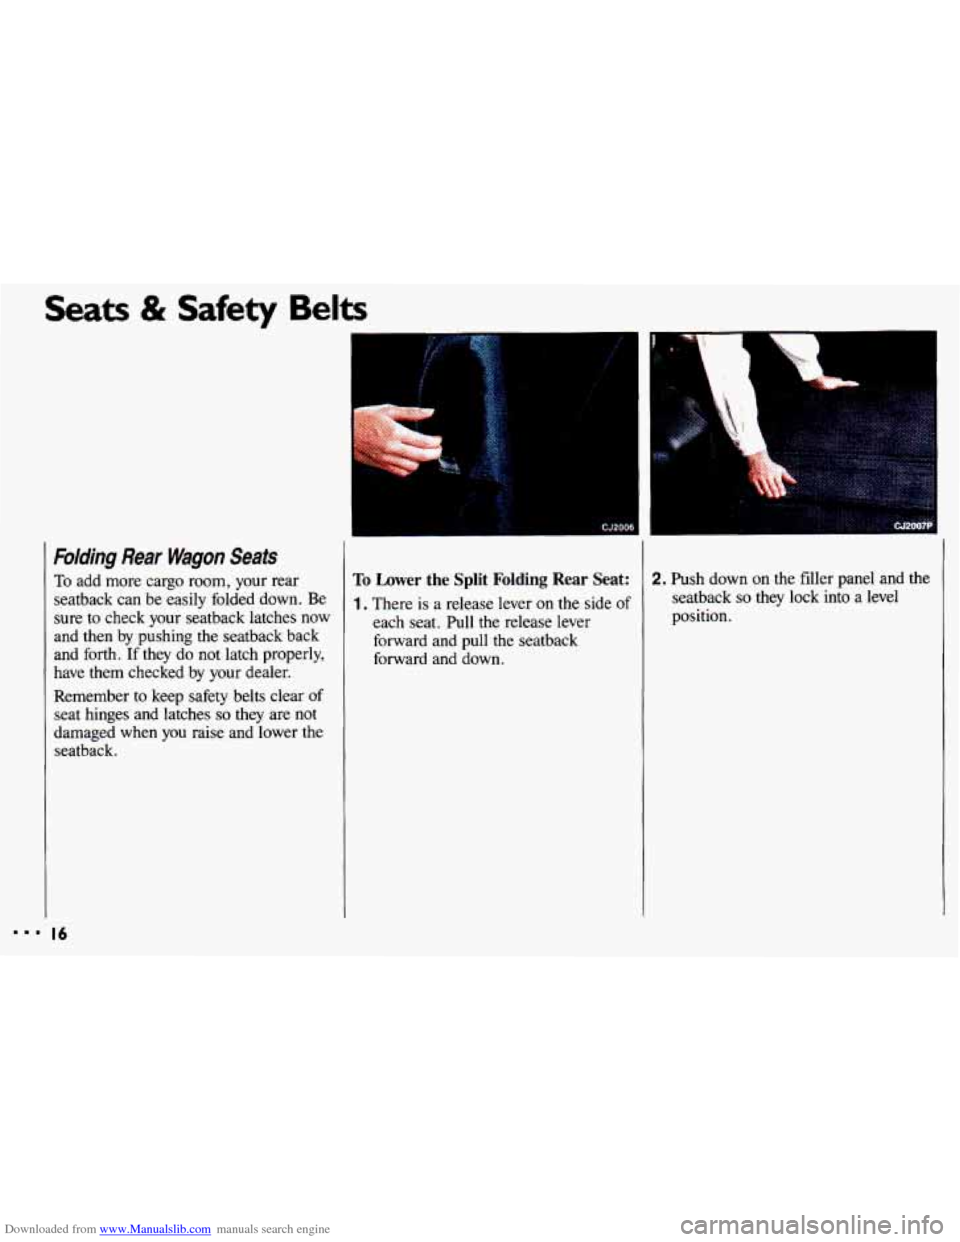
To Lower the Split Folding Rear Seat:
1. There is a release lever on the side of
each seat. Pull the release lever
forward and pull the seatback
forward and down.
1 .-”_ 1
2. Push down on the filler panel and the
seatback
so they lock into a level
position.
Page 19 of 308
Downloaded from www.Manualslib.com manuals search engine 4
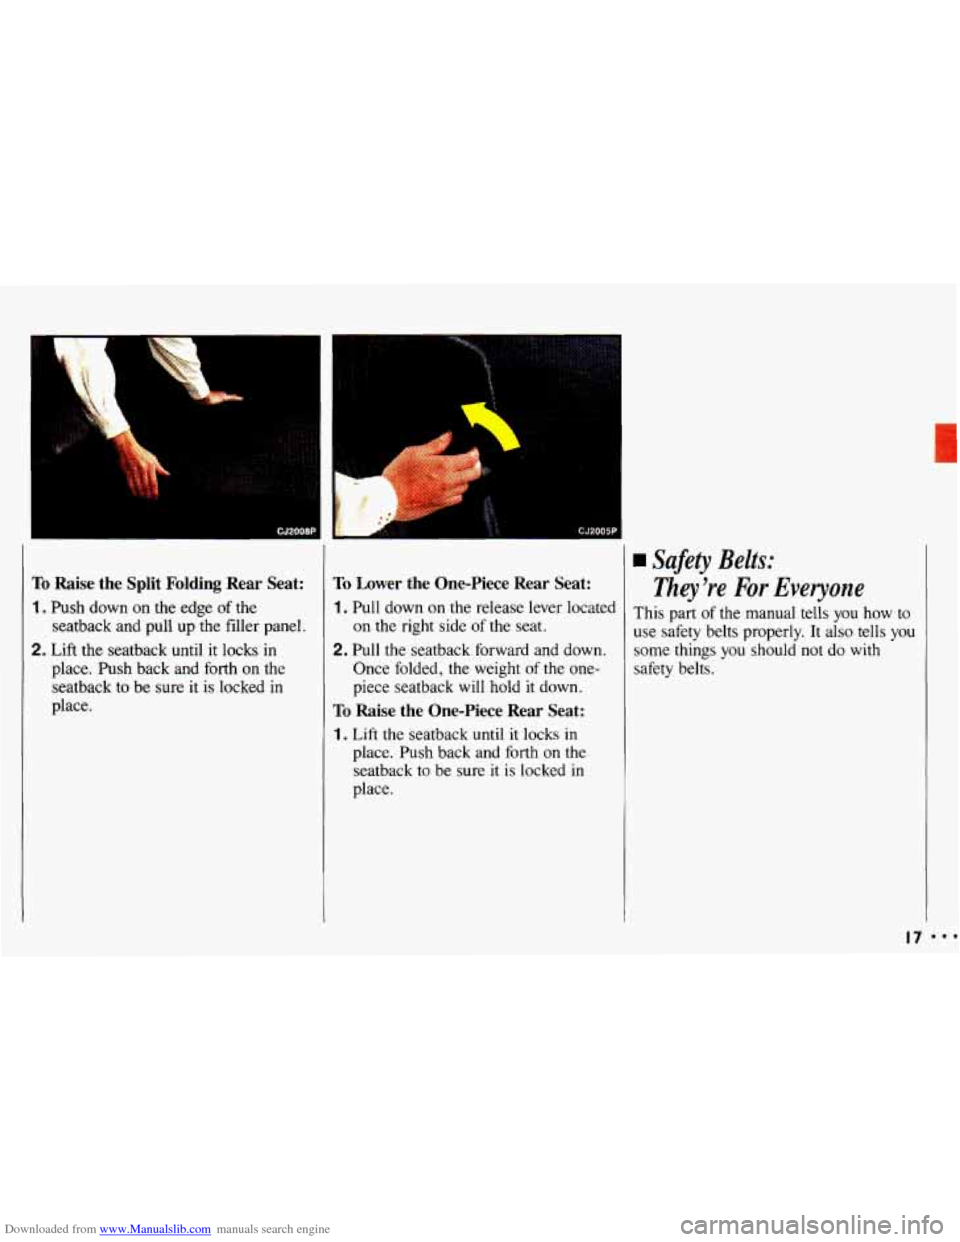
To Raise the Split Folding Rear Seat:
1. Push down on the edge of the
seatback and pull up
the filler panel.
2. Lift the seatback until it locks in
place. Push back and forth on the
seatback to be sure
it is locked in
place.
To Lower the One-Piece Rear Seat:
1. Pull down on the release lever located
on the right side
of the seat.
2. Pull the seatback forward and down.
Once folded, the weight of the one-
piece seatback
will hold it down.
To Raise the One-Piece Rear Seat:
1. Lift the seatback until it locks in
place. Push back and forth on the seatback to be sure
it is locked in
place.
Safety Belts:
They're For Everyone
This part of the manual tells you how to
use safety belts properly.
It also tells you
some things you should not do
with
safety belts.
17 ...
Page 20 of 308
Downloaded from www.Manualslib.com manuals search engine Seats & Safety Belts
Safety Belts:
Z7iey’re For Everyone (Cant.)
* Don’t let anyone ride where
d they can’t wear a safety belt I
properly. If you are in a crash and
you’re not wearing a safety belt,
I
vour iniuries can be much worse.
?ou c2 hit things inside the
vehicle or be ejected from it. You
can be seriously injured
or killed.
In the same crash, you might not
be if you are buckled up.
Always fasten your safety belt, and
check that your passengers’ belts
are fastened properly too. I
I
I
I
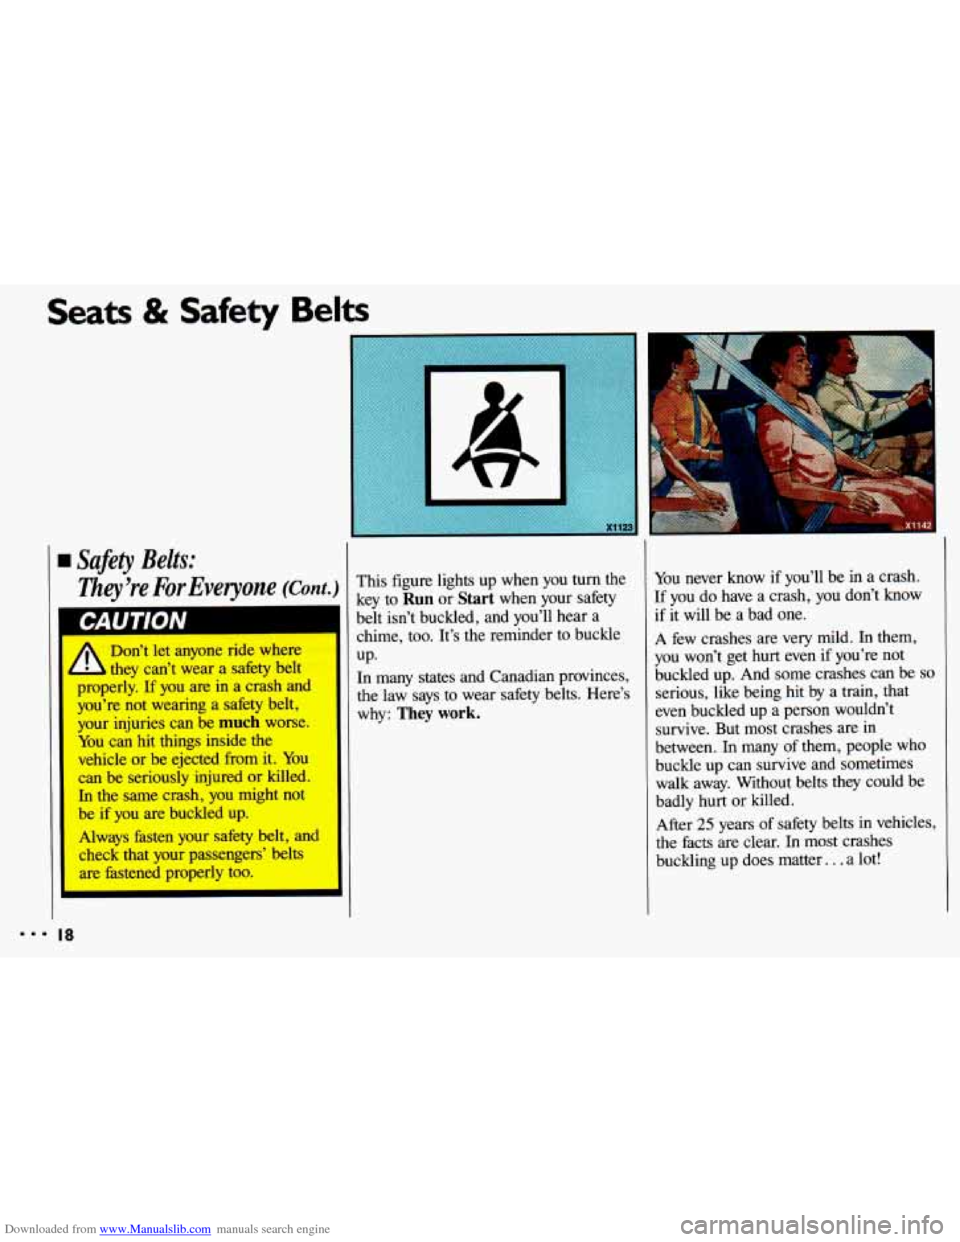
This figure lights up when you turn the
key to
Run or Start when your safety
belt isn’t buckled, and you’ll hear a
chime, too. It’s the reminder to buckle
UP.
n many states and Canadian provinces,
le law says to wear safety belts. Here’s
rhy:
They work.
You never know if you’ll be in a crash.
If you do have a crash, you don’t know
if it will be a bad one.
A few crashes are very mild. In them,
you won’t get hurt even if you’re not
buckled up. And some crashes can be
so
serious, like being hit by a train, that
even buckled up a person wouldn’t
survive. But most crashes are in
between. In many
of them, people who
buckle up can survive and sometimes
walk away. Without belts they could be
badly
hurt or killed.
After
25 years of safety belts in vehicles,
the facts are clear.
In most crashes
buckling up does matter.
. . a lot!
... 18