brake light CHEVROLET CAVALIER 1994 1.G User Guide
[x] Cancel search | Manufacturer: CHEVROLET, Model Year: 1994, Model line: CAVALIER, Model: CHEVROLET CAVALIER 1994 1.GPages: 243, PDF Size: 15.06 MB
Page 112 of 243
Downloaded from www.Manualslib.com manuals search engine And, of course, actual stopping
distances vary greatly with the surface
of the road (whether it’s pavement or
gravel); the condition
of the road (wet,
dry, icy); tire tread; and the condition
of
your brakes.
Avoid needless heavy braking. Some people drive in spurts
- heavy
acceleration followed by heavy braking
- rather than keeping pace with traffic.
This is a mistake. Your brakes may not
have time to cool between hard stops.
Your brakes
will wear out much faster if
you do a lot
of heavy braking. If you
keep pace with the traffic and allow realistic following
distances, you will
eliminate a lot of unnecessary braking.
That means better braking and longer
brake life.
If your engine ever stops while you’re
driving, brake normally but don’t pump
your brakes. If you do, the pedal may
get harder to push down. If your engine
stops, you will still have some power
brake assist. But you will use it when
you brake. Once the power assist is
used
up, it may take longer to stop and
the brake pedal will be harder to push.
L
- 20
- 10
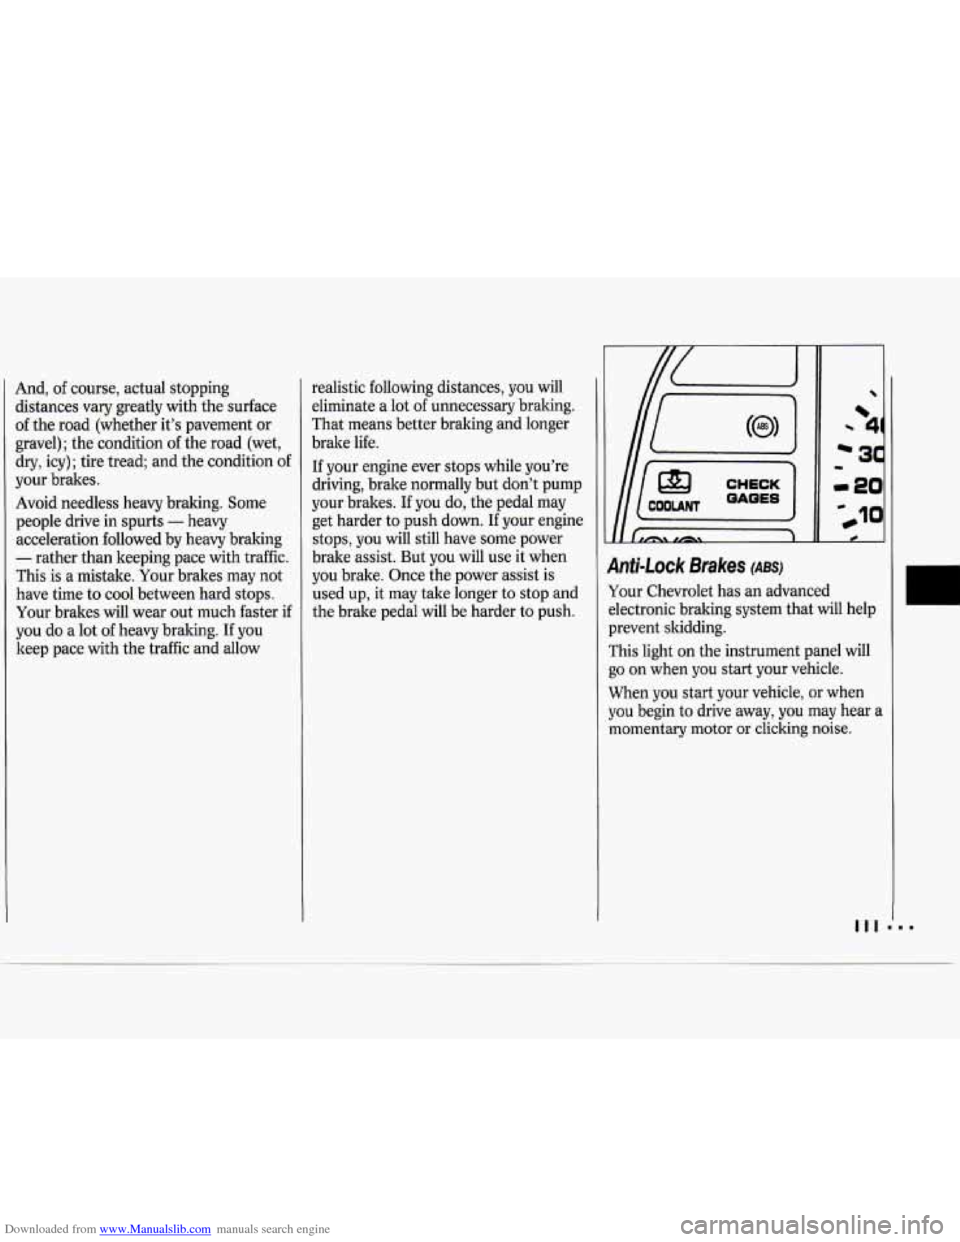
9nti-Lock Brakes (ABS)
Your Chevrolet has an advanced
dectronic braking system that will help
prevent skidding.
rhis light on the instrument panel will
30 on when you start your vehicle.
When you start your vehicle, or when
you begin to drive away, you may hear a
momentary motor
or clicking noise.
Page 113 of 243
Downloaded from www.Manualslib.com manuals search engine Your Driving and the Road
And you may even notice that your
brake pedal moves a little while this is
going on. This is the ABS system
testing itself.
If there’s a problem with
the anti-lock brake system, the anti-lock
brake system warning light will stay on
or flash.
See
Anti-lock Brake System Warning
Light
in the Index.
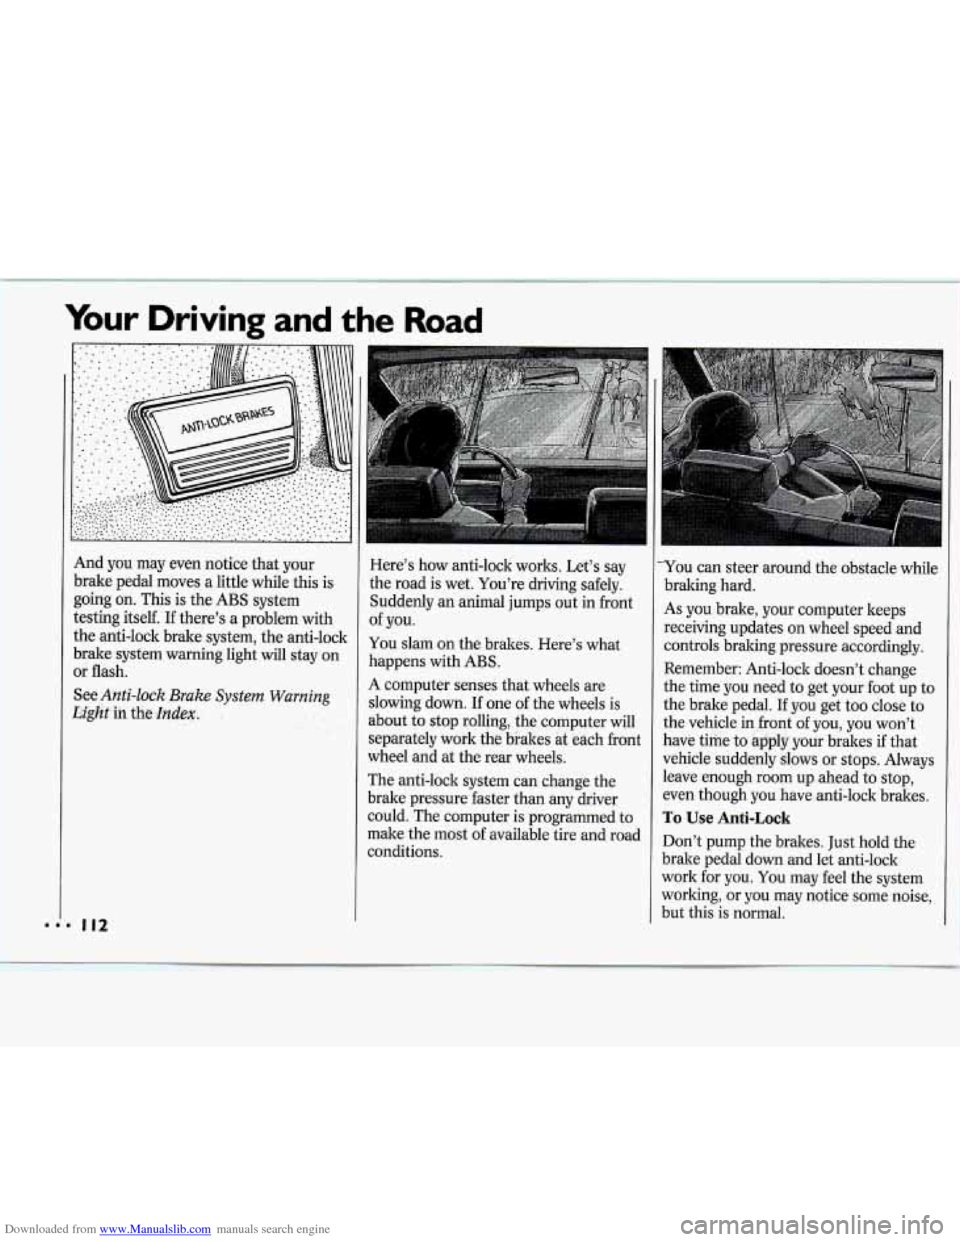
Here’s how anti-lock works. Let’s say
the road is wet. You’re driving safely.
Suddenly
an animal jumps out in front
of you.
You slam on the brakes. Here’s what
happens with ABS.
A computer senses that wheels are
slowing down.
If one of the wheels is
about to stop rolling, the computer wil
separately work the brakes at each fro]
wheel and at the rear wheels.
The anti-lock system can change the
brake pressure faster than any driver
1
nt
could.*The computer is programmed to
make the most of available tire and road
conditions.
L-
You can steer around the obstacle while
braking hard.
As you brake, your computer keeps
receiving updates on wheel speed and
controls braking pressure accordingly.
Remember: Anti-lock doesn’t change
the time you need to get your foot up to
the brake pedal. If you get too close to
the vehicle in front of you, you won’t
have time to apply your brakes if that
vehicle suddenly slows or stops. Always
leave enough room up ahead to stop,
even though you have anti-lock brakes.
To Use Anti-Lock
Don’t pump the brakes. Just hold the
brake pedal down and let anti-lock
work for you. You may feel the system
working, or you may notice some noise,
but this is normal.
Page 115 of 243
Downloaded from www.Manualslib.com manuals search engine Your Driving and the Road
P
..
Steering in Emergencies
There are times when steering can De
more effective than braking. For
example, you come over a hill and find
a truck stopped in your lane, or a car
suddenly pulls out from nowhere, or a
child darts out from between parked
cars and stops right in front
of you. You
can avoid these problems by braking -
if you can stop in time. But sometimes
you can't; there isn't room. That's the
time for evasive action
- steering
around the problem.
Your Chevrolet
can perform very well in
emergencies like these. First apply your
brakes. It
is better to remove as much
speed as you can from a possible collision.
Then steer around the
problem, to the left or right depending
on the space available.
An emergency like this requires close
attention and a quick decision.
If you
are holding the steering wheel
at the
recommended
9 and 3 o'clock positions,
you can turn it a full
180 degrees very
quickly without removing either hand.
But you have to act fast, steer quickly,
and just as quickly straighten the wheel
once you have avoided the object.
The fact that such emergency situations
are always possible is a good reason to
practice defensive driving at all times
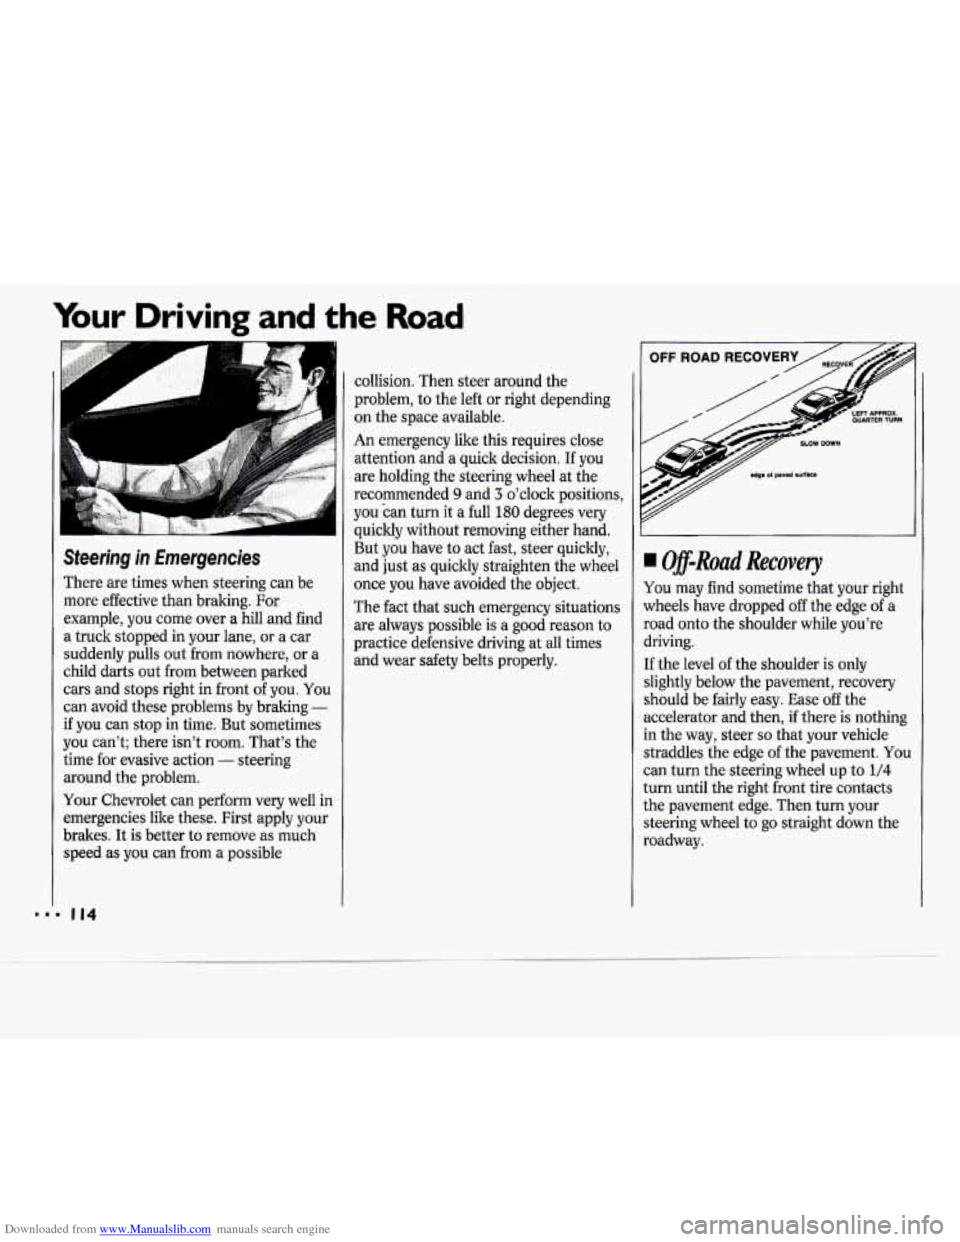
and wear safety belts properly. I Off-Ruad Recovery
You may find sometime that your right
lvheels have dropped
off the edge of a
soad onto the shoulder while you're
hiving.
:f the level of the shoulder is only
;lightly below the pavement, recovery
;hould be fairly easy. Ease off the
iccelerator and then, if there is nothing
n the way, steer
so that your vehicle
itraddles the edge of the pavement. You
:an turn the steering wheel up to
1/4
urn until the right front tire contacts
he pavement edge. Then turn your
;teering wheel
to go straight down the
toadway.
Page 116 of 243
Downloaded from www.Manualslib.com manuals search engine Passing
The driver of a vehicle about to pass
another on a two-lane highway waits for
just the right moment, accelerates,
moves around the vehicle ahead, then
goes back into the right lane again. A
simple maneuver?
Not necessarily! Passing another vehicle
on a two-lane highway is a potentially
dangerous move, since the passing
vehicle occupies the same lane as
oncoming traffic for several seconds.
A
miscalculation, an error in judgment, or
a brief surrender to frustration or anger
can suddenly
put the passing driver face
to face with the worst of all traffic
accidents
- the head-on collision.
So here are some tips for passing:
“Drive ahead.” Look down the road,
to the sides, and
to crossroads for
situations that might affect your
passing patterns. If you have any
doubt whatsoever about making a
successful pass, wait for a better time.
Watch for traffic signs, pavement
markings, and lines. If you can see a
sign up ahead that might indicate a
turn or an intersection, delay your pass.
A broken
center line usually
indicates it’s
all right to pass (providing
the road ahead is clear). Never cross a
solid line on your side of the lane or
a
double solid line, even if the road
seems empty of approaching traffic.
Do not get too close to the vehicle
you want to pass while you’re
awaiting an opportunity. For one
thing, following too closely reduces
your area of vision, especially if you’re
following a larger vehicle. Also, you
won’t have adequate space if the
vehicle ahead suddenly slows or stops.
Keep back a reasonable distance.
When it looks like a chance to pass is
coming up, start to accelerate but stay
in the right lane and don’t get too
close. Time your move
so you will be
increasing speed as the time comes to
move into the other lane.
If the way is
clear to pass,
you will have a “running
start” that more than makes up for
the distance you would lose by
dropping back. And if something
happens to cause you to cancel your
pass, you need only slow down and
drop back again and wait for another
opportunity.
If other cars are lined up to pass a
slow vehicle, wait your turn. But take
care that someone isn’t trying to pass
you as you pull out to pass the slow
vehicle. Remember to glance over
your shoulder and check the blind
spot.
Check your mirrors, glance over your
shoulder, and start your left lane
change signal before moving out of
the right lane to pass. When you are
far enough ahead of the passed
vehicle to see its front in your inside
mirror, activate your right lane change signal and move back into the right
lane. (Remember that your right
outside mirror is convex. The vehicle
you just passed may seem to be farther
away from you than
it really is.)
Try not to pass more than one vehicle
at a time on two-lane roads.
Reconsider before passing the next
vehicle.
vehicle too rapidly. Even though the
brake lights are not flashing, it may be
slowing down or starting to turn.
Don’t overtake a slowly moving
Page 126 of 243
Downloaded from www.Manualslib.com manuals search engine Run your engine only as long as you
must. This saves fuel. When you run the
engine, malte it go a little faster than
just idle. That is, push the accelerator
slightly. This uses less fuel for the heat
that you get and it keeps the battery
charged.
You will need a well-charged
battery to restart the vehicle, and
possibly
for signaling later on with your
headlights. Let the heater run for
awhile.
Then, shut the engine
off and close the
window almost all the way to preserve
the heat. Start the engine again and
repeat this only when you feel really
uncomfortable
from the cold. But do it
as little as possible. Preserve the fuel as
long as
you can. To help keep warm,
you can get out
of the vehicle and do
some fairly vigorous exercises every half
hour or so until help comes.
~~
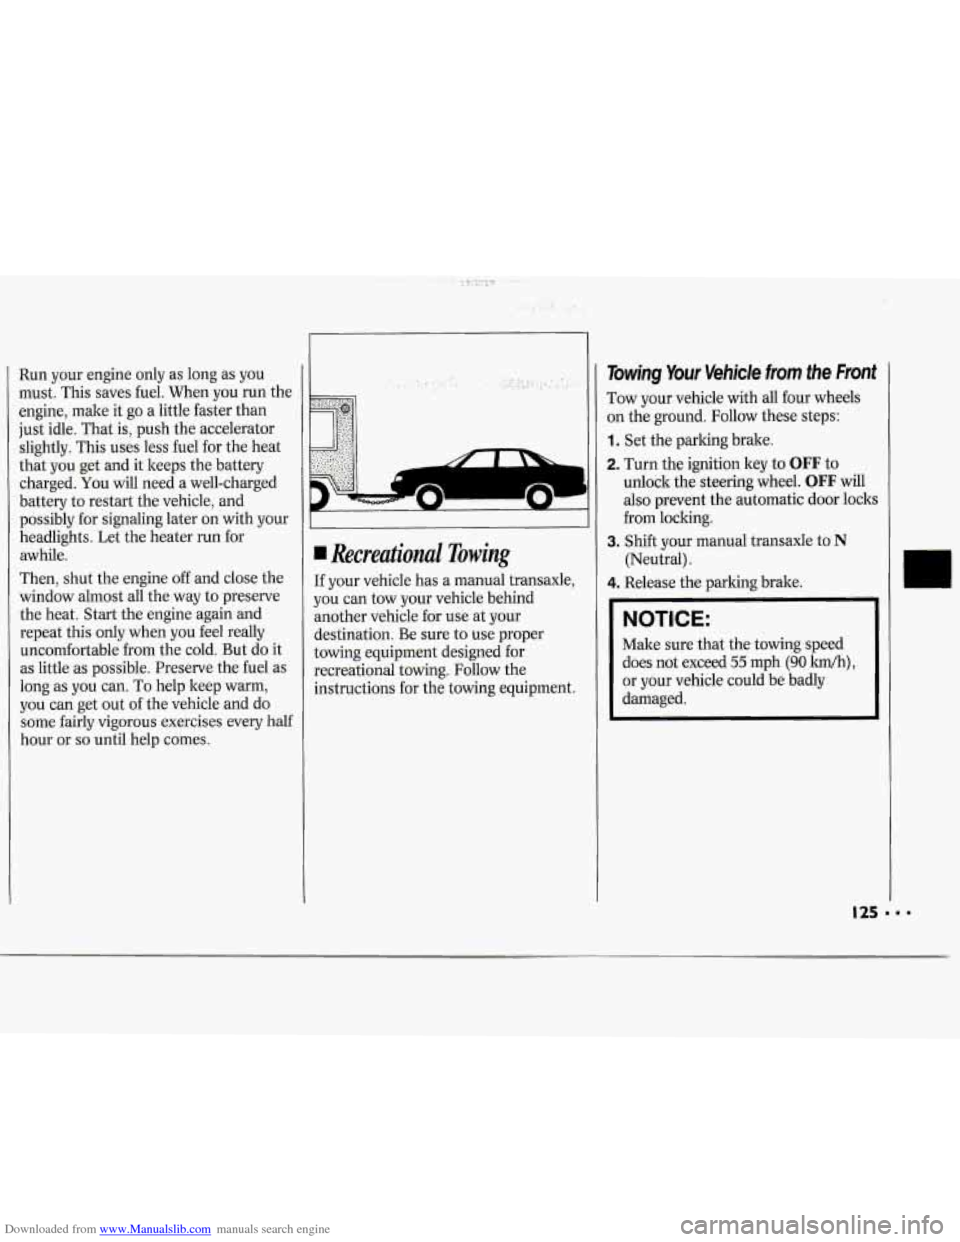
Recreational Towing
If your vehicle has a manual transaxle,
you can tow your vehicle behind
another vehicle for use at your
destination. Be sure
to use proper
towing equipment designed for
recreational towing. Follow the
instructions for the towing equipment.
Towing Your Vehicle from the Front
Tow your vehicle with all four wheels
on the ground. Follow these steps:
1. Set the parking brake.
2. Turn the ignition key to OFF to
unlock the steering wheel.
OFF will
also prevent the automatic door locks
from locking.
(Neutral).
3.
Shift your manual transaxle to
N
4. Release the parking brake.
NOTICE:
Make sure that the towing speed
does not exceed
55 mph (90 lm),
or your vehicle could be badly
damaged.
Page 130 of 243
Downloaded from www.Manualslib.com manuals search engine NOTICE:
Ignoring these steps could result in
costly damage to your vehicle that
wouldn’t be covered by your
warranty. Trying to start your
Chevrolet by pushing or pulling it
could damage your vehicle, even if
you have a manual transaxle. And
if
you have an automatic transaxle, it
won’t start that way.
To Jump Start Your Chevrolet:
1. Check the other vehicle. It must have
a 12-volt battery with a negative
ground system.
NOTICE:
If the other system isn’t a 12-volt
system with
a negative ground,
both vehicles can be damaged.
2. Get the vehicles. close enough so the
jumper cables can reach, Ijut be suke
the vehicles aren’t touching each
other. If they are, it could cause a
ground connection you don’t want.
You wouldn’t be able to start your
Chevrolet, and the bad grounding
could damage the electrical systems.
You could be injured if the vehicles roll.
Set the parking brake
firmly on each
vehicle. Put an automatic transaxle in
P (Park) or a manual transaxle in
N (Neutral).
3.
Turn off the ignition on both
vehicles. Turn
off all lights that aren’t
needed, and radios. This
will avoid
sparks and help save both batteries.
And
it could save your radio!
NOTICE:
If you leave your radio on, it could
be badly damaged. The repairs
wouldn’t
be covered by your warranty.
4. Open the hoods and locate the
batteries.
Find the positive
(+) and negative (-)
terminals on each battery.
Page 175 of 243
Downloaded from www.Manualslib.com manuals search engine Service & Appearance Care
NOTICE:
When using concentrated washer
fluid, follow the manufacturer’s
instructions for adding water.
Don’t mix water with ready-to-
use washer fluid. Water can cause
the solution to freeze and damage
your washer fluid tank and other
parts of the washer system. Also,
water doesn’t clean as well
as
washer fluid.
Fill your washer fluid tank only %
full when it’s very cold. This
allows for expansion, which could
damage the tank if it is
completely full.
Don’t use radiator antifreeze in
your windshield washer. It can
damage your washer system and
paint.
I Brakes
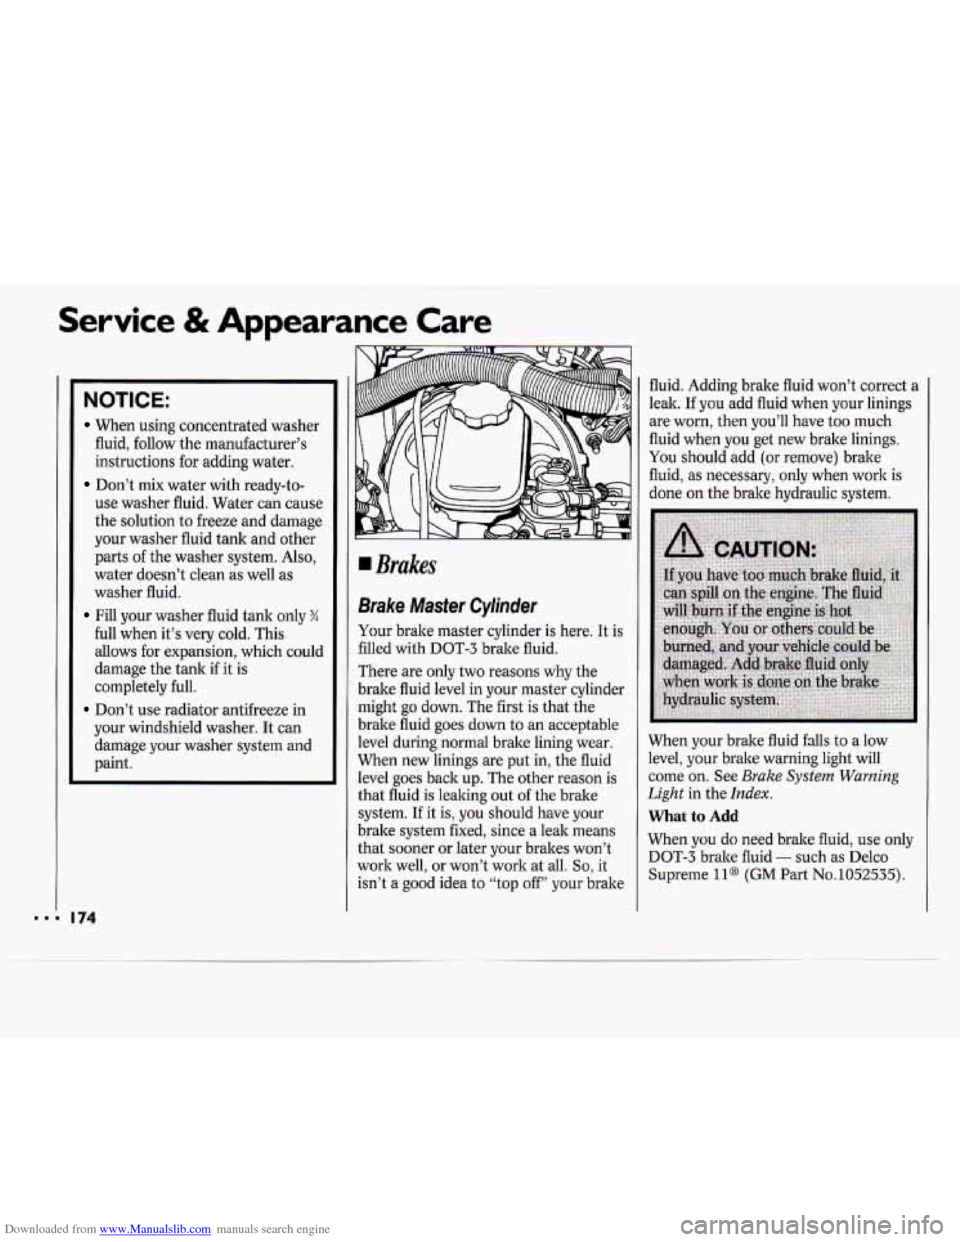
Brake Master Cylinder
Your brake master cylinder is here. It is
filled with DOT-3 brake fluid.
There are only two reasons why the
brake fluid level in your master cylinder
might go down. The first is that the
brake fluid goes down to an acceptable
level during normal brake lining wear.
When new linings are put in, the fluid
level goes back up. The other reason is
that fluid is leaking out of the brake
system.
If it is, you should have your
brake system fixed, since a leak means
that sooner or later your brakes won’t
work well,
or won’t work at all. So, it
isn’t a good idea to “top off” your brake fluid. Adding brake fluid won’t correct a
leak.
If you add fluid when your linings
are worn, then you’ll have too much
fluid when
you get new brake linings.
You should add (or remove) brake
fluid, as necessary, only when work
is
done on the brake hydraulic system.
When your brake fluid falls
to a low
level, your brake warning light will
come on. See
Brake System Warning
Light in the Index.
What to Add
When you do need brake fluid, use only
DOT-3 brake fluid
- such as Delco
Supreme
11@ (GM Part No.1052535).
Page 176 of 243
Downloaded from www.Manualslib.com manuals search engine Use new brake fluid from a sealed container only, and always clean the
brake fluid reservoir cap before
removing it.
I
NOTICE:
DOT-5 silicone brake fluid can
Don’t let someone put in the
damage your vehicle. Don’t
use it.
wrong kind of fluid. For example,
just
a few drops of mineral-based
oil, such as engine
oil, in your
brake system can damage brake system parts
so badly that they’ll
have to be replaced.
Brake fluid can damage paint, so
be careful not to spill brake fluid
on your vehicle. If you do, wash it
OF immediately. See Appearance
Cave
in the Index.
II
Brake Wear
Your Chevrolet has front disc brakes
and rear drum brakes.
Disc brake pads have built-in wear
indicators that make a high-pitched warning sound when
~ the
b&e..p@dsa .ve,
worn and new‘
pads are needed: .The ‘
sound may come and go or be heard all
the time your vehicle is moving (except
when you are pushing on the brake
pedal firmly).
NOTICE:
Continuing to drive with worn-out
brake pads could result in costly
brake repair.
Some driving conditions or climates
may cause
a brake squeal when the
brakes are first applied or lightly
applied. This does not mean something
is wrong with your brakes. Your
rear drum brakes don’t have wear
indicators, but if you ever hear a rear
brake rubbing noise, have the rear brake
linings inspected.
Also, the rear brake
drums should be removed and
inspected each time the tires are
removed for rotation or changing. When
you have the front brakes replaced,
have the rear brakes inspected, too.
Brake linings should always be replaced
as complete axle sets.
Brake Pedal Travel
See your dealer if the brake pedal does
not return to normal height, or if there
is
a rapid increase in pedal travel. This
could be a sign of brake trouble.
Brake Adjustment
Every time you make a moderate brake
stop, your disc brakes adjust for wear. If
you rarely make a moderate or heavier stop, then your brakes might not adjust
correctly.
If you drive in that way, then
- very carefully - make a few
moderate brake stops about every
1,000
miles (1600 lun), so your brakes will
adjust properly.
Page 187 of 243
Downloaded from www.Manualslib.com manuals search engine Service & Appearance Care
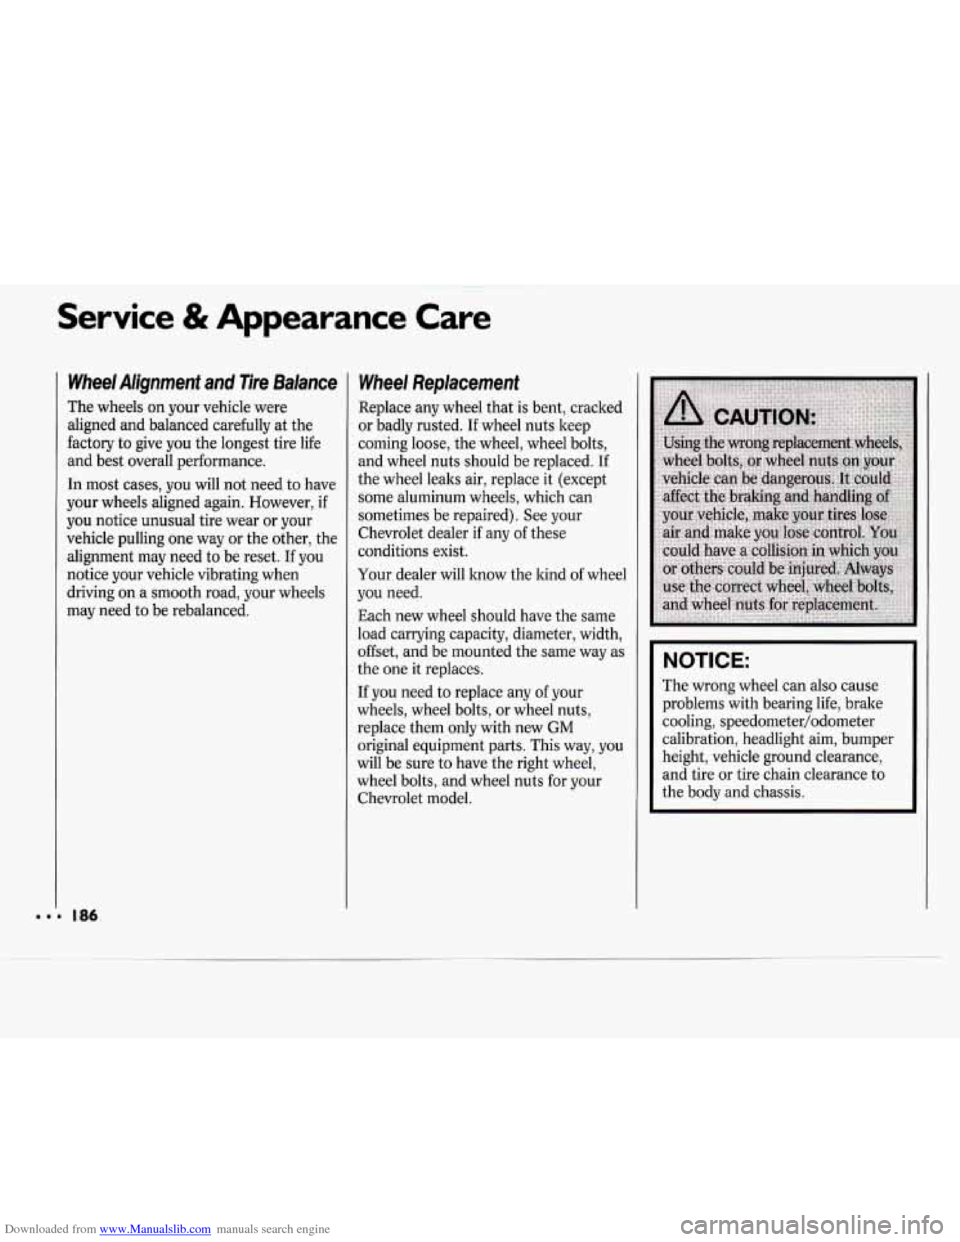
Wheel Alignment and Tire Balance
The wheels on your vehicle were
aligned and balanced carefully at the
factory
to give you the longest tire life
and best overall performance.
In most cases, you will not need to have
your wheels aligned again. However, if
you notice unusual tire wear or your
vehicle pulling one way or the other, the
alignment may need
to be reset. If you
notice your vehicle vibrating when
driving on
a smooth road, your wheels
may need to be rebalanced.
Wheel Replacement
Replace any wheel that is bent, cracked
or badly rusted.
If wheel nuts keep
coming loose, the wheel, wheel bolts,
and wheel nuts should be replaced.
If
the wheel leaks air, replace it (except
some aluminum wheels, which can
sometimes be repaired). See your
Chevrolet dealer if any
of these
conditions exist.
Your dealer will know the kind of wheel
you need.
Each new wheel should have the same
load carrying capacity, diameter, width,
offset, and be mounted the same way as
the one it replaces.
If you need to replace any of your
wheels, wheel bolts, or wheel nuts,
replace them only with new
GM
original equipment parts. This way, you
will be sure
to have the right wheel,
wheel bolts, and wheel nuts for your
Chevrolet model.
I NOTICE:
The wrong wheel can also cause
problems with bearing life, brake
cooling, speedometer/odometer
calibration, headlight aim, bumper
height, vehicle ground clearance,
and tire or tire chain clearance to
the body and chassis.
Page 197 of 243
Downloaded from www.Manualslib.com manuals search engine Service & Appearance Care
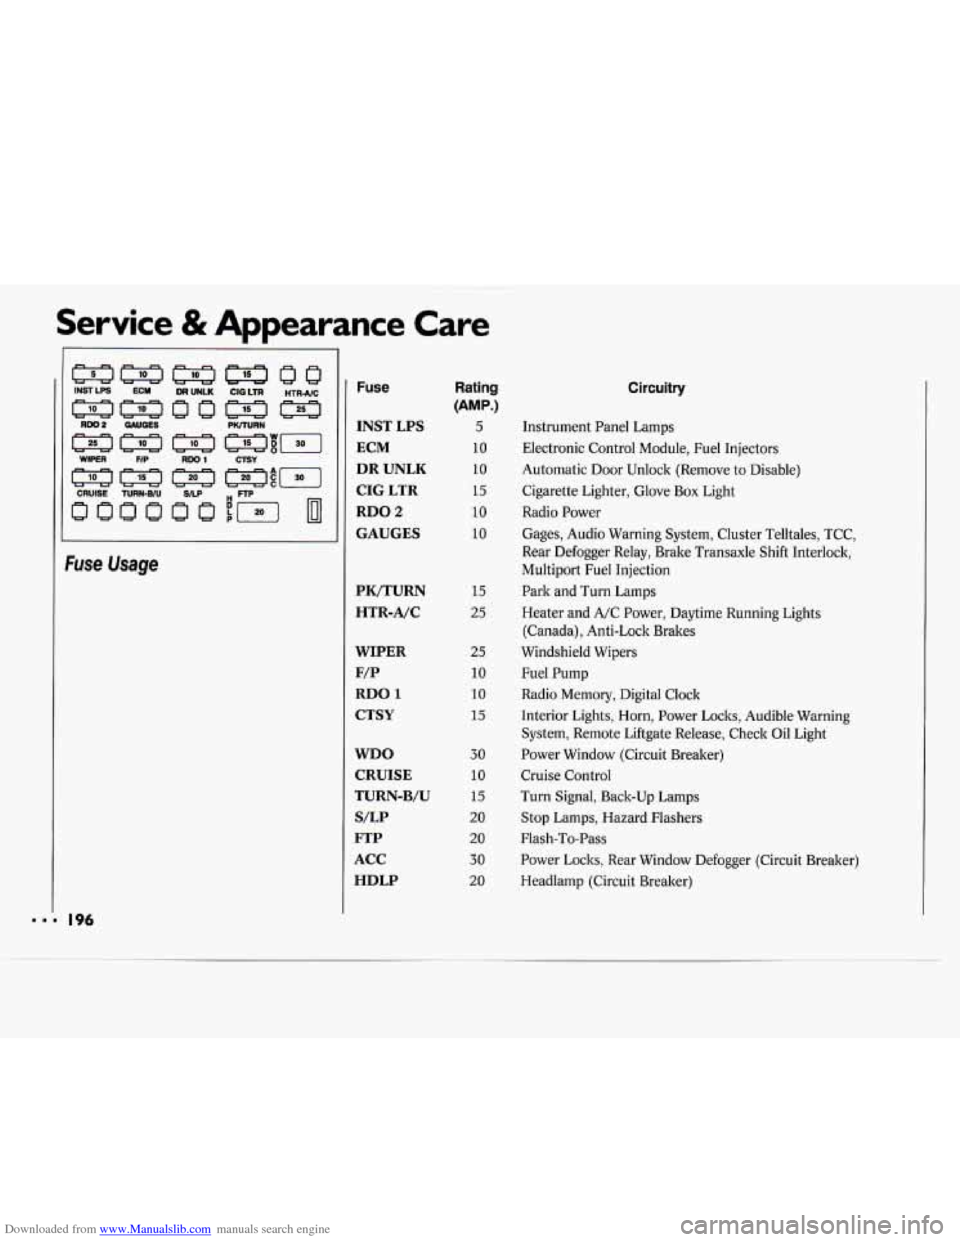
Vse Usage 1
196
Fuse
INST LPS
ECM
DR UNLK
CIG LTR
RDO 2
GAUGES
PIUTURN
HTR-A/C
WIPER
F/P
RDO
1
CTSY
WDO CRUISE
TURN-B/U S/LP
FTP
ACC HDLP
Rating
(AMP.)
5
10
10
15
10
10
15
25
25
10
10
15
30
10
15
20
20
30
20
Circuitry
Instrument Panel Lamps
Electronic Control Module, Fuel Injectors
Automatic Door Unlock (Remove to Disable)
Cigarette Lighter, Glove Box Light
Radio Power
Gages, Audio Warning System, Cluster Telltales, TCC,
Rear Defogger Relay, Brake Transaxle Shift Interlock,
Multiport Fuel Injection
Park and Turn Lamps
Heater and A/C Power, Daytime Running Lights
(Canada), Anti-Lock Brakes
Windshield Wipers
Fuel Pump Radio Memory, Digital Clock
Interior Lights, Horn, Power Locks, Audible Warning
System, Remote Liftgate Release, Check Oil Light
Power Window (Circuit Breaker)
Cruise Control
Turn Signal, Back-Up Lamps
Stop Lamps, Hazard Flashers
Flash-To-Pass
Power Locks, Rear Window Defogger (Circuit Breaker)
Headlamp (Circuit Breaker)