tow CHEVROLET CAVALIER 1994 1.G Owners Manual
[x] Cancel search | Manufacturer: CHEVROLET, Model Year: 1994, Model line: CAVALIER, Model: CHEVROLET CAVALIER 1994 1.GPages: 243, PDF Size: 15.06 MB
Page 15 of 243
Downloaded from www.Manualslib.com manuals search engine C I:s & F - - lraint Systems
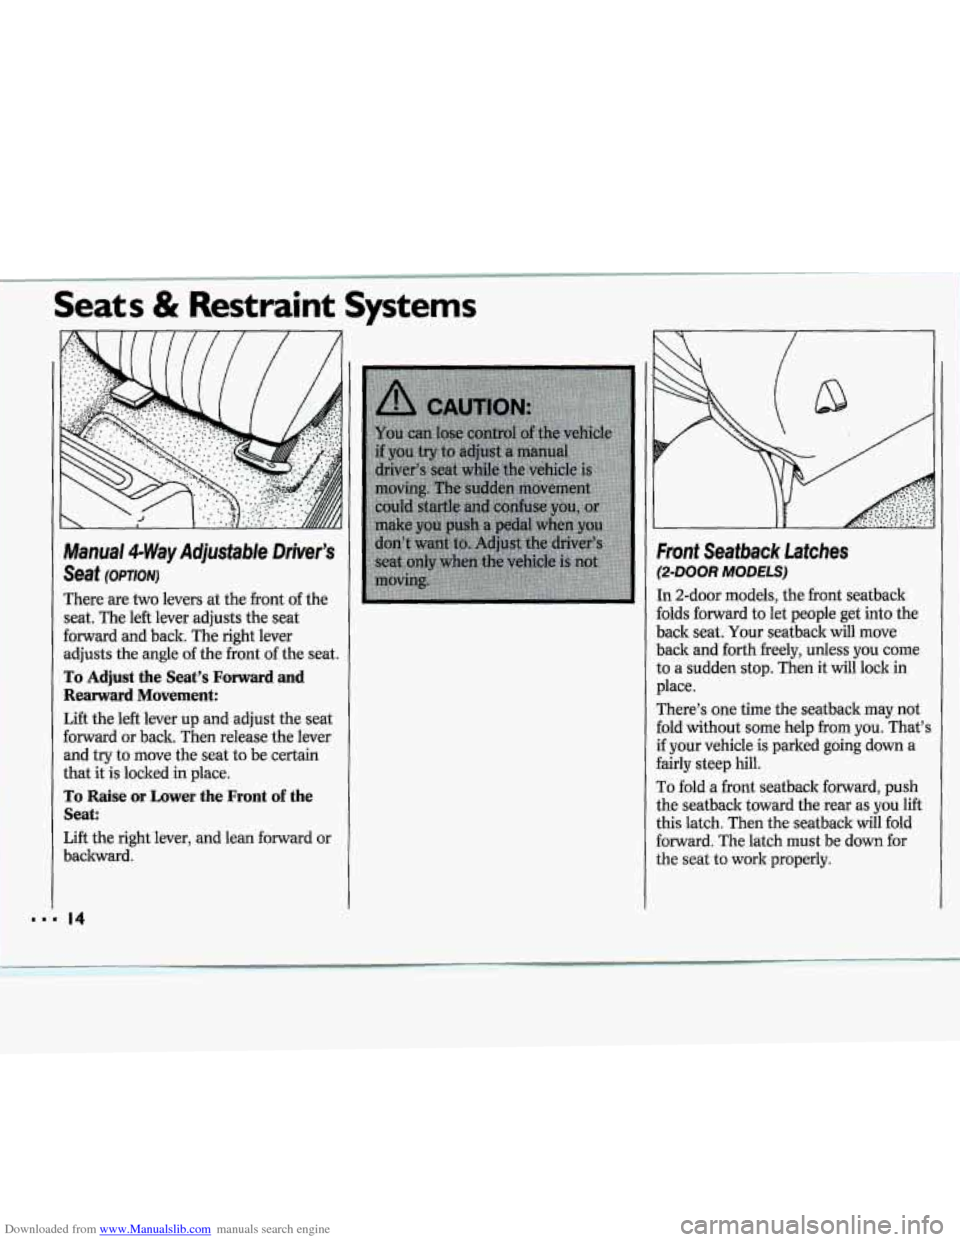
Manual 4-WayAdjustWe Drker’s
Seat (opnouj
There are two levers at the front of the
seat.
The left lever adjusts the seat
forward arrd back. The right lever
adjusts
the angle of the front of the seat.
To Adjust the Seat% Forward and
Rearward Movement:
Lift the left lever up and adjust the sed
forward or back.
Then release the lever
and
try to move the seat to be certain
that it
is locked in place.
To Raise or Lower the Front of the
seat:
Lift the right lever, and lean forward or
backward.
Fmni Seatback LaRches
(%DOOR MODELS)
In 2-door models, the &oat seatback
folds forward to
let people get into the
back seat. Your seatback
will move
back
and forth freely, unless YQU come
to a sudden stop. Then it will lock in
‘‘.‘.B“ ”&q
place.
There’s one
time the seatback may not
fold without some help fmm you: That’s
if your vehicle is parked going down a
fairly steep hill.
To fold a front seatback forward, push
the seatback toward the rear
as you lift
this latch.
Then the seatback will fold
forward. The latch
must be down for
the seat to wok properly.
p&Cc;& pk .r .-
Page 40 of 243
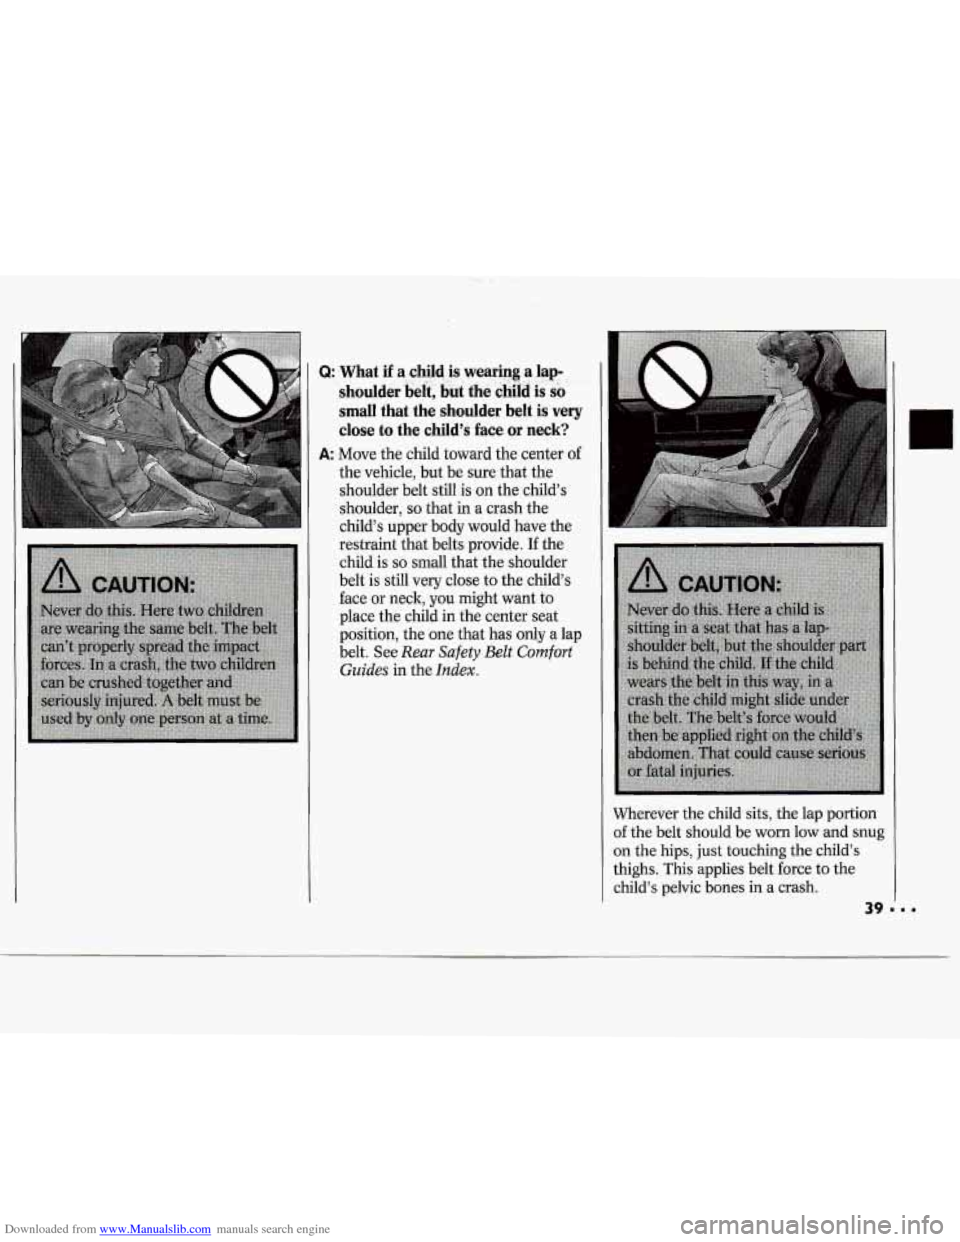
Downloaded from www.Manualslib.com manuals search engine Q: What if ,ab child .$, . . :. ..: is wearing a lap- ’ shouldet belt, tjdi the is s& I -,
small that the shoulder belt is very
close to the child’s face or neck?
A: Move the child toward the center of
the vehicle, but be sure that the
shoulder belt still is on the child’s
shoulder,
so that in a crash the
child’s upper body would have the
restraint that belts provide. If the
child is
so small that the shoulder
belt is still very close to the child’s
face or neck,
you might want to
place the child in the center seat
position, the one that has only a lap
belt. See
Rear Safety Belt Comfort
Guides
in the Index.
Wherever the child sits, the lap portion
of the belt should be worn low and snug
on the hips, just touching the child’s
thighs.
This applies belt force to the
child’s pelvic bones in
a crash.
Page 51 of 243
Downloaded from www.Manualslib.com manuals search engine Features & Controls
RUN
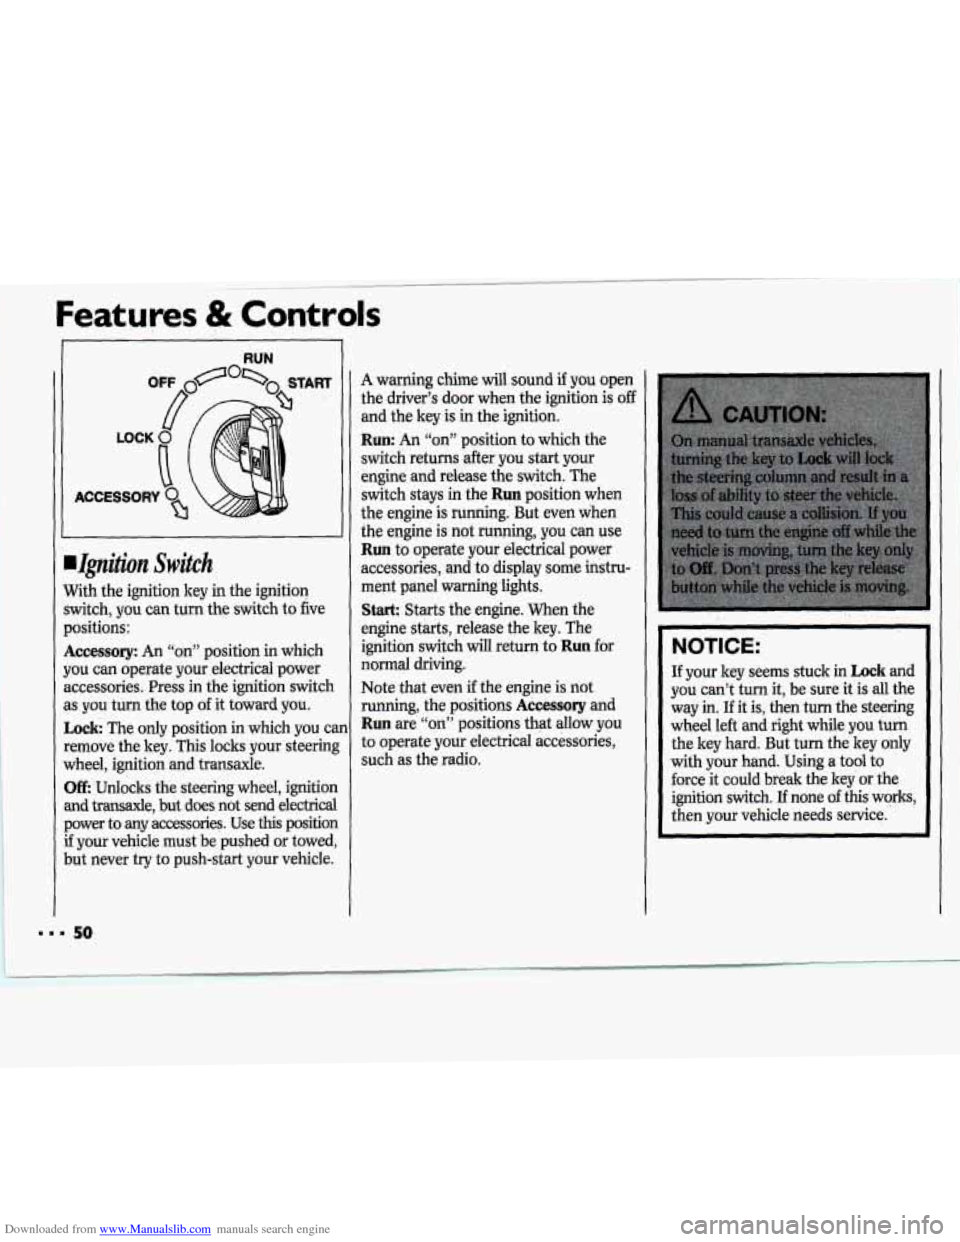
.Ignition Switch
With the ignition key in the ignition
switch, you can turn
the switch to five
positions:
Accessory: An “on” position in which
you cm operate your electrical power
accessories. Press
in the ignition switch
as you turn the top
of it toward you.
Lock The only positiop in which you can
remove the key. This locks your steering
wheel, ignition and transaxle.
Off: ,Unlocks the steering wheel, ignition
and transaxle, but does not send electrical power to any accessories. Use
this position
if your vehicle must be pushed or towed,
but never try to push-start your vehicle.
A warning chime will sound if you open
the driver’s door when the ignition
is off
and the key is in the ignition.
Run: An “on” position to which the
switch returns .after you start your
engine and release’the syitch. The
switch stays
in the Run position when
the engine
is running. But even when
the engine is
not running, you can use
Run to operate your electrical power
accessories, and
to display some histru-
ment panel WarningJights.
Stark Starts the engine. When the
engine starts, release the key. The
ignition switch will return to
Run for
normal driving.
Note that even
if the engine is not
running, the positions
Accessory and
Run are “qd’ positions’that allow you
to operate your electrical accessories,
such as .the radio.
NOTICE:
I.
If your key seems stuck in Lock and
you can’t turn it, be sure
it is all the
way
in. If it is, then turn the steering
wheel le&’and right while you
iurh
the key hard. But turn the key only
with your hand. Using
a tool to
force it could break the key or the
ignition switch.
If none of this works,
then your vehicle needs service.
50
Page 53 of 243
Downloaded from www.Manualslib.com manuals search engine Features & Controls
NOTICE:
Your engine is designed to work
with the electronics in your vehicle.
If you add electrical parts or
accessories, you could change the
way the fuel injection system
operates. Before adding electrical
equipment, check with your dealer.
If you don’t, your engine might not
perform properly. If you ever have to
have your vehicle towed, see the part
of this manual that tells how to do
it without damaging your vehicle. See
Towing Your Vehicle in the Index.
Driving Through Deep
Standing Water
NOTICE:
If you drive too quickly through
deep puddles or standing water,
water can come in through your
engine’s air intake and badly damage
your engine. If you can’t avoid deep
puddles or standing water, drive
through them very slowly.
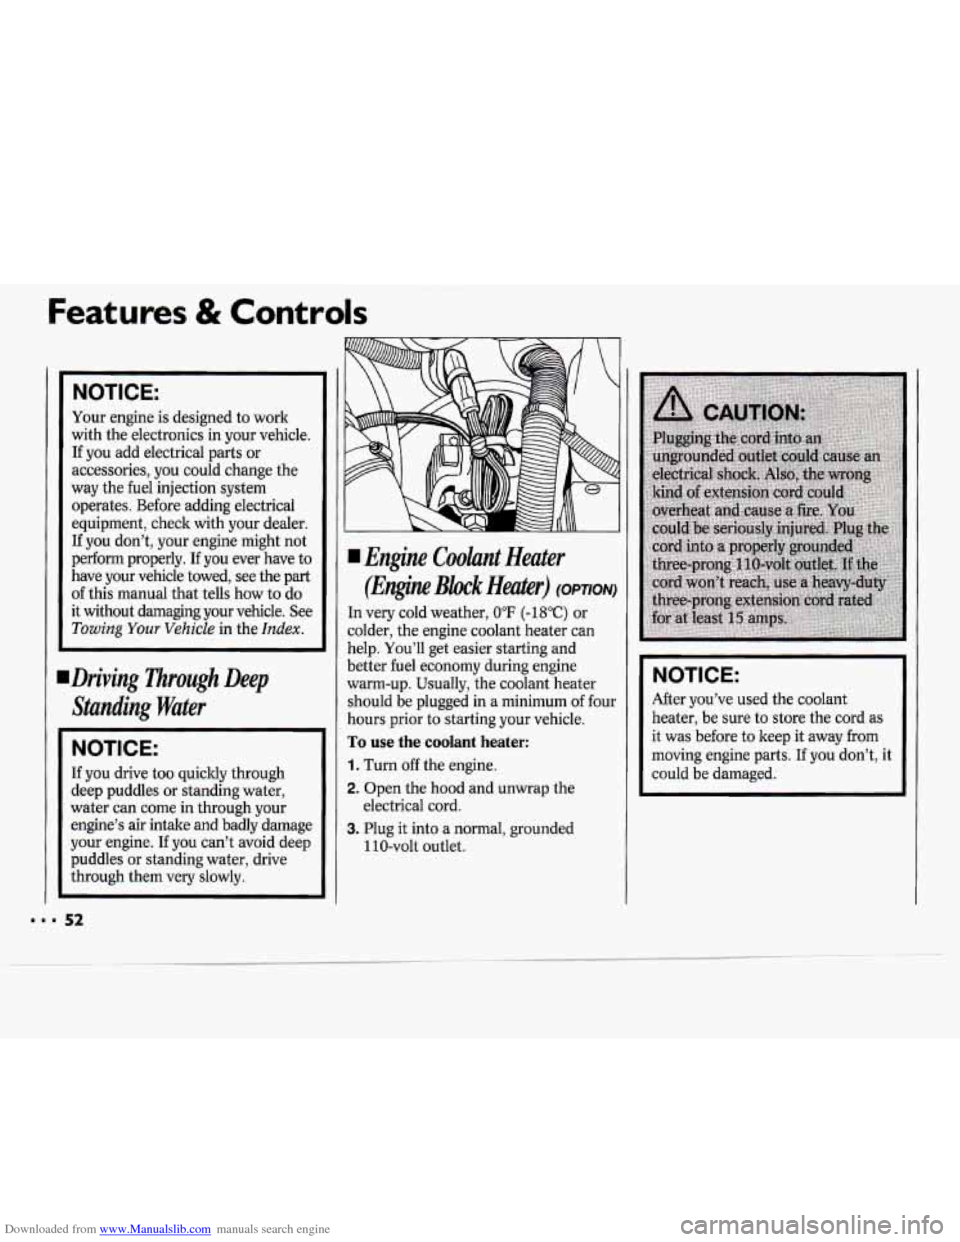
I Engine Coolant Heater
(Engine Block Heater) (OPTION)
In very cold weather, 0°F (-18°C) or
colder, the engine coolant heater can
help. You’ll get easier starting and
better fuel economy during engine
warm-up. Usually, the coolant heater
should be plugged in a minimum
of four
hours prior to starting your vehicle.
To use the coolant heater:
1. Turn off the engine.
2. Open the hood and unwrap the
3. Plug it into a normal, grounded
electrical cord.
110-volt outlet.
NOTICE:
After you’ve used the coolant
heater, be sure to store the cord as
it was before to keep it away from
moving engine parts. If you don’t, it
could be damaged.
Page 56 of 243
Downloaded from www.Manualslib.com manuals search engine Neutral
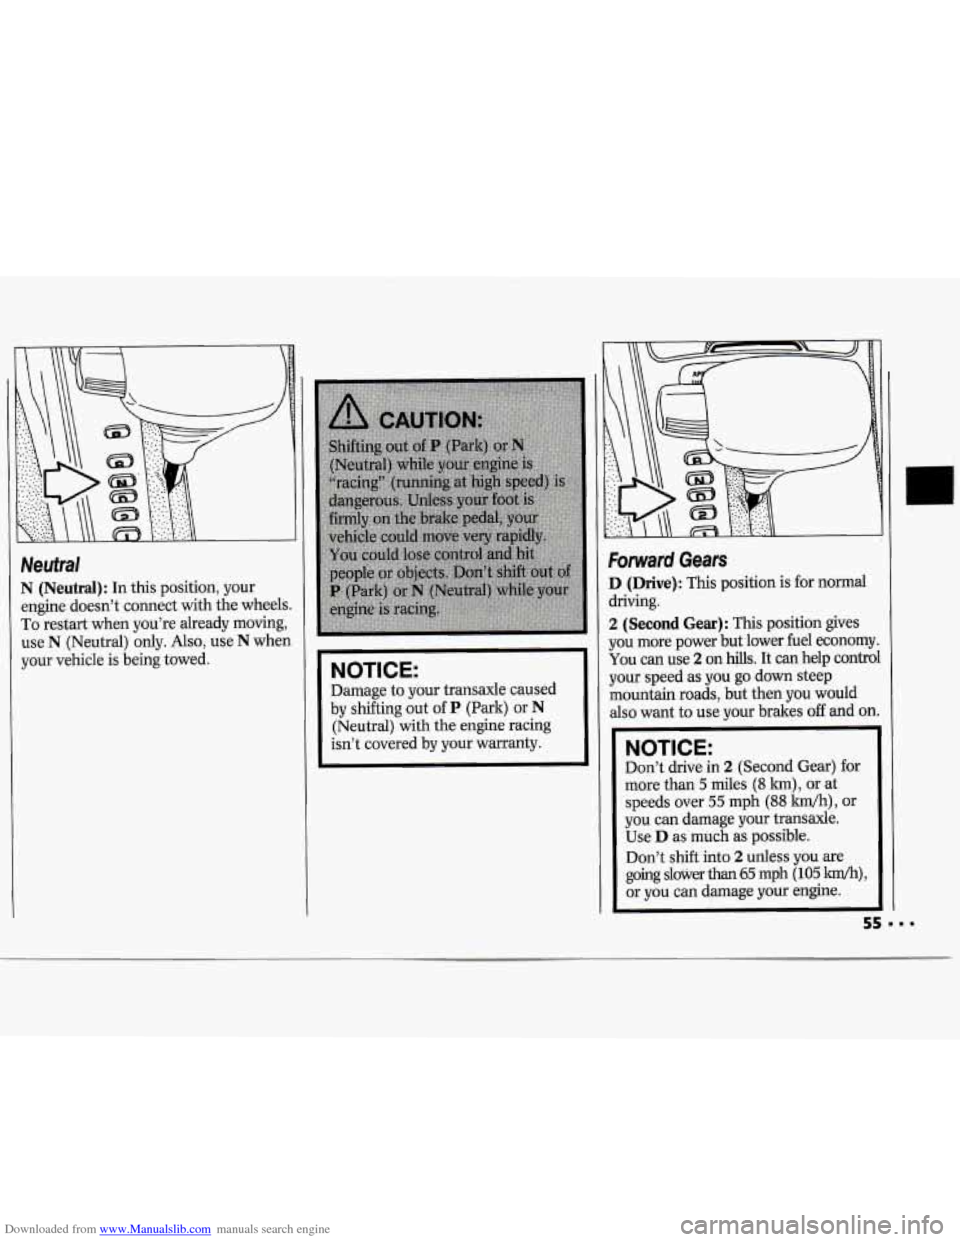
N (Neutral): In this position, your
engine doesn’t connect with the wheel:
To restart when you’re already moving,
use
N (Neutral) only. Also, use N wher
your vehicle is being towed.
I
NOTICE:
Damage to your transaxle caused
by shifting out
of P (Park) or N
(Neutral) with the engine racing
isn’t covered by your warranty.
Forward Gears
D (Drive): This position is for normal
driving.
2 (Second Gear): This position gives
you more power but lower fuel economy
You can use 2 on hills. It can help contro
your speed as you
go down steep
mountain roads, but then you would
also want to use your brakes off and on
NOTICE:
..
Don’t drive in 2 (Second Gear) for
more than
5 miles (8 km), or at
speeds over
55 mph (88 km/h), or
you can damage your transaxle.
Use
D as much as possible.
Don’t
shift into 2 unless you are
going slower
than 65 mph (105 km/h),
or you can damage your engine.
I
L
55===
Page 60 of 243
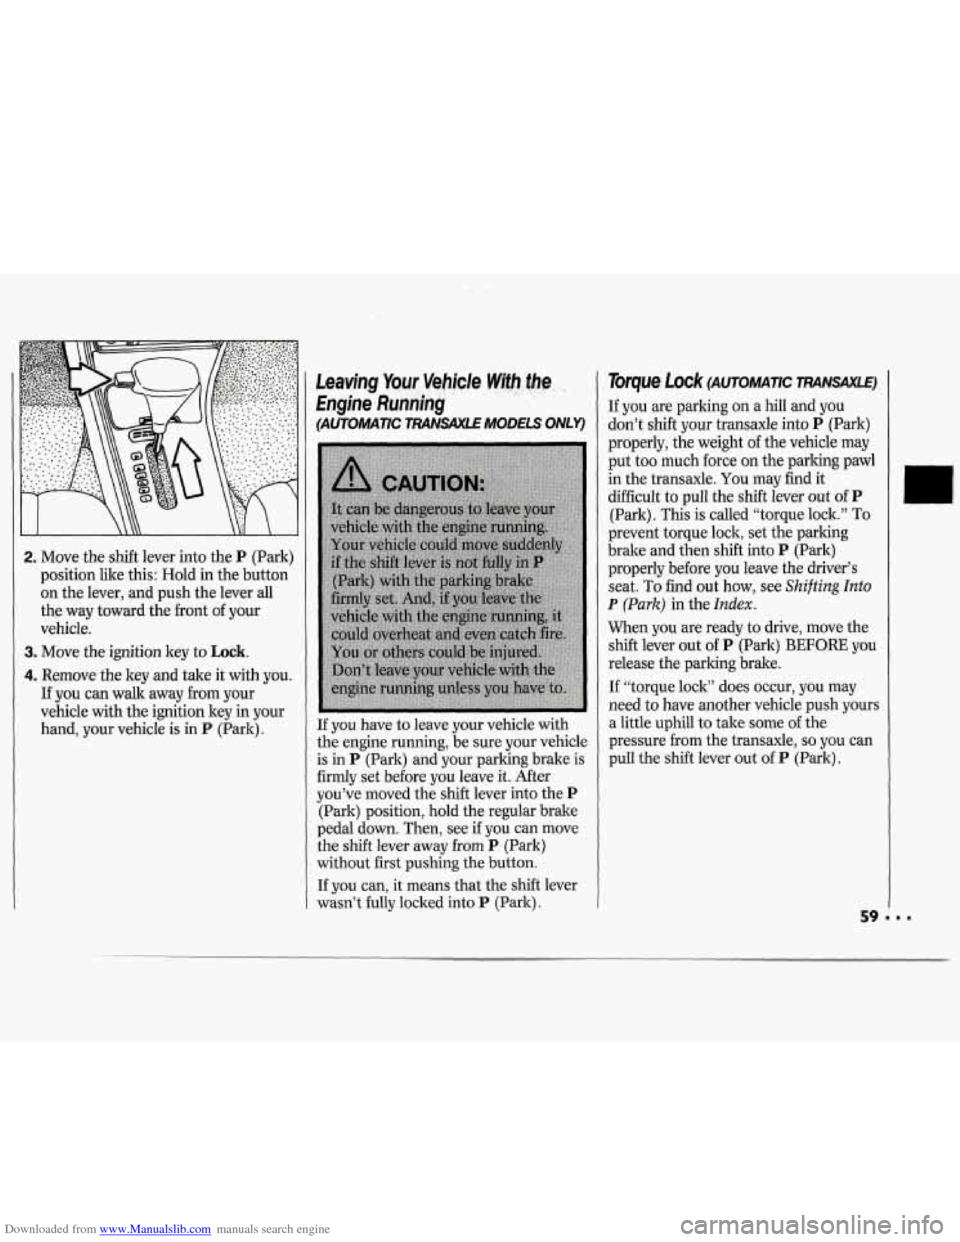
Downloaded from www.Manualslib.com manuals search engine 2. Move the shift lever into the P (Park)
position like this: Hold in the button
on the lever, and push the lever all
the way toward the front of your
vehicle.
3. Move the ignition key to Lock.
4. Remove the key and take it with you.
If you can walk away from your
vehicle with the ignition key
in your
hand, your vehicle is in
P (Park).
Leaving Yqur. Vebjcle W@h:,.the .-‘j! ., . , , :. . .
Engine Runriing ’ ’ ,. .
(AUTOllrlATIC TRANSAXLE MODELS ONLY)
If you have to leave your vehicle with
the engine running, be sure your vehicle
is in
P (Park) and your parking brake is
firmly set before you leave it. After
you’ve moved the shift lever into the
P
(Park) position, hold the regular brake
pedal down. Then, see if you can move
the shift lever away from
P (Park)
without first pushing the button.
If you can, it means that the shift lever
wasn’t fully locked into
P (Park).
Torque Lock (AUTOMATIC RWVSAXLE)
If you are parking on a hill and you
don’t shift your transaxle into
P (Park)
properly, the weight of the vehicle may
put too much force on the parking pawl
in the transaxle. You may find it
difficult to pull the shift lever out
of P
(Park). This is called “torque lock.” To
prevent torque lock, set the parking
brake and then shift into
P (Park)
properly before you leave the driver’s
seat.
To find out how, see Shifting Into
P (Park) in the Index.
When you are ready to drive, move the
shift lever out
of P (Park) BEFORE you
release the parking brake.
If “torque lock” does occur, you may
need to have another vehicle push yours
a little uphill to take some of the
pressure from the transaxle,
so you can
pull the shift lever out of
P (Park).
Page 67 of 243
Downloaded from www.Manualslib.com manuals search engine Features & Controls
The high beam headlights will come on
at reduced brightness in daylight when:
The ignition is on
The headlight switch is off, and
The parking brake is released.
When you turn on your headlights, the
DRL will switch off and the exterior
lights will come on. When you turn off
the headlights, the exterior lights will go
out and the high beams will change to
the reduced brightness
of DRL again.
The DRL indicator light on the
instrument panel will go on whenever
the DRL are on. This light means that
only the DRL are on. When you turn on
your exterior lights, this light will go
out. Of course, you may still turn on the
headlights any time
you need to.
To idle your vehicle with the DRL off,
set the parking brake. The
DRL will
stay
off until you release the parking
brake.
J
Headlight High-Low Beam
Changer
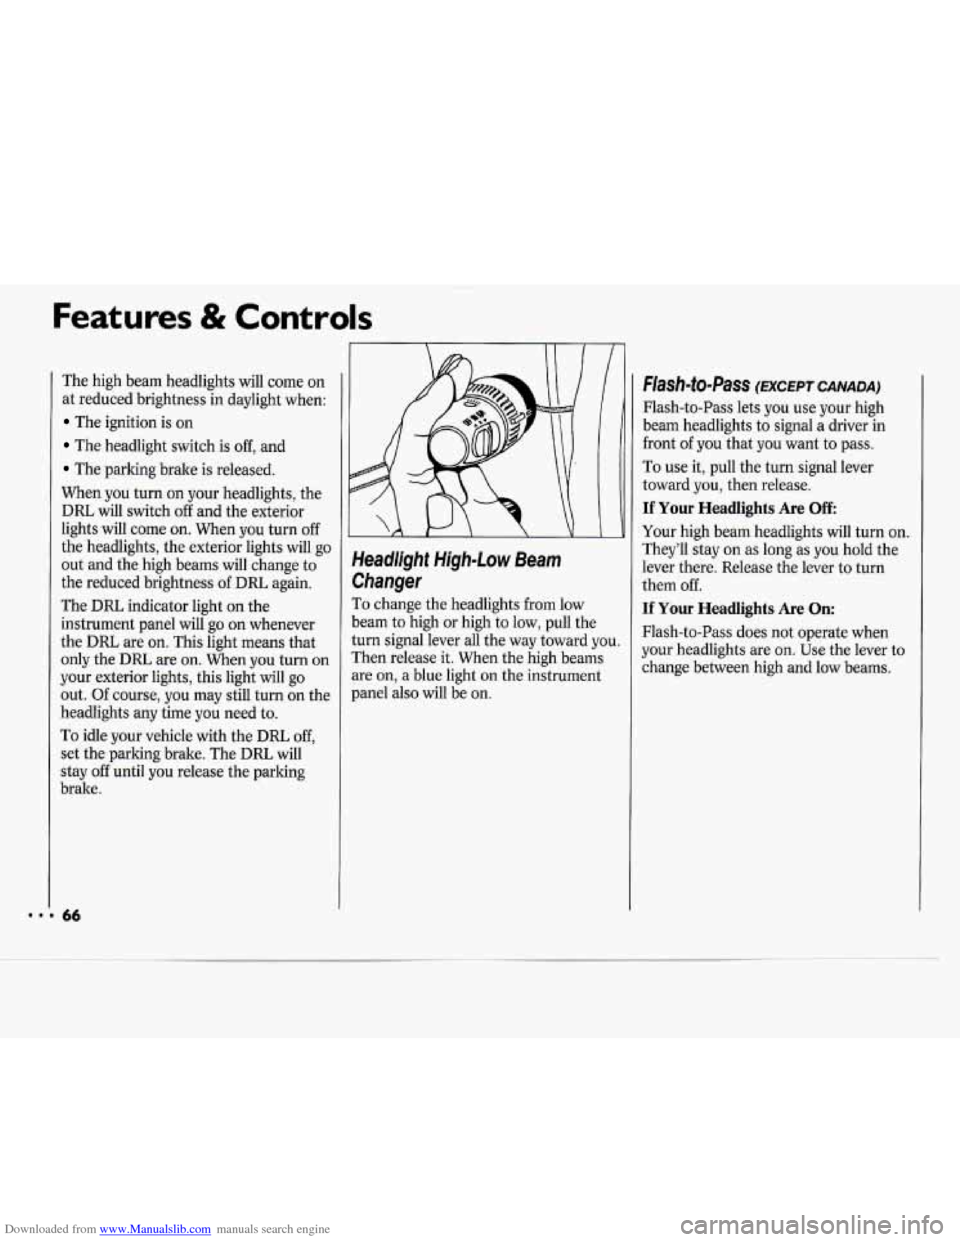
To change the headlights from low
beam
to high or high to low, pull the
turn signal lever all the way toward you.
Then release it. When the high beams
are on, a blue light on the instrument
panel also will be on.
Flash-to-Pass (EXCEPT CANADA)
Flash-to-Pass lets you use your high
beam headlights to signal a driver in
front
of you that you want to pass.
To use it, pull the turn signal lever
toward you, then release.
If Your Headlights Are Off
Your high beam headlights will turn on.
They’ll stay on
as long as you hold the
lever there. Release the lever to turn
them off.
If Your Headlights Are On:
Flash-to-Pass does not operate when
your headlights are on. Use the lever to
change between high and low beams.
Page 70 of 243
Downloaded from www.Manualslib.com manuals search engine c
II
Intermittent Windshield Wipers
(OPTION)
If your vehicle has intermittent
windshield wipers, you can set the
wiper speed for
a long or short delay
between wipes. This can be very useful
in light rain or snow.
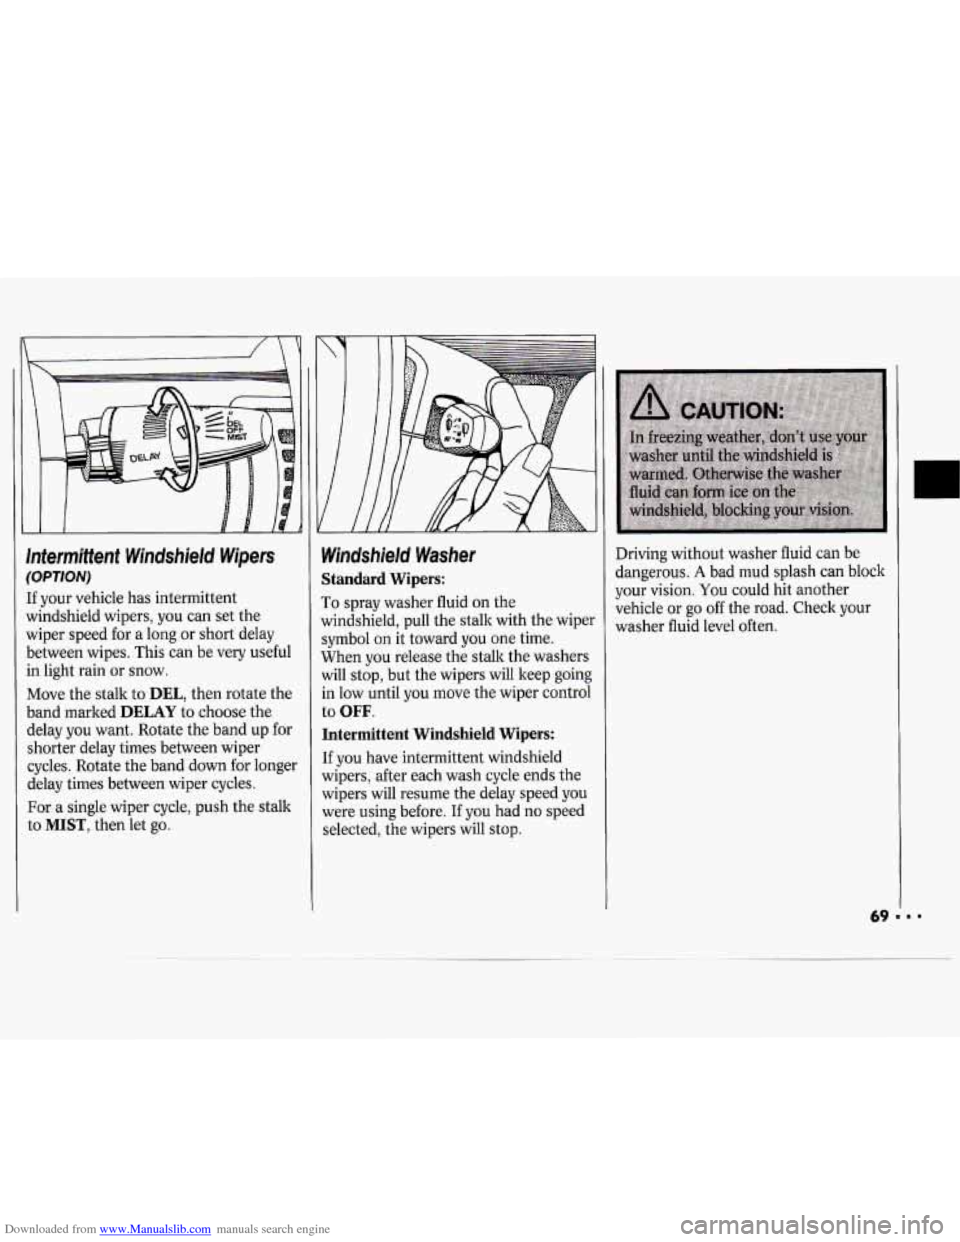
Move the stalk to
DEL, then rotate the
band marked
DELAY to choose the
delay you want. Rotate the band up for
shorter delay times between wiper
cycles. Rotate the band down for longel
delay times between wiper cycles.
For a single wiper cycle, push the stalk
to
MIST, then let go.
1
1
t I
1
4
1
1
1
1
r
Windshield Washer
Standard Wipers:
To spray washer fluid on the
windshield, pull the stalk with the wipe]
symbol
on it toward you one time.
When you release the stalk the washers
will stop, but the wipers will keep going
in low until you move the wiper control
to OFF.
Intermittent Windshield Wipers:
If you have intermittent windshield
wipers, after each wash cycle ends the
wipers will resume the delay speed you
were using before.
If you had no speed
selected, the wipers will stop. Driving
without washer fluid can be
dangerous.
A bad mud splash can block
your vision.
You could hit another
vehicle or go
off the road. Check your
washer fluid level often.
Page 73 of 243
Downloaded from www.Manualslib.com manuals search engine Features & Controls
To Reduce Speed While Using
Cruise Control
There are two ways to reduce your
speed while using cruise control:
Push in the button at the end of the
lever until you reach the lower speed
you want, then release
it.
To slow down in very small amounts,
push the button for less than half a
second. Each time you do this, you’ll
go
1 mph (1.6 km/h) slower.
Passing Another Vehicle While Using Cruise Control
Use the accelerator pedal to increase
your speed. When you take your foot
off
the pedal, your vehicle will slow down
to the cruise control speed you set
earlier.
Using Cruise Control on Hills
How well your cruise control will work
on hills depends upon your speed, load,
and the steepness of the hills. When
going
up steep hills, you may have to step
on the accelerator pedal to
maintain your speed. When going
downhill, you may have to brake or
shift to a lower gear to keep your speed
down. Of course, applying the brake or
clutch pedal takes you out of cruise
control. Many drivers find this to be too,
much trouble and don’t use cruise
control on steep hills.
To Get Out of Cruise Control
There are several ways to turn off the
cruise control:
Step lightly on the brake pedal, or
push the clutch pedal,
if you have a
manual transaxle; OR
Move the cruise switch to OFF.
To Erase Cruise Speed Memory
When you turn off the cruise control or
the ignition, your cruise control set
speed memory is erased.
Inside Manual DaylNight
Rearview Mirror
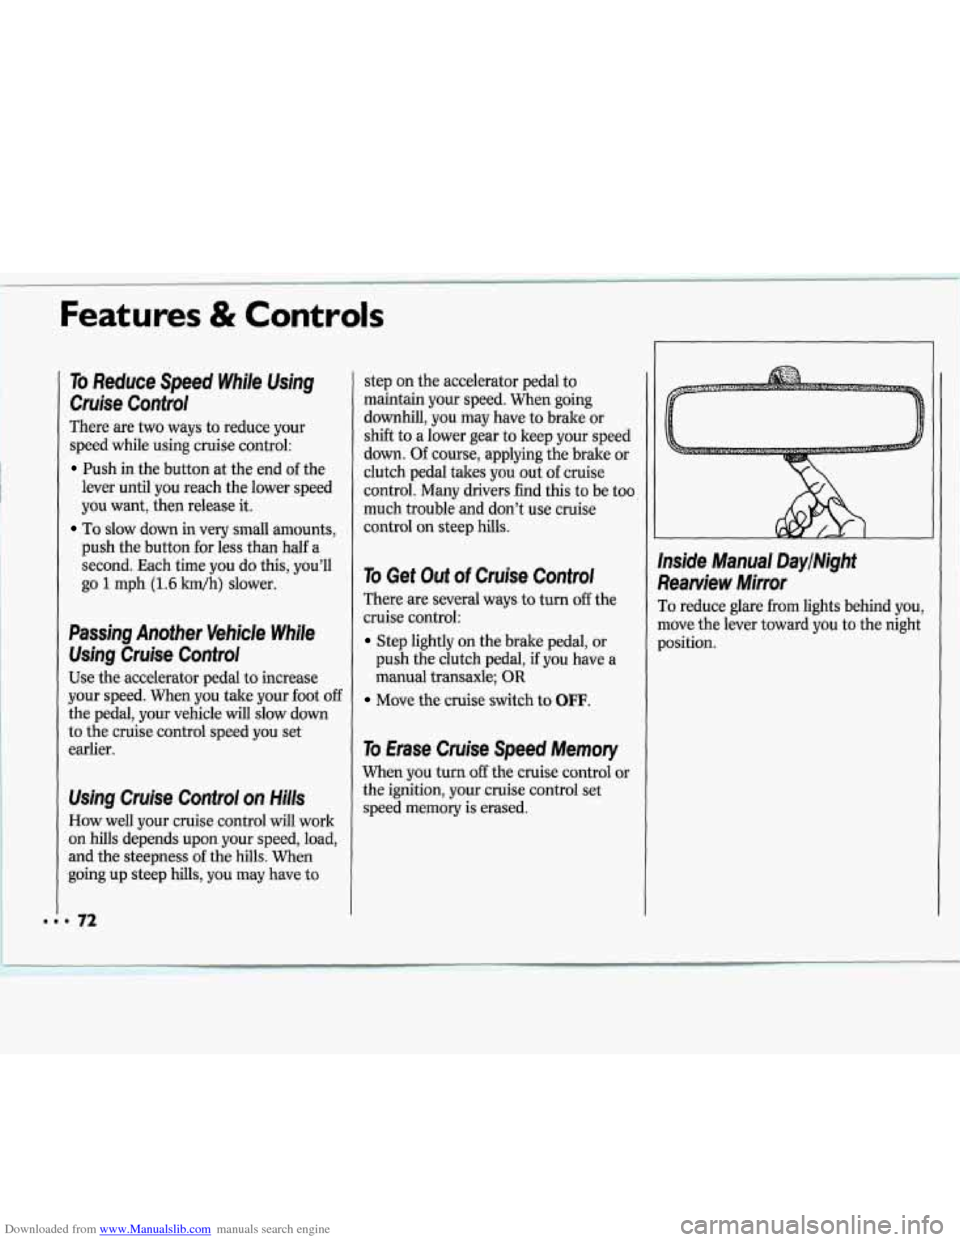
To reduce glare from lights behind you,
move the lever toward you to the night
position.
Page 87 of 243
Downloaded from www.Manualslib.com manuals search engine Features & Controls
II
I CHECK
L
I
I
... 86
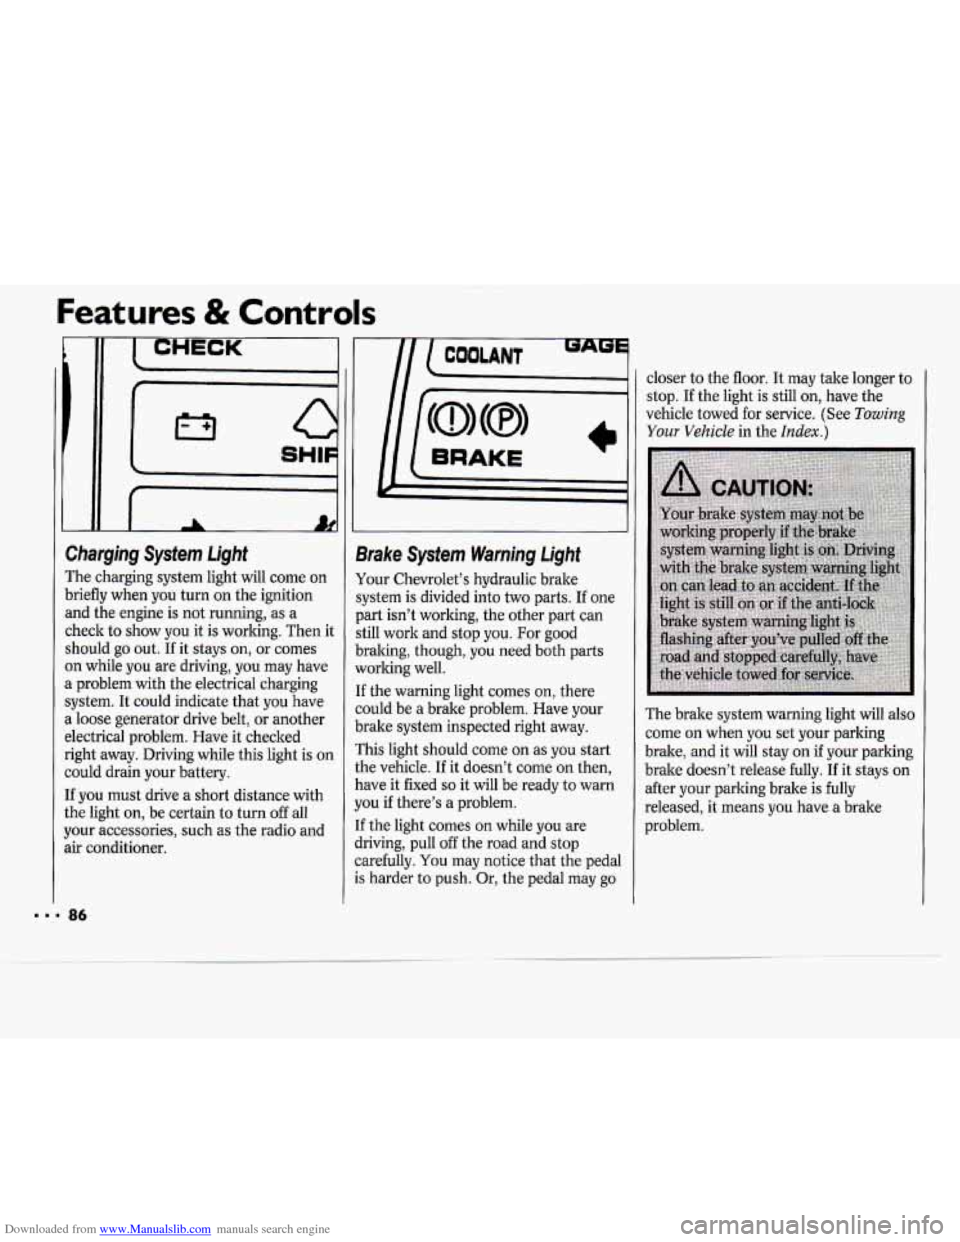
Charging System Light
The charging system light will come on
briefly when you turn on the ignition
and the engine is not running, as a
check to show you it is working. Then it
should
go out. If it stays on, or comes
on while you are driving, you may have
a problem with the electrical charging
system. It could indicate that you have
a loose generator drive belt, or another
electrical problem. Have it checked
right away. Driving while this light is on
could drain your battery.
If you must drive a short distance with
the light on, be certain to turn
off all
your accessories, such as the radio and
air conditioner.
m
9rake Sysfem Warning Light
tour Chevrolet’s hydraulic brake
;ystem is divided into two parts. If one
)art isn’t working, the other part can
;till work and stop you. For good
)raking, though, you need both parts
vorlting well.
[f the warning light comes on, there
zould be a brake problem. Have your
brake system inspected right away.
rhis light should come
on as you start
the vehicle.
If it doesn’t come on then,
have it fixed
so it will be ready to warn
you if there’s a problem.
[f the light comes on while you are
jriving, pull off the road and stop
zarefully.
You may notice that the pedal
.s harder to push. Or, the pedal may go closer
to the floor. It may take longer to
stop.
If the light is still on, have the
vehicle towed for service. (See
Towing
Your Vehicle in the Index.)
The brake system warning light will also
come
on when you set your parking
brake, and it will stay
on if your parking
brake doesn’t release fully. If it stays on
after your parking brake is
fully
released, it means you have a brake
problem.