audio CHEVROLET CAVALIER 1995 3.G Owners Manual
[x] Cancel search | Manufacturer: CHEVROLET, Model Year: 1995, Model line: CAVALIER, Model: CHEVROLET CAVALIER 1995 3.GPages: 340, PDF Size: 17.09 MB
Page 3 of 340
Downloaded from www.Manualslib.com manuals search engine 0 TI-? 1995 Chevrolet Cavalier Owner’s Manual
I
Seats and Restraint Systems .............................................................
This section tells you how to use your seats and safety belts properly. It also explains the “SRS”
(Air Bag) System.
This section explains how to start and operate your Chevrolet.
This section tells you how to adjust the ventilation and comfort controls and how to operate your
sound system.
YourDrivingandtheRoad ..............................................................
Here you’ll find helpful information and tips about the road and how to drive under different conditions.
ProblemsontheRoad ..................................................................
This section tells you what to do if you have a problem while driving, such as a flat tire or engine
overheating, etc.
ServiceandAppearanceCare ............................................................
Here the manual tells you how to keep your Chevrolet running properly and looking good.
Maintenanceschedule ..................................................................
This section tells you when to perform vehicle maintenance and what fluids and lubricants to use.
Customer Assistance Information ........................................................
This section tells you how to contact Chevrolet for assistance and how to get service publications. It also
gives
you information on “Reporting Safety Defects” on page 8-4.
Here’s an alphabetical listing of almost every subject in this manual. You can use it to quickly find
something
you want to read.
FeaturesandControls ..................................................................
Comfort Controls and Audio Systems .....................................................
Index ........................................................................\
........
1-1
2-1
3-1
4- 1
5- 1
6-1
7-1
8-1
9- 1
i
Page 97 of 340
Downloaded from www.Manualslib.com manuals search engine Illuminated EntryLExit System
When you open either front door, or open a rear door,
the lamps inside your vehicle will go
on. These lamps
will fade off after about
40 seconds, or when the ignition
is turned on.
If the ignition has been off for less than two minutes,
the lamps inside your vehicle will stay on for about
15 seconds to provide an illuminated exit when you
remove the key from the ignition.
After you exit the vehicle and all of the doors have been
closed,
the lamps will stay on for an additional four
seconds before fading
off.
Battery Rundown Protection
Your Chevrolet is equipped with a Battery Rundown
Protection feature designed
to protect your vehicle’s
battery.
When any interior lamp (trunk, reading, dome, glove
box, etc.) is left
on and the ignition is turned OFF, the
Battery Rundown Protection system will automatically
turn the lamp
off after 20 minutes. This will avoid
draining the battery. This system does not protect
against leaving on the headlamps.
To reactivate the interior lamps, either:
The ignition must be turned on,
The activated lamp switch must be turned off, then
on, OR
A door must be opened.
The Battery
Rundown Protection feature will also be
activated when any door is
left open.
If your vehicle is left with the ignition off for over
24 days, the battery power to the clock and audio
system will turn off to reduce the battery drain. When
the ignition is turned on again, battery power will be
resupplied. Under these conditions it will be necessary
to reset the clock and audio system settings.
2-41
Page 112 of 340
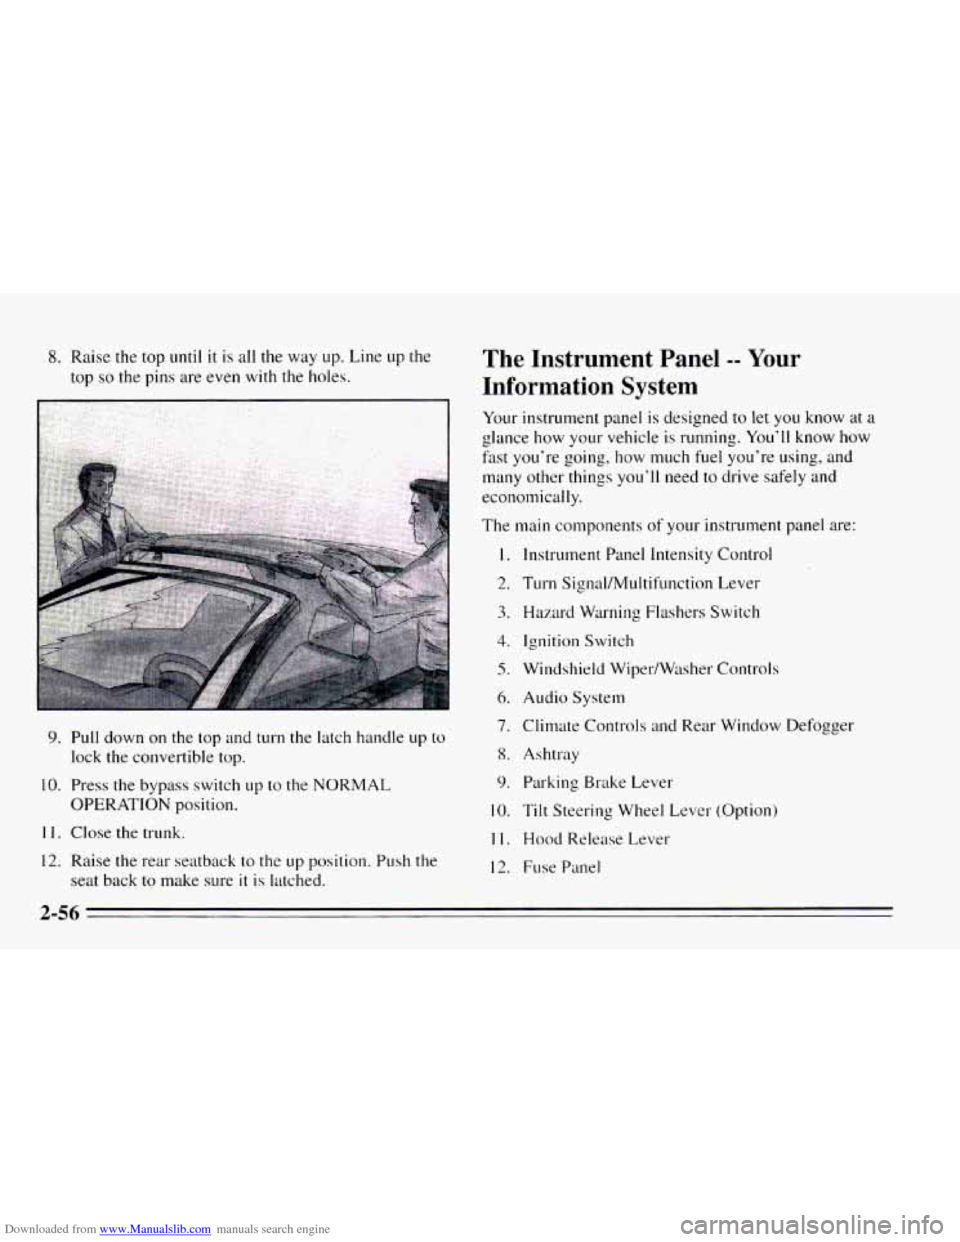
Downloaded from www.Manualslib.com manuals search engine 8. Raise the top until it is all the way up. Line up the
top
so the pins are even with the holes.
9. Pull down on the top and turn the latch handle up to
lock the convertible top.
10. Press the bypass switch up to the NORMAL
OPERATION position.
11. Close the trunk.
12. Raise the rear seatback to the up position. Push the
seat back to make sure
it is latched.
The Instrument Panel -- Your
Information System
Your instrument panel is designed to let you know at a
glance how your vehicle is running. You’ll know how
fast you‘re going, how much fuel you’re using, and
many other things you’ll need to drive safely and
economically.
The main components
of your instrutnent panel are:
1.
2.
3.
4.
5.
6.
7.
8.
9.
10.
11.
12.
Instrument Panel Intensity Control
Turn Signal/MuItifunction Lever
Hazard Warning Flashers Switch
Ignition Switch
Windshield Wiper/Wtlsher Controls
Audio System
Climate Controls
and Rear Window Defogger
Ashtray Parking Brake Lever
Tilt Steering Wheel Lever (Option)
Hood Release Lever
Fuse Panel
2-56
Page 127 of 340
Downloaded from www.Manualslib.com manuals search engine 0 Section 3 Comfort Controls and Audio Svstems J
In this section you’ll find out how to operate the comfort
control systems and audio systems offered with your
Chevrolet. Be sure
to read about the particular system
supplied with your vehicle.
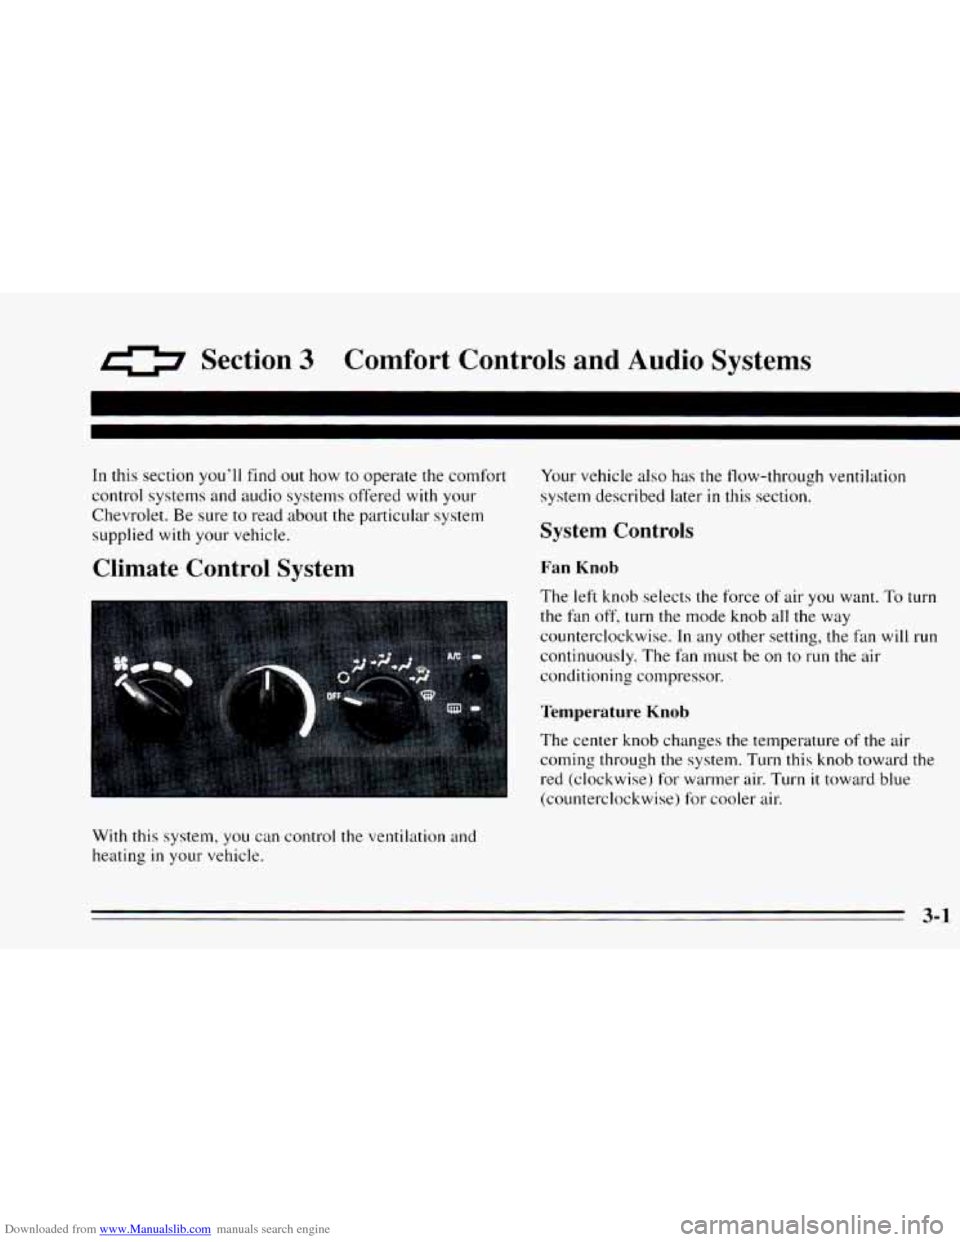
Climate Control System
With this system, you can control the ventilation and
heating
in your vehicle. Your
vehicle also has the flow-through ventilation
system described later
in this section.
System Controls
Fan Knob
The left knob selects the force of air you want. To turn
the fan off, turn the mode knob all the way
counterclockwise.
In any other setting, the fan will run
continuously. The fan must
be on to run the air
conditioning compressor.
Temperature Knob
The center knob changes the temperature of the air
coming through
the system. Turn this knob toward the
red (clockwise) for warmer air. Turn it toward blue
(counterclockwise) for cooler air.
3-1
Page 131 of 340
Downloaded from www.Manualslib.com manuals search engine Ventilation Tips
0
0
0
Keep the hood and front air inlet free of ice, snow or
any other obstruction, such
as leaves. The heater and
defroster will work far better, reducing the chance
of
fogging the inside of your windows.
When you enter
a vehicle in cold weather, adjust the
mode knob
to FLOOR and the fan to the highest
speed for
a few moments before driving off. This
helps clear the intake ducts of snow and moisture
and reduces the chance
of fogging the inside of your
windows.
Keep the air path under the front seats cle.ar of
objects. This helps air circulate throughout your
vehicle.
Audio Systems
Your Delco@ audio system has been designed to operate
easily and give years of listening pleasure.
You will get
the most enjoyment out of
it if you ac mint yourself
with
it first. Find out what your Delco 9s system can do
and how
to operate all its controls, to be sure you’re
getting the most
out of the advanced engineering that
went into
it.
Setting the Clock
No matter which audio system you have in your vehicle,
setting the clock is easy.
1.
2.
With the ignition on and the radio on or off, press
SET. The SET indicator will appear on the digital
screen for five seconds.
You must begin to set the clock to the correct hour
and minute during those five seconds.
If your audio system does not have a CD player:
0 Press the SEEK down arrow to set the hour.
Press the SEEK up arrow to set the minute.
If your audio system has
a CD player:
0 Press SCAN to set the hour.
Press the SEEK up or down arrows to decrease or
increase the minutes.
3-5
Page 136 of 340
Downloaded from www.Manualslib.com manuals search engine PREV Press to play a track again. If you keep pressing
the PREV button, the disc will keep backing up to
previous tracks.
NEXT: Press to advance to the next track. If you keep
pressing the NEXT button, the disc will keep advancing
to other tracks.
STPPL: Press this button to switch between the radio
and disc when a disc is
in the player.
EJECT Press this button to remove the disc. The radio
will play.
If
you turn off the ignition or radio with a disc in the
player, it will stay in the player. When
you turn on the
ignition or system, the disc will start playing where it
was stopped.
CD Player Anti-Theft Feature
Delco LOC II@ is a security feature that can be used or
ignored. If
you ignore it, the radio will play normally. If
you
use it, your radio cannot be turned on if it is stolen.
These instructions will
tell you how to enter a secret
code
into the radio. If battery power is lost for any
reason, the secret code must
be entered again before
your audio system can be turned on.
To Set the Anti-Theft System:
1. Write down any six-digit number and keep it in a
safe place. This is your secret code.
2. Turn the ignition on.
3. Rotate the PWR-VOL knob to turn the radio off.
4. Press station preset buttons 1 and 4 at the same time
and hold until
“---” shows on the display.
You now have only
I5 seconds between each of the
following steps.
5. Press SET and “000” will appear on the display.
6. Press SCAN until the first digit of your code
appears.
7. Press SEEK until the second and third digits of your
code appear.
8. Press the TUNE knob (“000” will appear on the
display).
9. Press SCAN until the fourth digit of your code
appears.
10. Press SEEK until the fifth and sixth digits of your
code appear.
3-10
Page 138 of 340
Downloaded from www.Manualslib.com manuals search engine AM
The range for most AM stations is greater than for FM,
especially at night. The longer range, however, can
cause stations to interfere with each other. AM can also
pick up noise from things like storms and power lines.
To lower this noise, try reducing the treble level.
,*ps for Using Your Audio System
Hearing damage from loud noise is almost undetectable
until
it is too late. Your hearing can adapt to higher
volumes
of sound. Sound that seems normal can be loud
and harmful to your hearing. Take precautions by
adjusting the volume control
on your radio to a safe
sound level before your hearing adapts to it.
To help avoid hearing loss or damage:
Adjust the volume control to the lowest setting.
Increase volume slowly until you hear comfortably
and clearly.
’ NOTICE:
Before you add any sound equipment to your
vehicle
-- like a tape player, CB radio, mobile
telephone or two-way radio
-- be sure you can
add what you want. If you can, it’s very
important to do it properly. Added sound
equipment may interfere with the operation of
your vehicle’s engine, Delco@ radio or other
systems, and even damage them. And, your
vehicle’s systems may interfere with the
operation
of sound equipment that has been
added improperly.
So, before adding sound equipment, check with
your dealer and be sure to check Federal rules covering mobile radio and telephone units.
Page 300 of 340
Downloaded from www.Manualslib.com manuals search engine Part B: Owner Chews and Services
Listed below are owner checks and services which
should be performed at the intervals specified to help
ensure the safety, dependability and emission control
performance of your vehicle.
Be sure any necessary repairs are completed at once.
Whenever any fluids or lubricants are added
to your
vehicle, make sure
they are the proper ones, as shown in
Part D.
At Each Fuel Fill
It is important for you or a service station attendant to
pe$orm these underhood checks at each fuel fill.
Engine Oil Level Windshield Washer Fluid Level
Check the windshield washer fluid level
in the
windshield washer tank and add the proper fluid
if
necessary. See “Windshield Washer Fluid” in the Index
for further details.
At Least Once a Month
Tire Inflation
Check tire inflation. Make sure tires are inflated to the
pressures specified on the Tire-Loading Information
label located
on the rear edge of the driver’s door. See
“Tires”
in the Index for further details.
Cassette Deck
Clean cassette deck. Cleaning should be done every
50 hours of tape play. See “Audio Systems’’ in the Index
for further details.
Check the engine oil level
and add the proper oil if
necessary. See “Engine Oil” in the Index for further
details.
At Least Twice a Year
Engine Coolant Level
Check the engine coolant level and add the proper
coolant mix if necessary. See “Coolant”
in the Index for
further details.
Hydraulic Clutch System Inspection
Check the fluid level in the clutch reservoir. See
“Hydraulic Clutch Fluid“ in the Index.
A fluid loss in
this system could indicate
a problem. Have the system
inspected and repaired at once.
7-38
Page 327 of 340
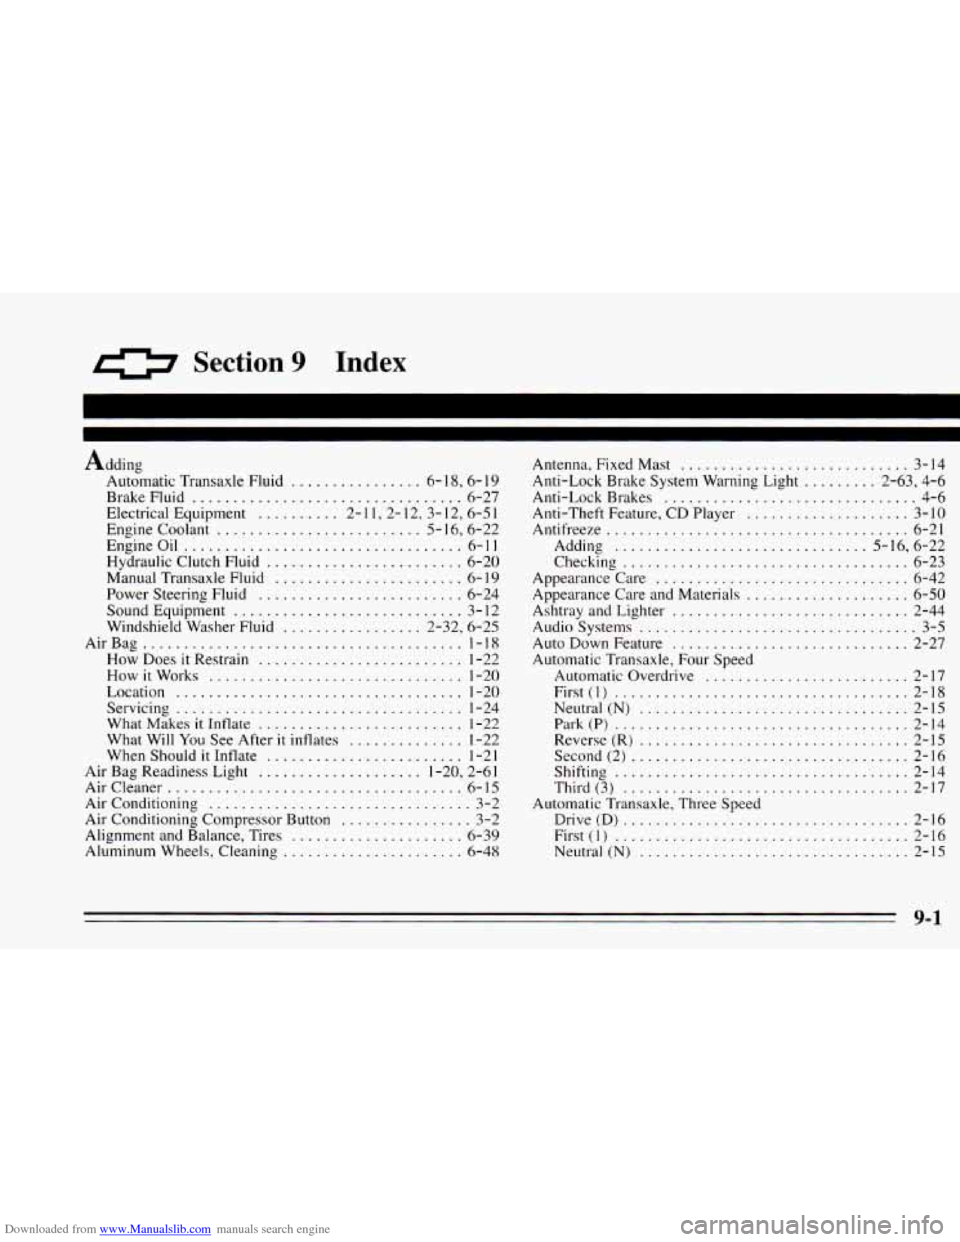
Downloaded from www.Manualslib.com manuals search engine 0 Section 9 Index
Adding Automatic Transaxle Fluid
................ 6- 18. 6- 19
BrakeFluid ................................. 6-27
Electrical Equipment
.......... 2-1 1 , 2- 12, 3- 12, 6-5 1
Engine Coolant ......................... 5- 16, 6-22
Engineoil
.................................. 6-11
Hydraulic Clutch Fluid ........................ 6-20
Manual Transaxle Fluid
....................... 6- 19
Power Steering Fluid ......................... 6-24
SoundEquipment
............................ 3-12
Windshield Washer Fluid
................. 2-32, 6-25
AirBag
....................................... 1-18
How Does
it Restrain ......................... 1-22
Howitworks
............................... 1-20
Location
................................... 1-20
Servicing
................................... 1-24
What Makes
it Inflate ......................... 1-22
What Will You See After it inflates .............. 1-22
When Should
it Inflate ........................ 1-2 1
Air Bag Readiness Light .................... 1-20, 2-61
Aircleaner
.................................... 6-15
Air Conditioning ................................ 3-2
Air Conditioning Compressor Button
................ 3-2
Alignment and Balance, Tires
..................... 6-39
Aluminum Wheels, Cleaning ...................... 6-48
Antenna. Fixed Mast ............................ 3-14
Anti-Lock Brake System Warning Light
......... 2.63. 4.6
Anti-Lock Brakes
............................... 4-6
Anti-Theft Feature.
CD Player .................... 3-10
Antifreeze ..................................... 6-21
Adding
............................... 5.16. 6.22
Checking
................................... 6-23
Appearance Care
............................... 6-42
Appearance Care and Materials
.................... 6-50
Ashtray and Lighter ............................. 2-44
Audiosystems
.................................. 3-5
Auto Down Feature
............................. 2-27
Automatic Transaxle.
Four Speed
Automatic Overdrive
......................... 2-17
First(1)
.................................... 2-18
Neutral
(N) ................................. 2-15
Park(P) .................................... 2-14
Reverse(R)
................................. 2-15
Second(2)
.................................. 2-16
Shifting
.................................... 2-14
Third (3)
................................... 2-17
Drive(D)
................................... 2-16
First(1)
.................................... 2-16
Neutral (N)
................................. 2-15
Automatic Transaxle. Three Speed
9-1