steering wheel CHEVROLET CAVALIER 1995 3.G Owners Manual
[x] Cancel search | Manufacturer: CHEVROLET, Model Year: 1995, Model line: CAVALIER, Model: CHEVROLET CAVALIER 1995 3.GPages: 340, PDF Size: 17.09 MB
Page 30 of 340
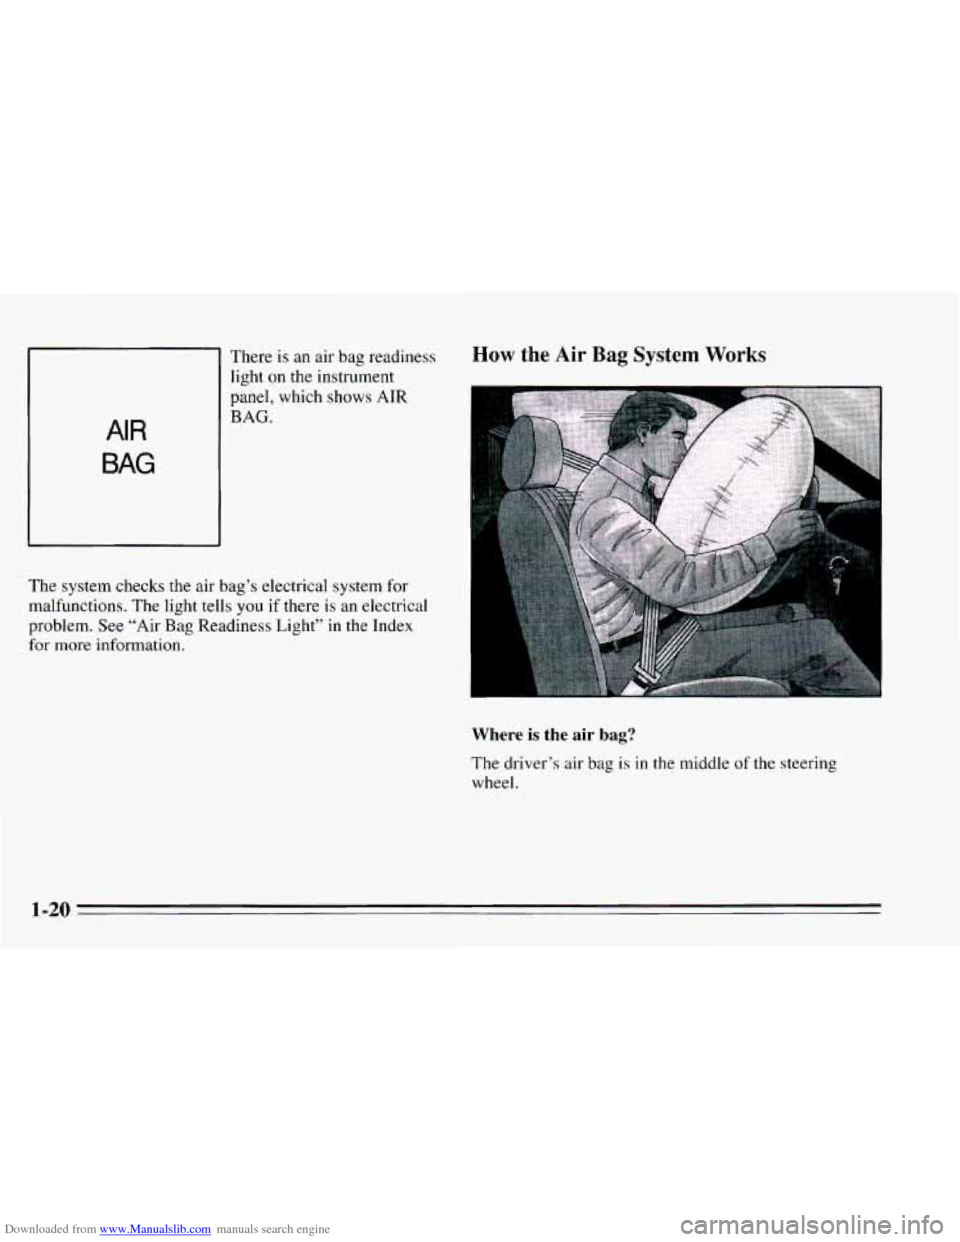
Downloaded from www.Manualslib.com manuals search engine There is an air bag readiness
light on the instrument
panel, which
shows AIR
AIR
BAG
BAG.
How the Air Bag System Works
The system checks the air bag’s electrical system for
malfunctions.
The light tells you if there is an electrical
problem. See “Air
Bag Readiness Light” in the Index
for more information.
Where is the air bag?
The driver’s air bag is in the middle of the steering
wheel.
1-20
Page 32 of 340
Downloaded from www.Manualslib.com manuals search engine It is possible that in a crash only one of the two air bags
in your Cavalier will deploy. This is rare, but can happen
in a crash just severe enough
to make an air bag inflate.
In any particular crash,
no one can say whether an air
bag should have inflated simply because of the damage
to a vehicle or because of what the repair costs were.
Inflation
is determined by the angle of the impact and
the vehicle’s deceleration. Vehicle damage
is only one
indication of this.
What makes an air bag inflate?
In a frontal or near-frontal impact of sufficient severity,
the air bag sensing system detects that the vehicle is
suddenly stopping as a result
of a crash. The sensing
system triggers a chemical reaction of
the sodium azide
sealed in the inflator. The reaction produces nitrogen
gas, which inflates the air bag. The inflator, air bag, and
related hardware are all part
of the air bag modules
packed inside the steering wheel and in the instrument
panel in front
of the right front passenger.
How does an air bag restrain?
In moderate to severe frontal or near-frontal collisions,
even belted occupants
can contact the steering wheel or
the instrument panel. The air bag supplements
the
protection provided by safety belts. Air bags distribute
the force
of the impact more evenly over the occupant’s
upper body, stopping the occupant more gradually. But
air bags would not help
you in many types of collisions,
including rollovers and rear and side impacts, primarily
because an occupant’s motion is
not toward the air bag.
Air bags should never be regarded as anything more
than a supplement to safety belts, and then only in
moderate to severe frontal or near-frontal collisions,
What will you see after an air bag inflates?
After the air bag inflates, it quickly deflates. This occurs
so quickly that some people may not even realize the air
bag inflated. Some components of the air bag module
in
the steering wheel hub for the driver’s air bag, or the
instrument panel for the right front passenger’s bag, will
be
hot for a short time, but the part of the bag that comes
into contact with you will
not be hot to the touch. There
will be some smoke and dust coming from vents in the
deflated air bags. Air bag inflation will
not prevent the
driver from seeing or from being able
to steer the
vehicle, nor will it stop people from leaving the vehicle.
1-22
Page 33 of 340

Downloaded from www.Manualslib.com manuals search engine In many crashes severe enough to inflate an air bag,
windshields are broken by vehicle deformation.
Additional windshield breakage may also occur from the
right front passenger air bag.
0 The air bags are designed to inflate only once. After
they inflate, you’ll need some new parts for your air
bag system. If you don’t get them, the air bag system
won’t be there
to help protect you in another crash.
A new system will include air bag modules and
possibly other parts. The service manual for your
vehicle covers the need
to replace other parts.
Your vehicle is equipped with a diagnostic module,
which records information about the air bag system.
The module records information about the readiness
of the system, when the sensors are activated and
driver’s safety belt usage at deployment.
Let only qualified technicians work on your air bag
system. Improper service can mean that your
air bag
system won’t work properly. See your dealer for
service.
NOTICE:
If you damage the cover for the driver’s or the
right front passenger’s
air bag, they may not
work properly. You may have to replace the air
bag module in the steering wheel
or both the air
bag module and the instrument panel for the
right front passenger’s air bag.
Do not open or
break the air bag covers.
1-23
Page 62 of 340
Downloaded from www.Manualslib.com manuals search engine Theft Parking at Night
Vehicle theft is big business, especially in some cities.
Although your Chevrolet has a number
of theft-deterrent
features, we know that nothing we put on it can make it
impossible to steal. However, there are ways
you can
help.
Key in the Ignition
If you walk away from your vehicle with the keys
inside, it’s an easy target for
joy riders or professional
thieves
-- so don’t do it.
When
you park your Chevrolet and open the driver’s
door,
you’ll hear a chime reminding you to remove your
key
from the ignition and take it with you. Always do
this. Your steering wheel will be locked, and so will
your ignition.
If you have an automatic transaxle, taking
your key out also locks your transaxle. And remember
to lock the doors. Park
in a
lighted spot, close all windows and lock your
vehicle. Remember to keep your valuables out
of sight.
Put them in
a storage area, or take them with you.
Parking Lots
If you park in a lot where someone will be watching
your vehicle, it’s best to lock it up and take your keys.
But what
if you have to leave your ignition key? What if
you have to leave something valuable in your vehicle?
Put your valuables in a storage area, like your trunk
or glove box.
Lock all the doors except the driver’s.
Then take the door key with you.
Page 64 of 340
Downloaded from www.Manualslib.com manuals search engine Ignition Switch
E
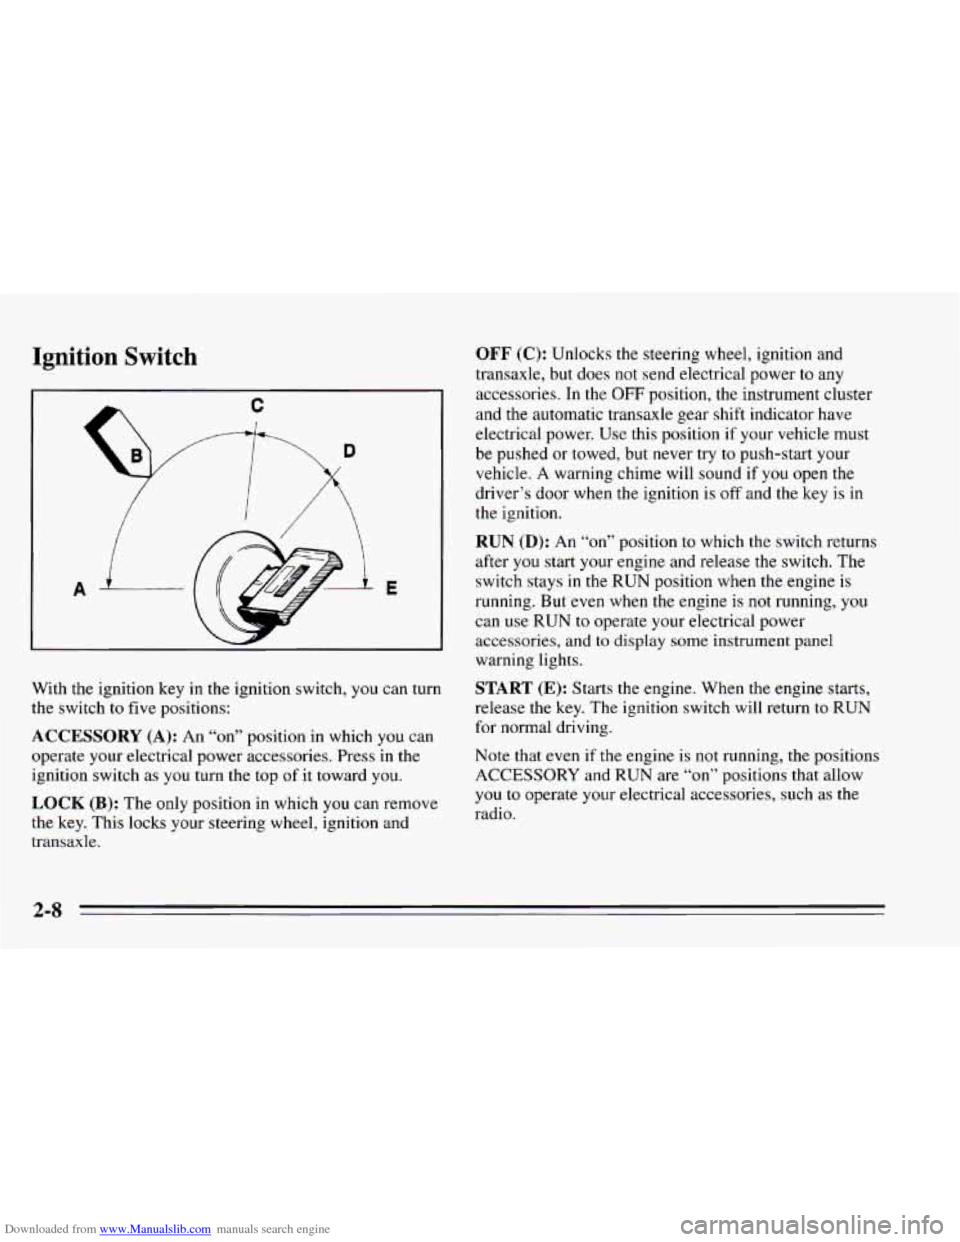
With the ignition key in the ignition switch, you can turn
the switch to five positions:
ACCESSORY (A): An “on” position in which you can
operate your electrical power accessories. Press in the
ignition switch as
you turn the top of it toward you.
LOCK (B): The only position in which you can remove
the key. This locks your steering wheel, ignition and
transaxle.
OFF (C): Unlocks the steering wheel, ignition and
transaxle, but does not send electrical power
to any
accessories. In the
OFF position, the instrument cluster
and the automatic transaxle gear shift indicator have
electrical power. Use this position if your vehicle must
be pushed or towed, but never try
to push-start your
vehicle. A warning chime will sound if
you open the
driver’s door when the ignition is
off and the key is in
the ignition.
RUN (D): An “on7’ position to which the switch returns
after
you start your engine and release the switch. The
switch stays
in the RUN position when the engine is
running. But
even when the engine is not running, you
can use
RUN to operate your electrical power
accessories,
and to display some instrument panel
warning lights.
START (E): Starts the engine. When the engine starts,
release the key. The ignition switch will return
to RUN
for normal driving.
Note that even if
the engine is not running, the positions
ACCESSORY and RUN are
“on” positions that allow
you
to operate your electrical accessories, such as the
radio.
Page 65 of 340
Downloaded from www.Manualslib.com manuals search engine NOTICE:
If your key seems stuck in LOCK and you can’t
turn it, be sure it is all the
way in. If it is, then
turn the steering wheel left and right while you
turn the key hard. But turn the key only with
your hand. Using
a tool to force it could break
the key or the ignition switch.
If none of this
works, then your vehicle needs service.
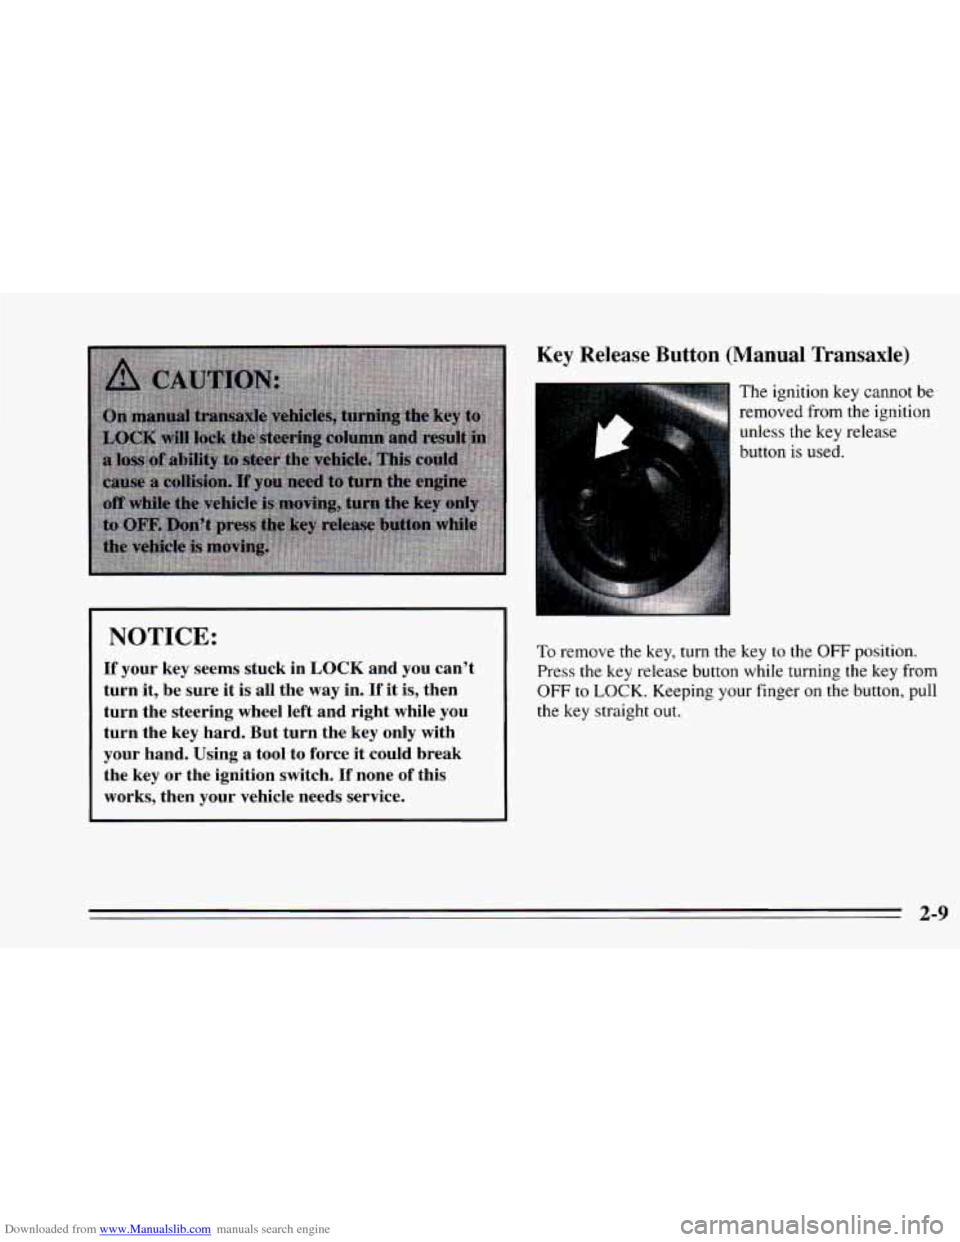
Key Release Button (Manual Transaxle)
The ignition key cannot be
removed from the ignition
unless the key release
button is used.
10 remove the key, turn the key to the OFF position.
Press
the key release button while turning the key from
OFF
to LOCK. Keeping your finger on the button, pull
the key straight out.
2-9
Page 84 of 340
Downloaded from www.Manualslib.com manuals search engine Horn
You can SOM~ the horn by pressing the center of your
steering wheel.
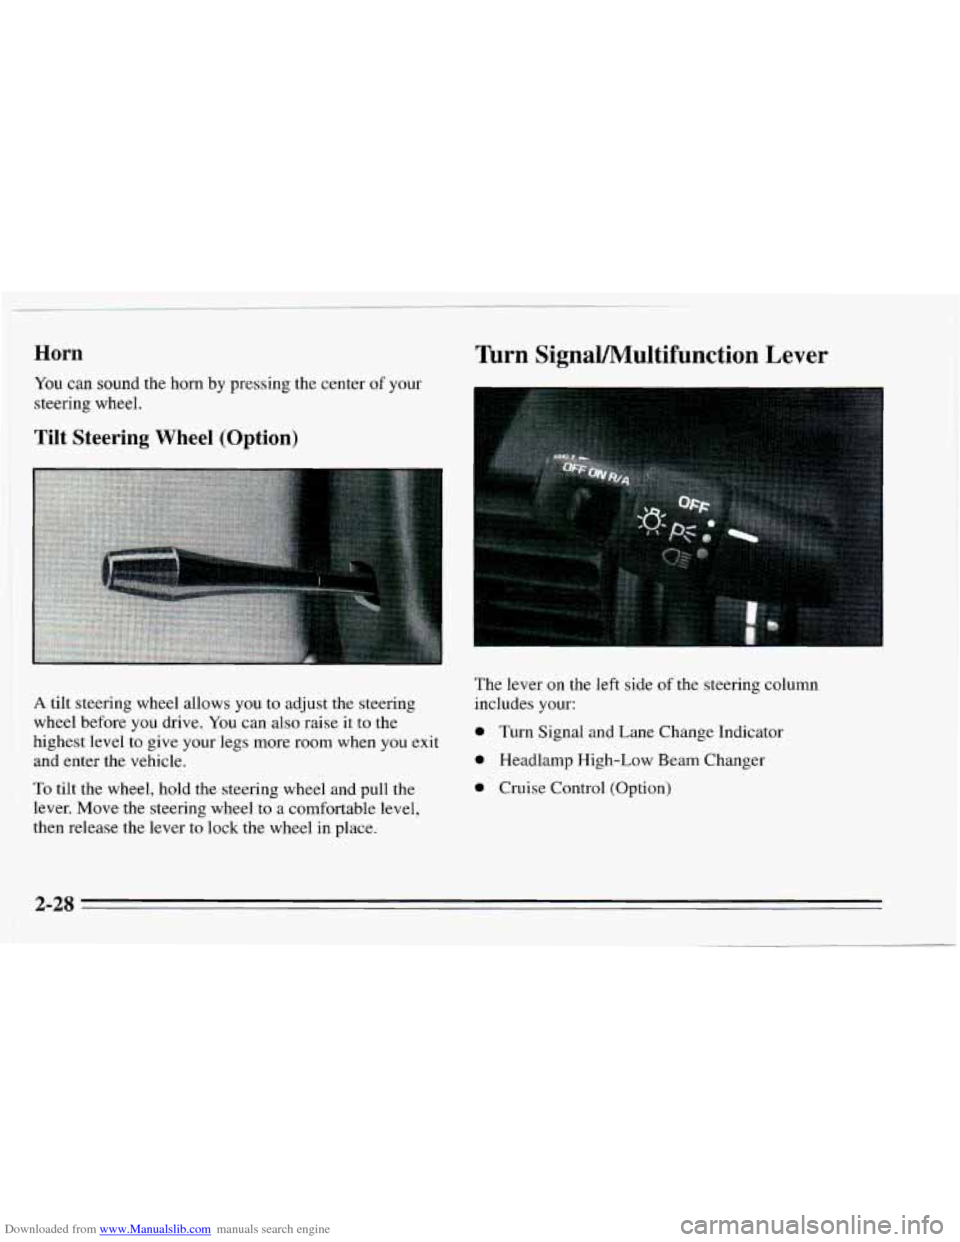
Tilt Steering Wheel (Option)
Turn SignaVMultifunction Lever
A tilt steering wheel allows you to adjust the steering
wheel before you drive. You can
also raise it to the
highest level to give your legs more room when
you exit
and enter the vehicle.
To tilt the wheel, hold the steering wheel and pull the
lever. Move the steering wheel to
a comfortable level,
then release the lever to lock the wheel in place. The
lever
on the left side of the steering column
includes your:
0 Turn Signal and Lane Change Indicator
0 Headlamp High-Low Beam Changer
0 Cruise Control (Option)
2-28
Page 112 of 340
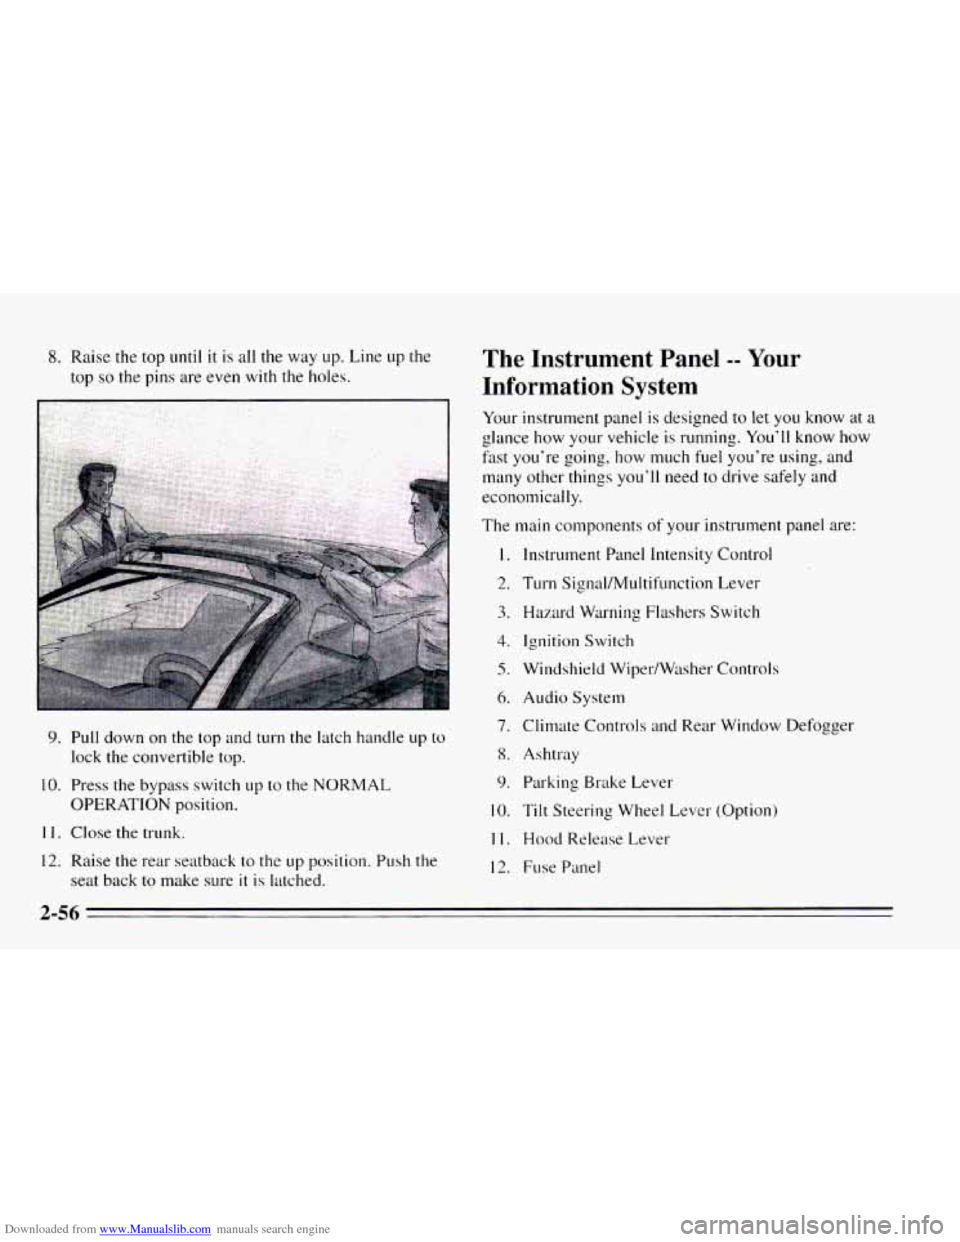
Downloaded from www.Manualslib.com manuals search engine 8. Raise the top until it is all the way up. Line up the
top
so the pins are even with the holes.
9. Pull down on the top and turn the latch handle up to
lock the convertible top.
10. Press the bypass switch up to the NORMAL
OPERATION position.
11. Close the trunk.
12. Raise the rear seatback to the up position. Push the
seat back to make sure
it is latched.
The Instrument Panel -- Your
Information System
Your instrument panel is designed to let you know at a
glance how your vehicle is running. You’ll know how
fast you‘re going, how much fuel you’re using, and
many other things you’ll need to drive safely and
economically.
The main components
of your instrutnent panel are:
1.
2.
3.
4.
5.
6.
7.
8.
9.
10.
11.
12.
Instrument Panel Intensity Control
Turn Signal/MuItifunction Lever
Hazard Warning Flashers Switch
Ignition Switch
Windshield Wiper/Wtlsher Controls
Audio System
Climate Controls
and Rear Window Defogger
Ashtray Parking Brake Lever
Tilt Steering Wheel Lever (Option)
Hood Release Lever
Fuse Panel
2-56
Page 148 of 340
Downloaded from www.Manualslib.com manuals search engine Remember: Anti-lock doesn’t change the time you need
to get your foot up
to the brake pedal. If you get too
close to the vehicle in front of you, you won’t have time
to apply your brakes if that vehicle suddenly slows or
stops. Always leave enough room up ahead to stop, even
though
you have anti-lock brakes.
To Use Anti-Lock
Don’t pump the brakes. Just hold the brake pedal down
and let anti-lock work for you. You may feel the system
working, or you may notice some noise, but this
is
normal.
Braking in Emergencies
Use your anti-lock braking system when you need to.
With anti-lock,
you can steer and brake at the same
time. In many emergencies, steering can help you more
than even the very best braking.
Steering
Power Steering
If you lose power steering assist because the engine
stops or the system is
not functioning, you can steer but
it will take much more effort.
Steering Tips
Driving on Curves
It’s important to take curves at a reasonable speed.
A lot of the “driver lost control” accidents mentioned on
the news happen on curves. Here’s why:
Experienced driver or beginner, each
of us is subject to
the same laws of physics when driving
on curves. The
traction
of the tires against the road surface makes it
possible for the vehicle to change its path when you turn
the front wheels. If there’s no traction, inertia will keep
the vehicle going in the same direction. If you’ve ever
tried
to steer a vehicle on wet ice, you’ll understand this.
The traction
you can get in a curve depends on the
condition of your tires and the road surface, the angle at
which the curve is banked, and your speed. While you’re in
a curve, speed
is the one factor you can control.
Suppose you’re steering through
a sharp curve. Then you
suddenly accelerate. Both control systems -- steering and
acceleration
-- have to do their work where the tires meet
the road. Adding the sudden acceleration can demand too
much
of those places. You can lose control.
What should
you do if this ever happens? Ease up on the
accelerator pedal, steer the vehicle the way you want it
to go, and slow down.
4-8
Page 149 of 340
Downloaded from www.Manualslib.com manuals search engine Speed limit signs near curves warn that you should
adjust
your speed. Of course, the posted speeds are
based on good weather and road conditions. Under less
favorable conditions you’ll want
to go slower.
If you need to reduce your speed as you approach a
curve, do
it before you enter the curve, while your front
wheels are straight ahead.
Try to adjust your speed
so you can “drive” through the
curve. Maintain a reasonable, steady speed. Wait to
accelerate until you are out of the curve, and then
accelerate gently
into the straightaway.
Steering in Emergencies
There are times when steering can be more effective than
braking. For example, you come over
a hill and find a
truck stopped
in your lane, or a car suddenly pulls out
from nowhere, or a child darts out from between parked
cars and stops right
in front of you. You can avoid these
problems by braking
-- if you can stop in time. But
sometimes
you can’t; there isn’t room. That’s the time for
evasive action
-- steering around the problem.
Your Chevrolet can perform very well
in emergencies
like these. First apply your brakes. (See “Braking
in
Emergencies” earlier in this section.) It is better to
remove
as much speed as you can from a possible collision. Then
steer around the problem,
to the left or
right depending on the space available.
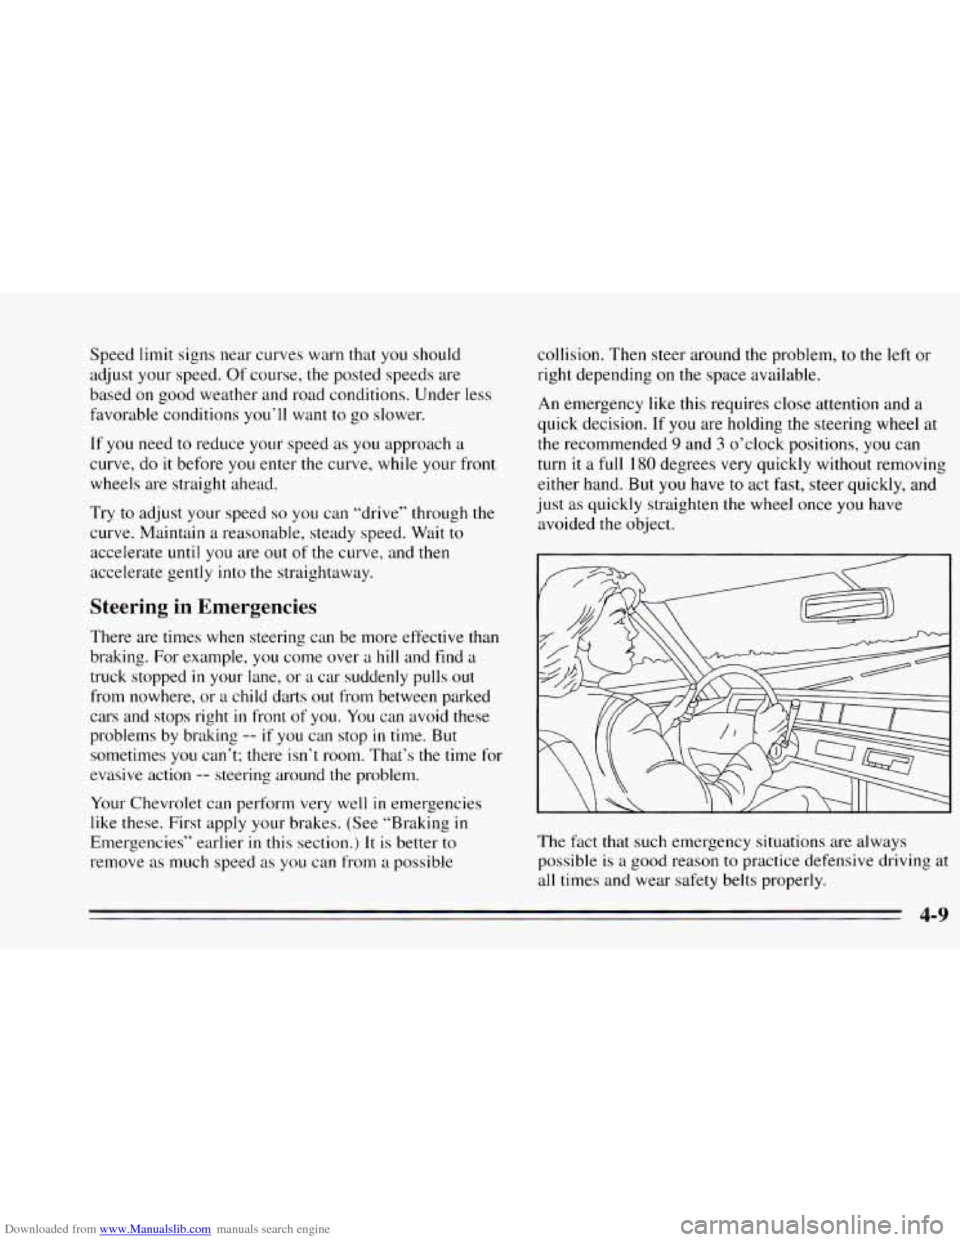
An emergency like this requires close attention and a
quick decision. If
you are holding the steering wheel at
the recommended
9 and 3 o’clock positions, you can
turn it
a full 180 degrees very quickly without removing
either hand. But
you have to act fast, steer quickly, and
just as quickly straighten the wheel once
you have
avoided the object.
The
fxt that such emergency situations are always
possible
is a good reason to practice defensive driving at
all times and wear safety belts properly.
4-9