fuse CHEVROLET CAVALIER 1996 3.G Owners Manual
[x] Cancel search | Manufacturer: CHEVROLET, Model Year: 1996, Model line: CAVALIER, Model: CHEVROLET CAVALIER 1996 3.GPages: 372, PDF Size: 19.73 MB
Page 10 of 372
Downloaded from www.Manualslib.com manuals search engine Vehicle Symbols
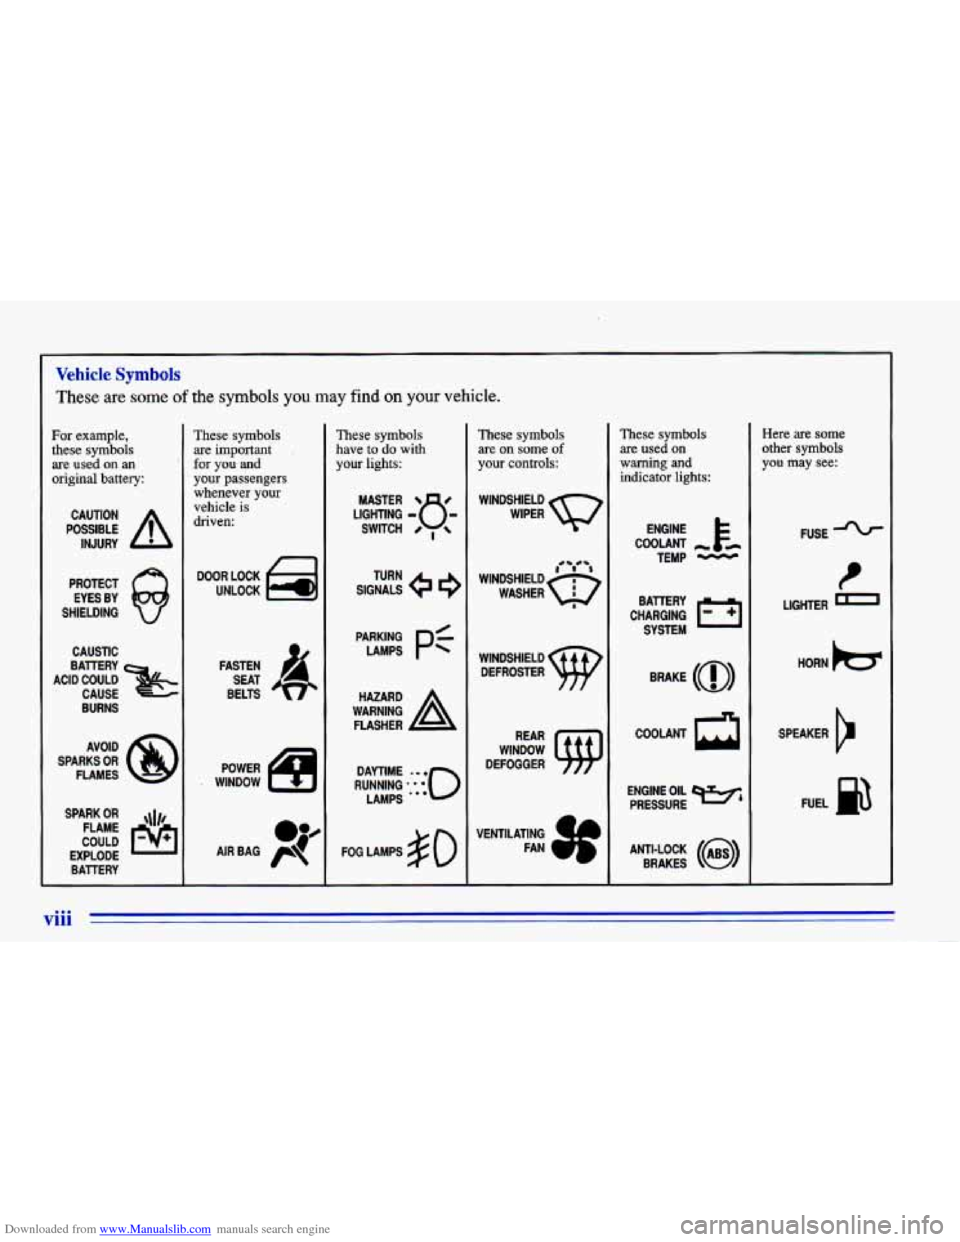
These are some of the symbols you may find on your vehicle.
For example,
these symbols
are used
on an
original battery:
POSSIBLE A
CAUTION
INJURY
PROTECT EYES BY
SHIELDING
CAUSTIC
BURNS
SPARK
OR ,\I/,
COULD FLAME
EXPLODE BATTERY
These symbols
are important
for you
and
your passengers whenever your
vehicle
is
driven:
FASTEN
SEAT
BELTS
These symbols
have
to do with
your lights:
SIGNALS @
TURN
FOG LAMPS
$0
These symbols are on some
of
your controls:
WINDSHIELD
DEFROSTER
These symbols are used on
warning
and
indicator lights:
COOLANT -
TEMP -
CHARGING I-1
BAllERY
SYSTEM
BRAKE
(a)
COOLANT a
ENGINE OIL e,
PRESSURE
ANTI-LOCK
(@)
BRAKES
Here are some
other symbols
you may see:
FUSE
LIGHTER
m
HORN )a(
SPEAKER
b
FUEL B
viii
Page 11 of 372
Downloaded from www.Manualslib.com manuals search engine 0 SectiOn 1 Seats and Restraint Systems
Here you’ll find information about the seats in your
Chevrolet and how to
use your safety belts properly.
You can
also learn about some things you should not do
with air bags and safety belts.
Seats and Seat Controls
This section tells you about the seats -- how to
adjust them
-- and also about reclining seatbacks and
head restraints.
a1 Front
You can lose control of the vehicle if you try to
adjust
a manual driver’s seat while the vehicle is
moving. The sudden movement could startle and
confuse you,
or make you push a pedal when you
don’t want to. Adjust the driver’s seat only when
the vehicle is not moving. Move the lever on the front
of the driver’s seat to unlock
it. Slide the seat to where you want it. Then release the
lever and try to move the seat with your body, to make
sure the seat is locked into place.
1-1
Page 67 of 372
Downloaded from www.Manualslib.com manuals search engine Passlock TM
Your vehicle is equipped with the Passlock
theft-deterrent system.
Passlock is a passive theft-deterrent system. The system is armed once the key is removed from the ignition. Passlock
enables fuel if the ignition lock cylinder is turned with a
valid key.
If a correct key is not used, fuel is disabled.
During normal operation, the THEFT SYSTEM light will
go off after the engine
is started. In the unlikely event that
the engine stalls and the THEFT SYSTEM light flashes,
wait until the light stops flashing before trying to restart
the engine. Remember to release the key from the START position as soon as the engine starts. If after several tries the vehicle still does not start, the vehicle
may need service. At this time, you may also want to
check the fuses (see “Fuses and Circuit Breakers” in the\
Index). See your Chevrolet dealer for service.
If the THEFT SYSTEM light comes on while the engine
is running, a problem has been detected and the system
may need service.
See your dealer for service.
In
an emergency, call the Chevrolet Roadside Assistance
Program at
1-800-CHEV-USA I 1-800-243-8872.
New Vehicle LLBreak-InT’
NOTICE:
Your modern Chevrolet doesn’t need an
elaborate “break-in.” But it will perform better
in the long run if you follow these guidelines:
Don’t drive at any one speed -- fast or
slow -- for the first 500 miles (804 km).
Don’t make full-throttle
starts.
200 miles (322 km) or so. During this time
your new brake linings aren’t yet broken
in. Hard stops with new linings can mean
premature wear and earlier replacement.
Follow this breaking-in guideline every
time you get new brake linings.
See “Towing
a Trailer” in the Index for
more information.
Avoid making hard stops for the first
Don’t tow a trailer during break-in.
2-9
Page 89 of 372
Downloaded from www.Manualslib.com manuals search engine Turn Signal and Lane Change Indicator
The turn signal has two upward (for right) and two
downward (for left) positions. These positions allow
you
to signal a turn or a lane change.
To signal
a turn, move the lever all the way up or
down. When the turn is finished, the lever will
return automatically.
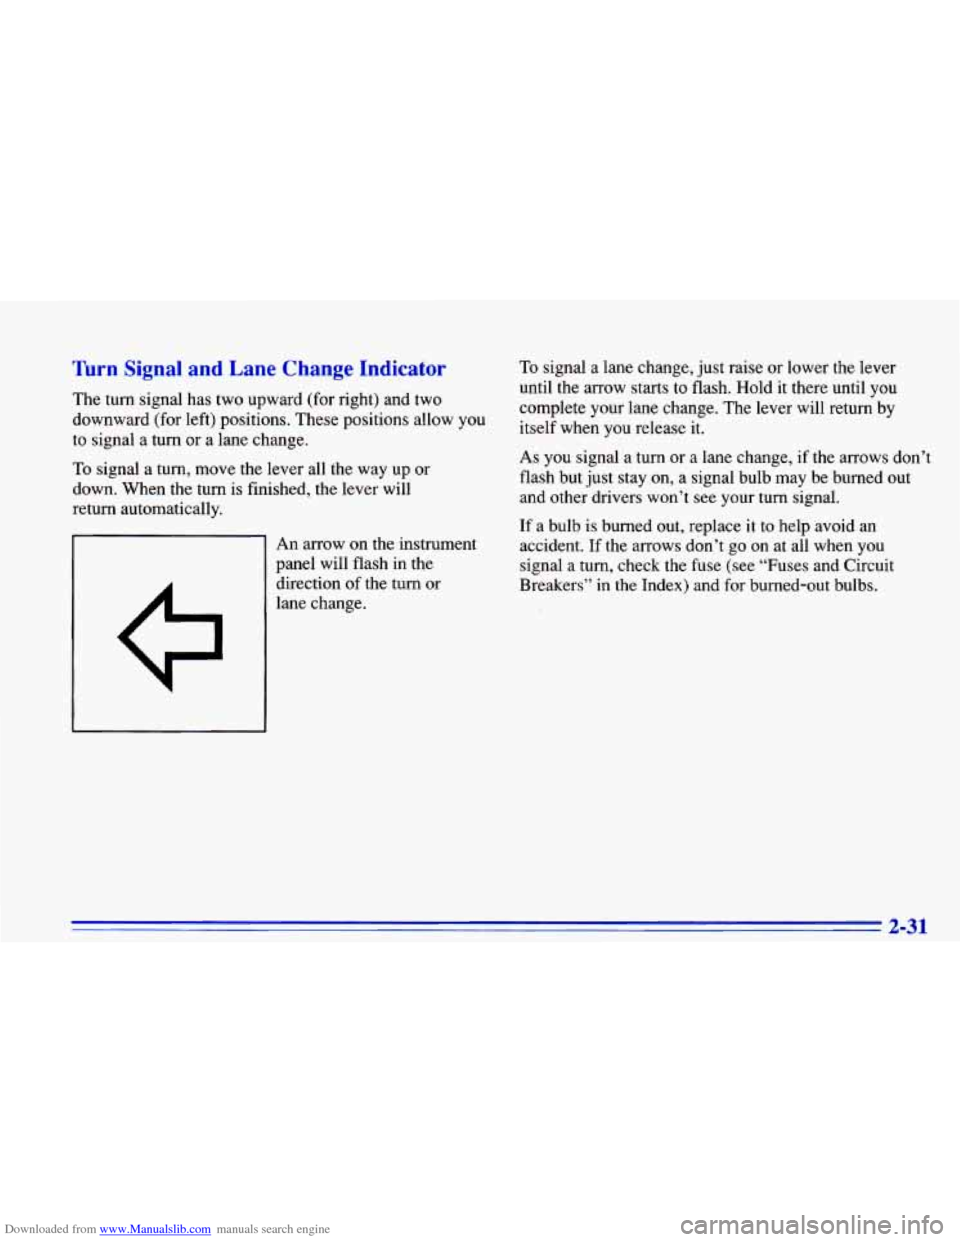
An arrow on the instrument
panel will flash in the
direction
of the turn or
lane change.
To signal a lane change, just raise or lower the lever
until the arrow starts to flash. Hold it there until you
complete your lane change. The lever will return by
itself when you release
it.
As you signal a turn or a lane change, if the arrows don’t
flash but just stay on, a signal bulb may be burned out
and other drivers won’t see your turn signal.
If a bulb is burned out, replace it to help avoid an
accident.
If the arrows don’t go on at all when you
signal a turn, check the fuse (see “Fuses and Circuit
Breakers’’ in the Index) and for burned-out bulbs.
2-31
Page 119 of 372
Downloaded from www.Manualslib.com manuals search engine Your instrument panel is designed to let you know at a glance how your vehicle is running. You’ll know how fast
you’re going, how much fuel you’re using, and many other things you’ll need to drive safely and economically.
The main components of your instrument panel are:
1. Instrument Panel Intensity Control
2. Turn Signal/Multifunction Lever
3. Hazard Warning Flashers Switch
4. Ignition Switch
5. Windshield Wiperwasher Controls
6. Audio System
7. Climate Controls and Rear Window Defogger
8. Ashtray .
9. Parking Brake Lever
10. Tilt Steering Wheel Lever (Option)
11. Hood Release Lever
12. Fuse Panel
2-61
Page 131 of 372
Downloaded from www.Manualslib.com manuals search engine Have you recently changed brands of fuel?
If
so, be sure to fuel your vehicle with quality fuel (see
“Fuel” in the Index).
Poor fuel quality will cause your
engine not to run as efficiently as designed. You may
notice this as stalling after start-up, stalling when you
put the vehicle into gear, misfiring, hesitation on
acceleration or stumbling on acceleration. (These
conditions may go away once the engine is warmed up.)
This will be detected by the system and cause the light
to turn on.
If you experience this condition, change the fuel brand
you use. It will require at least one full tank of the
proper
fuel to turn the light off.
If none of the above steps have made the light turn
off,
have your dealer or qualified service center check the
vehicle. Your dealer has the proper test equipment and
diagnostic tools to fix any mechanical or electrical
problems that may have developed.
Oil Pressure Warning Light
If you have a low engine oil
pressure problem, this light
will stay on after you start
your engine, or come on
when you are driving. This
indicates that your engine is
not receiving enough oil.
The engine could be low on oil, or could have some
other oil problem. Have it fixed immediately.
The oil light could also come on in two other situations:
0 When the ignition is on but the engine is not running,
the light will come on as a test to show you it is
working, but the light will go out when you turn the
ignition to
START. If it doesn’t come on with the
ignition on, you may have a problem with the fuse or
bulb. Have it fixed right away.
2-73
Page 191 of 372
Downloaded from www.Manualslib.com manuals search engine Run your engine only as long as you must. This saves
fuel. When you run the engine, make it.go a little faster
than just idle. That is, push the accelerator slightly. This
uses less fuel for the heat that you get and it keeps the
battery charged.
You will need a well-charged battery to
restart the vehicle, and possibly for signaling later
on
with your headlamps. Let the heater run for awhile.
Then, shut the engine off and close the window almost
all the way
to preserve the heat. Start the engine again
and repeat this only when you feel really uncomfortable
from the cold. But do it as little as possible. Preserve the
fuel as long as you can.
To help keep warm, you can get
out of the vehicle and do some fairly vigorous exercises
every half hour or
so until help comes.
Recreational Vehicle Towing
You can tow your vehicle behind another vehicle for use
at your destination. Be sure
to use the proper towing
equipment designed for recreational towing. Follow the
instructions for the towing equipment.
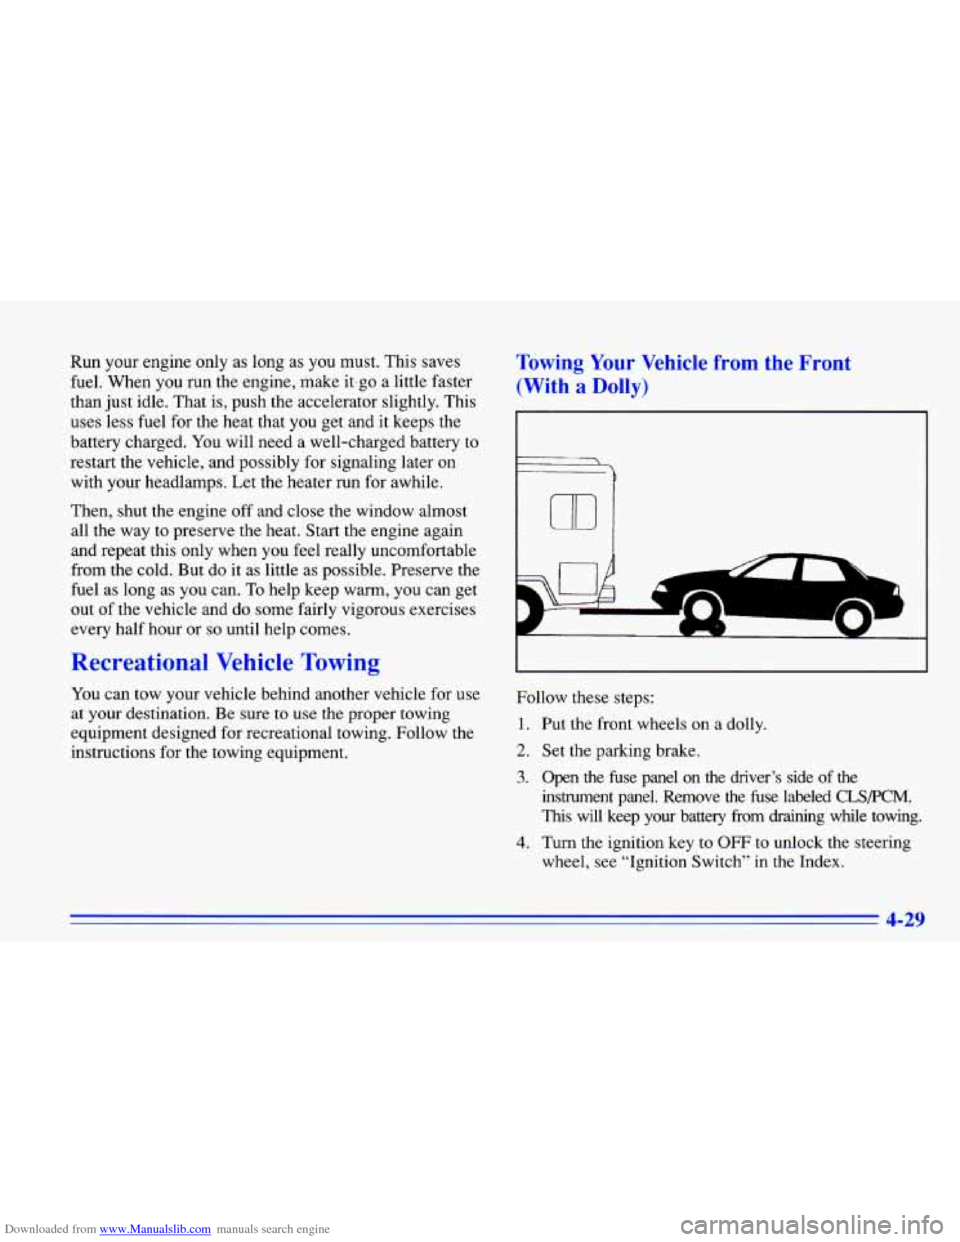
Towing Your Vehicle from the Front
(With a Dolly)
€
7
m
Follow these steps:
1. Put the front wheels on a dolly.
2. Set the parking brake.
3. Open the fuse panel on the driver’s side of the
instrument panel. Remove the fuse labeled
CLSPCM.
This will keep your battery from draining while towing.
4. Turn the ignition key to OFF to unlock the steering
wheel, see “Ignition Switch’’ in the Index.
4-29
Page 192 of 372
Downloaded from www.Manualslib.com manuals search engine 5. Clamp the steering wheel in a straight-ahead position
6. Release the parking brake.
When you
are finished towing, make sure you replace
the CLS/PCM fuse in the instrument panel fuse block.
with a clamping device designed for towing.
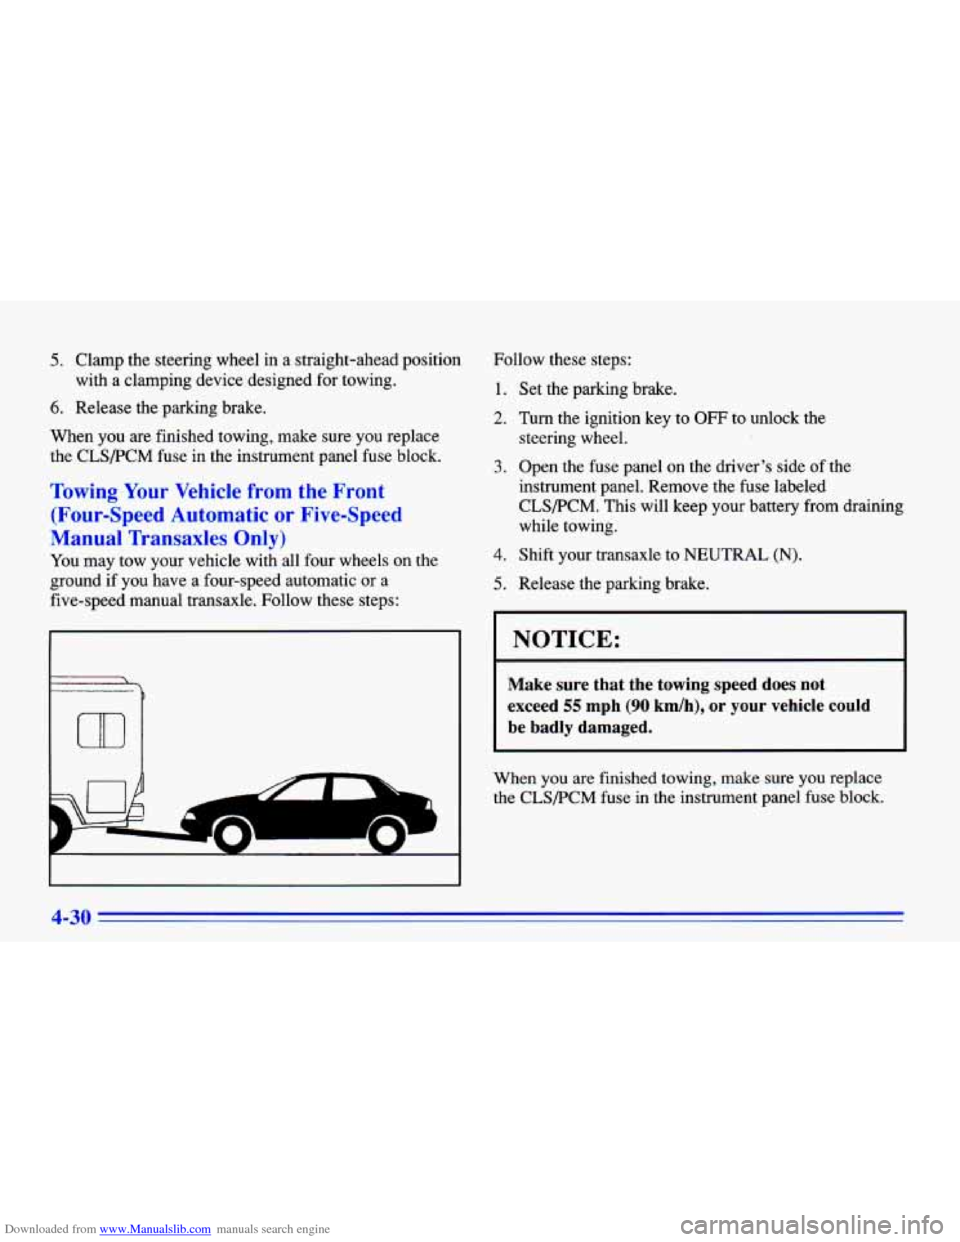
Towing Your Vehicle from the Front
(Four-Speed Automatic
or Five-Speed
Manual Transaxles Only)
You may tow your vehicle with all four wneels on the
ground
if you have a four-speed automatic or a
five-speed manual transaxle. Follow these steps:
r
m
.
*-
Follow these steps:
1. Set the parking brake.
2. Turn the ignition key to OFF to unlock the
3. Open the fuse panel on the driver’s side of the
instrument panel. Remove the fuse labeled
CLS/PCM. This will keep your battery from draining
while towing. steering wheel.
4. Shift your transaxle to NEUTRAL (N).
5. Release the parking brake.
NOTICE:
Make sure that the towing speed does not
exceed
55 mph (90 km/h), or your vehicle could
be badly damaged.
When you are finished towing, make sure you replace
the CLS/PCM fuse in the instrument panel fuse block.
4-30
Page 240 of 372
Downloaded from www.Manualslib.com manuals search engine You can be injured and your vehicle could be
damaged if you try to do service work on a
vehicle without knowing enough about it.
0 Be sure you have sufficient knowledge,
experience, and the proper replacement
parts and tools before you attempt any
vehicle maintenance task.
0 Be sure to use the proper nuts, bolts and
other fasteners. “English” and “metric”
fasteners can be easily confused.
If you use
the wrong fasteners, parts can later break or fall off.
You could be hurt.
Fuel
Use regular unleaded gasoline rated at 87 octane or higher.
At a
minimum, it should meet specifications ASTM D4814
in the United States and CGSB 3.5-M93 in Canada.
Improved gasoline specifications have been developed by
the American Automobile Manufacturers Association
(AAMA) for better vehicle performance and engine ,
protection. Gasolines meeting the AAMA specification could provide improved driveability and emission control
system protection compared to other gasolines.
Be sure the posted octane is at least 87.
If the octane is
less than 87, you may get
a heavy knocking noise when
you drive.
If it’s bad enough, it can damage your engine.
If you’re using fuel rated at
87 octane or higher and you
still hear heavy knocking, your engine needs service.
But don’t worry
if you hear a little pinging noise when
you’re accelerating or driving up a hill. That’s normal,
and you don’t have to buy a higher octane fuel to get rid
of pinging. It’s the heavy, constant knock that means
you have a problem.
If your vehicle is certified to meet California Emission
Standards (indicated on the underhood tune-up label), it
is designed to operate on fuels that meet California
specifications. If such fuels
are not available in states
adopting California emissions standards, your vehicle
will operate satisfactorily on fuels meeting federal
specifications, but ‘emission control system performance
may be affected. The malfunction indicator lamp on
your instrument panel may
turn on and/or your vehicle
may fail a smog-check test.
If this occurs, return to your
authorized Chevrolet dealer for diagnosis to determine
the cause of failure.
In the event it is determined that the;
cause of the condition is the type of fuels used, repairs
may not be covered by your warranty.
6-2
Page 291 of 372
Downloaded from www.Manualslib.com manuals search engine Electrical System
Add-on Electrical Equipment
NOTICE:
Don’t add anything electrical to your Chevrolet
unless you check with your dealer first. Some
electrical equipment can damage your vehicle and
the damage wouldn’t be covered by your warranty. Some add-on electrical equipment can keep other
components from working
as they should.
Your vehicle has an air bag system. Before attempting to
add anything electrical to your Chevrolet, see “Servicing
Your
Air Bag-Equipped Chevrolet” in the Index.
Headlamp Wiring
The headlamp wiring is protected by fuses. Should your
headlamps fail to function have your headlamp system
checked right away.
Windshield Wiper Fuse
The windshield wiper motor is protected by a circuit breaker
and a fuse.
If the motor overheats due to heavy snow, etc., the
wiper will stop until the moIor cools. If the overload is caused
by some electrical problem,
have it fixed.
Power Windows and Other Power Options
Circuit breakers in the fuse panel protect the power
windows and other power accessories. When the current
load is too heavy, the circuit breaker opens and closes,
protecting the circuit until the problem
is fixed.
Fuses and Circuit Breakers
The wiring circuits in your vehicle are protected from
short circuits by a combination of fuses, circuit breakers
and fusible thermal links. This greatly reduces the
chance of damage caused by electrical problems.
Look at the silver-colored band inside the fuse.
If the band
is broken or melted, replace the fuse. Be sure you replace
a bad fuse with a new one of the identical
size and rating.
If you ever have a problem on the road and don’t have a
spare fuse, you can borrow one that has the same
amperage. Just pick some feature of your vehicle that
you can get along without -- like the radio or cigarette
lighter
-- and use its fuse if it is the correct amperage.
Replace
it as soon as you can.
There are two fuse blocks in your vehicle: the
instrument panel fuse block and the engine compartment
fuse block.
6-53