engine oil CHEVROLET CAVALIER 1998 3.G Owner's Manual
[x] Cancel search | Manufacturer: CHEVROLET, Model Year: 1998, Model line: CAVALIER, Model: CHEVROLET CAVALIER 1998 3.GPages: 400, PDF Size: 20.74 MB
Page 279 of 400
Downloaded from www.Manualslib.com manuals search engine 1. Pull out the dipstick. Automatic Transaxle Fluid
2. Using a long-neck funnel, add enough fluid at the (Four-Speed Only) dipstick hole to bring it to the proper level.
It doesn’t take much fluid, generally less than A transaxle \
fluid leak
is the only reason for fluid loss.
one pint
(0.5 L). Don’t ove$ZZ. If a leak occurs, take the vehicle to your Chevrolet
dealership Service Department and have it repaired as
soon as possible. You may also have your fluid level
checked by your dealer or service center when you have your oil changed.
Change both the fluid and filter every
50,000 miles
(83 000 km) if the vehicle is mainly driven under one or
more of these conditions:
0 In heavy city traffic where the outside temperature
In hilly or mountainous terrain.
It
is not necessary
to check the transaxle fluid level.
NOTICE:
We recommend you use only fluid labeled
DEXRON@-III, because fluid with that label is
made especially for your automatic transaxle.
Damage caused by fluid other than DEXRON-I11
is not covered by your new vehicle warranty. regularly reaches 90 OF (32 O C) or higher.
3. After adding fluid, recheck the fluid level as described under “How to Check.”
0 When doing frequent trailer towing.
4. When the correct fluid level is obtained, push the dipstick back in all the way. 0 Uses such as found in taxi, police or delivery service.
6-21
Page 280 of 400
Downloaded from www.Manualslib.com manuals search engine If you do nor use your vehicle under any of these
conditions, the fluid and filter do not require changing.
NOTICE:
We recommend you use only fluid labeled
DEXR0N'-111, because fluid with that label is
made especially for your automatic transaxle.
Damage caused by fluid other than DEXRON-I11
is not covered by your new vehicle warranty.
Manual Transaxle Fluid
When to Check
A good time to have it checked is when the engine oil is
changed. However, the fluid in your manual transaxle
doesn't require changing.
How to Check
Because this operation can be a little difficult, you may
choose to have this done at your Chevrolet dealership
Service Department.
If you do it yourself, be sure to follow all the instructions
here, or you could get a false reading on the dipstick.
ITICE:
Too much or too little fluid can damage your
manual transaxle.
Too much can mean that some
of the fluid could come out and fall on hot engine
1 parts or exhaust system parts, starting a fire. Be
sure to get an accurate reading if you check your
transaxle fluid.
Check the fluid level only when your engine is off, the
vehicle
is parked on a level place and the manual
transaxle is cool enough for
you to rest your fingers on
the transaxle case.
6-22
Page 283 of 400
Downloaded from www.Manualslib.com manuals search engine How to Check
You do not need to check the fluid level unless you
suspect a clutch problem.
To check the fluid level, take
the cap
off. If the fluid reaches the step inside the
reservoir, the fluid level is correct.
Engine Coolant
The cooling s stem in your vehicle is filled with
DEX-COOL
8 engine coolant. This coolant is designed
to remain in your vehicle for
5 years or 150,000 miles
(240 000 km) whichever occurs first, if you add only
DEX-COOL’ extended life coolant.
The following explains your cooling system and how
to add coolant when it is low. If you have a problem
with engine overheating, see “Engine Overheating” in
the Index.
A 50/50 mixture of water and DEX-COOL@
coolant will:
Give freezing protection down to -34°F (-37°C).
Give boiling protection up to 265 “F (129°C).
Protect against rust and corrosion.
Help keep the proper engine temperature.
Let the warning lights and gages work as
they should.
NOTICE:
When adding coolant, it is important that you
use only
DEX-COOL@ (silicate-free) coolant.
If coolant other than DEX-COOL is added to
the system, premature engine, heater core or
radiator corrosion may result. In addition, the
engine coolant will require change sooner
-- at
30,000 miles (50 000 km) or 24 months,
whichever occurs first. Damage caused by the
use of coolant other than DEX-COOL@ is not
covered by your new vehicle warranty.
6-25
Page 284 of 400
Downloaded from www.Manualslib.com manuals search engine What to Use
Use a mixture of one-half clean water (preferably
distilled) and one-half
DEX-COOL@ coolant which
won’t damage aluminum parts.
If you use this mixture,
you don’t need to add anything else.
Adding only plain water to your cooling system
can be dangerous. Plain water,
or some other
liquid like alcohol, can boil before the proper
coolant mixture will. Your vehicle’s coolant
warning system is set for the proper coolant
mixture. With plain water or the wrong mixture,
your engine could get too hot but you wouldn’t
get the overheat warning. Your engine could
catch fire and you or others could be burned.
Use
a 50/50 mixture of clean water and
DEX-COOL@ coolant.
NOTICE:
If you use an improper coolant mixture, your
engine could overheat and be badly damaged.
The repair cost wouldn’t be covered by your
warranty.
Too much water in the mixture can
freeze and crack the engine, radiator, heater core
and other parts.
If you have to add coolant more than four times a year,
have your dealer check your cooling system.
NOTICE:
If you use the proper coolant, you don’t have to
add extra inhibitors or additives which claim to
improve the system. These can be harmful.
6-26
Page 290 of 400
Downloaded from www.Manualslib.com manuals search engine What to Add
When you do need brake fluid, use only DOT-3 brake
fluid -- such as Delco Supreme 11 @ (GM Part
No. 12377967). Use new brake fluid from a sealed
container only.
Always clean the brake fluid reservoir cap
and the area
around the cap before removing
it. This will help keep
dirt from entering the reservoir.
I
With the wrong kind of fluid in your brake
system, your brakes may not work well,
or they
may not even work at all.
This could cause a
crash. Always use the proper brake fluid.
NOTICE:
0
0 Using the wrong fluid can badly damage
brake system parts. For example, just a few
drops
of mineral-based oil, such as engine
oil, in your brake system can damage brake
system parts
so badly that they’ll have to be
replaced. Don’t let someone put in the
wrong kind
of fluid.
If you spill brake fluid on your vehicle’s
painted surfaces, the paint finish can be
damaged. Be careful not
to spill brake fluid
on your vehicle.
If you do, wash it off
immediately. See “Appearance Care” in
the Index.
6-32
i
Page 296 of 400
Downloaded from www.Manualslib.com manuals search engine Back-up Lamps
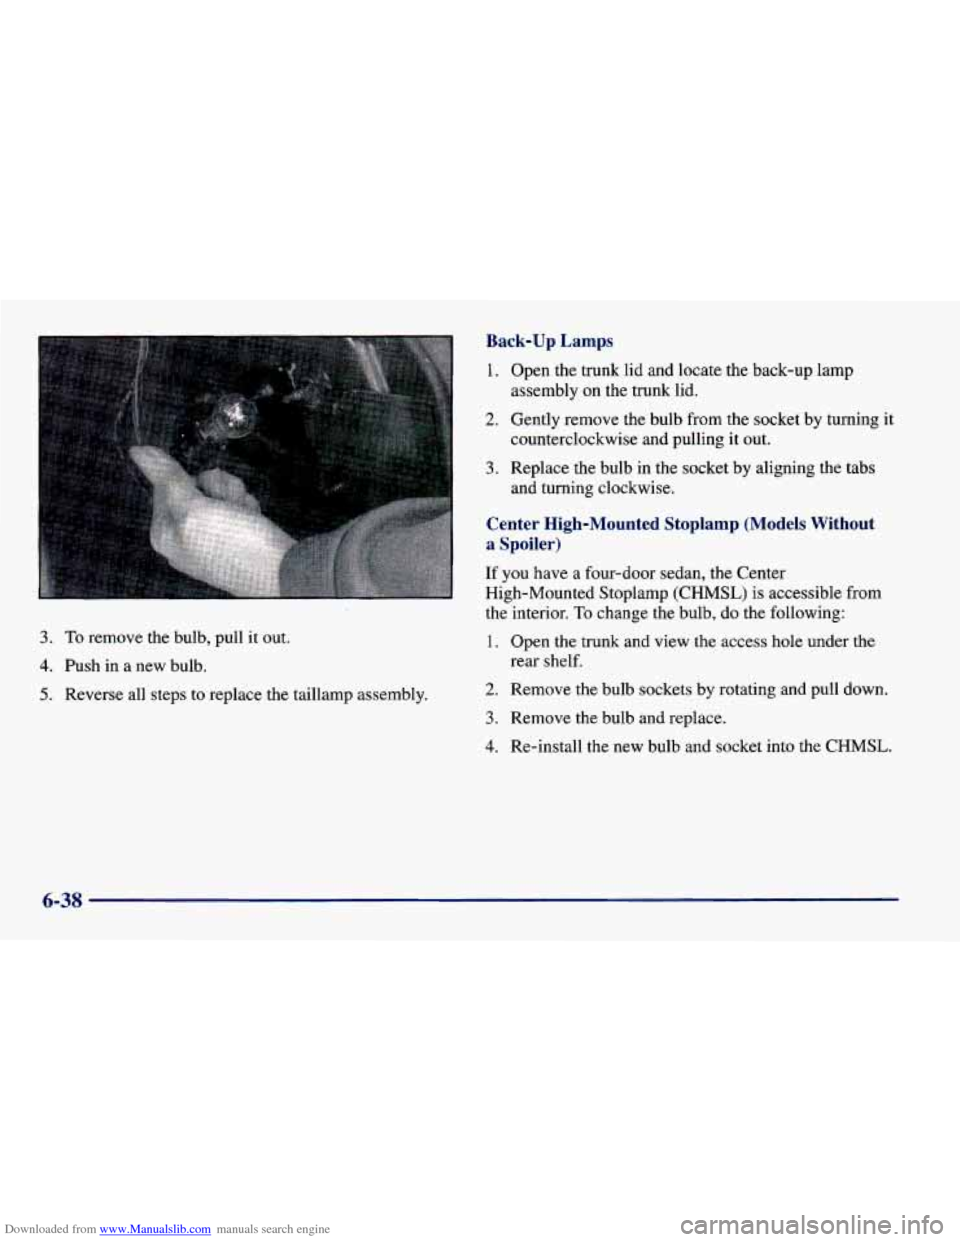
1. Open the trunk lid and locate the back-up lamp
2. Gently remove the bulb from the socket by turning it
assembly on the trunk lid.
counterclockwise and pulling
it out.
3. To remove the bulb, pull it out.
4. Push in a new bulb.
5. Reverse all steps to replace the taillamp assembly.
3. Replace the bulb in the socket by aligning the tabs
and turning clockwise.
Center High-Mounted Stoplamp (Models Without
a Spoiler)
If you have a four-door sedan, the Center
High-Mounted Stoplamp (CHMSL)
is accessible from
the interior.
To change the bulb, do the following:
1. Open the trunk and view the access hole under the
2. Remove the bulb sockets by rotating and pull down.
rear shelf.
3. Remove the bulb and replace.
4. Re-install the new bulb and socket into the CHMSL.
6-38
Page 297 of 400
Downloaded from www.Manualslib.com manuals search engine Center High-Mounted Stoplamp (Models With
a Spoiler)
If you have a two-door coupe, the CHMSL is located on
the spoiler.
To change the bulb, do the following:
1. Use
a Torx screwdriver to unscrew the bulb
assembly from the spoiler.
2. Gently pull out the bulb assembly.
3. Remove the bulb(s) by gently wiggling the bulb
from the assembly.
4. Replace the bulb(s) and reverse these steps to replace
the bulb assembly.
Interior Lamps
Dome Lamp With Integral Reading Lamps
To replace a bulb, do the following:
1. Insert a flat screwdriver into the slot at the rear of
the lens.
2. With the screwdriver, push the tab rearward to
release the lamp lens.
3. Push the lens forward to release the two tabs at the
front
of the lens.
4. Gently remove and replace the bulb(s).
5. Reverse these steps to replace the lens.
Dome Lamp Without Integral Reading Lamps
To replace a bulb, do the following:
1. From the rear of the dome lamp lens, insert a flat
screwdriver between the roof trim and the lens.
2. With the screwdriver, push the tab at the rear of the
3. Pull the lamp lens rearward to release the two lens forward to release the lens.
front tabs.
4. Gently remove and replace the bulb(s).
5. Reverse these steps to replace the lens.
6-39
Page 307 of 400
Downloaded from www.Manualslib.com manuals search engine Cleaning the Inside of Your Vehicle
Use a vacuum cleaner often to get rid of dust and loose
dirt. Wipe vinyl, leather, plastic and painted surfaces
with a clean, damp cloth.
Your dealer has two cleaners, Multi-Purpose Interior
Cleaner and Capture Non-Solvent Dry Spot and Soil
Remover for cleaning fabric and carpet. They will clean
normal spots and stains very well. You can get
GM-approved cleaning products from your dealer. (See “Appearance Care and Materials”
in the Index.)
Here are some cleaning tips:
Always read the instructions on the cleaner label.
Clean up stains as soon as you can -- before they set.
Carefully scrape off any excess stain.
Use a clean cloth or sponge, and change to a
clean area often.
A soft brush may be used if stains
are stubborn.
If a ring forms after spot cleaning, clean the entire
area immediately or it will set.
Using Multi-Purpose Interior Cleaner
on Fabric
1.
2.
3.
4.
5.
6.
7.
Vacuum and brush the area to remove any loose dirt.
Always clean a whole trim panel or section. Mask
surrounding trim along stitch or welt lines.
Mix powdered cleaner following the directions on
the container label to form thick suds.
Use suds only and apply with a clean sponge. Don’t
saturate the material and don’t rub
it roughly.
As soon as you’ve cleaned the section, use a sponge
to remove the suds.
Wipe cleaned area with
a clean, damp towel or cloth.
Wipe with a clean cloth and let dry.
6-49
Page 308 of 400
Downloaded from www.Manualslib.com manuals search engine Special Fabric Cleaning Problems
Stains caused by such things as catsup, coffee (black),
egg, fruit, fruit juice,
milk, soft drinks, vomit, urine and
blood can be removed as follows:
1. Carefully scrape off excess stain, then sponge the
soiled
area with cool water.
2. If a stain remains, follow the multi-purpose interior
cleaner instructions described earlier.
3. If an odor lingers after cleaning vomit or urine,
treat the area with a waterhaking soda solution:
1 teaspoon (5 ml) of baking soda to 1 cup (250 ml)
of lukewarm water.
4.
Let dry.
Stains caused by candy, ice cream, mayonnaise, chili
sauce and unknown stains can be removed as follows:
1, Carefully scrape off excess stain.
2. First, clean with cool water and allow to
dry completely.
Multi-Purpose Interior Cleaner.
3. If a stain remains, follow instructions for
Fabric Protection
Your vehicle has upholstery that has been treated with
Scotchgard" Fabric Protector, a
3M product. It protects
fabrics by repelling oil and water, which are the carriers
of most stains. Even with this protection, you still need
to clean your upholstery often to keep it looking new.
Further information on cleaning is available by calling
1-800-433-3296 (in Minnesota, 1-800-642-6167).
Cleaning Vinyl
Use warm water and a clean cloth.
Rub with a clean, damp cloth to remove dirt. You
may have to do it more than once.
Things like tar, asphalt and shoe polish will stain if you
don't get them
off quickly. Use a clean cloth and a
vinyMeather cleaner.
See your dealer for this product.
Cleaning the Top of the Instrument Panel
Use only mild soap and water to clean the top surfaces
of the instrument panel. Sprays containing silicones
or
waxes may cause annoying reflections in the windshield
and even make it difficult to see through the windshield
under certain conditions.
6-50
Page 311 of 400
Downloaded from www.Manualslib.com manuals search engine NOTICE:
Cleaning Your Convertible Top
Your convertible top should be cleaned often. If you use
an automatic vehicle wash, use one with water jets and
hanging cloths. High pressure car washes may cause
When you hand wash the top, do it in partial shade. Use
a mild soap, lukewarm water and a soft sponge.
A
Machine compounding or aggressive polishing on
a basecoatklearcoat paint finish may dull the
water to enter your vehicle.
finish or leave swirl marks.
Foreign materials such as calcium chloride and other chamois or\
cloth may leave lint on the top, and a brush
salts, ice melting agents, road oil and tar, tree sap, bird can chafe the threads in the top fabric. Don’t use
droppings, chemicals from industrial chimneys, etc., can detergen\
ts, harsh cleaners, solvents or bleaching agents.
damage your vehicle’s finish if they remain on painted surfaces. Wash the vehicle as soon as possible. If
necessary, use non-abrasive cleaners that are marked safe for painted surfaces to remove foreign matter.
Exterior painted surfaces are subject to aging, weather and chemical fallout that can take their toll over a period
of years.
You can help to keep the paint finish looking
new
by keeping your vehicle garaged or covered
whenever possible. Wet
the entire vehicle and wash the top evenly to avoid
spots
or rings. Let the soap remain on the fabric for a
few minutes. When the top is really dirty, use a mild
foam-type cleaner. Thoroughly rinse the entire vehicle,
then let the top dry
in direct sunlight.
6-53