ignition CHEVROLET CAVALIER 1998 3.G Owner's Guide
[x] Cancel search | Manufacturer: CHEVROLET, Model Year: 1998, Model line: CAVALIER, Model: CHEVROLET CAVALIER 1998 3.GPages: 400, PDF Size: 20.74 MB
Page 146 of 400
Downloaded from www.Manualslib.com manuals search engine Enhanced Traction System Active Light Engine Coolant Temperature Gage
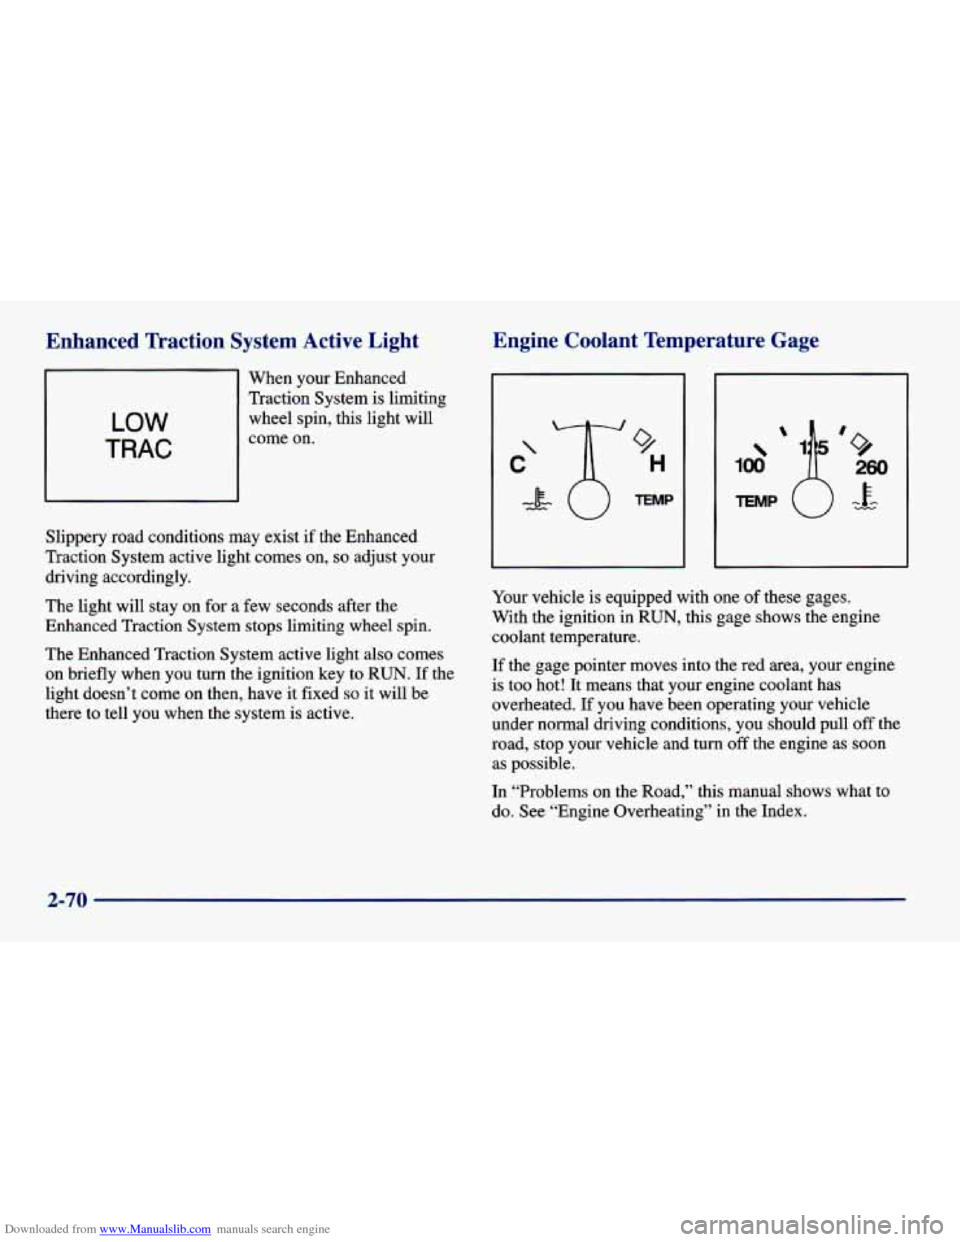
When your Enhanced
Traction System is limiting
wheel spin, this light will
LOW
TRAC
come on.
Slippery road conditions may exist
if the Enhanced
Traction System active light comes on,
so adjust your
driving accordingly.
The light will stay on for a few seconds after the
Enhanced Traction System stops limiting wheel spin.
The Enhanced Traction System active light also comes
on briefly when you
turn the ignition key to RUN. If the
light doesn’t come on then, have
it fixed so it will be
there to tell you when the system is active.
9
H
TEMP
Your vehicle is equipped with one of these gages.
With the ignition in
RUN, this gage shows the engine
coolant temperature.
If the gage pointer moves into the red area, your engine
is too hot! It means that your engine coolant has
overheated. If you have been operating your vehicle
under normal driving conditions, you should pull off the
road, stop your vehicle and turn
off the engine as soon
as possible.
In “Problems on the Road,” this manual shows what to
do. See “Engine Overheating” in the Index.
2-70
Page 147 of 400
Downloaded from www.Manualslib.com manuals search engine Low Coolant Warning Light
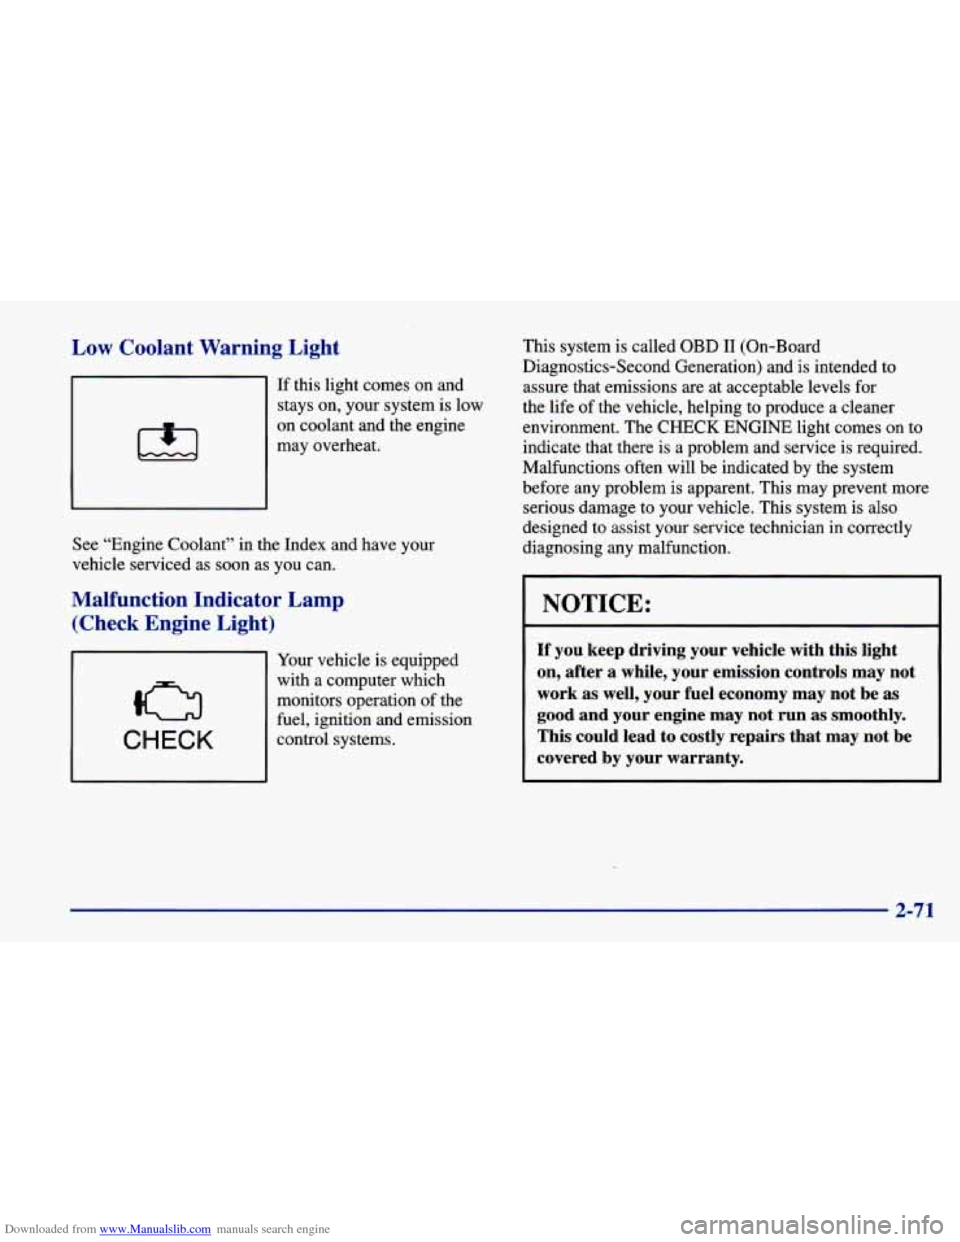
If this light comes on and
stays on, your system is low
on coolant and the engine
may overheat.
See “Engine Coolant” in the Index and have your
vehicle serviced as soon as you can.
Malfunction Indicator Lamp
(Check Engine Light)
CHECK
Your vehicle is equipped
with a computer which
monitors operation of the
fuel, ignition and emission
control systems. This system is called
OBD I1 (On-Board
Diagnostics-Second Generation) and is intended to assure that emissions are at acceptable levels for
the life
of the vehicle, helping to produce a cleaner
environment. The
CHECK ENGINE light comes on to
indicate that there is a problem and service is required.
Malfunctions often will be indicated by the system
before any problem is apparent. This may prevent more serious damage to your vehicle. This system is also
designed to assist your service technician in correctly
diagnosing any malfunction.
NOTICE:
If you keep driving your vehicle with this light
on, after a while, your emission controls may not
work as well, your fuel economy may not be as
good and your engine may not run
as smoothly.
This could lead to costly repairs that may not be
covered by your warranty.
2-71
Page 148 of 400
Downloaded from www.Manualslib.com manuals search engine This light should come on, as a check to show you it is
working, when the ignition is on and the engine is not
running. If the light doesn’t come on, have it repaired.
This light will also come on during a malfunction in one
of two ways:
0
0
Light Flashing -- A misfire condition has been
detected. A misfire increases vehicle emissions and may damage the emission control system
on your
vehicle. Dealer or qualified service center diagnosis
and service may be required.
Light On Steady -- An emission control system
malfunction has been detected
on your vehicle.
Dealer or qualified service center diagnosis and service may be required.
If the Light Is Flashing
The following may prevent more serious damage to
your vehicle:
Reducing vehicle speed.
0 Avoiding hard accelerations.
0 Avoiding steep uphill grades.
If you are towing a trailer, reduce the amount of
cargo being hauled as soon as it is possible.
If the light stops flashing and remains
on steady, see “If
the Light Is On Steady” following.
If the light continues to flash, when
it is safe to do so,
stop the vehicle. Find a safe place to park your vehicle.
Turn the key
off, wait at least 10 seconds and restart the
engine. If the light remains on steady, see
“If the Light
Is On Steady” following. If
the light is still flashing,
follow the previous steps, and drive the vehicle to your
dealer or qualified service center for service.
2-72
Page 150 of 400
Downloaded from www.Manualslib.com manuals search engine Oil Pressure Light
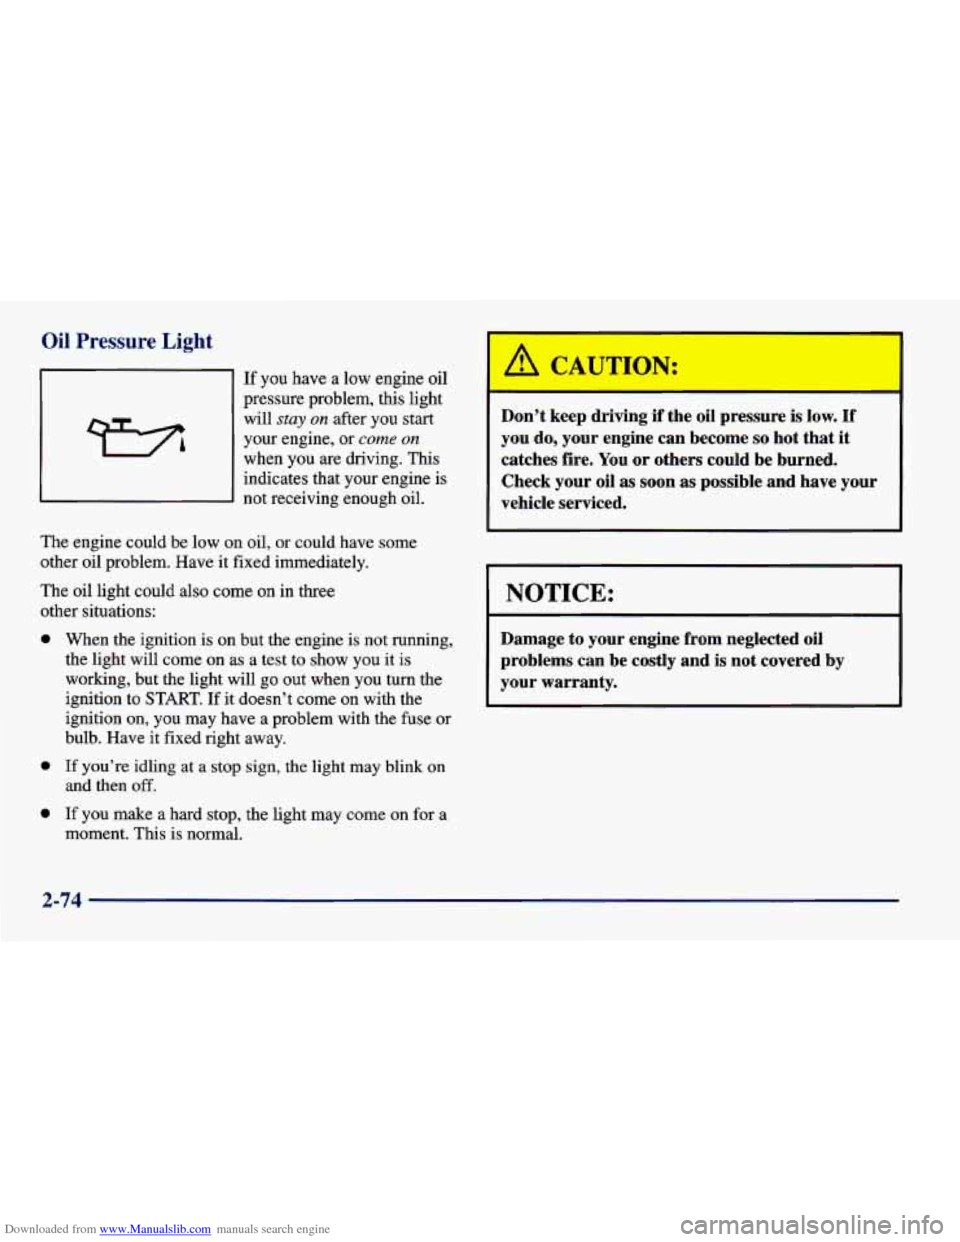
If you have a low engine oil
pressure problem, this light
will
stay on after you start
your engine, or
come on
when you are driving. This indicates that your engine is
not receiving enough oil.
The engine could be low on oil, or could have some
other oil problem. Have it fixed immediately.
The oil light could also come on in three
other situations:
0
0
0
When the ignition is on but the engine is not running,
the light will come on as a test to show you it is
working, but the light will go out when you turn the
ignition
to START. If it doesn’t come on with the
ignition on, you may have a problem with the fuse or
bulb. Have it fixed right away.
If you’re idling at a stop sign, the light may blink on
and then
off.
If you make a hard stop, the light may come on for a
moment. This is normal.
Don’t keep driving if the oil pressure is low. If
you do, your engine can become so hot that it
catches fire. You or others could be burned.
Check your oil
as soon as possible and have your
vehicle serviced.
NOTICE:
Damage to your engine from neglected oil
problems can be costly and is not covered by
your warranty.
2-74
Page 152 of 400
Downloaded from www.Manualslib.com manuals search engine Check Gages Light
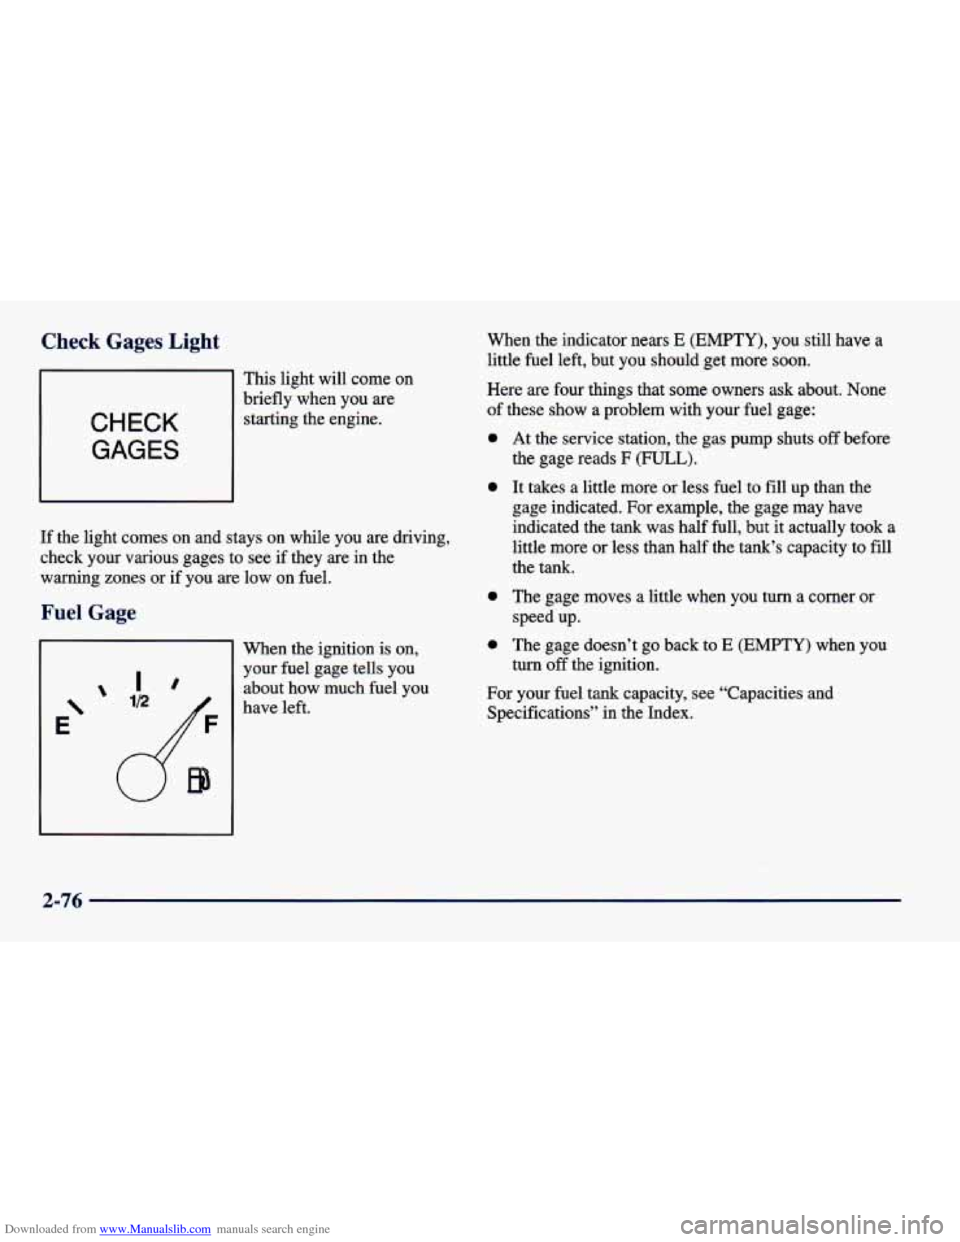
This light will come on
CHECK
GAGES
brieflywhen you are
starting the engine.
If the light comes on and stays on while you are driving,
check your various gages to see if they are in the
warning zones or if you
are low on fuel.
:age
Ir
E‘
’ ID
When the ignition is on,
your fuel gage tells you about how much fuel you
have left. When the indicator nears
E (EMPTY), you
still have a
little fuel left, but you should get more soon.
Here are four things that
some owners ask about. None
of these show a problem with your fuel gage:
0
0
0
0
At the service station, the gas pump shuts off before
the gage reads
F (FULL).
It takes a little more or less fuel to fill up than the
gage indicated.
For example, the gage may have
indicated the tank was half full, but it actually
took a
little more or less than half the tank’s capacity to
fill
the tank.
The gage moves a little when you turn a comer or
speed up.
The gage doesn’t go back to
E (EMPTY) when you
turn
off the ignition.
For your fuel tank capacity, see “Capacities and
Specifications” in the Index.
2-76
Page 161 of 400
Downloaded from www.Manualslib.com manuals search engine Audio Systems
Your Delco Electronics audio system has been designed
to operate easily and give years of listening pleasure.
You will get the most enjoyment out of it
if you acquaint
yourself with
it first. Find out what your Delco
Electronics system can do and how to operate all its
controls, to be sure you’re getting the most out of the
advanced engineering that went into it.
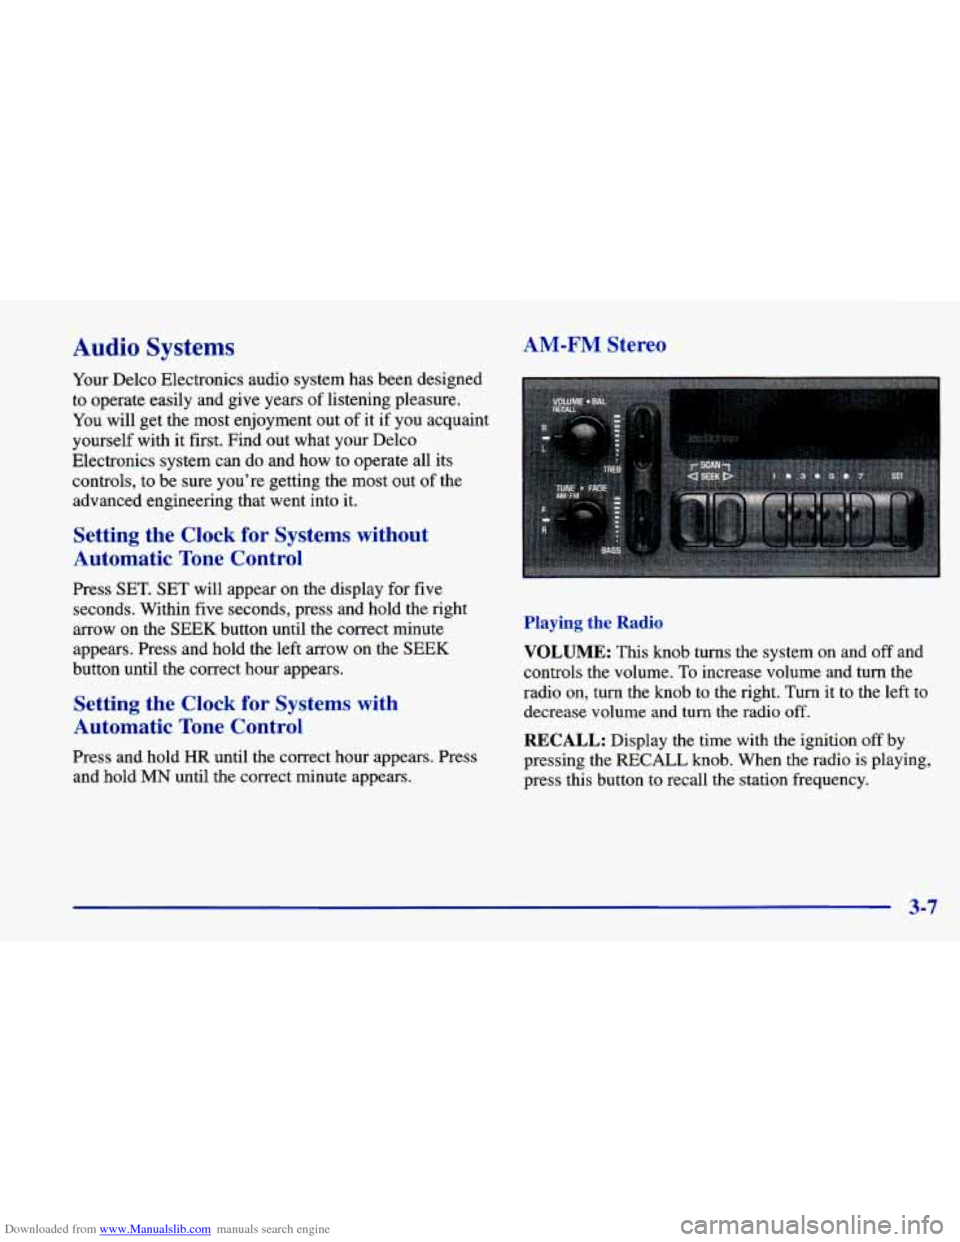
AM-FM Stereo
Setting the Clock for Systems without
Automatic Tone Control
Press SET. SET will appear on the display for five
seconds. Within five seconds, press and hold the right
arrow on the SEEK button until the correct minute
appears. Press and hold the left arrow on the SEEK
button until the correct hour appears.
Setting the Clock for Systems with
Automatic Tone Control
Press and hold HR until the correct hour appears. Press
and hold
MN until the correct minute appears. Playing
the Radio
VOLUME: This
knob turns the system on and off and
controls the volume.
To increase volume and turn the
radio on, turn the
knob to the right. Turn it to the left to
decrease volume and
turn the radio off.
RECALL: Display the time with the ignition off by
pressing the RECALL
knob. When the radio is playing,
press this button to recall the station frequency.
3-7
Page 163 of 400
Downloaded from www.Manualslib.com manuals search engine Adjusting the Speakers
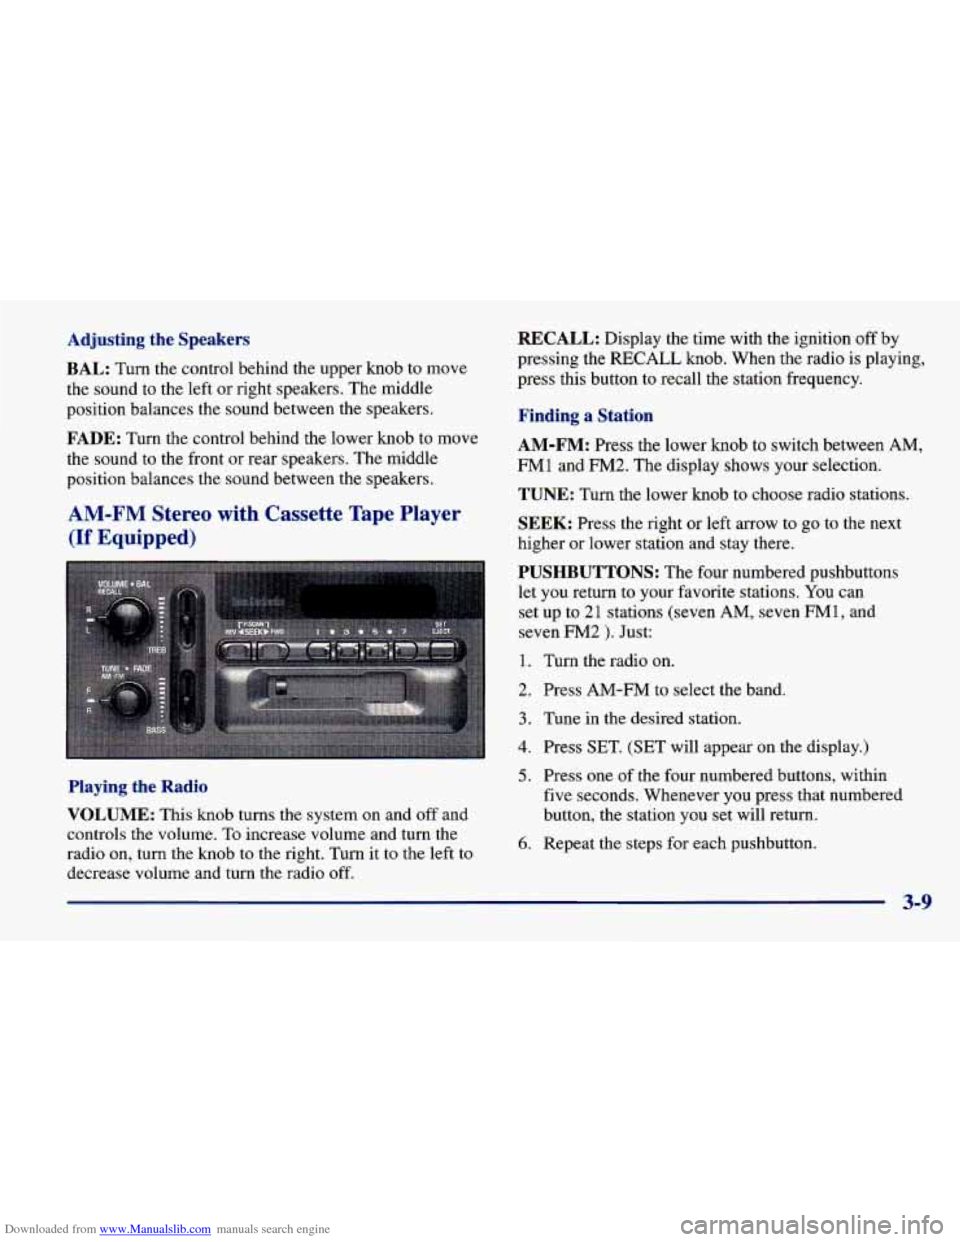
BAL: Turn the control behind the upper knob to move
the sound to the left or right speakers. The middle
position balances the sound between the speakers.
FADE: Turn the control behind the lower knob to move
the sound to the front or rear speakers. The middle
position balances the sound between the speakers.
AM-FM Stereo with Cassette Tape Player
(If Equipped)
Playing the Radio
VOLUME: This knob turns the system on and off and
controls
the volume. To increase volume and turn the
radio on,
turn the knob to the right. Turn it to the left to
decrease volume and turn the radio off.
RECALL: Display the time with the ignition off by
pressing the
RECALL knob. When the radio is playing,
press this button to recall the station frequency.
Finding a Station
AM-FM: Press the lower knob to switch between AM,
FM1
and FM2. The display shows your selection.
TUNE: Turn the lower knob to choose radio stations.
SEEK: Press the right or left arrow to go to the next
higher or lower station and stay there.
PUSHBUTTONS: The four numbered pushbuttons
let
you return to your favorite stations. You can
set up to
2 1 stations (seven AM, seven FM 1, and
seven
FM2 ). Just:
1. Turn the radio on.
2. Press AM-FM to select the band.
3. Tune in the desired station.
4. Press SET. (SET will appear on the display.)
5. Press one of the four numbered buttons, within
five seconds. Whenever you press that numbered
button, the station you set will return.
6. Repeat the steps for each pushbutton.
Page 165 of 400
Downloaded from www.Manualslib.com manuals search engine REV: Press the SEEK arrow pointing to the left and
the tape will reverse rapidly until
you press this button
again lightly.
FWD: Press the SEEK arrow pointing to the right and
the tape will rapidly advance until you press this button
again lightly.
RECALL: Press this knob to hear the other side of a
tape that is playing.
EJECT Press this button to remove the tape. The radio
will play. If
you leave a cassette tape in the player while
listening to the radio, it may become warm.
CLN: If this message appears on the display, the
cassette tape player needs to be cleaned. It will still play
tapes, but you should clean it as soon as possible to
prevent damage to the tapes and player. See “Care of
Your Cassette Tape Player” in the Index. After you clean
the player, press and hold EJECT for five seconds to
reset the
CLN indicator. The radio will display --- to
show the indicator was reset.
CD Adapter Kits
3. Insert the adapter.
4. Within five seconds, press and hold the REV and
FWD buttons at the same time for three seconds. The
tape symbol
on the display will flash, showing that
the cut tape detection feature is no longer active.
The overide routine will remain active until
EJECT
is pressed.
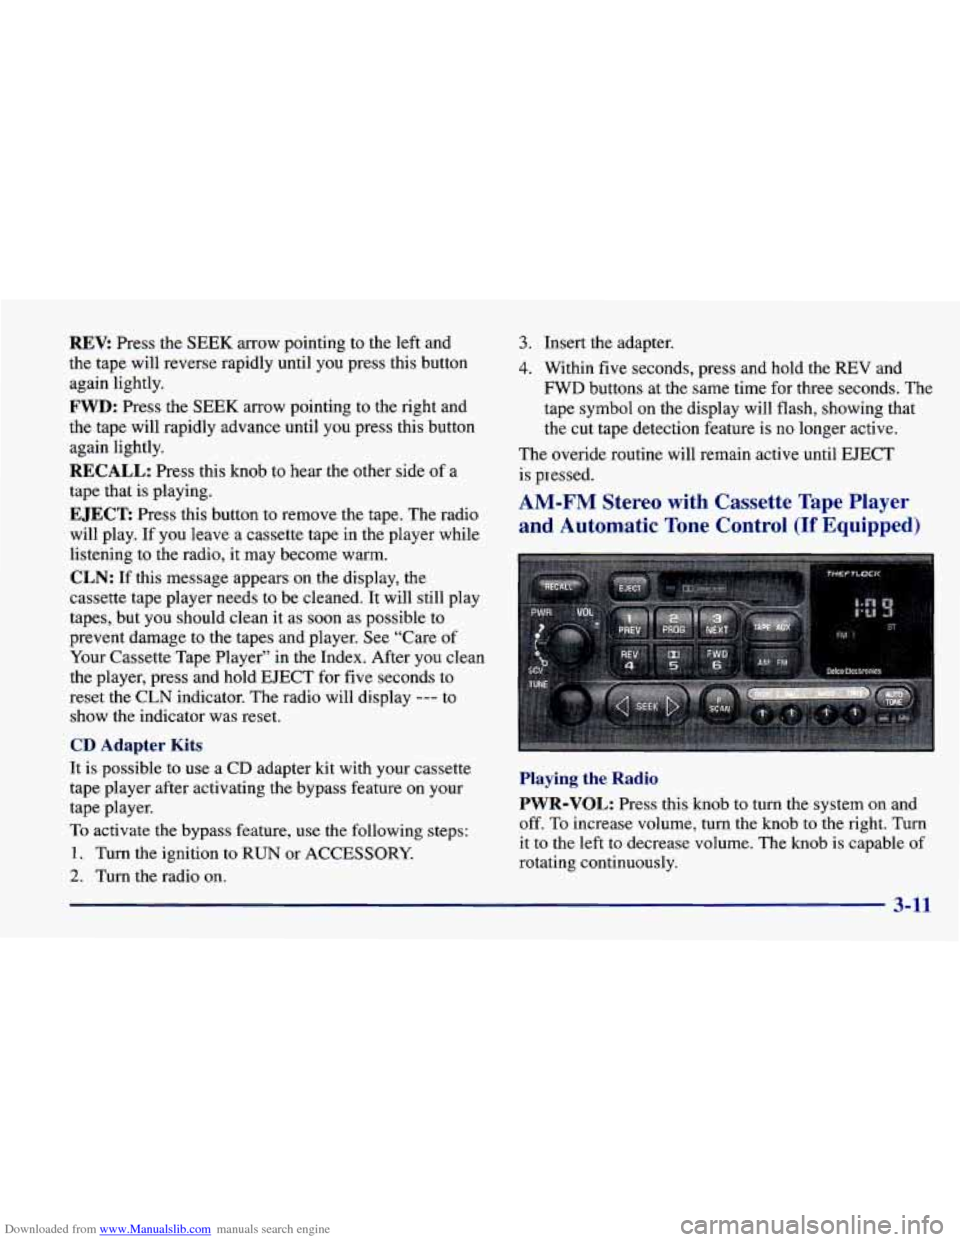
AM-FM Stereo with Cassette Tape Player
and Automatic Tone Control
(If Equipped)
It is possible to use a CD adapter kit with your cassette
tape player after activating the bypass feature
on your
tape player.
To activate the bypass feature, use the following steps:
1. Turn the ignition to RUN or ACCESSORY.
2. Turn the radio on.
3-11
Playing the Radio
PWR-VOL: Press this knob to turn the system on and
off.
To increase volume, turn the knob to the right. Turn
it to the left to decrease volume. The knob is capable of
rotating continuously.
Page 166 of 400
Downloaded from www.Manualslib.com manuals search engine RECALL: Press this button to recall the station being
played.
If you press the button when the ignition is off,
the clock will show for a few seconds.
SCV: Your system has a feature called
Speed-Compensated-Volume (SCV). With
SCV, your
audio system adjusts automatically to make up for road
and wind noise as you drive. Set the volume at the
desired level. Move the control ring behind the upper
knob to the right to adjust the
SCV. Then, as you drive,
SCV automatically increases the volume, as necessary,
to overcome noise at any particular speed. The volume
level should always sound the same to you as you drive.
If you don’t want
to use SCV, turn the control all the
way down. Each notch on the control ring allows for
more volume compensation at faster vehicle speeds.
Finding a Station
AM-FM: Press this button to switch between AM, FMl
and FM2. The display shows your selection.
TUNE: Press this knob lightly so it extends. Turn it to
choose radio stations. Push the
knob back into its stored
position when you’re not using it.
SEEK: Press the right or left arrow to go to the
next higher or lower station. The sound will mute
while seeking.
SCAN: Press one of the SEEK arrows for two seconds,
and SCAN will appear in the display. Use
SCAN to
listen to stations for a few seconds. The radio will go to
a station, stop for a few seconds, then go on to the next
station. Press
SEEK again to stop scanning. The sound
will mute while scanning.
PUSHBUTTONS: The six numbered pushbuttons let
you return to your favorite stations. You can set up to
18 stations (six AM, six FM 1 and six FM2). Just:
1.
2.
3.
4.
5.
6.
Turn the radio on.
Press AM-FM to select the band.
Tune in the desired station.
Press AUTO
TONE to select the equalization that
best suits the type
of station selected.
Press and hold one
of the six numbered buttons. The
sound will mute. When it returns, release the button.
Whenever you press that numbered button, the
station you set will return and the AUTO TONE
equalization that you selected will also be
automatically selected for that button.
Repeat the steps for each pushbutton.
3-12
Page 168 of 400
Downloaded from www.Manualslib.com manuals search engine Playing a Cassette Tape
Your tape player is built to work best with tapes that are
30 to 45 minutes long on each side. Tapes longer than
that are
so thin they may not work well in this player. If
a tape is inserted when the ignition is on but the radio is
off, the tape will begin playing. A tape symbol is shown
in the center of the graphic display whenever a tape is
inserted. When a tape is active,
the tape symbol will be
accompanied by a direction arrow.
While the tape is playing, use the VOL, AUTO TONE,
BAL, FADE, BASS and TREB controls just as you do
for the radio. Other controls may have different
functions when a tape is inserted. The display will show
the tape symbol and an arrow to show which side of the
tape is playing.
If you hear nothing or hear just a garbled sound, it may
not be in squarely. Press
EJECT to remove the tape and
start over.
The player is able to detect a tight or broken tape, and
will eject the tape. The radio will go back to playing the
last station selected.
The player automatically senses the cassette for metal or
Cr02 and sets the pre-emphasis. Anytime a tape is
inserted, the top side is selected to play first.
PREV (1): Press this button or the left SEEK arrow to
go to the previous selection on the tape if the current
selection has been playing for less than eight seconds.
If
the PREV button is pressed and the current selection has
been playing for more than eight seconds, it will go to
the beginning of the current selection. Your tape must
have at least three seconds of silence between each
selection for PREV or SEEK to work. The tape direction
arrow blinks during PREV or
SEEK operation. The
sound will mute during
PREV or SEEK operation. Press
this button or one of the
SEEK arrows again to return to
normal play.
PROG (2): Press this button to play the other side of
the tape.
NEXT (3): Press this button or the right SEEK arrow to
go to the next selection on the tape. If you hold the
button or press it more than once, the player will
continue moving forward through the tape. Your tape
must have at least three seconds
of silence between each
selection for
NEXT or SEEK to work. The tape
direction arrow blinks during
NEXT or SEEK operation.
The sound will mute during
NEXT or SEEK operation.
Press this button or one of the
SEEK arrows again to
return to normal play.
3-14