battery CHEVROLET CAVALIER 1998 3.G Owners Manual
[x] Cancel search | Manufacturer: CHEVROLET, Model Year: 1998, Model line: CAVALIER, Model: CHEVROLET CAVALIER 1998 3.GPages: 400, PDF Size: 20.74 MB
Page 18 of 400
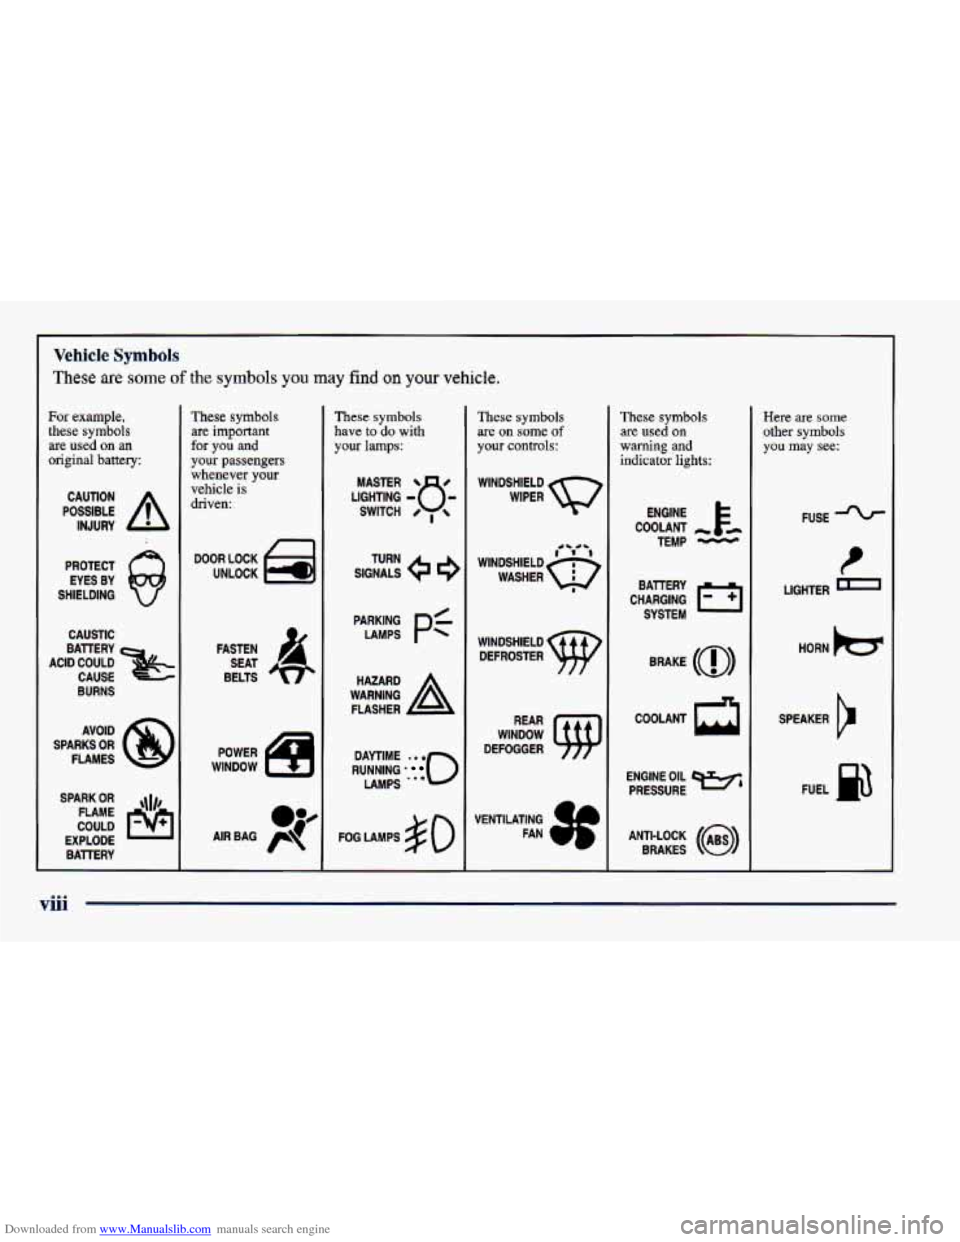
Downloaded from www.Manualslib.com manuals search engine Vehicle Symbols
These are some of the symbols you may find on your vehicle.
For example,
these symbols are used on an
original battery:
POSSIBLE A
CAUTION
INJURY
PROTECT EYES BY
SHIELDING
CAUSTIC
ACID COULD BAlTERY
CAUSE
BURNS
AVOID
SPARKS OR FLAMES
SPARK
OR ,111,
COULD FLAME
EXPLODE BAITERY
These symbols
are important
for you and
your passengers whenever your
vehicle is
driven:
DOOR LOCK
UNLOCK
n
WINDOW ISJ
These symbols
have to do with
your lamps:
RUNNING 0
DAYTIME -0 0
LAMPS '**
FOG LAMPS $0
These symbols
are on some of
your controls:
WINDSHIELD
DEFROSTER
WINDOW
DEFOGGER
VENTILATING FAN
These symbols
are used on
warning and
indicator lights:
CHARGING BAllERY
SYSTEM
BRAKE
(a)
COOLANT a
ENGINE OIL
PRESSURE
ANTI-LOCK
(a)
BRAKES
Here are some
other symbols
you may see:
FUSE
LIGHTER
n
HORN )tr
SPEAKER
b
FUEL p3
1
viii
Page 47 of 400
Downloaded from www.Manualslib.com manuals search engine NOTICE:
If you damage the covering for the driver’s or the
right front passenger’s air bag, the bag may not
work properly. You
may have to replace the air
bag module in the steering wheel
or both the air
bag module and the instrument panel for the
right front passenger’s air bag.
Do not open or
break the
air bag coverings.
Servicing Your Air Bag-Equipped Vehicle
Air bags affect how your vehicle should be serviced.
There are parts
of the air bag system in several places
around your vehicle. You don’t want the system to
inflate while someone is working on your vehicle.
Your dealer and the Cavalier Service Manual have
information about servicing your vehicle and the
air
bag system. To purchase a service manual, see “Service
and Owner Publications”
in the Index.
I
If your vehicle ever gets into a lot of water -- such as
water
up to the carpeting or higher -- or if water enters
your vehicle and soaks the carpet, the
air bag controller
can be soaked and ruined.
If this ever happens, and then
you start your vehicle, the damage could make the
air
bags inflate, even if there’s no crash. You would have to
replace the air bags
as well as the sensors and related
parts. If your vehicle is ever in a flood, or if it’s exposed
to water that
soaks the carpet, you can avoid needless
repair costs by turning
off the vehicle immediately.
Don’t let anyone start the vehicle, even to tow it, unless \
the battery cables are first disconnected.
For up to 10 minutes after the ignition key is
turned
off and the battery is disconnected, an air
bag can still inflate during improper service. You
can be injured if you are close to an air bag when
it inflates. Avoid yellow connectors. They are
probably part of the air bag system. Be sure to
follow proper service procedures, and make sure
the person performing work for you is qualified
to do
so.
The air bag system does not need regular maintenance.
1-29
Page 83 of 400
Downloaded from www.Manualslib.com manuals search engine This device complies with Part 15 of the FCC Rules.
Operation is subject to the following two conditions:
(1) this device may not cause harmful interference,
and
(2) this device must accept any interference
received, including interference that may cause
undesired operation.
This device complies with
RSS-210 of Industry
Canada. Operation is subject to the following two
conditions:
(1) this device may not cause interference,
and
(2) this device must accept any interference
received, including interference that may cause
undesired operation of the device.
Changes or modifications to this system by other than an
authorized service facility could void authorization to
use this equipment. This system has
a range of about
3 feet (1 m) up to
30 feet (9 m). At times you may notice a decrease in
range. This is normal for any remote keyless entry
system. If the transmitter does not work or
if you have
to stand closer to your vehicle for the transmitter to
work, try this:
Check to determine if battery replacement or
resynchronization is necessary. See the instructions
that follow.
Check the distance. You may be too far from your
vehicle. You may need to stand closer during rainy
or snowy weather.
Check the location. Other vehicles or objects may be blocking the signal. Take a few steps to the left or
right, hold the transmitter higher, and try again.
If you’re still having trouble, see your dealer or a
qualified technician for service.
2-7
Page 85 of 400
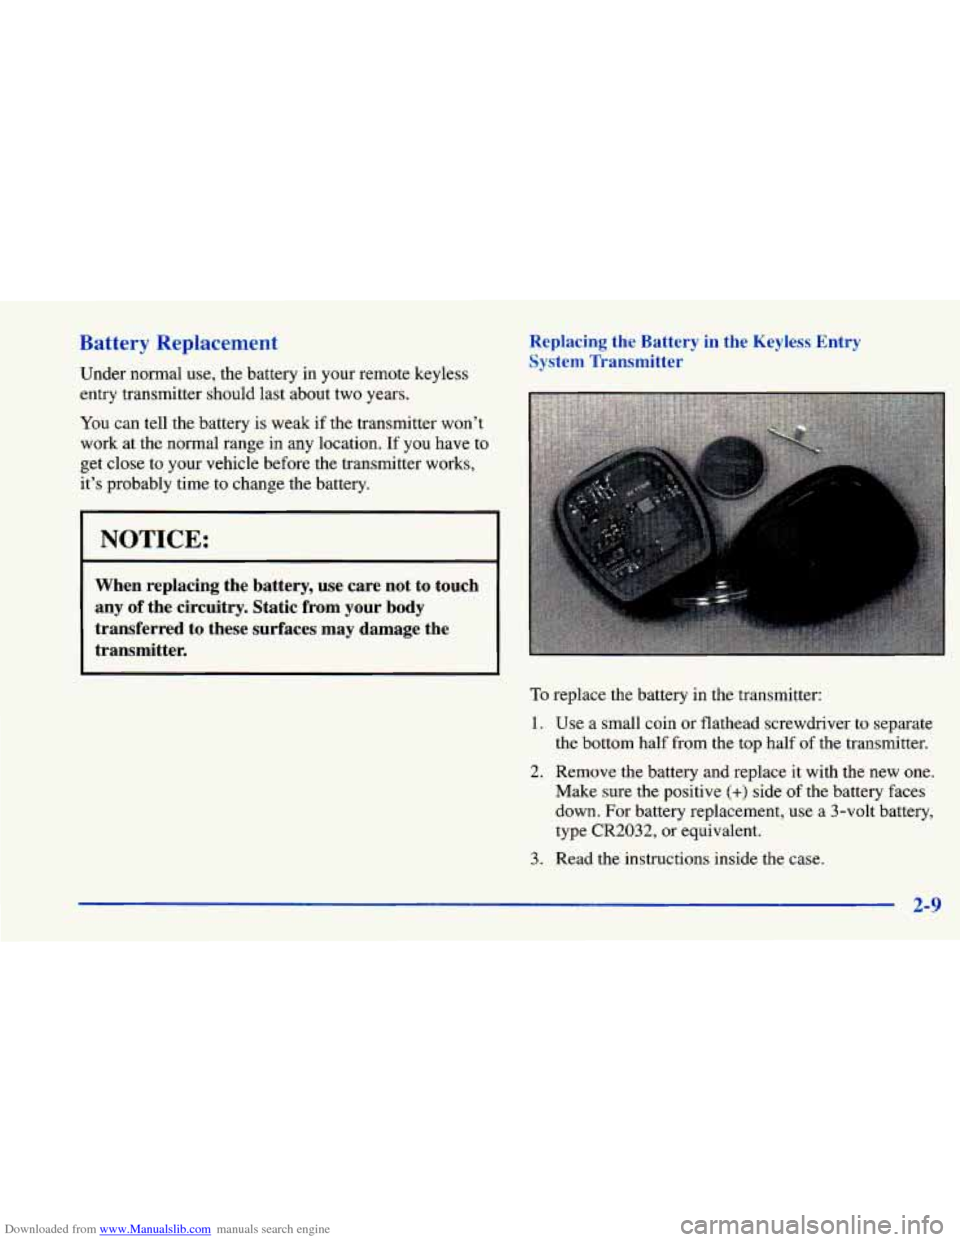
Downloaded from www.Manualslib.com manuals search engine Battery Replacement
Under normal use, the battery in your remote keyless
Replacing the Battery in the Keyless Entry
System Transmitter
entry transmitter should last about two years.
You can tell the battery is weak if the transmitter won’t
work at the normal range in
any location. If you have to
get close to your vehicle before the transmitter works,
it’s probably time to change the battery.
NOTICE:
When replacing the battery, use care not to touch
any
of the circuitry. Static from your body
transferred to these surfaces may damage the
transmitter.
To replace the battery in the transmitter:
1. Use a small coin or flathead screwdriver to separate
the bottom half from the
top half of the transmitter.
2. Remove the battery and replace it with the new one.
Make sure the positive
(+) side of the battery faces
down. For battery replacement, use a 3-volt battery,
type
CR2032, or equivalent.
3. Read the instructions inside the case.
2-9
Page 92 of 400
Downloaded from www.Manualslib.com manuals search engine Starting Your 2.2 Liter Engine
1. Without pushing the accelerator pedal, turn your
ignition key to START. When the engine starts, let
go of the key. The idle speed will go down as your
engine gets warm.
r NOTICE:
Holding your key in START for longer than
15 seconds at a time will cause your battery to be
drained much sooner. And the excessive heat can
damage your starter motor.
2. If your engine still won’t start (or starts but then
stops), it could be flooded with too much gasoline.
Try pushing your accelerator pedal all the way to the
floor and holding it there as you hold the key in
START for about three seconds.
If the vehicle starts
briefly but then stops again, do the same thing, but
this time keep
the pedal down for five or six seconds.
This clears the
extra gasoline from the engine.
NOTICE:
Your engine is designed to work with the
electronics in your vehicle. If you add electrical
parts or accessories, you could change the
way
the engine operates. Before adding electrical
equipment, check with your dealer.
If you don’t,
your engine might not perform properly.
If you ever have to have your vehicle towed, see
the part of this manual that tells how
to do it
without damaging your vehicle. See “Towing
Your Vehicle” in the Index.
2-16
Page 93 of 400
Downloaded from www.Manualslib.com manuals search engine Starting Your 2.4 Liter Engine
1. With your foot off the accelerator pedal, turn your
ignition key to
START. When the engine starts, let
go
of the key. The idle speed will go down as your
engine warms
up.
NOTICE:
Holding your key in START for longer than
15 seconds at a time will cause your battery to be
drained much sooner. And the excessive heat can
damage your starter motor.
2. If the engine doesn’t start right away, and if the
weather is very cold (below -20” F or -29” C), push
the accelerator pedal about one-quarter
of the way
down while
you turn the key to START. Do this
until the engine starts. As soon as it does, let go
of the key.
3. If your engine still won’t start (or starts but then stops),
it could be flooded with too much gasoline. Try
pushing your accelerator pedal all the way to the floor
and holding it there as you hold the key in START for
a maximurn of 15 seconds. This clears the extra
gasoline
from the engine. If the engine still won’t start
or starts briefly but then stops again, repeat step 1 or 2,
depending on temperature. When the engine starts,
release the key and the accelerator pedal.
NOTICE:
1 Your engine is designed to work with the
electronics in your vehicle.
If you add electrical
parts or accessories, you could change the
way
the engine operates. Before adding electrical
~ equipment, check with your dealer. If you don’t,
your engine might not perform properly.
If you ever have to have your vehicle towed, see
the part
of this manual that tells how to do it
without damaging your vehicle. See “Towing.
Your Vehicle” in the Index.
2-17
Page 120 of 400
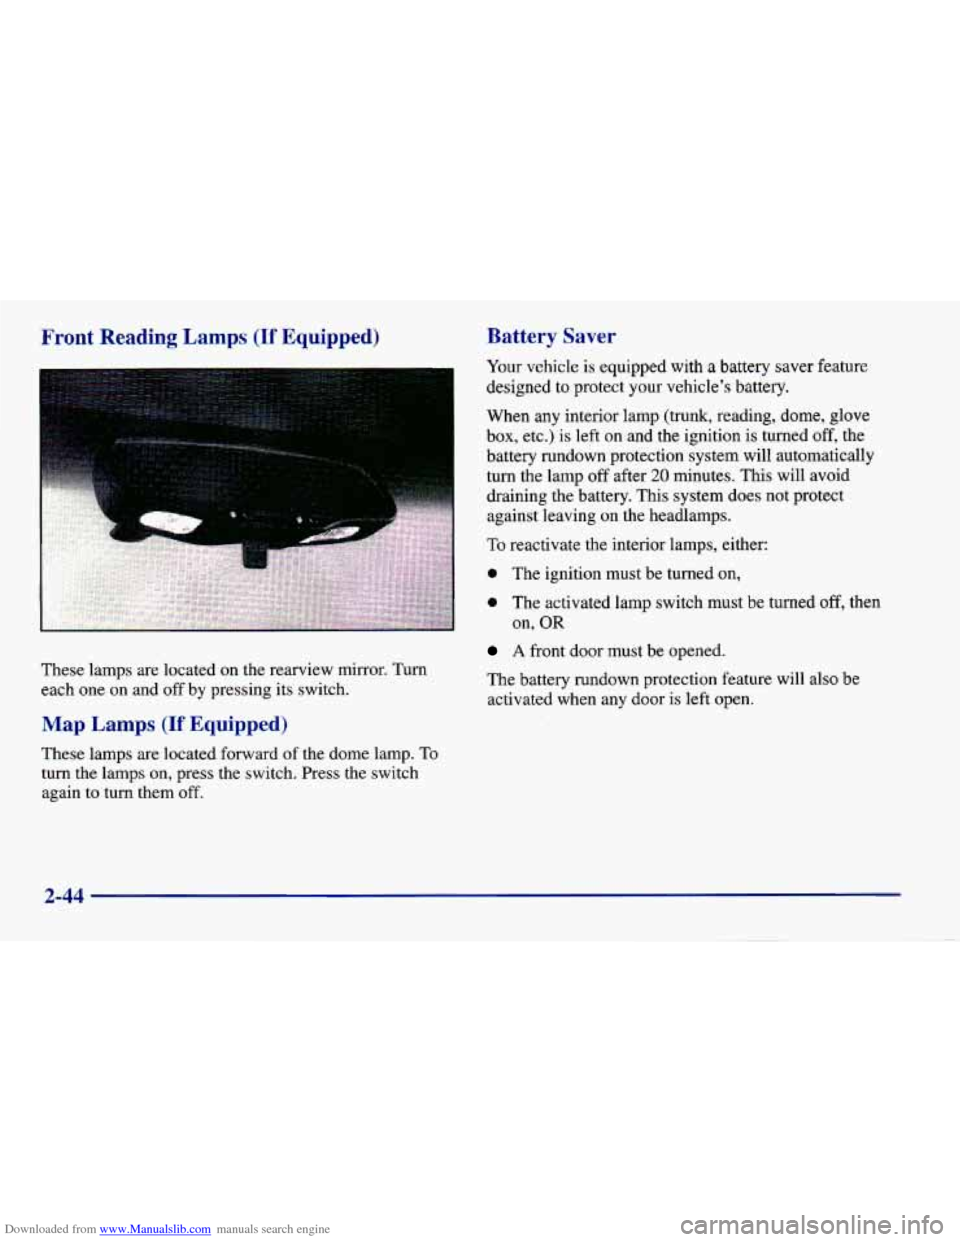
Downloaded from www.Manualslib.com manuals search engine Front Reading Lamps (If Equipped)
. ....
These lamps are located on the rearview mirror. Turn
each one on and off by pressing its switch.
Map Lamps (If Equipped)
These lamps are located forward of the dome lamp. To
turn the lamps on, press the switch. Press the switch
again to turn them off.
Battery Saver
Your vehicle is equipped with a battery saver feature
designed to protect
your vehicle’s battery.
When any interior lamp
(trunk, reading, dome, glove
box, etc.) is left on and the ignition is turned off, the
battery rundown protection system will automatically
turn the lamp
off after 20 minutes. This will avoid
draining the battery. This system does not protect
against leaving on the headlamps.
To reactivate the interior lamps, either:
0 The ignition must be turned on,
0 The activated lamp switch must be turned off, then
A front door must be opened.
The battery rundown protection feature will also be
activated when any door is left open.
on,
OR
2-44
Page 143 of 400
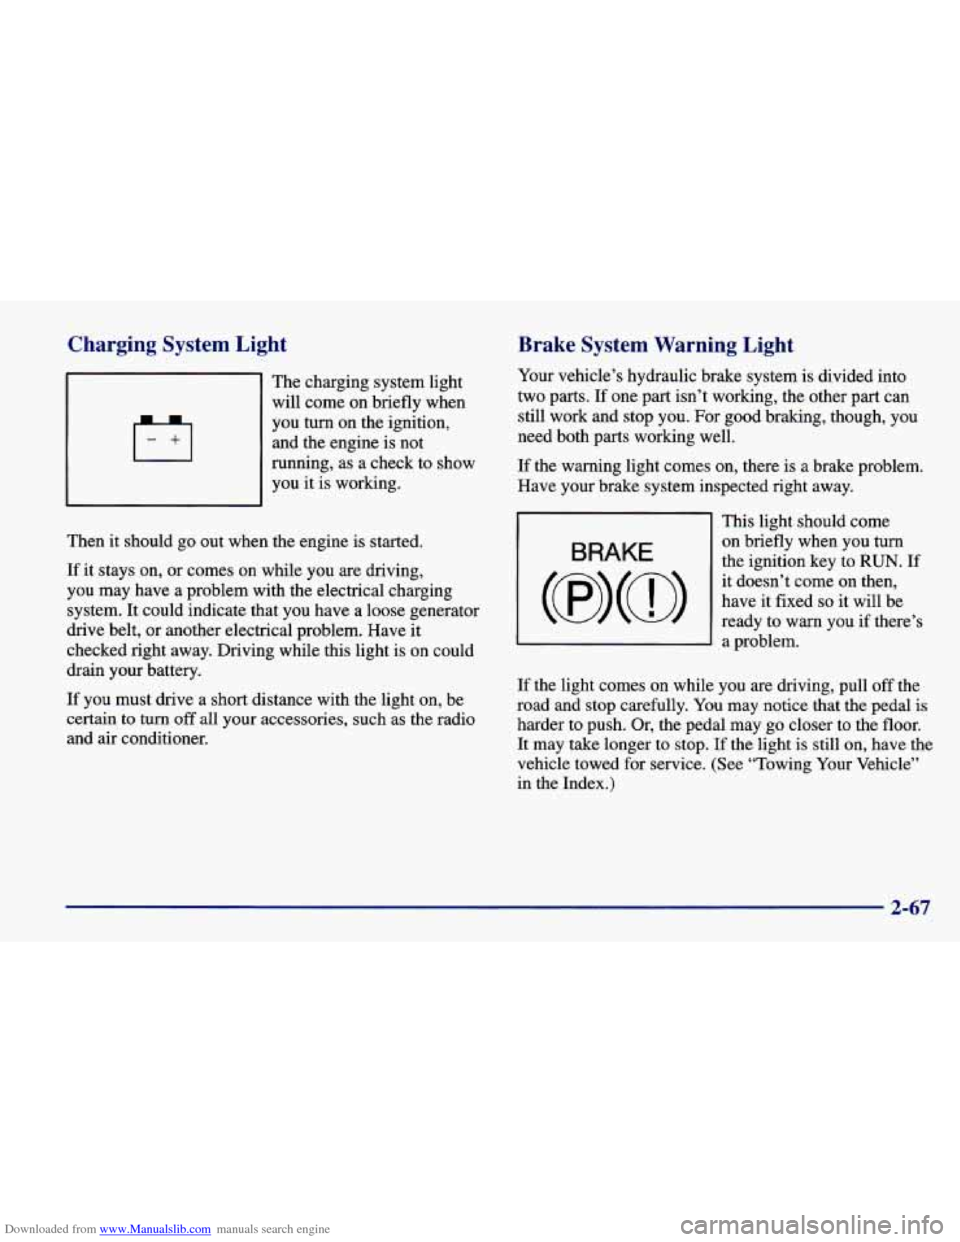
Downloaded from www.Manualslib.com manuals search engine Charging System Light
The charging system light
will come on briefly when
you turn on the ignition,
and the engine is not
running, as a check to show
you it is working.
Then
it should go out when the engine is started.
If it stays on, or comes on while you are driving,
you may have a problem with the electrical charging
system. It could indicate that you have a loose generator
drive belt, or another electrical problem. Have it
checked right away. Driving while this light is on could
drain your battery.
If you must drive a short distance with the light on, be
certain to turn
off all your accessories, such as the radio
and air conditioner.
Brake System Warning Light
Your vehicle’s hydraulic brake system is divided into
two parts.
If one part isn’t working, the other part can
still work and stop you. For good braking, though, you
need both parts working well.
If the warning light comes on, there is a brake problem.
Have your brake system inspected right away.
BRAKE
This light should come
on briefly when you
turn
the ignition key to RUN. If
it doesn’t come on then,
have it fixed
so it will be
ready to warn you if there’s
3 a problem.
If the light comes on while you are driving, pull off the
road and stop carefully. You may notice that the pedal
is
harder to push. Or, the pedal may go closer to the floor.
It may take longer to stop. If the light is still on, have the
vehicle towed for service. (See “Towing Your Vehicle”
in the Index.)
2-67
Page 174 of 400
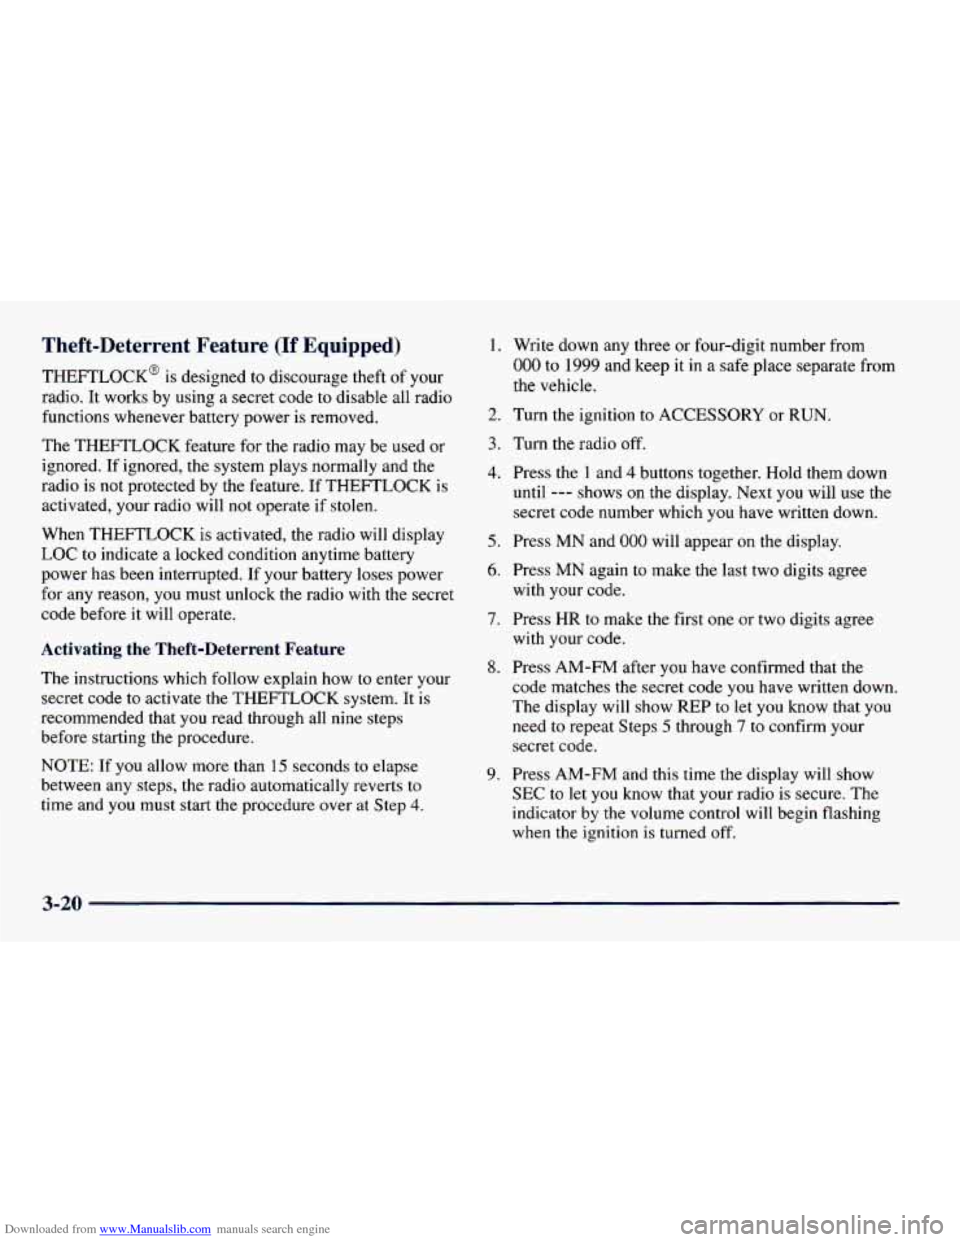
Downloaded from www.Manualslib.com manuals search engine Theft-Deterrent Feature (If Equipped)
THEFTLOCK' is designed to discourage theft of your
radio. It works by using a secret code to disable all radio
functions whenever battery power is removed.
The THEFTLOCK feature for the radio may be used
or
ignored. If ignored, the system plays normally and the
radio is not protected by the feature.
If THEFTLOCK is
activated, your radio will not operate
if stolen.
When THEFTLOCK
is activated, the radio will display
LOC to indicate a locked condition anytime battery
power has been interrupted.
If your battery loses power
for any reason, you must unlock the radio
with the secret
code before it will operate.
Activating the Theft-Deterrent Feature
The instructions which follow explain how to enter your
secret code to activate the THEFTLOCK system. It is
recommended that you read through all nine steps
before starting the procedure.
NOTE: If you allow more than 15 seconds to elapse
between any steps, the radio automatically reverts to time and you
must start the procedure over at Step 4.
1.
2.
3.
4.
5.
6.
7.
8.
9.
Write down any three or four-digit number from
000 to 1999 and keep it in a safe place separate from
the vehicle.
Turn the ignition to ACCESSORY
or RUN.
Turn the radio off.
Press the
1 and 4 buttons together. Hold them down
until --- shows on the display. Next you will use the
secret code number which you have written down.
Press
MN and 000 will appear on the display.
Press MN again to make the last two digits agree
with your code.
Press
HR to make the first one or two digits agree
with your code.
Press AM-FM after you have confirmed that the
code matches the secret code you have written down.
The display will show REP to let you know that you
need
to repeat Steps 5 through 7 to confirm your
secret code.
Press AM-FM and this time the display will show
SEC to let you know that your radio is secure. The
indicator
by the volume control will begin flashing
when the ignition
is turned off.
3-20
Page 175 of 400
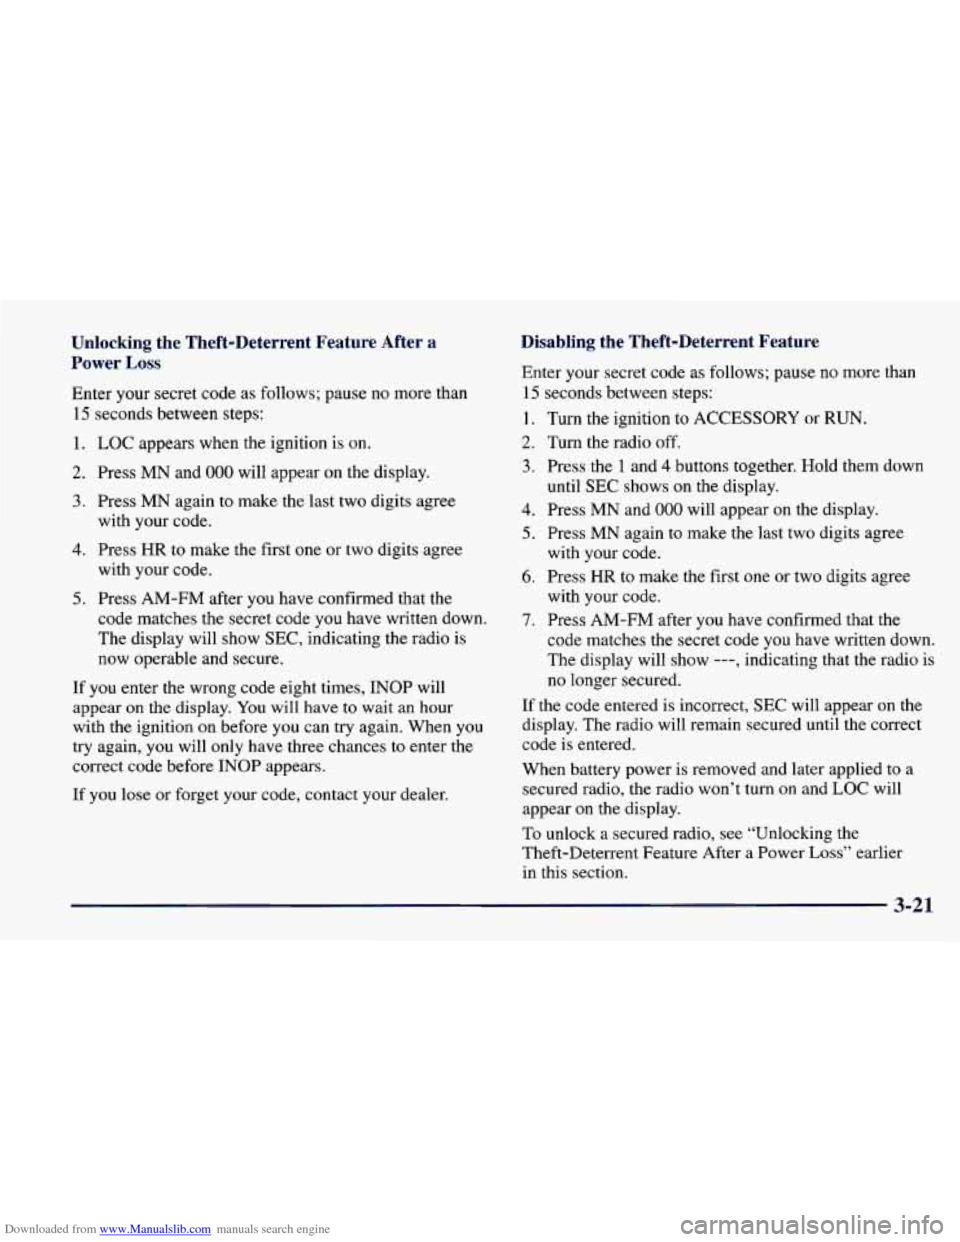
Downloaded from www.Manualslib.com manuals search engine Unlocking the Theft-Deterrent Feature After a
Power
Loss
Enter your secret code as follows; pause no more than
15 seconds between steps:
1. LOC appears when the ignition is on.
2. Press MN and 000 will appear on the display.
3. Press MN again to make the last two digits agree
with your code.
with your code.
code matches the secret code you have written down.
The display will show
SEC, indicating the radio is
now operable and secure.
4. Press HR to make the first one or two digits agree
5. Press AM-FM after you have confirmed that the
If you enter the wrong code eight times,
INOP will
appear
on the display. You will have to wait an hour
with the ignition
on before you can try again. When you
try again, you will only have three chances to enter the
correct code before
INOP appears.
If you lose or forget your code, contact your dealer.
Disabling the Theft-Deterrent Feature
Enter your secret code as follows; pause no more than
15 seconds between steps:
1.
2.
3.
4.
5.
6.
7.
Turn the ignition to ACCESSORY or RUN.
Turn the radio off.
Press the 1 and 4 buttons together. Hold them down
until
SEC shows on the display.
Press
MN and 000 will appear on the display.
Press MN again to make the last two digits agree
with your code.
Press
HR to make the first one or two digits agree
with your code.
Press AM-FM after you have confirmed that the
code matches the secret code you have written down.
The display will show
---, indicating that the radio is
no longer secured.
If the code entered is incorrect, SEC will appear on the
display. The radio will remain secured until the correct
code
is entered.
When battery power is removed and later applied to a
secured radio, the radio won’t turn
on and LOC will
appear
on the display.
To unlock a secured radio, see “Unlocking the
Theft-Deterrent Feature After a Power
Loss’’ earlier
in this section.
3-21