Theft CHEVROLET COBALT 2006 1.G Owners Manual
[x] Cancel search | Manufacturer: CHEVROLET, Model Year: 2006, Model line: COBALT, Model: CHEVROLET COBALT 2006 1.GPages: 390, PDF Size: 2.34 MB
Page 1 of 390
Seats and Restraint Systems........................... 1-1
Front Seats
............................................... 1-2
Rear Seats
..............................................1-10
Safety Belts
.............................................1-12
Child Restraints
.......................................1-32
Airbag System
.........................................1-53
Restraint System Check
............................1-68
Features and Controls..................................... 2-1
Keys
........................................................ 2-2
Doors and Locks
....................................... 2-7
Windows
.................................................2-12
Theft-Deterrent Systems
............................2-14
Starting and Operating Your Vehicle
...........2-17
Mirrors
....................................................2-33
OnStar
®System
......................................2-35
Storage Areas
.........................................2-37
Sunroof
..................................................2-38
Instrument Panel............................................. 3-1
Instrument Panel Overview
.......................... 3-4
Climate Controls
......................................3-17
Warning Lights, Gages, and Indicators
........3-22
Driver Information Center (DIC)
..................3-38
Audio System(s)
.......................................3-48Driving Your Vehicle....................................... 4-1
Your Driving, the Road, and Your Vehicle
..... 4-2
Towing
...................................................4-36
Service and Appearance Care.......................... 5-1
Service
..................................................... 5-3
Fuel
......................................................... 5-5
Checking Things Under the Hood
...............5-10
Headlamp Aiming
.....................................5-46
Bulb Replacement
....................................5-49
Windshield Wiper Blade Replacement
.........5-55
Tires
......................................................5-56
Appearance Care
.....................................5-88
Vehicle Identi�cation
.................................5-96
Electrical System
......................................5-97
Capacities and Speci�cations
...................5-107
Maintenance Schedule..................................... 6-1
Maintenance Schedule
................................ 6-2
Customer Assistance and Information.............. 7-1
Customer Assistance and Information
........... 7-2
Reporting Safety Defects
...........................7-13
Index................................................................ 1
2006 Chevrolet Cobalt Owner ManualM
Page 77 of 390
Keys...............................................................2-2
Remote Keyless Entry System.........................2-3
Remote Keyless Entry System Operation...........2-4
Doors and Locks.............................................2-7
Door Locks....................................................2-7
Power Door Locks..........................................2-8
Delayed Locking.............................................2-8
Automatic Door Lock.......................................2-9
Programmable Automatic Door Unlock...............2-9
Rear Door Security Locks................................2-9
Lockout Protection........................................2-10
Trunk..........................................................2-10
Windows........................................................2-12
Manual Windows..........................................2-13
Power Windows............................................2-13
Sun Visors...................................................2-13
Theft-Deterrent Systems..................................2-14
Content Theft-Deterrent.................................2-14
PASS-Key
®III+............................................2-15
PASS-Key®III+ Operation..............................2-16
Starting and Operating Your Vehicle................2-17
New Vehicle Break-In....................................2-17
Ignition Positions..........................................2-18
Retained Accessory Power (RAP)...................2-20
Starting the Engine.......................................2-20
Engine Coolant Heater..................................2-22Automatic Transaxle Operation.......................2-23
Manual Transaxle Operation...........................2-26
Parking Brake..............................................2-27
Shifting Into Park (P) (Automatic Transaxle)......2-29
Shifting Out of Park (P)
(Automatic Transaxle)................................2-30
Parking Your Vehicle (Manual Transaxle).........2-31
Parking Over Things That Burn.......................2-31
Engine Exhaust............................................2-32
Running the Engine While Parked...................2-32
Mirrors...........................................................2-33
Manual Rearview Mirror.................................2-33
Automatic Dimming Rearview Mirror
with OnStar
®.............................................2-33
Outside Manual Mirror...................................2-34
Outside Remote Control Mirror.......................2-34
Outside Power Mirrors...................................2-34
Outside Convex Mirror...................................2-35
OnStar
®System.............................................2-35
Storage Areas................................................2-37
Glove Box...................................................2-37
Cupholder(s)................................................2-37
Center Console Storage Area.........................2-37
Driver’s Storage Compartment........................2-37
Convenience Net..........................................2-37
Sunroof.........................................................2-38
Section 2 Features and Controls
2-1
Page 81 of 390
Q(Lock):Press the lock button to lock all the doors. If
enabled through the Driver Information Center (DIC), the
remote lock feedback can be programmed to have the
horn chirp and/or the parking lamps �ash when the
remote keyless entry transmitter is used to lock the
vehicle’s doors. See “LOCK HORN” and “LIGHT FLASH”
underDIC Vehicle Personalization on page 3-43for more
information.
Pressing the lock button may arm the content
theft-deterrent system. SeeContent Theft-Deterrent on
page 2-14.
"(Unlock):Press the unlock button one time to unlock
the driver’s door. Press the unlock button again within
�ve seconds to unlock the other doors. The interior
lamps will come on and stay on for 20 seconds or until
the ignition is turned on. If enabled through the DIC,
the remote unlock feedback can be programmed to have
the horn chirp and/or the turn signal lamps �ash when
the remote keyless entry transmitter is used to
unlock the vehicle’s doors. See “UNLOCK HORN” and
“LIGHT FLASH” underDIC Vehicle Personalization
on page 3-43for more information.If enabled through the DIC, and it is dark enough
outside, the vehicle’s high-beam headlamps and parking
lamps will come on each time the unlock button on
the transmitter is pressed. These exterior lamps will stay
on for 20 seconds, or until a door is opened. See
“EXT (Exterior) LIGHTS” underDIC Vehicle
Personalization on page 3-43.
Pressing the unlock button on the remote keyless entry
transmitter will disarm the content-theft deterrent
system. SeeContent Theft-Deterrent on page 2-14for
more details.V(Remote Trunk Release):The trunk will open
when this button on the transmitter is pressed and held
for approximately one second. You can open the
trunk with the transmitter when the vehicle is stationary.
L(Vehicle Locator/Panic Alarm):Press and
release this button to help locate your vehicle. The horn
will sound three times and the hazard lamps will �ash
three times. Press and hold the button for three seconds
to sound the panic alarm. The horn will sound and the
hazard lamps will �ash for 30 seconds. The ignition must
be off for the vehicle locator/remote alarm to work.
Press the vehicle locator/panic alarm button again or
turn the ignition to ACC (Accessory) or RUN to turn off
the alarm.
2-5
Page 90 of 390
Visor Vanity Mirror
Your vehicle may have a driver’s side vanity mirror.
Swing down the sun visor and lift the cover to expose
the mirror.
Theft-Deterrent Systems
Vehicle theft is big business, especially in some cities.
Although your vehicle has a number of theft-deterrent
features, we know that nothing we put on it can make it
impossible to steal.
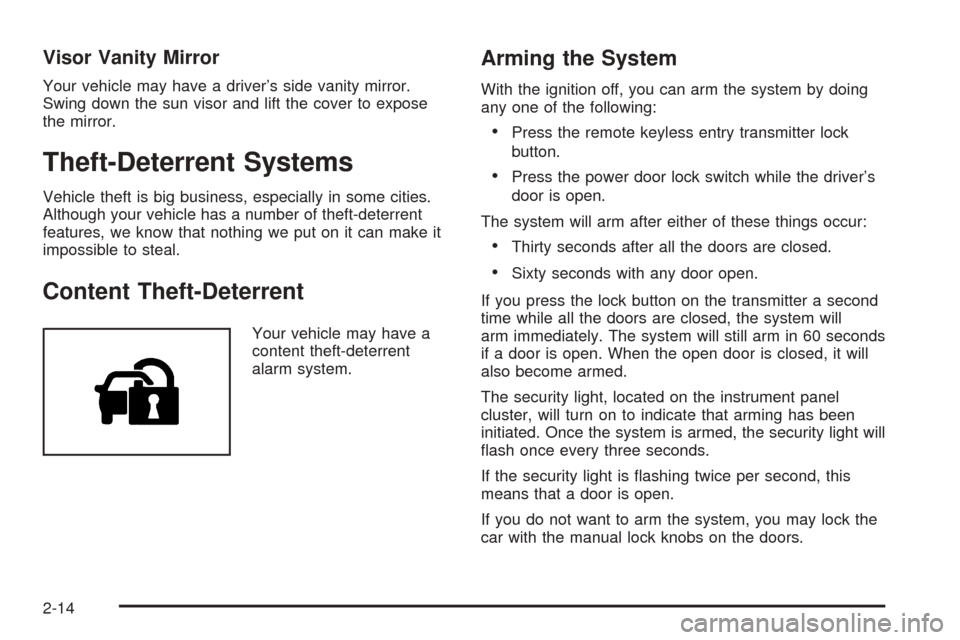
Content Theft-Deterrent
Your vehicle may have a
content theft-deterrent
alarm system.
Arming the System
With the ignition off, you can arm the system by doing
any one of the following:
Press the remote keyless entry transmitter lock
button.
Press the power door lock switch while the driver’s
door is open.
The system will arm after either of these things occur:
Thirty seconds after all the doors are closed.
Sixty seconds with any door open.
If you press the lock button on the transmitter a second
time while all the doors are closed, the system will
arm immediately. The system will still arm in 60 seconds
if a door is open. When the open door is closed, it will
also become armed.
The security light, located on the instrument panel
cluster, will turn on to indicate that arming has been
initiated. Once the system is armed, the security light will
�ash once every three seconds.
If the security light is �ashing twice per second, this
means that a door is open.
If you do not want to arm the system, you may lock the
car with the manual lock knobs on the doors.
2-14
Page 91 of 390
Disarming the System
You can disarm the system by doing any one of the
following:
Press the remote keyless entry transmitter unlock
button.
Turn the ignition on.
If the system is armed and the trunk is opened using
the trunk release button on the transmitter, the system
will temporarily disarm itself and re-arm when the
trunk has been closed. This allows you to exit the
vehicle, lock the doors using the transmitter, and open
the trunk using the transmitter without having to
disarm and re-arm the system.
Once the system is disarmed, the security light will stop
�ashing.
How the System Alarm is Activated
If the system is armed, it can be activated by either:
Opening the driver’s door or trunk. This will
cause a ten second pre-alarm chirp followed by a
thirty second full alarm of horn and lights.
Opening any other door. This will immediately
cause a full alarm of horn and lights for
thirty seconds.
When an alarm event has �nished, the system will
re-arm itself automatically.
How to Turn Off the System Alarm
To turn off the system alarm, do one of the following:
Press the lock button on the remote keyless
entry transmitter. The system will then re-arm itself.
Press the unlock button on the remote keyless entry
transmitter. This will also disarm the system.
Insert the key in the ignition and turn it on. This will
also disarm the system.
How to Detect a Tamper Condition
If you hear three chirps when you press the unlock, lock,
or trunk release buttons on the remote keyless
transmitter, it means that the content theft security
system alarm was previously activated.
PASS-Key®III+
The PASS-Key®III+ system operates on a radio
frequency subject to Federal Communications
Commission (FCC) Rules and with Industry Canada.
This device complies with Part 15 of the FCC Rules.
Operation is subject to the following two conditions:
1. This device may not cause harmful interference.
2. This device must accept any interference received,
including interference that may cause undesired
operation.
2-15
Page 92 of 390

This device complies with RSS-210 of Industry Canada.
Operation is subject to the following two conditions:
1. This device may not cause interference.
2. This device must accept any interference received,
including interference that may cause undesired
operation of the device.
Changes or modi�cations to this system by other than
an authorized service facility could void authorization to
use this equipment.
PASS-Key
®III+ uses a radio frequency transponder in
the key that matches a decoder in your vehicle.
PASS-Key®III+ Operation
Your vehicle is equipped with PASS-Key®III+
(Personalized Automotive Security System)
theft-deterrent system. PASS-Key
®III+ is a passive
theft-deterrent system. This means you do not have to
do anything special to arm or disarm the system. It
works when you insert or remove the key from
the ignition.
When the PASS-Key
®III+ system senses that someone
is using the wrong key, it prevents the vehicle from
starting. Anyone using a trial-and-error method to start
the vehicle will be discouraged because of the high
number of electrical key codes.When trying to start the vehicle if the engine does not
start and the security light on the instrument panel
cluster comes on, the key may have a damaged
transponder. Turn the ignition off and try again.
If the engine still does not start, and the key appears to be
not damaged, try another ignition key. At this time, you
may also want to check the fuse, seeFuses and Circuit
Breakers on page 5-98. If the engine still does not start
with the other key, your vehicle needs service. If your
vehicle does start, the �rst key may be faulty. See your
dealer who can service the PASS-Key
®III+ to have a
new key made. In an emergency, contact Roadside
Assistance. SeeRoadside Assistance Program on
page 7-6.
It is possible for the PASS-Key
®III+ decoder to “learn”
the transponder value of a new or replacement key.
Up to 10 keys may be programmed for the vehicle. The
following procedure is for programming additional keys
only. If all the currently programmed keys are lost or do
not operate, you must see your dealer or a locksmith who
can service PASS-Key
®III+ to have keys made and
programmed to the system.
See your dealer or a locksmith who can service
PASS-Key
®III+ to get a new key blank that is cut
exactly as the ignition key that operates the system.
2-16
Page 94 of 390
Ignition Positions
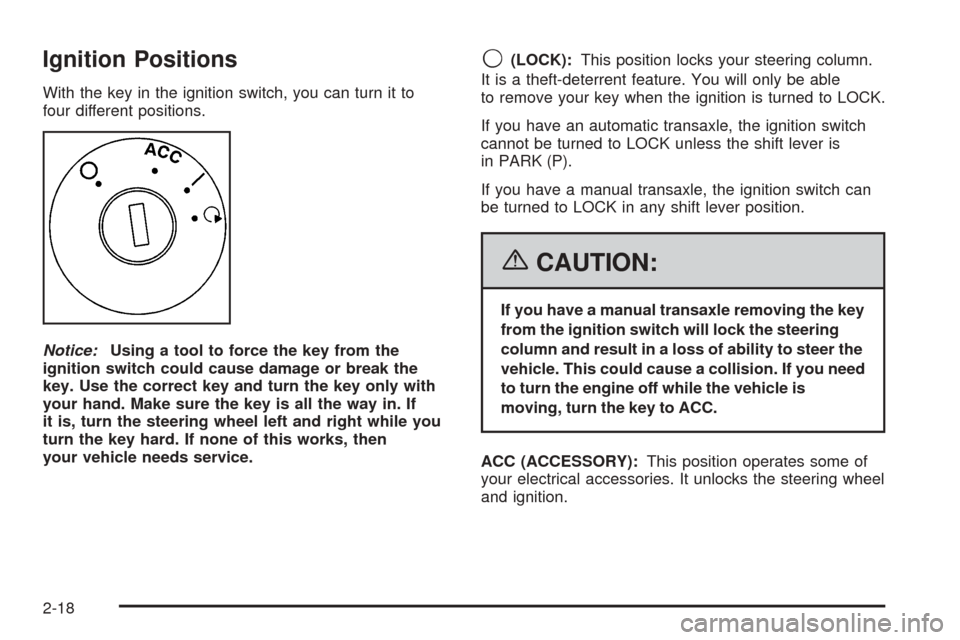
With the key in the ignition switch, you can turn it to
four different positions.
Notice:Using a tool to force the key from the
ignition switch could cause damage or break the
key. Use the correct key and turn the key only with
your hand. Make sure the key is all the way in. If
it is, turn the steering wheel left and right while you
turn the key hard. If none of this works, then
your vehicle needs service.
9(LOCK):This position locks your steering column.
It is a theft-deterrent feature. You will only be able
to remove your key when the ignition is turned to LOCK.
If you have an automatic transaxle, the ignition switch
cannot be turned to LOCK unless the shift lever is
in PARK (P).
If you have a manual transaxle, the ignition switch can
be turned to LOCK in any shift lever position.
{CAUTION:
If you have a manual transaxle removing the key
from the ignition switch will lock the steering
column and result in a loss of ability to steer the
vehicle. This could cause a collision. If you need
to turn the engine off while the vehicle is
moving, turn the key to ACC.
ACC (ACCESSORY):This position operates some of
your electrical accessories. It unlocks the steering wheel
and ignition.
2-18
Page 116 of 390
Driver Information Center (DIC).......................3-38
DIC Operation and Displays...........................3-38
DIC Warnings and Messages.........................3-40
DIC Vehicle Personalization............................3-43
Audio System(s).............................................3-48
Setting the Time...........................................3-49
Radio with CD (Uplevel)................................3-50
Radio with CD (MP3)....................................3-57Theft-Deterrent Feature..................................3-70
Audio Steering Wheel Controls.......................3-71
Radio Reception...........................................3-71
Care of Your CDs.........................................3-72
Care of the CD Player...................................3-72
Fixed Mast Antenna......................................3-73
XM™ Satellite Radio Antenna System.............3-73
Section 3 Instrument Panel
3-2
Page 150 of 390
Security Light
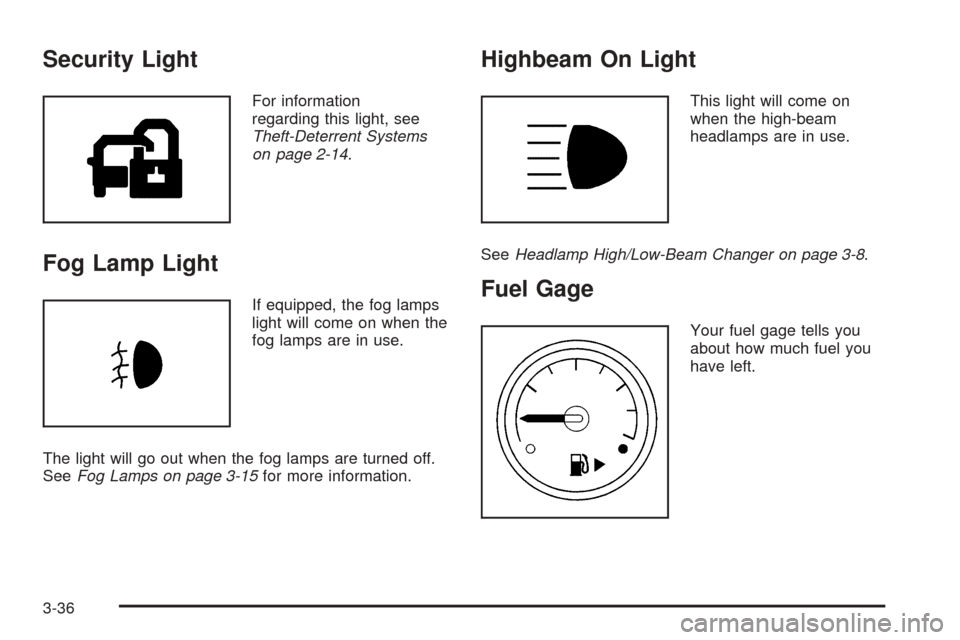
For information
regarding this light, see
Theft-Deterrent Systems
on page 2-14.
Fog Lamp Light
If equipped, the fog lamps
light will come on when the
fog lamps are in use.
The light will go out when the fog lamps are turned off.
SeeFog Lamps on page 3-15for more information.
Highbeam On Light
This light will come on
when the high-beam
headlamps are in use.
SeeHeadlamp High/Low-Beam Changer on page 3-8.
Fuel Gage
Your fuel gage tells you
about how much fuel you
have left.
3-36
Page 168 of 390

RDS Messages
ALERT!:Alert warns of local or national emergencies.
When an alert announcement comes on the current
radio station, ALERT! will appear on the display. You will
hear the announcement, even if the volume is low or
a CD is playing. If a CD is playing, play will stop during
the announcement. Alert announcements cannot be
turned off.
ALERT! will not be affected by tests of the emergency
broadcast system. This feature is not supported by
all RDS stations.
MSG (Message):If the current station has a message,
MSG will appear on the display. Press this button to
see the message. The message may display the artist,
song title, call in phone numbers, etc.
If the entire message is not displayed, parts of the
message will appear every three seconds. To scroll
through the message, press and release the MSG button.
A new group of words will appear on the display after
every press of the button. Once the complete message
has been displayed, MSG will disappear from the display
until another new message is received. The last message
can be displayed by pressing the MSG button. You can
view the last message until a new message is received or
a different station is tuned to.
When a message is not available from a station,
NO MESSAGE will appear on the display.
Radio Messages
CALIBRATE:The audio system has been calibrated for
your vehicle from the factory. If CALIBRATE appears on
the display, it means that the radio has not been
con�gured properly for your vehicle and it must be
returned to your GM dealer for service.
LOCKED:This message is displayed when the
THEFTLOCK
®system has locked up the radio.
Take the vehicle to your GM dealer for service.
If any error occurs repeatedly or if an error cannot be
corrected, contact your GM dealer.
For information on XM™ radio messages, see the XM™
Radio Messages table under “Radio with CD (MP3)”
later in this section.
Playing a CD
Insert a CD partway into the slot, label side up. The
player will pull it in and the CD should begin playing.
If you want to insert a CD with the ignition off, �rst press
the eject button or the DISP knob.
As each new track starts to play, the track number will
appear on the display.
If the ignition or radio is turned off with a CD in the player,
it will stay in the player. When the ignition or radio is
turned on the CD will start playing, where it stopped, if it
was the last selected audio source.
3-54