warning lights CHEVROLET COLORADO 2018 Owner's Manual
[x] Cancel search | Manufacturer: CHEVROLET, Model Year: 2018, Model line: COLORADO, Model: CHEVROLET COLORADO 2018Pages: 421, PDF Size: 5.58 MB
Page 51 of 421
Chevrolet Colorado Owner Manual (GMNA-Localizing-U.S./Canada/Mexico-
11349743) - 2018 - crc - 10/12/17
50 Seats and Restraints
Warning (Continued)
heat, such as a blanket, cushion,
cover, or similar item. This may
cause the seat heater to
overheat. An overheated seat
heater may cause a burn or may
damage the seat.
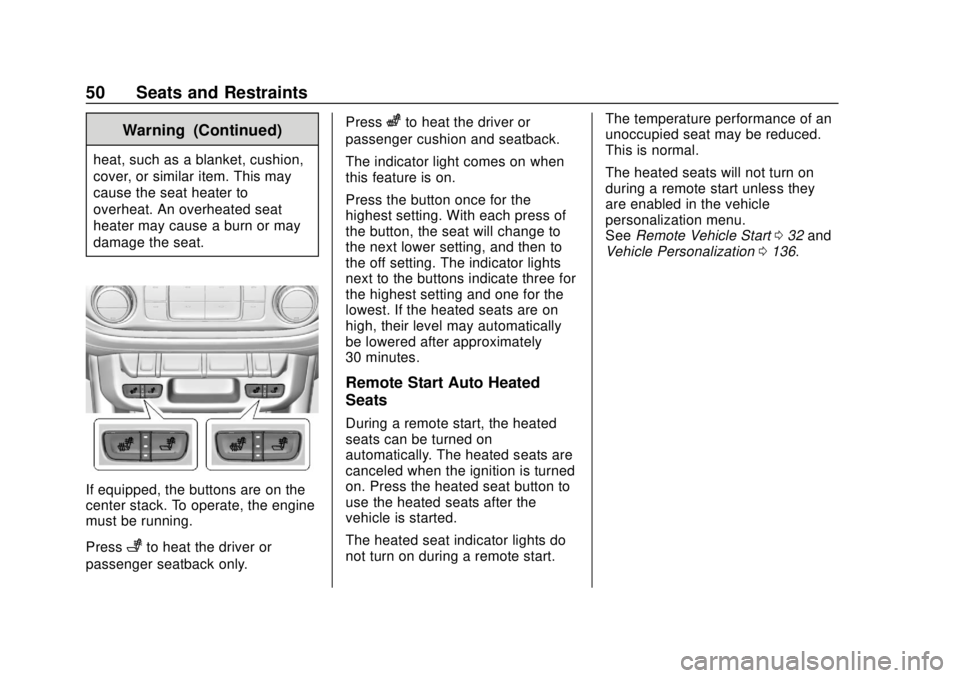
If equipped, the buttons are on the
center stack. To operate, the engine
must be running.
Press
+to heat the driver or
passenger seatback only. Press
zto heat the driver or
passenger cushion and seatback.
The indicator light comes on when
this feature is on.
Press the button once for the
highest setting. With each press of
the button, the seat will change to
the next lower setting, and then to
the off setting. The indicator lights
next to the buttons indicate three for
the highest setting and one for the
lowest. If the heated seats are on
high, their level may automatically
be lowered after approximately
30 minutes.
Remote Start Auto Heated
Seats
During a remote start, the heated
seats can be turned on
automatically. The heated seats are
canceled when the ignition is turned
on. Press the heated seat button to
use the heated seats after the
vehicle is started.
The heated seat indicator lights do
not turn on during a remote start. The temperature performance of an
unoccupied seat may be reduced.
This is normal.
The heated seats will not turn on
during a remote start unless they
are enabled in the vehicle
personalization menu.
See
Remote Vehicle Start 032 and
Vehicle Personalization 0136.
Page 106 of 421
Chevrolet Colorado Owner Manual (GMNA-Localizing-U.S./Canada/Mexico-
11349743) - 2018 - crc - 10/12/17
Instruments and Controls 105
Instruments and
Controls
Controls
Steering Wheel Adjustment . . . 106
Steering Wheel Controls . . . . . . 106
Horn . . . . . . . . . . . . . . . . . . . . . . . . . . 107
Windshield Wiper/Washer . . . . 107
Compass . . . . . . . . . . . . . . . . . . . . . 108
Clock . . . . . . . . . . . . . . . . . . . . . . . . . 108
Power Outlets . . . . . . . . . . . . . . . . 109
Wireless Charging . . . . . . . . . . . . 110
Warning Lights, Gauges, and
Indicators
Warning Lights, Gauges, andIndicators . . . . . . . . . . . . . . . . . . . . 111
Instrument Cluster (Base Level) . . . . . . . . . . . . . . . . . . . . . . . 112
Instrument Cluster (Upevel) . . . 114
Speedometer . . . . . . . . . . . . . . . . . 116
Odometer . . . . . . . . . . . . . . . . . . . . . 116
Trip Odometer . . . . . . . . . . . . . . . . 116
Tachometer . . . . . . . . . . . . . . . . . . . 116
Fuel Gauge . . . . . . . . . . . . . . . . . . . 116
Engine Coolant Temperature Gauge . . . . . . . . . . . . . . . . . . . . . . 117
Seat Belt Reminders . . . . . . . . . . 118 Airbag Readiness Light . . . . . . . 119
Passenger Airbag Status
Indicator . . . . . . . . . . . . . . . . . . . . . 119
Charging System Light . . . . . . . 120
Malfunction Indicator Lamp (Check Engine Light) . . . . . . . . 120
Brake System Warning Light . . . . . . . . . . . . . . . . . . . . . . . . 122
Antilock Brake System (ABS) Warning Light . . . . . . . . . . . . . . . 123
Up-Shift Light (Manual Transmission) . . . . . . . . . . . . . . . 124
Four-Wheel-Drive Light . . . . . . . 124
Tow/Haul Mode Light . . . . . . . . . 124
Hill Descent Control Light . . . . 124
Lane Departure Warning (LDW) Light . . . . . . . . . . . . . . . . . 124
Vehicle Ahead Indicator . . . . . . 125
Traction Off Light . . . . . . . . . . . . . 125
StabiliTrak OFF Light . . . . . . . . . 125
Traction Control System (TCS)/ StabiliTrak Light . . . . . . . . . . . . . 125
Tire Pressure Light . . . . . . . . . . . 126
Engine Oil Pressure Light . . . . 126
Low Fuel Warning Light (Base Level) . . . . . . . . . . . . . . . . . . . . . . . 127
Low Fuel Warning Light (Uplevel) . . . . . . . . . . . . . . . . . . . . 127
Security Light . . . . . . . . . . . . . . . . . 127
High-Beam On Light . . . . . . . . . . 127 Front Fog Lamp Light . . . . . . . . . 128
Lamps On Reminder . . . . . . . . . 128
Cruise Control Light . . . . . . . . . . 128
Door Ajar Light (Uplevel
Cluster) . . . . . . . . . . . . . . . . . . . . . 128
Information Displays
Driver Information Center (DIC)
(Base Level) . . . . . . . . . . . . . . . . 129
Driver Information Center (DIC) (Uplevel) . . . . . . . . . . . . . . . . . . . . 131
Vehicle Messages
Vehicle Messages . . . . . . . . . . . . 135
Engine Power Messages . . . . . 135
Vehicle Speed Messages . . . . . 135
Vehicle Personalization
Vehicle Personalization . . . . . . . 136
Page 112 of 421
Chevrolet Colorado Owner Manual (GMNA-Localizing-U.S./Canada/Mexico-
11349743) - 2018 - crc - 10/12/17
Instruments and Controls 111
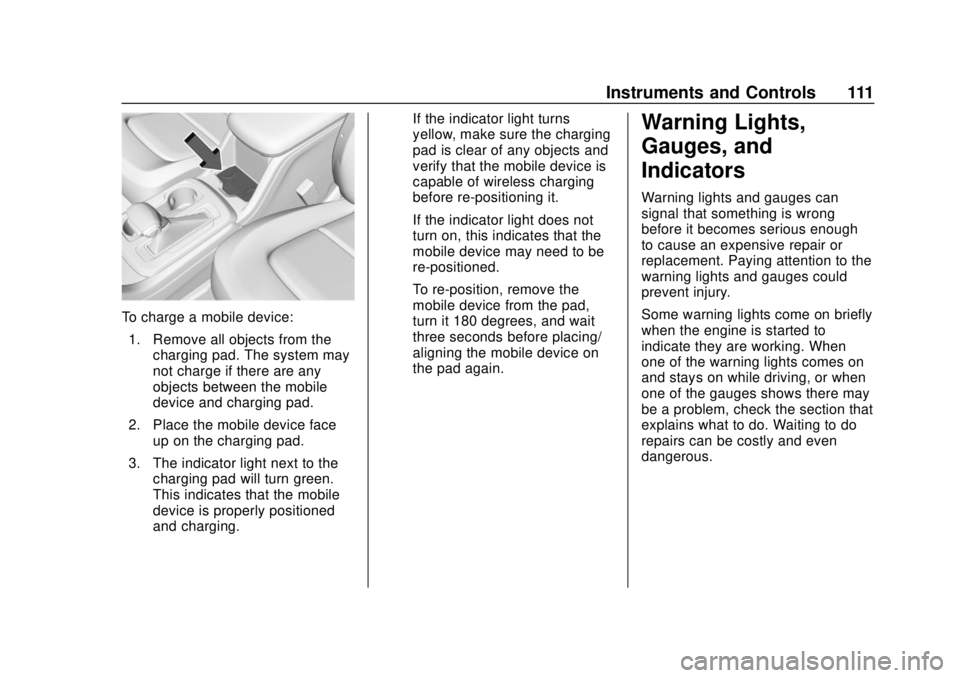
To charge a mobile device:1. Remove all objects from the charging pad. The system may
not charge if there are any
objects between the mobile
device and charging pad.
2. Place the mobile device face up on the charging pad.
3. The indicator light next to the charging pad will turn green.
This indicates that the mobile
device is properly positioned
and charging. If the indicator light turns
yellow, make sure the charging
pad is clear of any objects and
verify that the mobile device is
capable of wireless charging
before re-positioning it.
If the indicator light does not
turn on, this indicates that the
mobile device may need to be
re-positioned.
To re-position, remove the
mobile device from the pad,
turn it 180 degrees, and wait
three seconds before placing/
aligning the mobile device on
the pad again.
Warning Lights,
Gauges, and
Indicators
Warning lights and gauges can
signal that something is wrong
before it becomes serious enough
to cause an expensive repair or
replacement. Paying attention to the
warning lights and gauges could
prevent injury.
Some warning lights come on briefly
when the engine is started to
indicate they are working. When
one of the warning lights comes on
and stays on while driving, or when
one of the gauges shows there may
be a problem, check the section that
explains what to do. Waiting to do
repairs can be costly and even
dangerous.
Page 121 of 421
Chevrolet Colorado Owner Manual (GMNA-Localizing-U.S./Canada/Mexico-
11349743) - 2018 - crc - 10/12/17
120 Instruments and Controls
If the word ON or the on symbol is
lit on the passenger airbag status
indicator, it means that the front
outboard passenger frontal airbag is
allowed to inflate.
If the word OFF or the off symbol is
lit on the airbag status indicator, it
means that the passenger sensing
system has turned off the front
outboard passenger frontal airbag.
If, after several seconds, both status
indicator lights remain on, or if there
are no lights at all, there may be a
problem with the lights or the
passenger sensing system. See
your dealer for service.
{Warning
If the airbag readiness light ever
comes on and stays on, it means
that something may be wrong
with the airbag system. To help
avoid injury to yourself or others,
have the vehicle serviced right(Continued)
Warning (Continued)
away. SeeAirbag Readiness
Light 0119 for more information,
including important safety
information.
Charging System Light
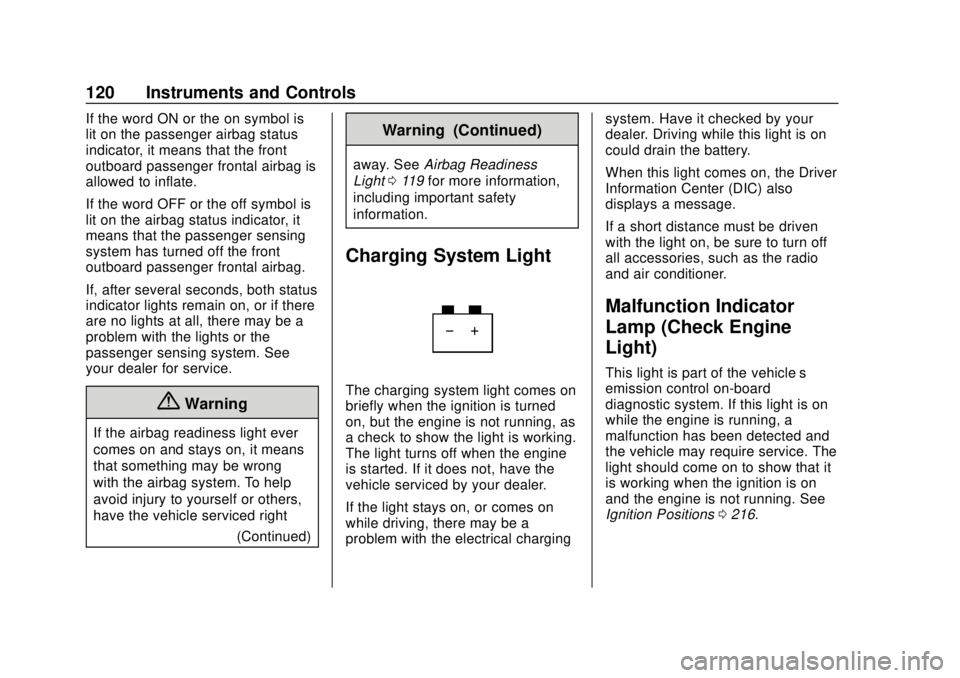
The charging system light comes on
briefly when the ignition is turned
on, but the engine is not running, as
a check to show the light is working.
The light turns off when the engine
is started. If it does not, have the
vehicle serviced by your dealer.
If the light stays on, or comes on
while driving, there may be a
problem with the electrical charging system. Have it checked by your
dealer. Driving while this light is on
could drain the battery.
When this light comes on, the Driver
Information Center (DIC) also
displays a message.
If a short distance must be driven
with the light on, be sure to turn off
all accessories, such as the radio
and air conditioner.
Malfunction Indicator
Lamp (Check Engine
Light)
This light is part of the vehicle’s
emission control on-board
diagnostic system. If this light is on
while the engine is running, a
malfunction has been detected and
the vehicle may require service. The
light should come on to show that it
is working when the ignition is on
and the engine is not running. See
Ignition Positions
0216.
Page 146 of 421
Chevrolet Colorado Owner Manual (GMNA-Localizing-U.S./Canada/Mexico-
11349743) - 2018 - crc - 10/12/17
Lighting 145
is in the full bright position. See
Instrument Panel Illumination
Control0147.
When it is bright enough outside,
the headlamps will turn off or may
change to Daytime Running
Lamps (DRL).
The automatic headlamp system
turns off when the exterior lamp
control is turned to
Oor the ignition
is off.
Lights On with Wipers
If the windshield wipers are
activated in daylight with the engine
on, and the exterior lamp control is
in AUTO, the headlamps, parking
lamps, and other exterior lamps
come on. The transition time for the
lamps coming on varies based on
wiper speed. When the wipers are
not operating, these lamps turn off.
Move the exterior lamp control to
O
or;to disable this feature.
Hazard Warning Flashers
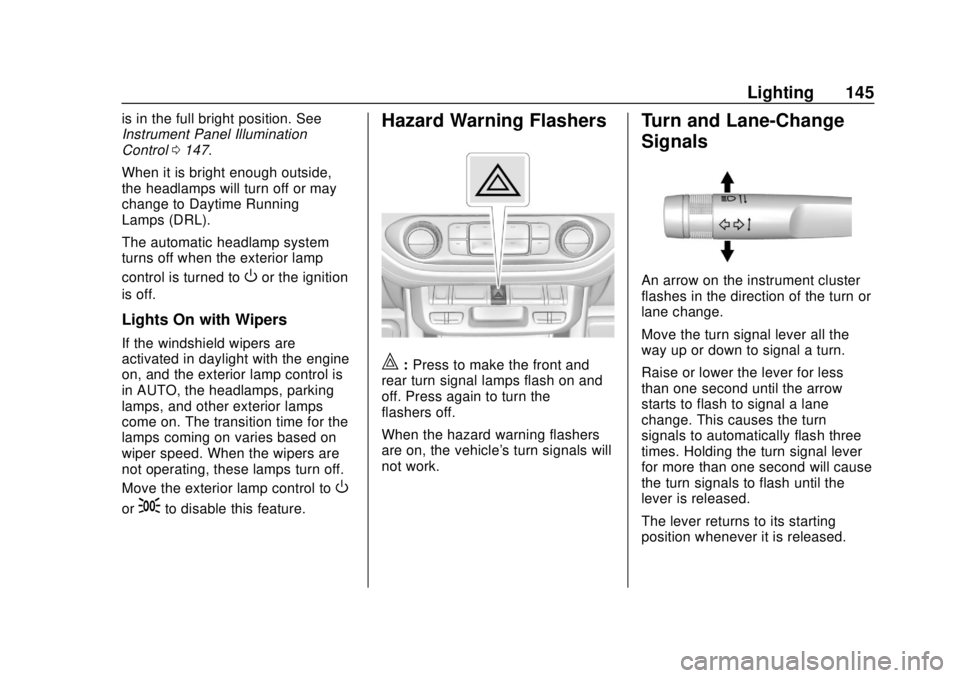
|: Press to make the front and
rear turn signal lamps flash on and
off. Press again to turn the
flashers off.
When the hazard warning flashers
are on, the vehicle's turn signals will
not work.
Turn and Lane-Change
Signals
An arrow on the instrument cluster
flashes in the direction of the turn or
lane change.
Move the turn signal lever all the
way up or down to signal a turn.
Raise or lower the lever for less
than one second until the arrow
starts to flash to signal a lane
change. This causes the turn
signals to automatically flash three
times. Holding the turn signal lever
for more than one second will cause
the turn signals to flash until the
lever is released.
The lever returns to its starting
position whenever it is released.
Page 218 of 421
Chevrolet Colorado Owner Manual (GMNA-Localizing-U.S./Canada/Mexico-
11349743) - 2018 - crc - 10/12/17
Driving and Operating 217
This position locks the ignition and
steering wheel. It also locks the
transmission on automatic
transmission vehicles. The key can
be removed in LOCK/OFF.
The steering can bind with the
wheels turned off center. If this
happens, move the steering wheel
from right to left while turning the
key to ACC/ACCESSORY. If this
does not work, then the vehicle
needs service.
Do not turn the engine off when the
vehicle is moving. This will cause a
loss of power assist in the brake
and steering systems and disable
the airbags.
If the vehicle must be shut off in an
emergency:1. Brake using a firm and steady pressure. Do not pump the
brakes repeatedly. This may
deplete power assist, requiring
increased brake pedal force.
2. Shift the vehicle to N (Neutral). This can be done while the
vehicle is moving. After shifting
to N (Neutral), continue to firmly apply the brakes and
steer the vehicle to a safe
location.
3. Come to a complete stop. Shift to P (Park) with an automatic
transmission, or Neutral with a
manual transmission. Turn the
ignition to LOCK/OFF.
4. Set the parking brake. See Parking Brake 0239.
{Warning
Turning off the vehicle while
moving may cause loss of power
assist in the brake and steering
systems and disable the airbags.
While driving, only shut the
vehicle off in an emergency.
If the vehicle cannot be pulled over,
and must be shut off while driving,
turn the ignition to ACC/
ACCESSORY.
On vehicles with an automatic
transmission, the shift lever must be
in P (Park) to turn the ignition switch
to LOCK/OFF.
Caution
Using a tool to force the key to
turn in the ignition could cause
damage to the switch or break the
key. Use the correct key, make
sure it is all the way in, and turn it
only with your hand. If the key
cannot be turned by hand, see
your dealer.
1 (ACC/ACCESSORY) : This
position lets things like the radio
and the windshield wipers operate
while the engine is off. It also
unlocks the steering wheel. Use this
position if the vehicle must be
pushed or towed.
2 (ON/RUN) : This position can be
used to operate the electrical
accessories and to display some
instrument cluster warning and
indicator lights. This position can
also be used for service and
diagnostics, and to verify the proper
operation of the malfunction
indicator lamp as may be required
for emission inspection purposes.
Page 233 of 421
Chevrolet Colorado Owner Manual (GMNA-Localizing-U.S./Canada/Mexico-
11349743) - 2018 - crc - 10/12/17
232 Driving and Operating
.Cause tires to wear faster.
. Cause additional driveline noise.
{Warning
If equipped with four-wheel drive,
the vehicle will be free to roll if the
transfer case is in N (Neutral),
even when the shift lever is in
P (Park). You or someone else
could be seriously injured. Be
sure the transfer case is in a drive
gear —2
m, 4m, or 4nor set the
parking brake before placing the
transfer case in N (Neutral). See
Shifting Into Park 0221.
Caution
Extended high-speed operation in
4
nmay damage or shorten the
life of the drivetrain. Engagement noise and bump when
shifting between 4
nand 4mor from
N (Neutral), with the engine running,
is normal.
Shifting into 4
nwill turn Traction
Control and StabiliTrak off. See
Traction Control/Electronic Stability
Control 0240.
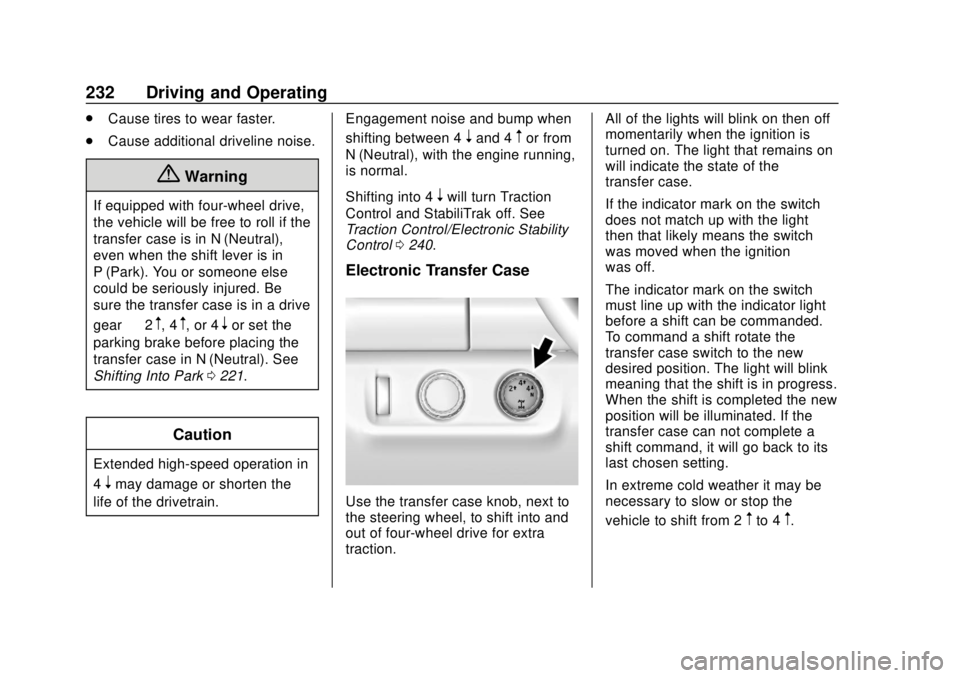
Electronic Transfer Case
Use the transfer case knob, next to
the steering wheel, to shift into and
out of four-wheel drive for extra
traction. All of the lights will blink on then off
momentarily when the ignition is
turned on. The light that remains on
will indicate the state of the
transfer case.
If the indicator mark on the switch
does not match up with the light
then that likely means the switch
was moved when the ignition
was off.
The indicator mark on the switch
must line up with the indicator light
before a shift can be commanded.
To command a shift rotate the
transfer case switch to the new
desired position. The light will blink
meaning that the shift is in progress.
When the shift is completed the new
position will be illuminated. If the
transfer case can not complete a
shift command, it will go back to its
last chosen setting.
In extreme cold weather it may be
necessary to slow or stop the
vehicle to shift from 2
mto 4m.
Page 253 of 421
Chevrolet Colorado Owner Manual (GMNA-Localizing-U.S./Canada/Mexico-
11349743) - 2018 - crc - 10/12/17
252 Driving and Operating
approaching a vehicle ahead too
quickly, FCA provides a red flashing
alert on the windshield, and rapidly
beeps. FCA also lights an amber
visual alert if following another
vehicle much too closely.
FCA detects vehicles within a
distance of approximately 60 m
(197 ft) and operates at speeds
above 40 km/h (25 mph).
{Warning
FCA is a warning system and
does not apply the brakes. When
approaching a slower-moving or
stopped vehicle ahead too rapidly,
or when following a vehicle too
closely, FCA may not provide a
warning with enough time to help
avoid a crash. It also may not
provide any warning at all. FCA
does not warn of pedestrians,
animals, signs, guardrails,
bridges, construction barrels,
or other objects. Be ready to take
action and apply the brakes. See
Defensive Driving0199. FCA can be disabled with either the
FCA steering wheel control or,
if equipped, through vehicle
personalization. See
“Collision/
Detection Systems” underVehicle
Personalization 0136.
Detecting the Vehicle Ahead
FCA warnings will not occur unless
the FCA system detects a vehicle
ahead. When a vehicle is detected,
the vehicle ahead indicator will
display green. Vehicles may not be
detected on curves, highway exit
ramps, or hills, due to poor visibility;
or if a vehicle ahead is partially
blocked by pedestrians or other
objects. FCA will not detect another
vehicle ahead until it is completely
in the driving lane.
{Warning
FCA does not provide a warning
to help avoid a crash, unless it
detects a vehicle. FCA may not
detect a vehicle ahead if the FCA
sensor is blocked by dirt, snow,
or ice, or if the windshield is
damaged. It may also not detect a
vehicle on winding or hilly roads,
or in conditions that can limit
visibility such as fog, rain,
or snow, or if the headlamps or
windshield are not cleaned or in
proper condition. Keep the
windshield, headlamps, and FCA
sensors clean and in good repair.
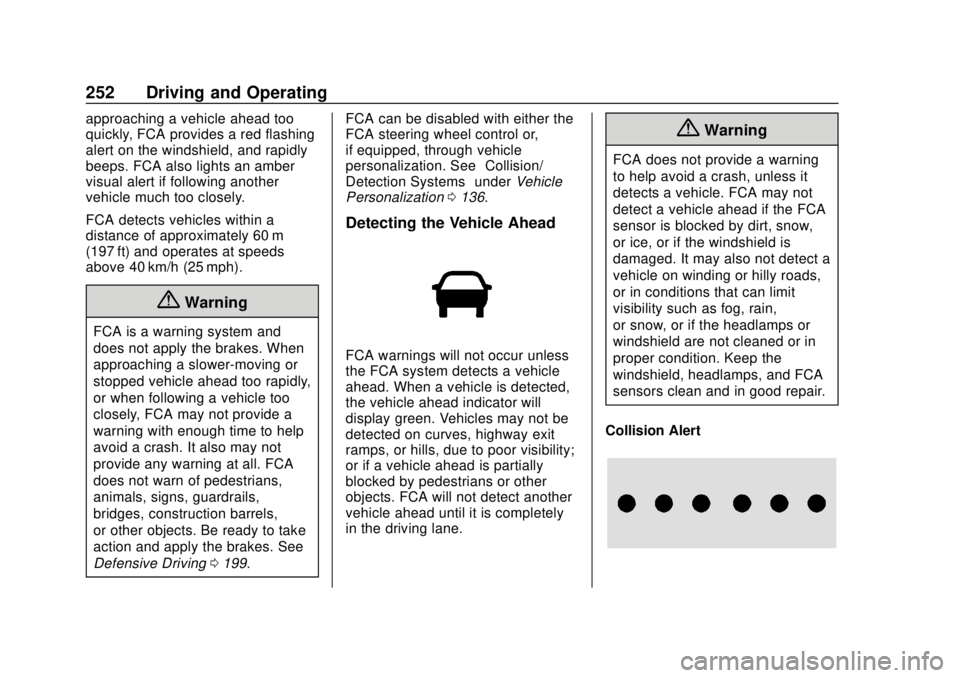
Collision Alert
Page 254 of 421
Chevrolet Colorado Owner Manual (GMNA-Localizing-U.S./Canada/Mexico-
11349743) - 2018 - crc - 10/12/17
Driving and Operating 253
When your vehicle approaches
another detected vehicle too rapidly,
the red lights will flash on the
windshield. Also, eight rapid
high-pitched beeps will sound from
the front. When this Collision Alert
occurs, the brake system may
prepare for driver braking to occur
more rapidly which can cause a
brief, mild deceleration. Continue to
apply the brake pedal as needed.
Cruise control may be disengaged
when the Collision Alert occurs.
Tailgating Alert
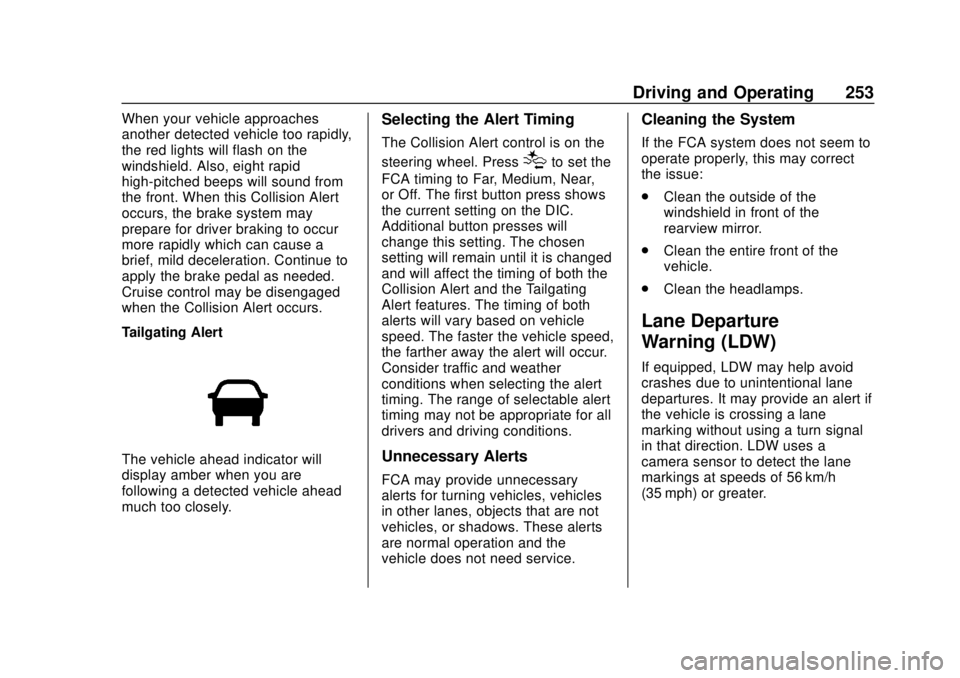
The vehicle ahead indicator will
display amber when you are
following a detected vehicle ahead
much too closely.
Selecting the Alert Timing
The Collision Alert control is on the
steering wheel. Press
[to set the
FCA timing to Far, Medium, Near,
or Off. The first button press shows
the current setting on the DIC.
Additional button presses will
change this setting. The chosen
setting will remain until it is changed
and will affect the timing of both the
Collision Alert and the Tailgating
Alert features. The timing of both
alerts will vary based on vehicle
speed. The faster the vehicle speed,
the farther away the alert will occur.
Consider traffic and weather
conditions when selecting the alert
timing. The range of selectable alert
timing may not be appropriate for all
drivers and driving conditions.
Unnecessary Alerts
FCA may provide unnecessary
alerts for turning vehicles, vehicles
in other lanes, objects that are not
vehicles, or shadows. These alerts
are normal operation and the
vehicle does not need service.
Cleaning the System
If the FCA system does not seem to
operate properly, this may correct
the issue:
. Clean the outside of the
windshield in front of the
rearview mirror.
. Clean the entire front of the
vehicle.
. Clean the headlamps.
Lane Departure
Warning (LDW)
If equipped, LDW may help avoid
crashes due to unintentional lane
departures. It may provide an alert if
the vehicle is crossing a lane
marking without using a turn signal
in that direction. LDW uses a
camera sensor to detect the lane
markings at speeds of 56 km/h
(35 mph) or greater.
Page 348 of 421
Chevrolet Colorado Owner Manual (GMNA-Localizing-U.S./Canada/Mexico-
11349743) - 2018 - crc - 10/12/17
Vehicle Care 347
4. Turn the ignition off. Turn off alllights and accessories in both
vehicles, except the hazard
warning flashers if needed.
{Warning
An electric fan can start up even
when the engine is not running
and can injure you. Keep hands,
clothing, and tools away from any
underhood electric fan.
{Warning
Using a match near a battery can
cause battery gas to explode.
People have been hurt doing this,
and some have been blinded.
Use a flashlight if you need more
light.
Battery fluid contains acid that
can burn you. Do not get it on
you. If you accidentally get it in
your eyes or on your skin, flush
the place with water and get
medical help immediately.
{Warning
Fans or other moving engine
parts can injure you badly. Keep
your hands away from moving
parts once the engine is running.
5. Connect one end of the red positive (+) cable to the
positive (+) terminal on the
discharged battery.
6. Connect the other end of the red positive (+) cable to the
positive (+) terminal of the good
battery.
7. Connect one end of the black negative (–) cable to the
negative (–) terminal of the
good battery.
8. Connect the other end of the black negative (–) cable to the
negative (–) grounding stud for
the discharged battery.
9. Start the engine in the vehicle with the good battery and run
the engine at idle speed for at
least four minutes. 10. Try to start the vehicle that had
the dead battery. If it will not
start after a few tries, it
probably needs service.
Caution
If the jumper cables are
connected or removed in the
wrong order, electrical shorting
may occur and damage the
vehicle. The repairs would not be
covered by the vehicle warranty.
Always connect and remove the
jumper cables in the correct order,
making sure that the cables do
not touch each other or other
metal.
Jumper Cable Removal
Reverse the sequence exactly when
removing the jumper cables.
After starting the disabled vehicle
and removing the jumper cables,
allow it to idle for several minutes.