oil CHEVROLET CORVETTE 1964 Owners Manual
[x] Cancel search | Manufacturer: CHEVROLET, Model Year: 1964, Model line: CORVETTE, Model: CHEVROLET CORVETTE 1964Pages: 52, PDF Size: 11.2 MB
Page 5 of 52
The First
1000 Miles
During your first thousand miles of driving, you can, by
observing a few simple precautions. contribute greatly to a
longer life for your Corvette
and add much to its future per
formance and economy of operation.
It
is recommended that your speed during these first one thousand miles be confined to a maximum of 60 mph. However, do not drive for extended periods at anyone constant
speed, either fast or slow. During this period, avoid full throttle starts and quick, abrupt stops. The first few hundred miles of driving are especially important to proper brake
operation. Gentle braking during this period will allow proper conditioning of the brake
linings and result in longer brake life and better brake performance.
It
is always best to drive at a reasonable speed until the engine has warmed up. Be particularly careful to maintain the proper oil level in the engine. Check the oil level
fre quently and, if it becomes necessary to add oil, follow closely the recommendations as to
quality and viscosity found in this booklet. Use of the proper engine oil is of great impor
tance to insure maximum performance and economy.
Page 15 of 52
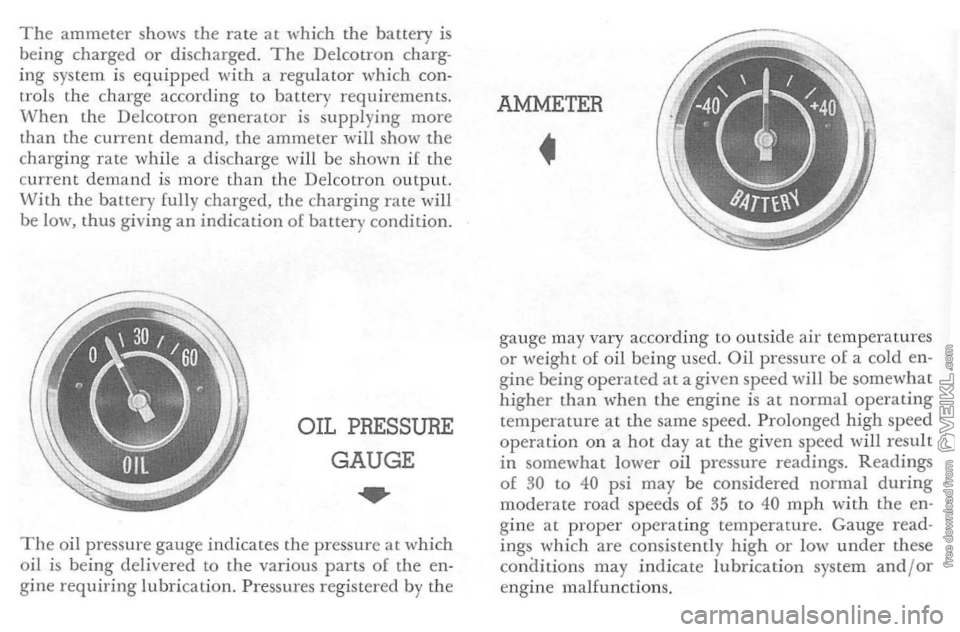
The ammeter shows the rate at which the battery is being charged or discharged. The Delcotron charg
ing system is equipped 'with a regulator which con
trol s the charge acco rding to battery requirements.
When the Delcotron generator is supp lying more
than the curre nt demand, the ammeter will show the
chargi ng rate while a disc harg e will be shown if
the
current demand is more than the Delcotron output.
With the battery fully charged , the charging rate will be 1m-\', thus giving an indication of battery condition.
OIL PRESSURE
GAUGE
...
The oil pressure gauge indicates the pressure at which
oil is being delivered to the various parts of the en·
gine requiring lubrication. Pressures registered by the
AMMETER
•
gauge
may vary acco rding to outside air temperatures or weight of oil being used. Oil pressure of a cold en
gine being operated at a given speed will be somewhat
higher than when the engine is at normal operating
temperature at the sam e speed. Prolonged high speed operation on a hot day at the giv en speed will result in somewhat lower oil pressure readings. Readings of 30 to 40 psi may be considered normal during moderate road speeds of 35 to 40 mph with the en
gine at proper operating temperature. Gauge read
in gs whi ch are consistently high or low under these
co nCIitions may ind i cate lubrication system and/or
engine malfunctions.
Page 16 of 52
FUEL
GAUGE
..
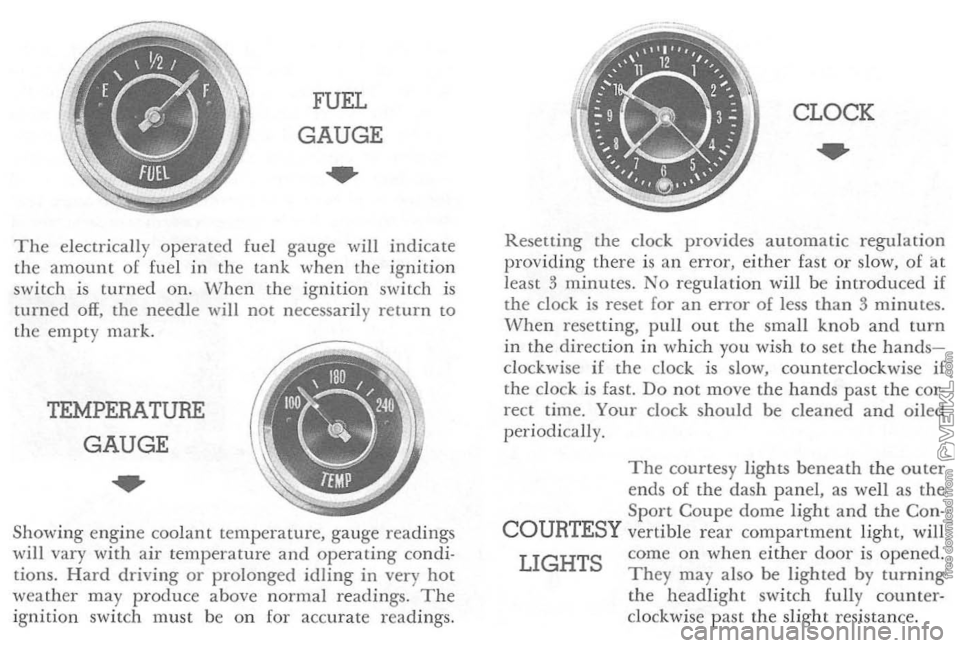
The ele ctr ically o p erated fuel gauge will indicate
th e amoun t o f fuel in the lan k when th e ig nition
switc h i s turned on. W hen the ignition switch is
turned off, the nee dle will not necessar ily retur n to the em pty mark.
TEMPERATURE
GAUGE
..
Showing engin e coo lant temperature, gauge readings w ill vary with air temp eratur e and operating condi
tions. Hard driving or prolonged idling in very hot
weather may produc e above normal readings. The ignitio n swit ch must be o n [or accur ate r eadings.
CLOCK
..
Resetting the dock provides a utomatic regulat io n
providing ther e is an error, either fast o r slow, of at
lea st 3 minu tes. No regulat ion will be introd uced if
the clock is reset for an error of less than 3 minutes. When resetting, pull out the small knob and turn in the direction in whi ch you wi sh to set the handsclockwise if the clock is slow, counterclockwi se if the clo ck is fast. Do not move the hand s pas t the cor
rect time. Your clock should be cleaned and oiled periodi cally.
The courtesy lights beneath the o u ter
en ds of the dash p a nel, as well as the Sport Coupe dome light and the Con-
COURTESY vertible r ear compartment light, will
LIGHTS come on when eithe r door is opened. They may a lso be lighted by turning the headlight switch fully counterclockwise past the slight resi stan ce.
Page 28 of 52
POLISHING AND
WAXING
METAL
WHITEWALL
TIRES
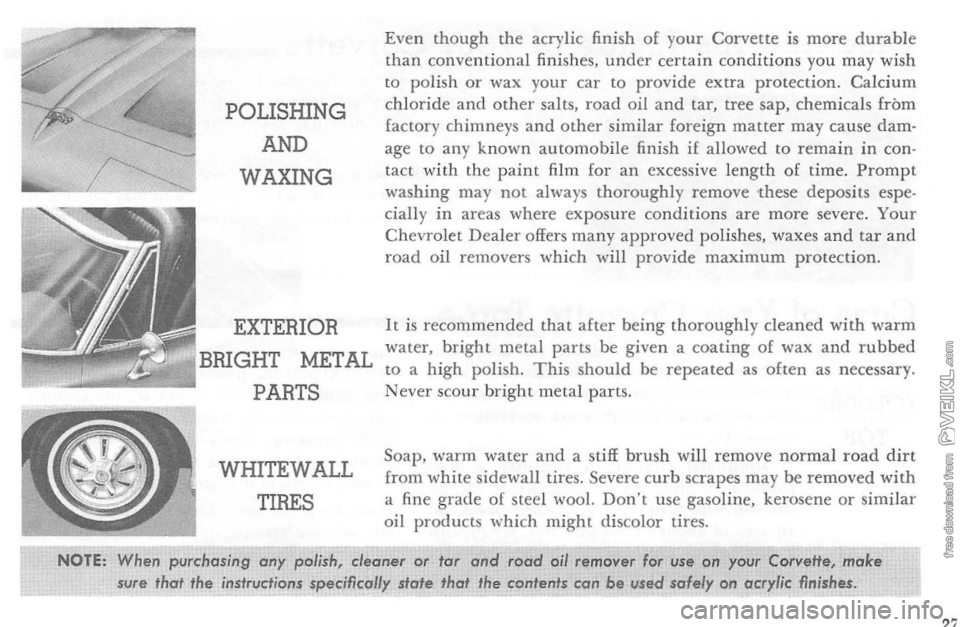
Even though the acry lic finish of your Co rvette is more durable than conventional fini shes. under certain conditions yo u may wish to polish or wax your car to provide extra protection. Calcium chloride and other salts, road oi l and tar, tree sap . chemica ls from fac tory chimneys and oth e r s imilar foreign matter may cause damage to any known automobile finish if allowed to remain in con
t act with the paint film for an excess ive length of time. Prompt washing may not always t horoughly r emove these deposits especially in areas where exposure conditio n s are more severe. Your Chevrolet Dealer offers many approved polishes . waxes and ta r and road oil removers which will provide maximum protection.
It is recommended that afte r being thoroughly cle a n ed with wa r m
water, bright metal parts be g iven a coating of wax and rubbed to a high polish. This should be repeated as often as necessary. Never scour bright meta l parts.
Soap,
warm water and a s tiff brush will remove normal road dirt
from white sidewall tires. Severe curb scrapes may b e removed with a fine grade of stee l wool. Don't use gasoline, kerosene or similar oil products w h ich might d i scolo r tires.
NOTE: When purchasing ony polish, cleaner or tar and road oil remover for use on your CorveHs; make
sure thot the instructions specifically state that the contents can be used solely on acrylic finishes.
27
Page 31 of 52
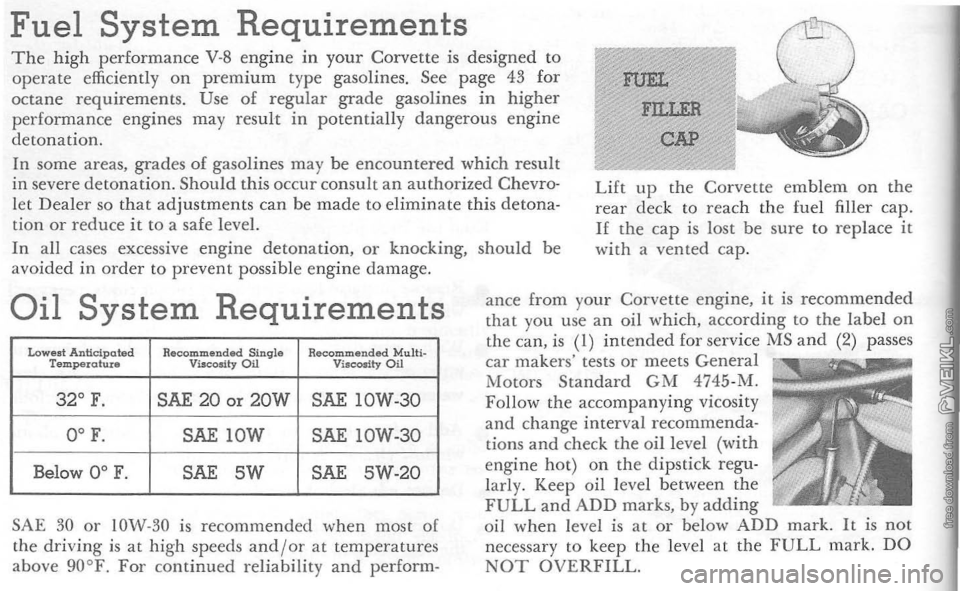
Fuel System Requirements The high performance V-8 engine in your Corvette is designed to operate efficiently on premium type gasolines. See page 43 for
octane requirements. Use of regular grade gasolines in higher
performance engines may result in potentially dangerous engine
detonation.
FUEL
FILLER
CAP In some areas, grades of gasolines may be encountered which result
in severe detonation. Should this occur consult an authorized Chevro
let
Dealer so that adjustments can be made to eliminate this detona
tion or reduce it to a safe level.
Lift tip the Corvette emblem on the rear deck to reach the fuel filler cap. II the cap is lost be sure to replace it with a vented cap.
In
all cases excessive engine detonation, or knocking, should be
avoided in order to prevent possible eng ine damage .
Oil System Requirements
Lowest Anticipated Recommended Singhl Recommended Multi-Tempefohue Viscosity Oil ViltIcosltyOil
32 0
F. SAE 20 or 20W SAE 10W-30
0 0
F. SAE lOW SAE IOW-30
Below 00
F. SAE 5W SAE 5W-20
SAE
30 or IOW-30 is recommended when most o[
the driving is at high speeds and/or at temperatures
above gO°F . For continued reliability and perform- ance
from your Corvette
engine, it
is recommended
that you use an oil whic h, according to the label on the can, is (I) intended for service MS and (2) passes car makers' tests or meets General
Motors Standard GM 4745 -M.
Follow the accompanying vicosity
and change interval recommenda
tions
and check the oil leve l (with
engine hot) on the dipstick regu
larly. Keep oil level between the
FULL and ADD marks, by adding oil when level is at or below ADD mark. It is not
necessary to keep the level at the FULL mark. DO NOT OVERFILL.
Page 33 of 52
Check the front of the radiator core occasionally for
insects and leaves. Flush them out from the back
sid e of the radiator using a water hose and city water
pressure.
RADIATOR CAP
The Corvette cooling system is equipped with a 13 lb. pressure cap. To remove the cap, carefully turn ~ turn to allow exces s system pressure to escape, then turn the cap all the way off. If the engine is
ov erh eated, wait for several minutes before removing
the
radiator cap.
Tire
Care
To enjoy maximum service from your tires, keep
them inflated to the pressures recommended on
page
46.
Regular Corvette tires should not be used for ex
treme vehicle operation. Special purpose tires are
available,
if needed, from major tire manufacturers. DRAINING
AND FILLING
THE COOLING SYSTEM
I. Open the drain cock at the bottom of the
radiator.
2. Remove the drain plug located on each side of the engine block just above the oil pan and be· hind the spark plug wire shields. 3. Replace the engine drain plugs and close the
radiator drain cock before refilling the radiator.
4.
To refill , add coolant until supply tank remains
one -half full. Then start engine and add coolant as necessary to maintain normal one-half- full level in supply tank. Recheck when cool and fill to
normal level.
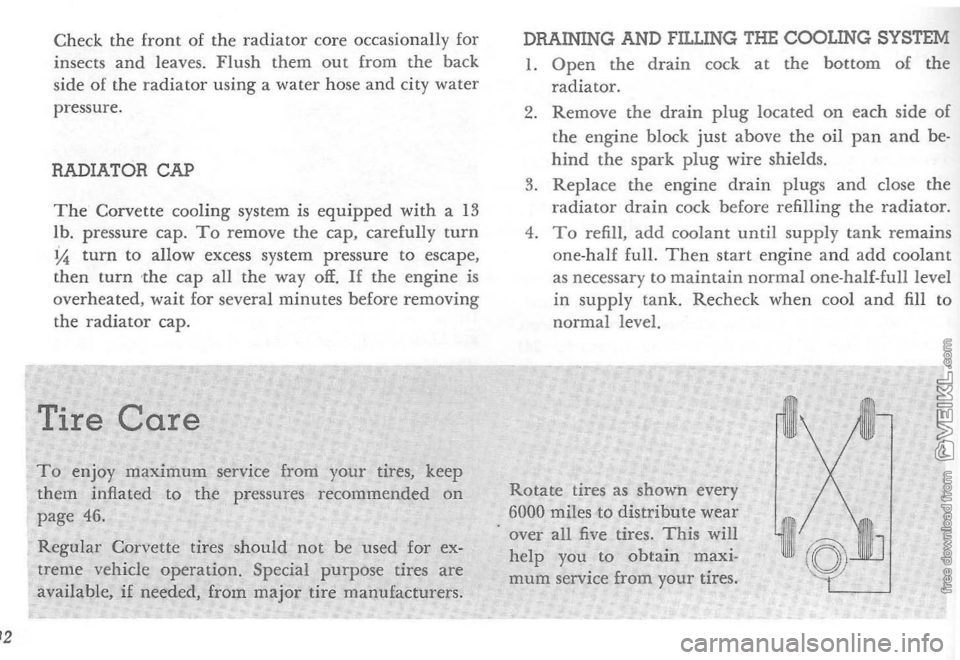
Rotate tires
as shown every
6000 miles to distribute wear
. over all five tires. This will help you to obtain maxi
mum service from your tires.
Page 36 of 52
Recommended Schedule for Periodic
Maintenance
and Lubrication
The time or mileage intervals on the following pages
are intended as a guide for establishing regular main
tenance and lubrication periods for your Corvette .
Sustained heavy
duty or high speed operations or operation under adverse conditions may necessitate
more frequent servicing. To determine specific recommendations for conditions under which you use
your car, consult your Authorized Chevrolet Dealer.
BATTERY
Check the fluid level in each cell of the battery regularly and keep filled with distilled water to the bottom of the split ring in the vent tube of each
cell. DO NOT OVERFILL.
Clean and oil the battery terminals and oil the felt
washer at each regular engine oil change.
Check the state
of charge regularly, especially in
freezing weather when an undercharged battery may
freeze and break.
ENGINE OIL
Engine oil should be changed at 60
day or 6,000 mile intervals. whichever occurs first. U ndef prolonged
dusty driving conditions it may be necessary to
change the engine oil more often.
CRANKCASE VENTILATION
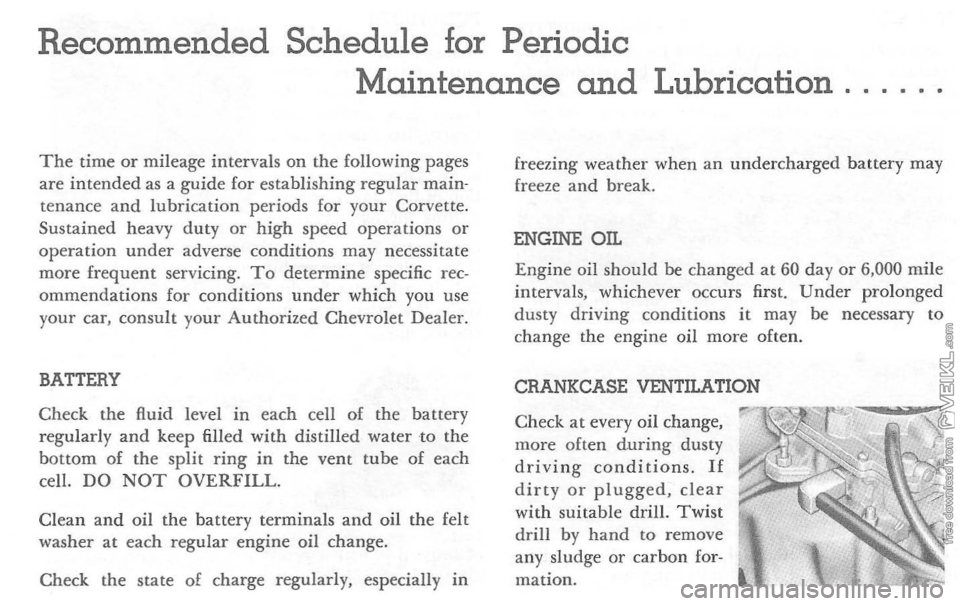
Check
at every oil change,
more often during dusty driving conditions. If dirty or plugged, clear with suitable drill. Twist drill by hand to remove
any sludge or carbon for
mation.
Page 37 of 52
FAN BELT
Every 6,000 miles inspect fan belt for wear, fraying,
cracking and tension. Belt should be retightened
only when
it deflects more than Y2" with modera te thumb pressure applied midway between pulleys.
AIR CLEANER
Ev ery
12,000 miles (more often under dusty o r other
adverse driving conditions) rem ove the polyurethan e
eleme nt from its support screen and clean in suit able
solvent such as Kerosene . Squeeze out all solvent,
then soak i n engine oil and squ eeze out. Remove
excess oil
by then squeezing the element in a clean dry cloth.
OIL FILTER
The oil filter should be changed at 6,000 miles or 6 month intervals, whi ch ever occurs first. During pro
l onged dusty driving conditions the filter should be
cha nged more often.
DISTRIBUTOR
Change cam lubricator end for end at 12,000 mile intervals-Replace at 24,00 0 mile intervals.
FUEL FILTER
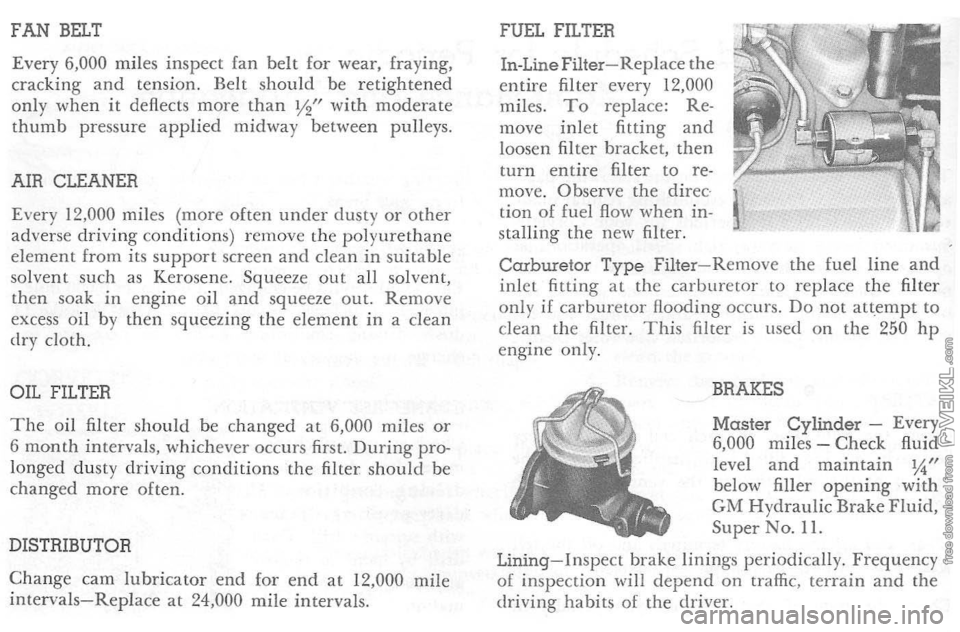
In-Line Filter-Replace
the entire filter every 12,000
miles. To replace: Re
move inlet fitting and
loosen filter bracket, then
turn entire filter
to re
move. 0 hserve the direc
tion of fuel flow when in
stalling the new filter.
Carburetor Type Filter - R emove the fuel line and inlet fitting at the carburetor to replace the filter
only if car bur etor Hooding occurs. Do nor att,cmpt to clean the filter. This filter is used on the 250 hp engine only.
BRAKES
Master Cylinder -Every
6,000 miles - Check fluid
le vel and maintain IA" below filler opening with GM Hydraulic Brake Fluid, Super No. 11.
Lining-Inspe ct brake linings periodi cally. Frequency o[ inspection ,viII depend on traffic, terrain and the
driving habits of the driver.
Page 38 of 52
Parking Brake Cables and Linkage -Every 6,000 miles-Apply lubricant specified in Note I, page 39.
STEERING GEAR
Every 36,000
miles-Check lubricant level as follows: l. Remove the forward and the outboard cover attaching screws. 2. Inject steering gear lubricant into the forward
cover attaching screw hole until
lubricant begins
to come out of the outboard screw hole. 3. Replace both screws.
POWER STEERING PUMP
Check fluid level
in pump reservoir every 6,000 miles
or 6 months. Fill as required with Automatic Trans
mission fluid "Type A" with AQ-ATF-A mark. Oil should be at operating temperature and wheels in straight ahead position when checking or filling
operation is performed to ensure against overfilling.
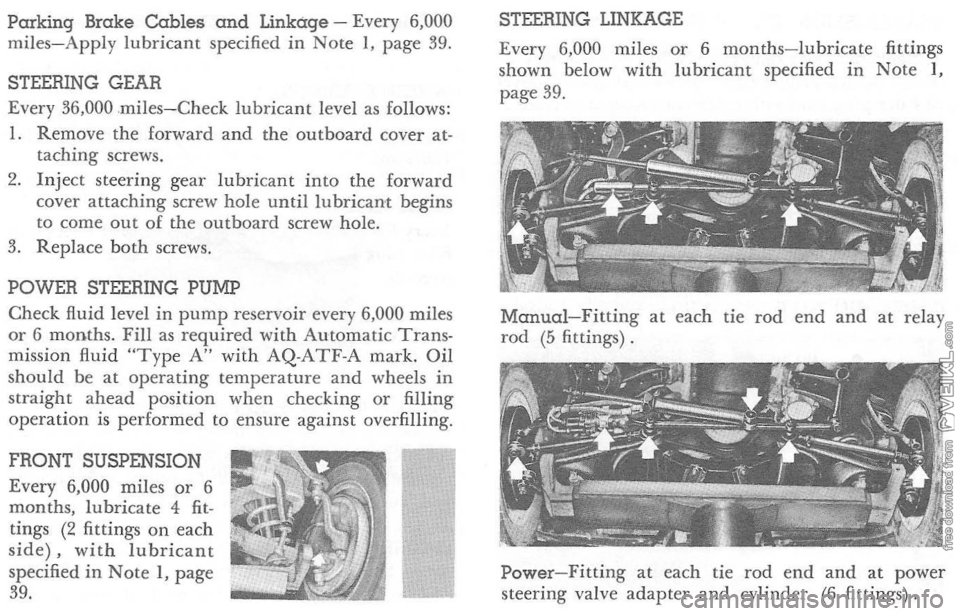
FRONT SUSPENSION
Every 6,000 miles
or 6
months, lubrica te 4 fittings (2 fittings on each side), with lubricant specified in Note I, page 39. I
STEERING LINKAGE
Ev ery 6,000 miles or 6 months-lubricate fittings
shown below with lubricant specified in Note I ,
page 39.
Manual-Fitting at each tie rod end and at relay rod (5 fittings) .
Power
-Fitting at each tie rod end and at power
steering valve adapter and cylinder (6 fittings).
Page 40 of 52
HEADLAMP REPLACEMENT
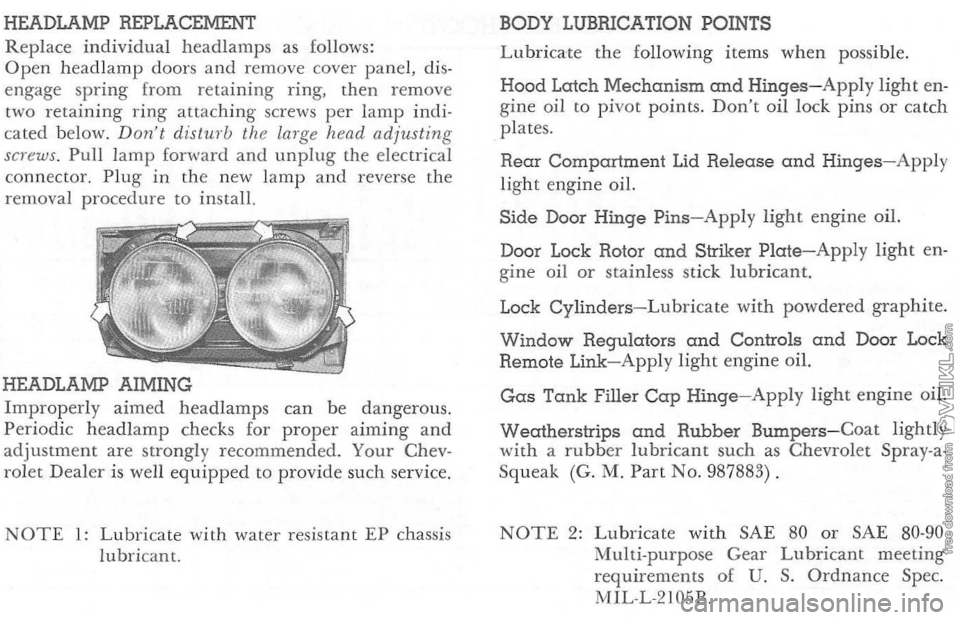
Replace individual head lamp s as follows:
Open head lamp doors and remove cover panel, dis
e n gage spring from retaining ring, then remove
two retai
ning ring attaching screws per lamp indi
cate d b elow. Don·t dist",·b the larg e head adjusting
screws . Pull lamp fanltard and unplug the electri cal
connector. Plug in the new l amp and reverse the
removal procedure to install.
HEADLAMP AIMING
Improperly aimed headlamps can be dangerous.
Periodic headlam p checks for proper aiming and adjustm en t are strongly recommend ed. Your Chev
rol et Dea l er is well equipped to provide such service.
NOTE 1: Lubricate with water resi stant EP chassis
lubri cant. BODY
LUBRICATION POINTS
L ubric ate the following items when possible.
Hood Latch Mechanism and Hinges-Apply light en
gine oil to pivot points. Don't oil lock pins or catch
plates.
Rear Compartment Lid Release and Hinges-Apply
light engine oil.
Side Door Hinge Pins-Apply light engine oil.
Door Lock Rotor
and Striker Plate-Apply light en
g ine oil or stai nles s stick lubric ant.
Lock
Cylinders-Lubricate wit h powdered graphite.
Window Regulators and Controls and Door Lock
Remote Link-Apply light engine oil.
Gas Tank Filler Cap Hinge-Apply light engine oil.
Wecdherstrips and Rubber Bumpers-Coat lightly
wit h a rubber lubricant such as Chevrolet Spray-a
Squeak (G. M. Part No. 987883) .
NOTE 2: Lubricate with SAE 80 or SAE 80-90 Multi-purp ose Gear Lubricant meeting
requirements of U. S. Ordnance Spec.
M1L-L-2105B.