belt CHEVROLET CORVETTE 1964 Owners Manual
[x] Cancel search | Manufacturer: CHEVROLET, Model Year: 1964, Model line: CORVETTE, Model: CHEVROLET CORVETTE 1964Pages: 52, PDF Size: 11.2 MB
Page 24 of 52

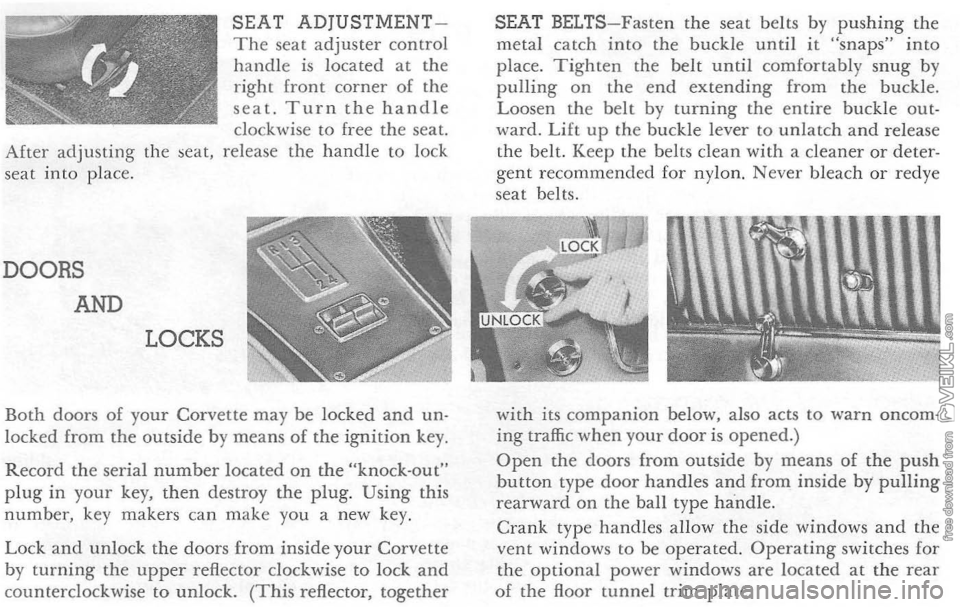
SEAT ADjUSTMENTThe seat adjuster control handle is located at the right front corner of the seat. Turn the handle clockwise to free the seat. After adjusting the seat, release the handle to lock
seat into place.
DOORS
AND
LOCKS
Both doors of your Corvette may be locked and un· locked from the outside by means of the ignition key.
Record the serial number located on the "knock·out" plug in your key, then destroy the plug. Using this number, key makers can make you a new key.
Lock and unlock the doors from inside your Corvette by turning the upper reflector clockwise to lock and counterclockwise to unlock. (This reflector, together
SEAT BELTS-Fasten the seat belts by pushing the metal catch into the buckle until it "snaps" into place. Tighten the belt until comfortably snug by pulling on the end extending from the buckle.
Loosen the belt by turning the entire buckle out· ward. Lift up the buckle lever to unlatch and release
the belt. Keep the belts clean with a cleaner or deter· gent recommended for nylon. Never bleach or redye
seat belts.
w
ith its companion below, also acts to warn oncoming traffic when your door is opened.) Open the doors from outside by means of the push bu tton type door handles and from inside by pulling rearward on the ball type handle .
Crank type handles allow the side windows and the vent windows to be operated. Operating switches for
the optional power windows are located at the rear o f the floor tunnel trim plate.
Page 37 of 52

FAN BELT
Every 6,000 miles inspect fan belt for wear, fraying,
cracking and tension. Belt should be retightened
only when
it deflects more than Y2" with modera te thumb pressure applied midway between pulleys.
AIR CLEANER
Ev ery
12,000 miles (more often under dusty o r other
adverse driving conditions) rem ove the polyurethan e
eleme nt from its support screen and clean in suit able
solvent such as Kerosene . Squeeze out all solvent,
then soak i n engine oil and squ eeze out. Remove
excess oil
by then squeezing the element in a clean dry cloth.
OIL FILTER
The oil filter should be changed at 6,000 miles or 6 month intervals, whi ch ever occurs first. During pro
l onged dusty driving conditions the filter should be
cha nged more often.
DISTRIBUTOR
Change cam lubricator end for end at 12,000 mile intervals-Replace at 24,00 0 mile intervals.
FUEL FILTER
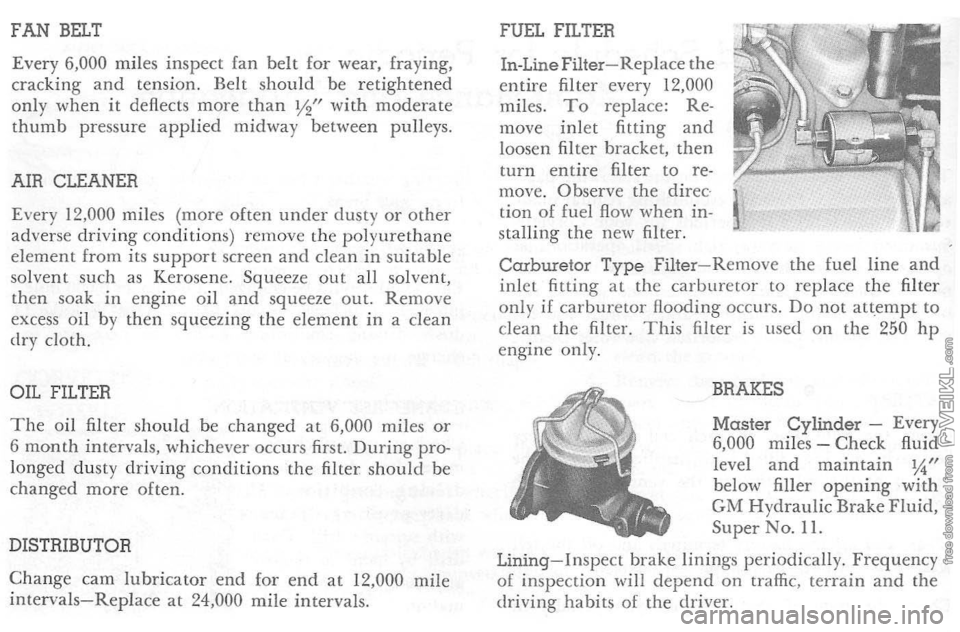
In-Line Filter-Replace
the entire filter every 12,000
miles. To replace: Re
move inlet fitting and
loosen filter bracket, then
turn entire filter
to re
move. 0 hserve the direc
tion of fuel flow when in
stalling the new filter.
Carburetor Type Filter - R emove the fuel line and inlet fitting at the carburetor to replace the filter
only if car bur etor Hooding occurs. Do nor att,cmpt to clean the filter. This filter is used on the 250 hp engine only.
BRAKES
Master Cylinder -Every
6,000 miles - Check fluid
le vel and maintain IA" below filler opening with GM Hydraulic Brake Fluid, Super No. 11.
Lining-Inspe ct brake linings periodi cally. Frequency o[ inspection ,viII depend on traffic, terrain and the
driving habits of the driver.
Page 44 of 52

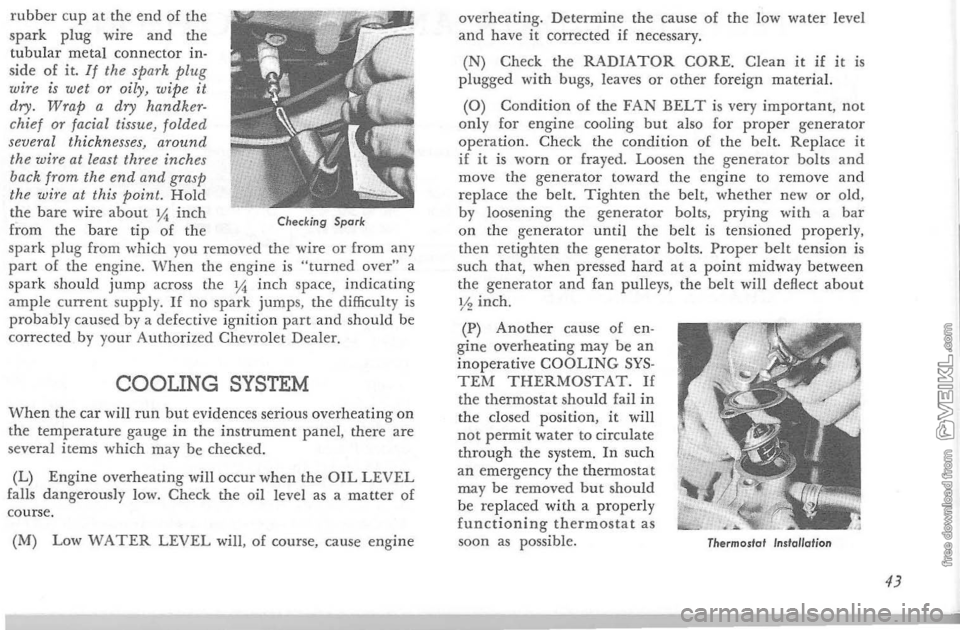
rubber cup at the end of the
spark plug wire and the tubular metal connector inside of it. If the spark plug wire is wet or oily, wipe it
dry . Wrap a dry handker·
chief or facial tissue, folded
several thicknesses, around
the wire at least three inches
back from the end and grasp
the wire at this point. Hold the bare wire about Yi inch from the bare tip of the Checking Spork
spark plug fro m whidl you removed the wire or from any part of the engine. When the engine is "turned over" a
spark should jump ac ross the y.;, inch space , indicating ample current supply. If no spa rk jumps, th e d ifficult y is probably caused b y a defective ignition part and should be
cor rect ed b y you r Authorized Chevrolet Dealer.
COOUNG SYSTEM
'When the car will run but evidences serious overheating on the temp erature gauge in the instrument panel, there are
seve r al i tem s which may be check ed.
(L)
Engine overheating wjll occur when the OIL LEVEL falls dangerousl y l ow. Check the oil lev e l as a matter of
course.
(M) Low
WATER LEVEL will, of course, cause engi ne over
heating.
De termine the cause of the low water level and have it correc ted if necessary. (N) Check the RADIATOR CORE. Clean it if it is plugged with bugs, leaves or other foreign material.
(0) Condition o f the FAN BELT is very important, not only for engine cooling but also for proper generator operation. Check the condition of the belt. Replace it if i t is wor n or frayed. Loosen the generator bolts and move the generator toward the engine to remove and replace the belt. Tighten the belt, whethe r n ew or old ,
by loosening the generator bolts, prying with a bar on the generator until the belt is tensioned properly,
then re t ighten the generator bolts. Proper belt tension is
such that, when pressed hard at a point midway between
th e ge nerato r and fan pulleys, the belt will deflect about ~4 inch.
(P) Another ca use of en
gine overheating ma y be an inoperative COOLING SYSTEM THERMOSTAT. II the thermostat sh ould fail in the closed position, it will not permit wa ter to circulate through the system. In such an emergency the thermostat may be removed but should be replaced with a properly functioning thermostat as
soon as possible .
Thermostot Instal/ot;on
43