hood open CHEVROLET CORVETTE 1964 Owners Manual
[x] Cancel search | Manufacturer: CHEVROLET, Model Year: 1964, Model line: CORVETTE, Model: CHEVROLET CORVETTE 1964Pages: 52, PDF Size: 11.2 MB
Page 18 of 52
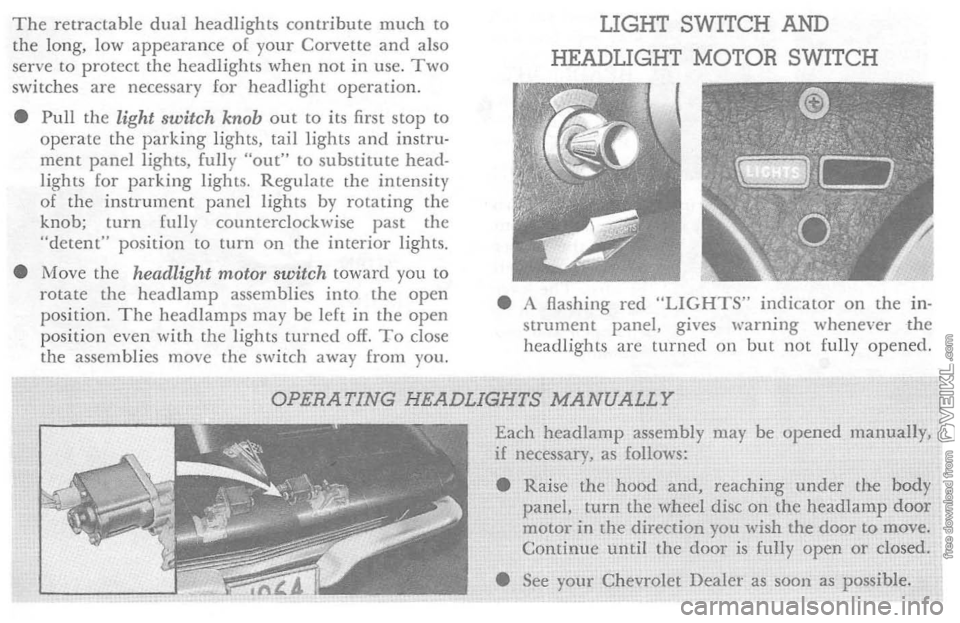
The retractable dual headlights contribute much to the long, low appearance 01 your Corvette and also
serve to protect the headlights when not in use . Two switches are necessary for headlight operation.
• Pull
the light switch knob out to its first stop to operate the parking lights, tail lights and instru· ment panel lights, fully "out" to substitute head·
lights lor parking lights. Regulate th e intensity 01 the instrument panel lights by rotating the
knob; turn fully counterclockwise past the
"detent" position
to turn on the interior lights.
• Move
the headlight motor switch toward you to
rotate the head lamp assemblies into the open
position. The headlamps may be lelt in the open
position even WiLh the lights turned off. To close
the assemblies move the switch away from you.
LIGHT SWITCH AND
HEADLIGHT MOTOR SWITCH
• A flashing red "LIGHTS" indicator on the in·
strument panel, gives warning whenever the
headlights are
turned on but not fully opened.
OPERATING HEADLIGHTS MANUALLY
Each headlamp assembly may be opened manuaJly, if necessary, as follows:
• Raise
the hood and, reaching under the body panel, turn the wheel disc on the headlamp door motor in the direction you wish the door to move. Continue until the door is fully open or closed .
• See
your Chevrolet Dealer as sOOn as possible.
Page 20 of 52
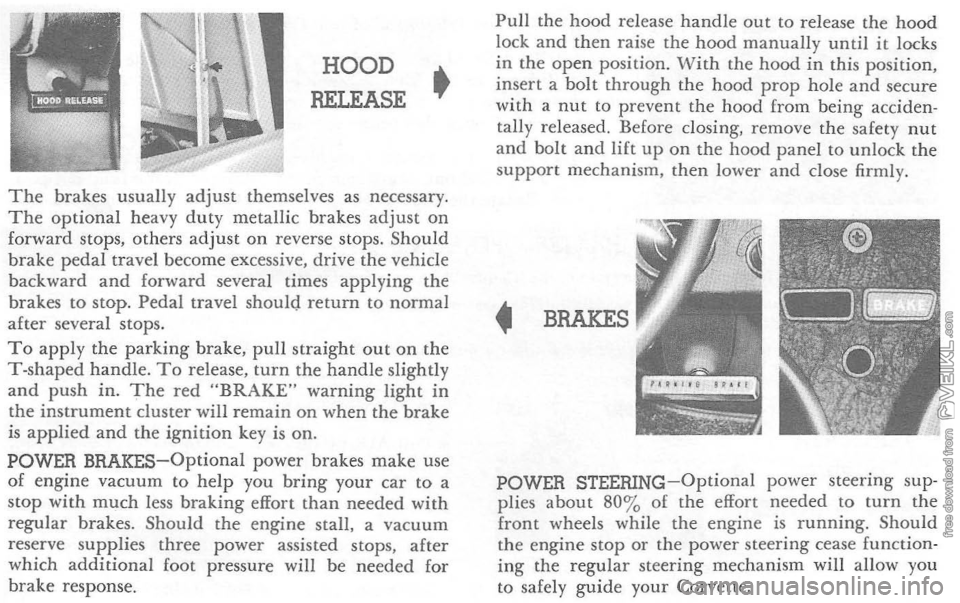
HOOD
RELEASE •
The brakes usually adjust themselves as necessary. The optional heavy duty metallic brakes adjust on forward stops, others adjust on reverse stops. Should
brake pedal travel become excessive, drive the vehicle
back ward
and forward several times applying the
brakes to stop. Pedal travel should return to normal after several stops. To apply the parking brake, pull straight out on the T-shaped handle. To release, turn the handle slightly and push in. The red "BRAKE" warning light in the instrument cluster will remain on when the brake is applied and the ignition key is on. POWER BRAKES-Optional power brakes make use of engine vacuum to help you bring your car to a stop with much less braking effort than needed with regular brakes. Should the engine stall. a vacuum
reserve supplies three power assisted stops, after
which additional foot pressure will be needed for
brake response.
Pull the hood release handle out to release the hood lock and then raise the hood manually until it locks
in the open position . With the hood in this position, insert a bolt through the hood prop hole and secure
with a nut to prevent the hood from being acciden
tally released. Before closing, remove the safety nut
and bolt and lift up on the hood panel to unlock the
support mechanism . then lower and close firmly.
• BRAKES
POWER STEERING-Optional power steering sup
plies about 80 % of the effort needed to turn the front wheels while the engine is running. Should the engine stop or the power steering cease function ing the regular steering mechanism will allow you
to safely guide your Corvette.
Page 25 of 52
REAR
COMPARTMENT •
Lock and unlock the glove box door with the igni
tion key. Press and release button to open the door. When open, the door provides a convenient table for cups or glasses. A cutout portion in the glove box
hood forms a convenient assist handle.
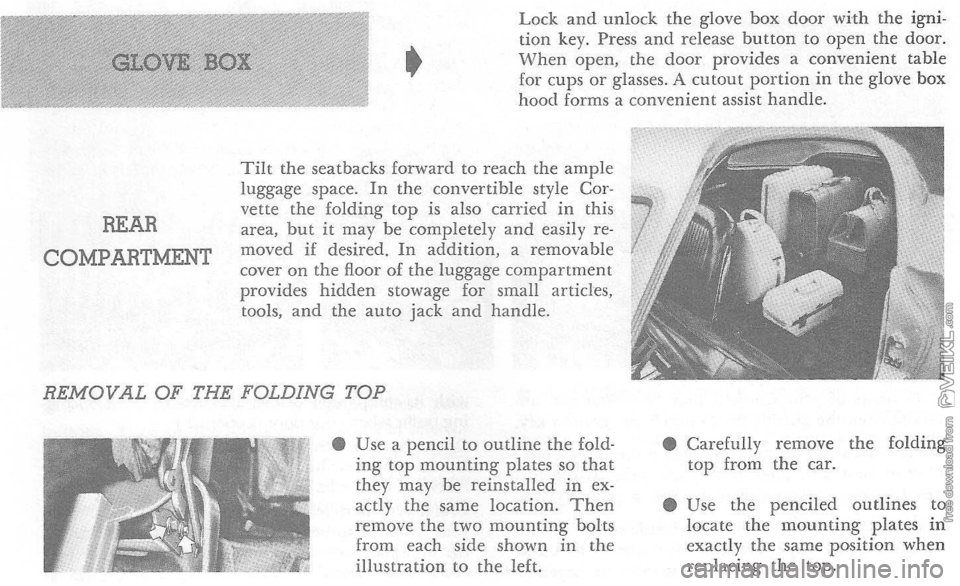
Tilt the seatbacks forward to reach the ample
luggage space_ In the convertible style Cor
vette the folding top is also carried in this
area, but it may be completely and easily removed if desired. In addition, a removable
cover on the floor of the luggage compartment
provides hidden stowage for small articles,
tools,
and the auto jack and handle-
REMOVAL OF THE FOLDING TOP
• Use a pencil to outline the folding top mounting plates so that they may be reinstalled in ex
actly the same location. Then remove the two mounting bolts
from each side shown in the
illustration to the left. •
Carefully remove the folding top from the caL
• Use
the penciled outlines to locate the mounting plates in exactly the same position when replacing the top.
Page 37 of 52
FAN BELT
Every 6,000 miles inspect fan belt for wear, fraying,
cracking and tension. Belt should be retightened
only when
it deflects more than Y2" with modera te thumb pressure applied midway between pulleys.
AIR CLEANER
Ev ery
12,000 miles (more often under dusty o r other
adverse driving conditions) rem ove the polyurethan e
eleme nt from its support screen and clean in suit able
solvent such as Kerosene . Squeeze out all solvent,
then soak i n engine oil and squ eeze out. Remove
excess oil
by then squeezing the element in a clean dry cloth.
OIL FILTER
The oil filter should be changed at 6,000 miles or 6 month intervals, whi ch ever occurs first. During pro
l onged dusty driving conditions the filter should be
cha nged more often.
DISTRIBUTOR
Change cam lubricator end for end at 12,000 mile intervals-Replace at 24,00 0 mile intervals.
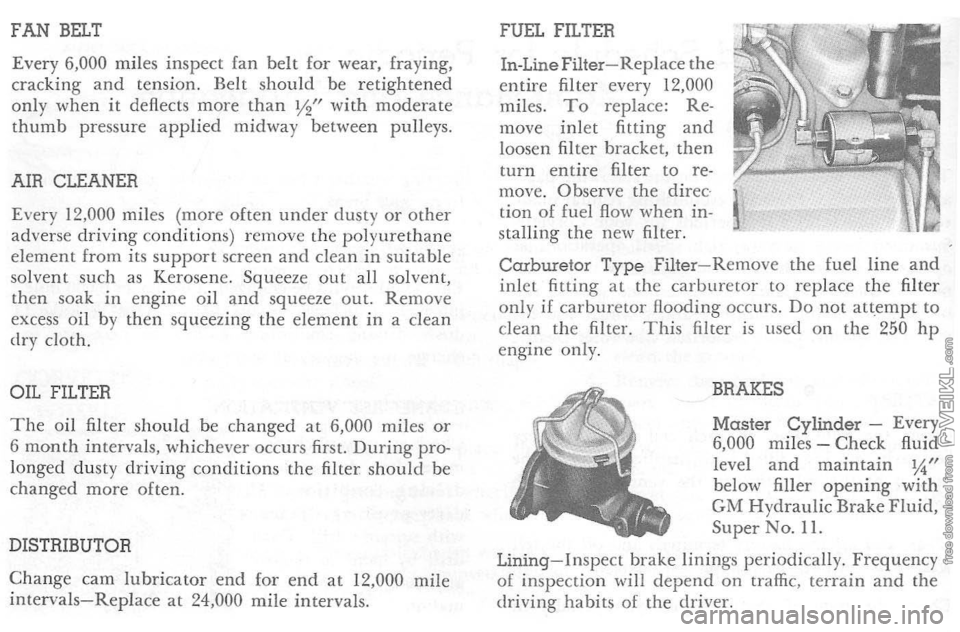
FUEL FILTER
In-Line Filter-Replace
the entire filter every 12,000
miles. To replace: Re
move inlet fitting and
loosen filter bracket, then
turn entire filter
to re
move. 0 hserve the direc
tion of fuel flow when in
stalling the new filter.
Carburetor Type Filter - R emove the fuel line and inlet fitting at the carburetor to replace the filter
only if car bur etor Hooding occurs. Do nor att,cmpt to clean the filter. This filter is used on the 250 hp engine only.
BRAKES
Master Cylinder -Every
6,000 miles - Check fluid
le vel and maintain IA" below filler opening with GM Hydraulic Brake Fluid, Super No. 11.
Lining-Inspe ct brake linings periodi cally. Frequency o[ inspection ,viII depend on traffic, terrain and the
driving habits of the driver.
Page 40 of 52
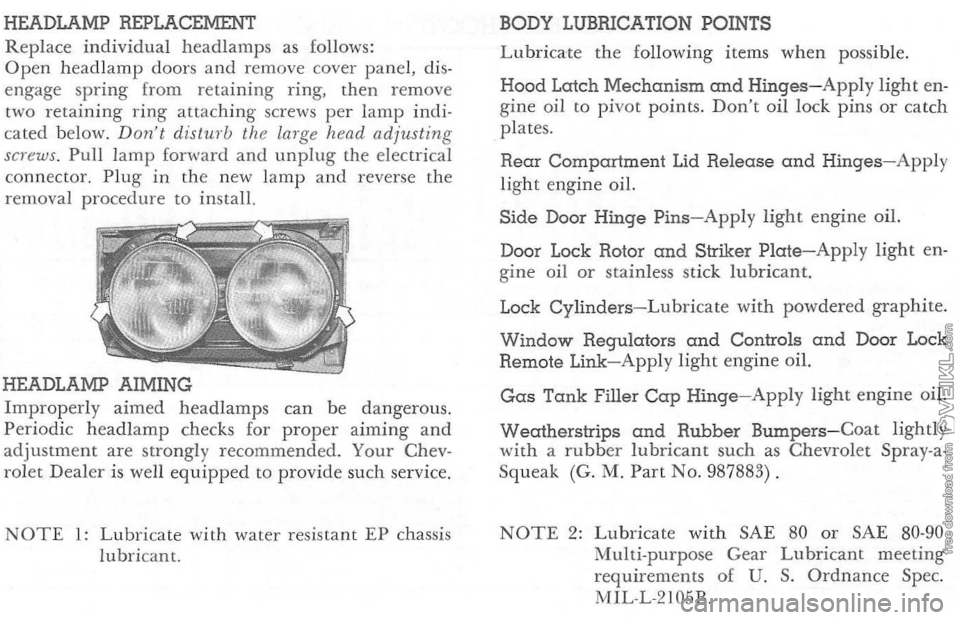
HEADLAMP REPLACEMENT
Replace individual head lamp s as follows:
Open head lamp doors and remove cover panel, dis
e n gage spring from retaining ring, then remove
two retai
ning ring attaching screws per lamp indi
cate d b elow. Don·t dist",·b the larg e head adjusting
screws . Pull lamp fanltard and unplug the electri cal
connector. Plug in the new l amp and reverse the
removal procedure to install.
HEADLAMP AIMING
Improperly aimed headlamps can be dangerous.
Periodic headlam p checks for proper aiming and adjustm en t are strongly recommend ed. Your Chev
rol et Dea l er is well equipped to provide such service.
NOTE 1: Lubricate with water resi stant EP chassis
lubri cant. BODY
LUBRICATION POINTS
L ubric ate the following items when possible.
Hood Latch Mechanism and Hinges-Apply light en
gine oil to pivot points. Don't oil lock pins or catch
plates.
Rear Compartment Lid Release and Hinges-Apply
light engine oil.
Side Door Hinge Pins-Apply light engine oil.
Door Lock Rotor
and Striker Plate-Apply light en
g ine oil or stai nles s stick lubric ant.
Lock
Cylinders-Lubricate wit h powdered graphite.
Window Regulators and Controls and Door Lock
Remote Link-Apply light engine oil.
Gas Tank Filler Cap Hinge-Apply light engine oil.
Wecdherstrips and Rubber Bumpers-Coat lightly
wit h a rubber lubricant such as Chevrolet Spray-a
Squeak (G. M. Part No. 987883) .
NOTE 2: Lubricate with SAE 80 or SAE 80-90 Multi-purp ose Gear Lubricant meeting
requirements of U. S. Ordnance Spec.
M1L-L-2105B.