buttons CHEVROLET CORVETTE 1996 4.G Owners Manual
[x] Cancel search | Manufacturer: CHEVROLET, Model Year: 1996, Model line: CORVETTE, Model: CHEVROLET CORVETTE 1996 4.GPages: 386, PDF Size: 20.12 MB
Page 48 of 386
Downloaded from www.Manualslib.com manuals search engine This device complies with Part 15 of the FCC Rules.
Operation is subject to the following two conditions:
(1) This device may not cause harmful interference, and
(2) This device must accept any interference received,
including interference that may cause undesired
operation.
Should interference to this system occur, try this:
0 Check to determine if battery replacement is
necessary. See the instructions on battery
replacement.
Check the distance. You may be too far from your
vehicle. This product has a maximum range.
Chkck the location. Other vehicles or objects may be
blocking the signal.
See your Chevrolet dealer or a qualified technician
for service.
Changes or modifications to this system by anyone other
than an authorized service facility could void
authorization to use this equipment.
Operation
You don’t have to do anything for PKE to work when
the passive feature is on. Just move toward your
vehicle with the
PKE transmitter, and the system will
automatically disarm your theft-deterrent system and
unlock the doors. If it’s dark enough outside, your
interior lamps will come on.
If you move out of range, the
PKE system will:
1. Lock the doors after five seconds.
2. Arm the theft-deterrent system.
3. Sound the horn to let you know the doors are locked.
4. Turn off the interior lamps.
You can also use the buttons on the transmitter. Press
DOOR to open the passenger’s door or HATCH to open
the hatch. The HATCH button will only work when the
ignition is off.
The system has a feature that makes it difficult for you
to lock your keys
in your vehicle. If you leave your keys
in the ignition and lock the doors,
the system will unlock
the doors as soon as they are closed. If you leave the
keys in the ignition-and move away with the transmitter,
the doors still will not lock. You should notice that the
horn doesn’t sound and return to get your keys.
Page 142 of 386
Downloaded from www.Manualslib.com manuals search engine n
Section 3 Comfort Controls and Audio Systems
In this section you’ll find out how to operate the comfort
control and audio systems offered with your Corvette.
Be sure to read about the particular systems supplied
with your vehicle.
Comfort Controls
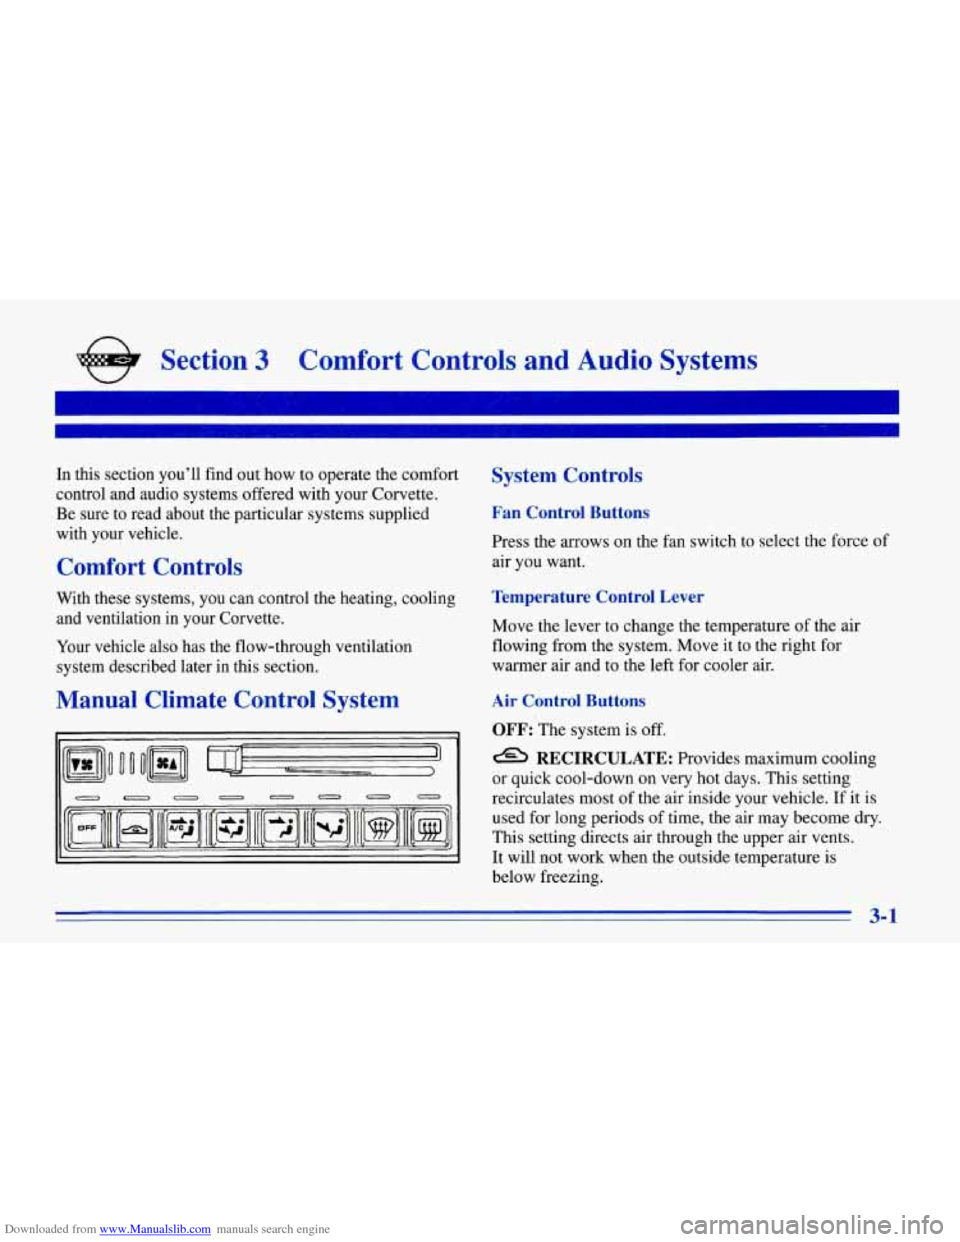
System Controls
Fan Control Buttons
Press the arrows on the fan switch to select the force of
air you want.
With these systems, you can control the heating, cooling
Temperature Control Lever
and ventilation in your Corvette.
Your vehicle also has the flow-through ventilation
system described later in this section.
Manual Climate Control System
I’
Move the lever to change the temperature of the air
flowing from the system. Move it to the right for
warmer air and to the left for cooler air.
Air Control Buttons
OFF: The system is off.
e RECIRCULATE: Provides maximum cooling
or quick cool-down on very hot days. This setting
recirculates most of the air inside your vehicle.
If it is
used for long periods of time, the air may become dry.
This setting directs air through the upper air vents.
It will not work when the outside temperature is
below freezing.
3-1
Page 144 of 386
Downloaded from www.Manualslib.com manuals search engine Bi-Level
You may want to use BI-LEVEL on cool, but sunny
days. This setting directs outside air through the
instrument panel vents and the floor ducts.
Press BI-LEVEL and FAN UP, then slide the
temperature control lever to a comfortable setting.
Ventilation
For mild outside temperatures, when little heating or
cooling is needed, you can still direct outside air through
your vehicle.
Press VENT and FAN UP, then slide the temperature
control lever to a comfortable setting.
Defogging and Defrosting
Your vehicle has several settings for clearing your
windows. The air conditioning compressor will run to
help remove moisture from the air.
To defrost the windshield quickly, press DEFROST and
FAN UP, then slide the temperature control lever all the
way
to the right or to the FULL HOT position. To
defrost the side windows quickly, press BI-LEVEL
and FAN UP. Then slide the temperature control lever
all the way
to the right. Direct airflow through the air
conditioning outlets closest to the side windows.
Cooling
The air conditioner works best if you keep your
windows closed. On very hot days, open the windows
just long enough for the hot air to escape.
Press RECIRCULATE and FAN UP. Then slide the
temperature control lever to a comfortable setting.
Direct airflow through the air conditioning outlets
closest to the side windows.
After cool-down, adjust the air control buttons to
another setting. The compressor works in all settings
except VENT and HEATER and at all temperatures
above freezing.
When the air conditioning compressor is on, you may
notice slight changes in your vehicle’s engine speed and
power. This is normal because the system is designed to
cycle the compressor
on and off to keep the desired
temperature and help fuel economy.
3-3
Page 145 of 386
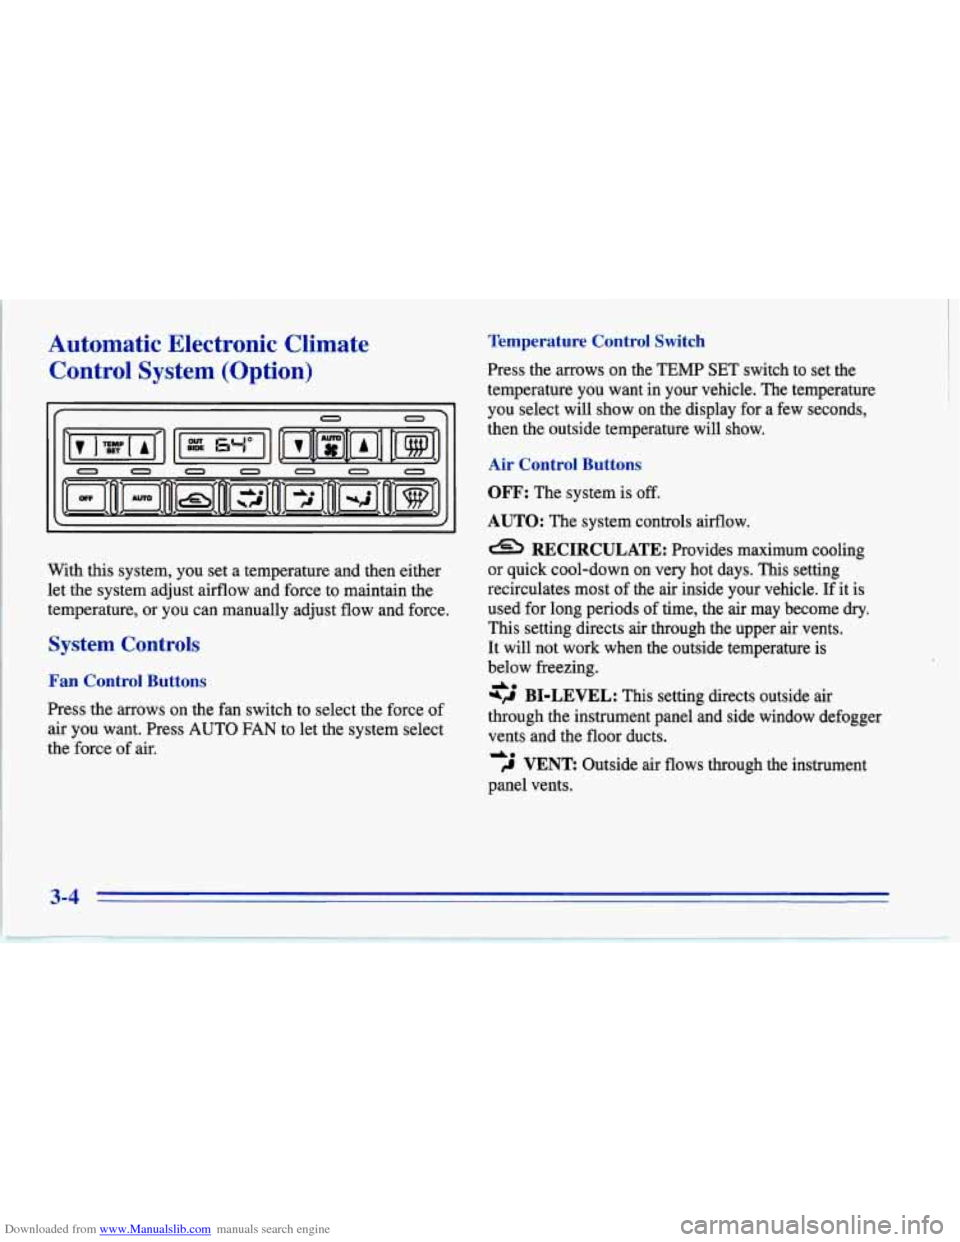
Downloaded from www.Manualslib.com manuals search engine Automatic Electronic Climate Control System (Option)
If 0
0
0 0 0 0 0 0
With this system, you set a temperature and then either
let the system adjust aifflow and force to maintain the
temperature, or you can manually adjust flow and force.
System Controls
Fan Control Buttons
Press the arrows on the fan switch to select the force of
air you want. Press AUTO FAN to let the system select
the force of air.
Temperature Control Switch
Press the mows on the TEMP SET switch to set the
temperature you want in your vehicle. The temperature
you select will show on the display for a few seconds,
then the outside temperature will show.
Air Control Buttons
OFF: The system is off.
AUTO: The system controls aifflow.
a RECIRCULATE: Provides maximum cooling
or quick cool-down on very hot days. This setting
recirculates most
of the air inside your vehicle. If it is
used for long periods of time, the air may become
dry.
This .setting directs air through the upper air vents.
It will not work when the outside temperature is
below freezing.
*fl BI-LEVEL: This setting directs outside air
through the instrument panel and side window defogger
vents and the floor ducts.
,d VENT: Outside air flows through the instrument
A.
d.
panel vents.
3-4
Page 146 of 386
Downloaded from www.Manualslib.com manuals search engine wJ HEATER: This setting directs all of the air
through the floor ducts.
DEFROST This setting directs most of the
air through the windshield defroster and side window
defogger vents and some
of the'air through the
floor ducts.
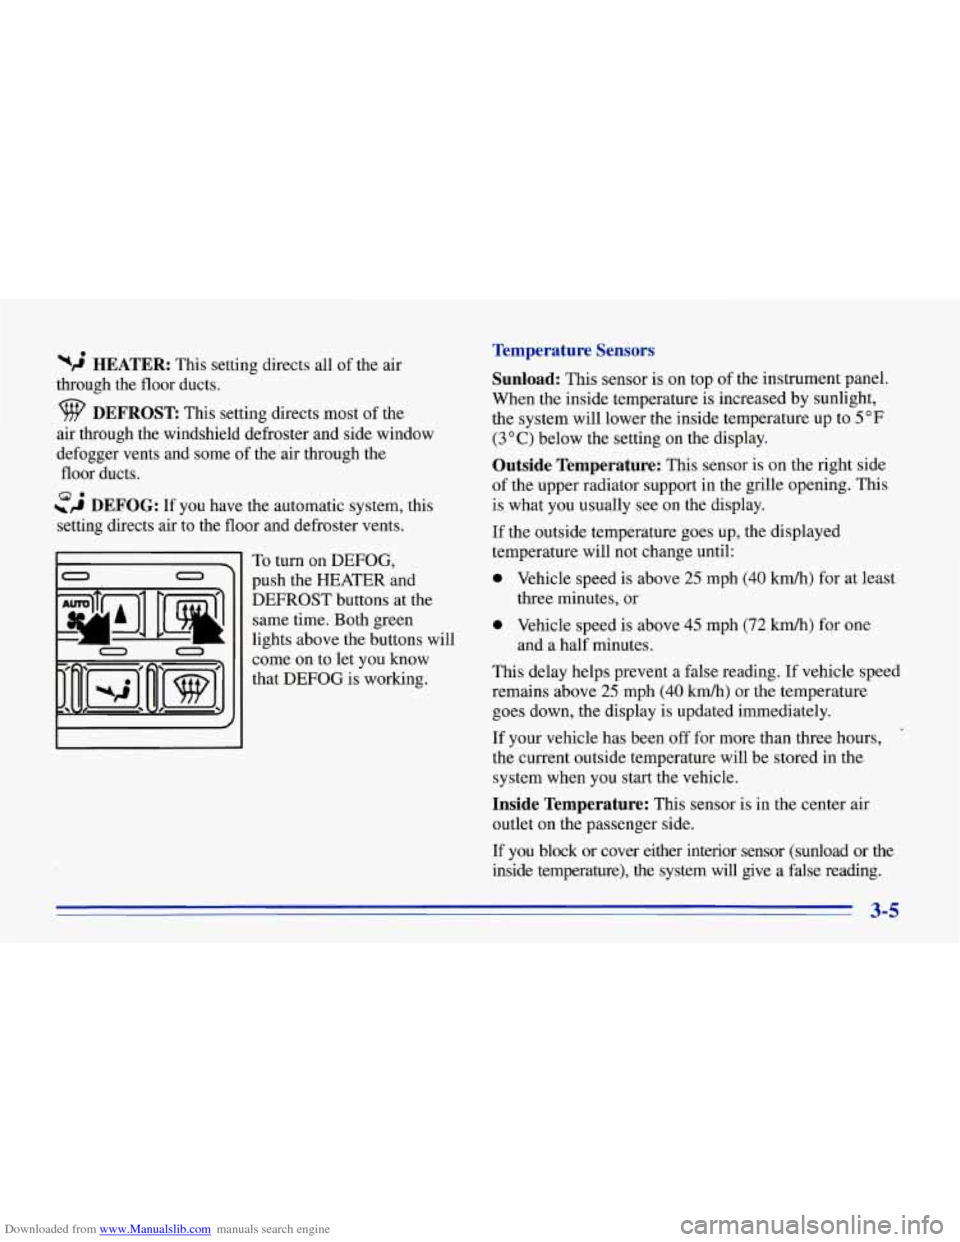
~,4 DEFOG: If you have the automatic system, this
setting directs air to the floor and defroster vents. 8.
To turn on DEFOG,
push the HEATER and
DEFROST buttons at the same time. Both green
lights above the buttons will
come on to let you know
that DEFOG is working.
Temperature Sensors
Sunload:
This sensor is on top of the instrument panel.
When the inside temperature is increased by sunlight,
the system will lower the inside temperature up to 5
OF
(3 O C) below the setting on the display.
Outside Temperature: This sensor is on the right side
of the upper radiator support in the grille opening. This
is what you usually see on the display.
If the outside temperature goes up, the displayed
temperature will not change until:
0 Vehicle speed is above 25 mph (40 km/h) for at least
0 Vehicle speed is above 45 mph (72 km/h) for one
This delay helps prevent a false reading. If vehicle speed
remains above 25 mph
(40 kmh) or the temperature
goes down, the display is updated immediately.
If your vehicle has been off for more than three hours,
the current outside temperature will be stored in the
system when you start the vehicle.
three minutes, or
and a half minutes.
Inside Temperature: This sensor is in the center air
outlet on the passenger side.
I€ you block or cover either interior sensor (sunload or the
inside temperature), the system will give a false reading.
3-5
Page 152 of 386
Downloaded from www.Manualslib.com manuals search engine AM-FM Stereo with Cassette Tape Player
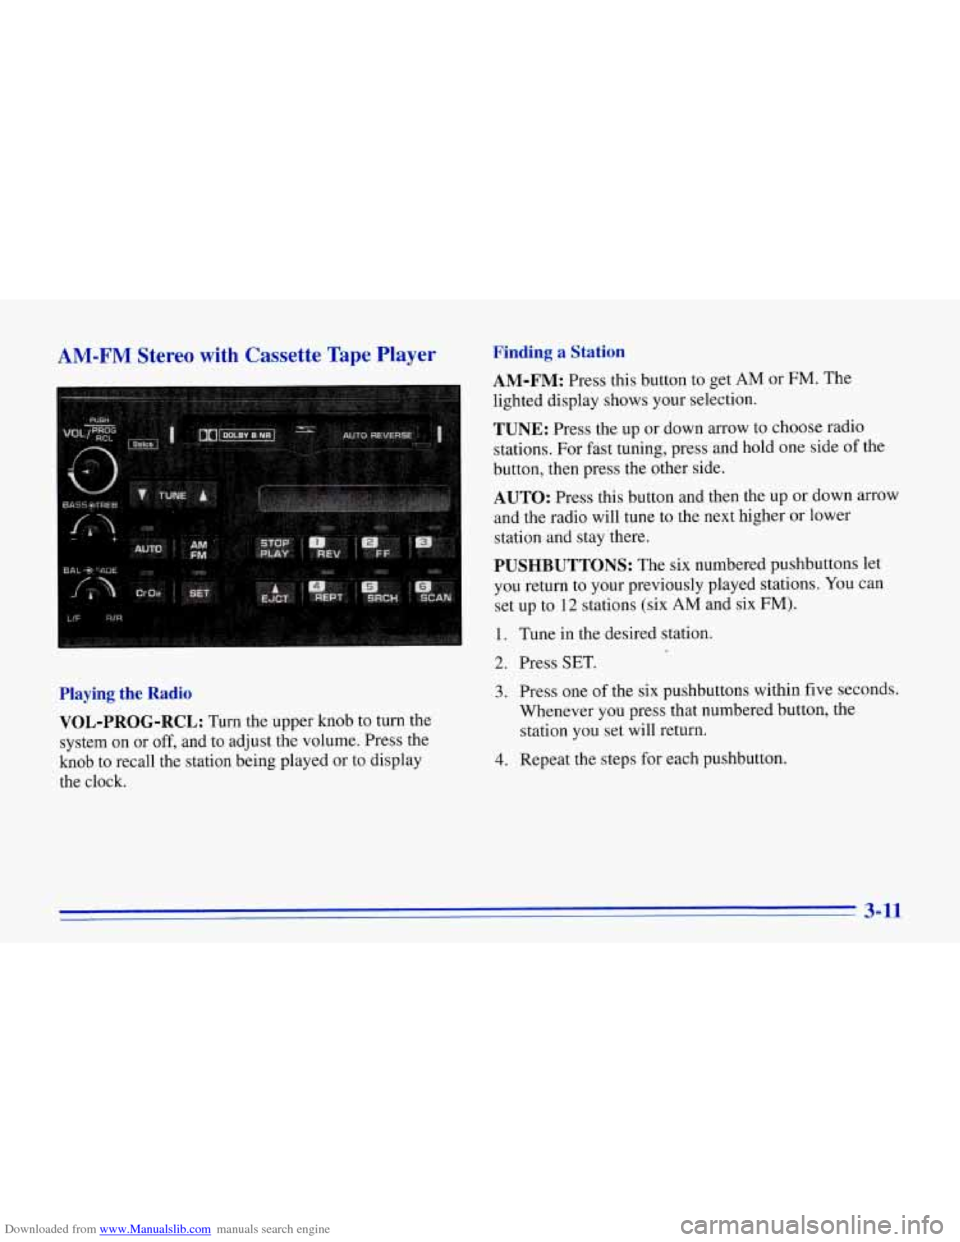
Playing the Radio VOL-PROG-RCL:
Turn the upper knob to turn the
system on
or off, and to adjust the volume. Press the
knob to recall the station being played or to display
the clock.
Finding a Station
AM-FM: Press this button to get AM or FM. The
lighted display shows your selection.
TUNE: Press the up or down arrow to choose radio
stations. For fast tuning, press and hold one side
of the
button, then press the other side.
AUTO: Press this button and then the up or down arrow
and the radio will tune to the next higher
or lower
station and stay there.
PUSHBUTTONS: The six numbered pushbuttons let
you return to your previously played stations.
You can
set up to
12 stations (six AM and six FM).
1. Tune in the desired station.
2. Press SET.
3. Press one of the six pushbuttons within five seconds.
Whenever you press that numbered button, the
station you set will return.
4. Repeat the steps for each pushbutton.
3-11
Page 154 of 386
Downloaded from www.Manualslib.com manuals search engine Delco-Bose' AM-FM Stereo with Cassette
Tape Player
(Option)
Finding a Station
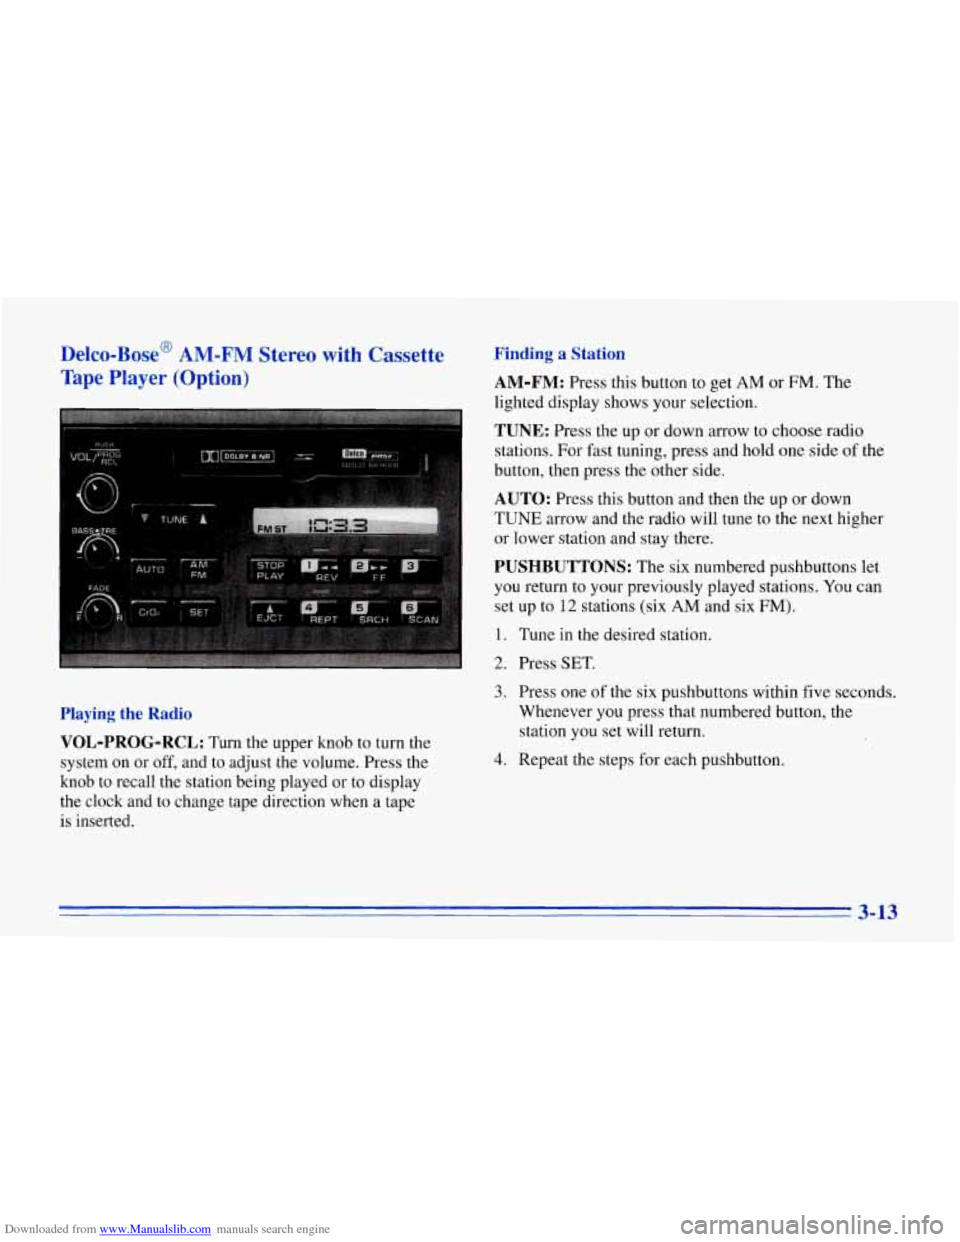
AM-FM:
Press this button to get AM or FM. The
lighted display shows your selection.
TUNE: Press the up or down arrow to choose radio
stations. For fast tuning, press and hold one side of the
button, then press the other side.
AUTO: Press this button and then the up or down
TUNE arrow and the radio will tune to the next higher
or lower station and stay there.
PUSHBUTTONS: The six numbered pushbuttons let
you return to your previously played stations. You can
set up to
12 stations (six AM and six FM).
1. Tune in the desired station.
2. Press SET.
Playing the Radio
VOL-PROG-RCL:
Turn the upper knob to turn the
system on or
off, and to adjust the volume. Press the
knob to recall the station being played or to display
the clock and to change tape direction when a tape
is inserted.
3. Press one of the six pushbuttons within five seconds.
Whenever you press that numbered button, the
station you set will return.
4. Repeat the steps for each pushbutton.
3-13
Page 156 of 386
Downloaded from www.Manualslib.com manuals search engine Delco-Bose AM-FM Stereo with Cassette
Tape
and Compact Disc Players (Option)
Playing the Radio
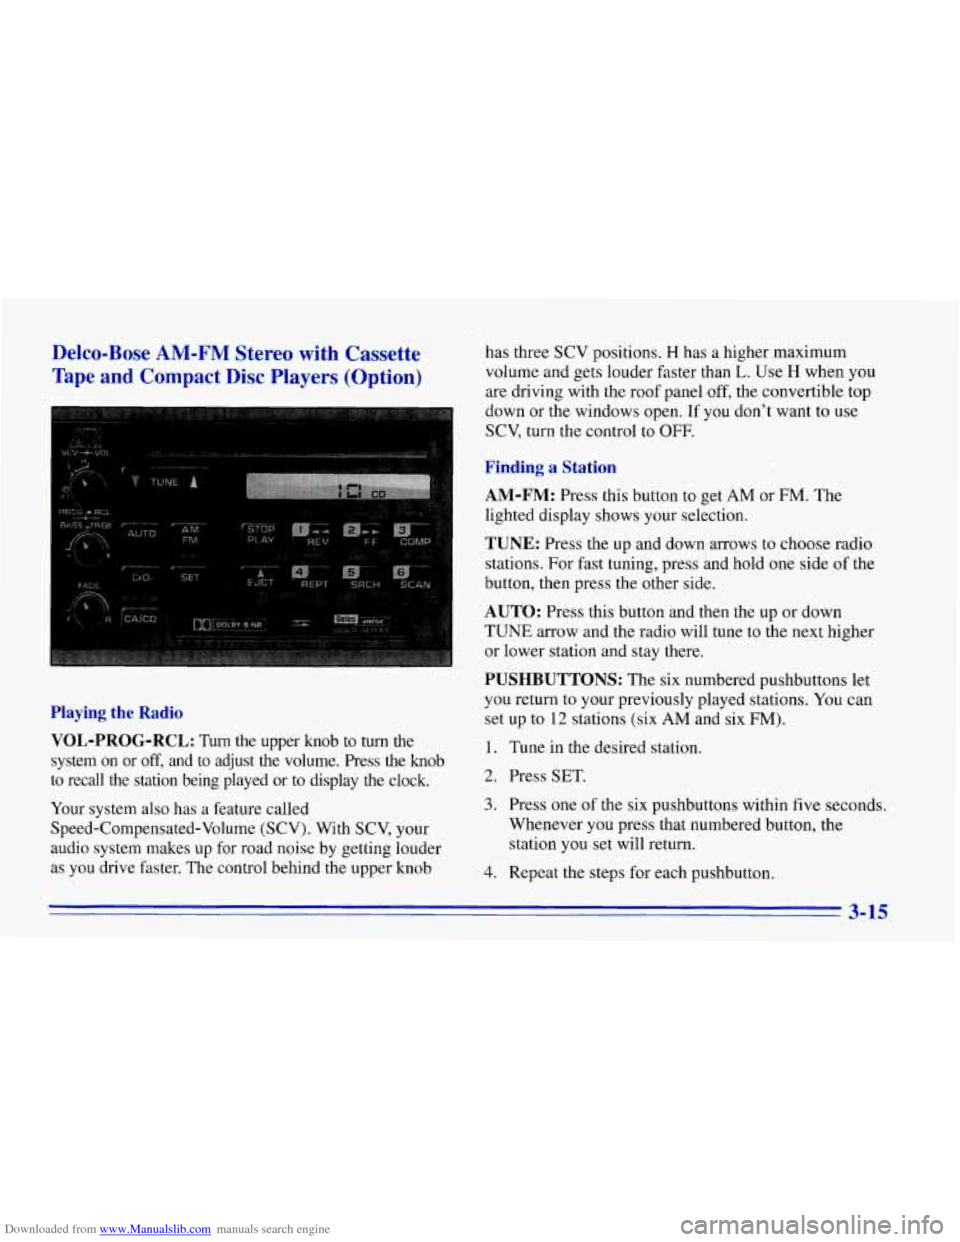
VOL-PROG-RCL:
Turn the upper knob to turn the
system on or
off, and to adjust the volume. Press the knob
to recall the station being played or to display the clock.
Your system also has a feature called
Speed-Compensated-Volume (SCV). With SCV, your
audio system makes up for road noise by getting louder
as you drive faster. The control behind the upper knob has three
SCV positions.
H has a higher maximum
volume and gets louder faster than
L. Use H when you
are driving with the roof panel off, the convertible top
down or the windows open. If you don't want to use
SCV, turn the control to OFF.
Finding a Station
AM-FM:
Press this button to get AM or FM. The
lighted display shows your selection.
TUNE: Press the up and down arrows to choose radio
stations. For fast tuning, press and hold one side of the
button, then press the other side.
AUTO: Press this button and then the up or down
TUNE arrow and the radio will tune to the next higher
or lower station and stay there.
PUSHBUTTONS: The six numbered pushbuttons let
you return to your previously played stations.
You can
set up to
12 stations (six AM and six FM).
1. Tune in the desired station.
2. Press SET.
3. Press one of the six pushbuttons within five seconds.
Whenever
you press that numbered button, the
station you
set will return.
4. Repeat the steps for each pushbutton.
3-15
Page 378 of 386
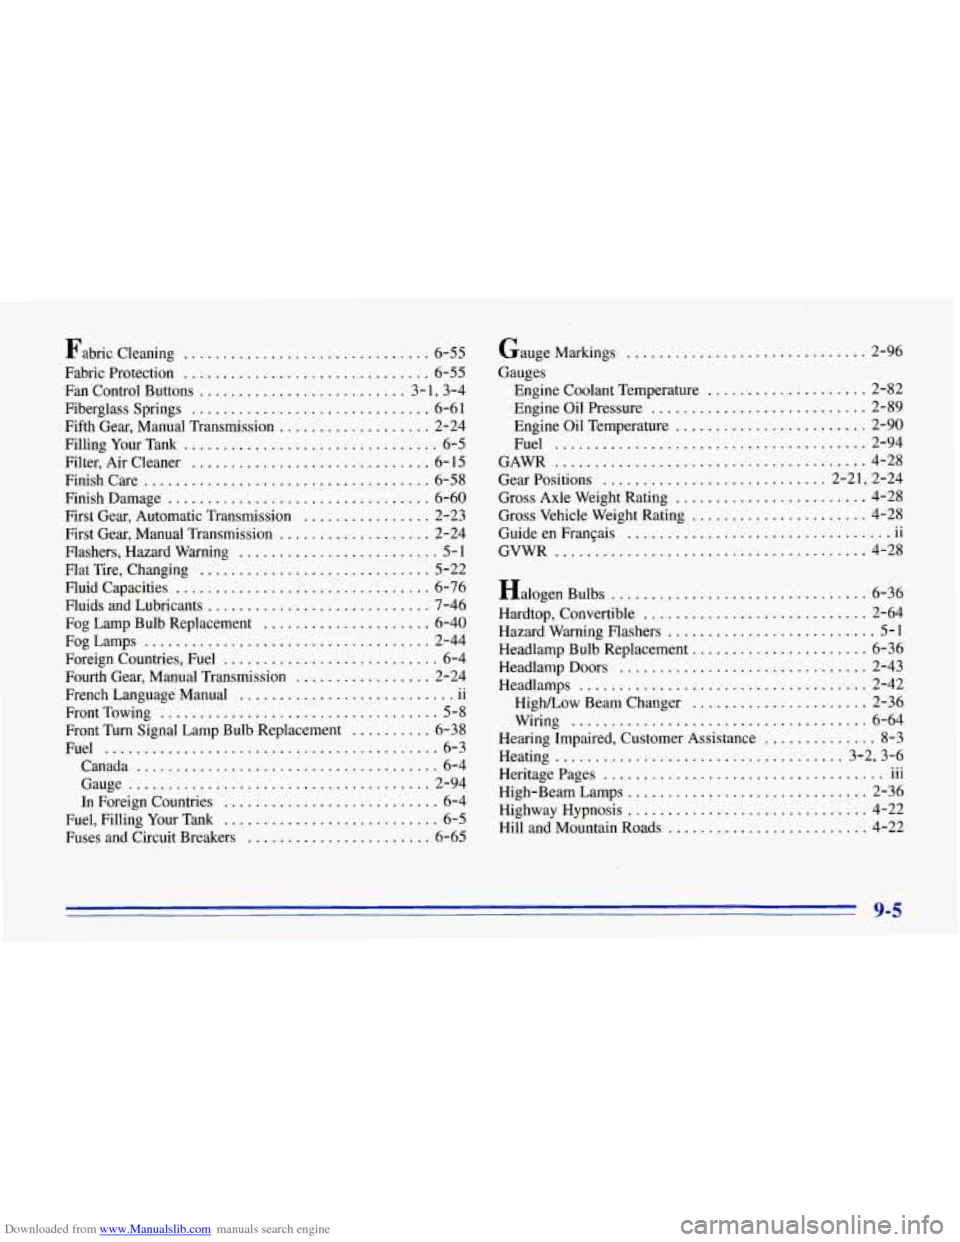
Downloaded from www.Manualslib.com manuals search engine Fabric Cleaning ............................... 6-55
Fabric Protection
............................... 6-55
Fan Control Buttons
.......................... 3.1. 3.4
Fiberglass Springs
.............................. 6-6 1
Fifth Gear. Manual Transmission ................... 2-24
Filling Your Tank
................................ 6-5
Filter. Air Cleaner .............................. 6- 15
Finish Care .................................... 6-58
FinishDamage
................................. 6-60
First Gear, Automatic Transmission
................ 2-23
First Gear, Manual Transmission
................... 2-24
Flashers, Hazard Warning
......................... 5-1
Flat Tire. Changing
............................. 5-22
Fluid Capacities
................................ 6-76
Fluids and Lubricants
............................ 7-46
Fog Lamp Bulb Replacement
..................... 6-40
FogLamps
.................................... 2-44
Foreign Countries, Fuel
........................... 6-4
Fourth Gear, Manual Transmission
................. 2-24
French Language Manual
11
FrontTowing ................................... 5-8
Front Turn Signal Lamp Bulb Replacement .......... 6-38
Fuel
.......................................... 6-3
Canada
...................................... 6-4
Gauge
....................................... 2-94
In Foreign Countries
........................... 6-4
Fuel, Filling Your Tank
........................... 6-5
Fuses and Circuit Breakers
....................... 6-65
.. ...........................
GaugeMarhngs .............................. 2-96
Gauges Engine Coolant Temperature
.................... 2-82
Engine Oil Pressure
........................... 2-89
Engine Oil Temperature
........................ 2-90
Fuel
....................................... 2-94
Gear Positions
............................ 2-21, 2-24
Gross Axle Weight Rating
........................ 4-28
Gross Vehicle Weight Rating
...................... 4-28
Guide en FranGais
11
GAWR ....................................... 4-28
.. .................................
GVWR ..................................... 4-28
Halogen Bulbs
................................ 6-36
Hardtop. Convertible
............................ 2-64
Hazard Warning Flashers
.......................... 5-1
Headlamp Bulb Replacement
...................... 6-36
Headlamp Doors
............................... 2-43
HighLow Beam Changer
...................... 2-36
Wiring
..................................... 6-64
Hearing Impaired, Customer Assistance
.............. 8-3
Headlamps
.................................... 2-42
Heating
.................................... 3-2, 3-6
Heritage Pages .... 111 ...................................
High-Beam Lamps .............................. 2-36
Highway Hypnosis
.............................. 4-22
Hill and Mountain Roads
......................... 4-22
9-5